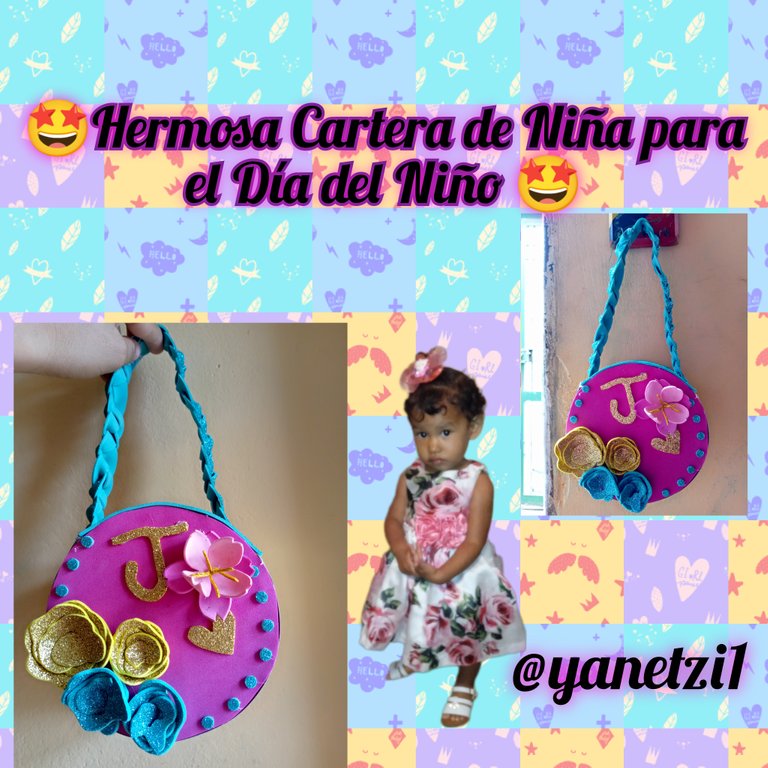
👸Hermosa Cartera de Niña para el Día del Niño👸Beautiful Girl's Handbag for Children's Day👸
#Paso a paso, les explicaré cómo hacer esta cartera. Primero, necesitarán los siguientes materiales#
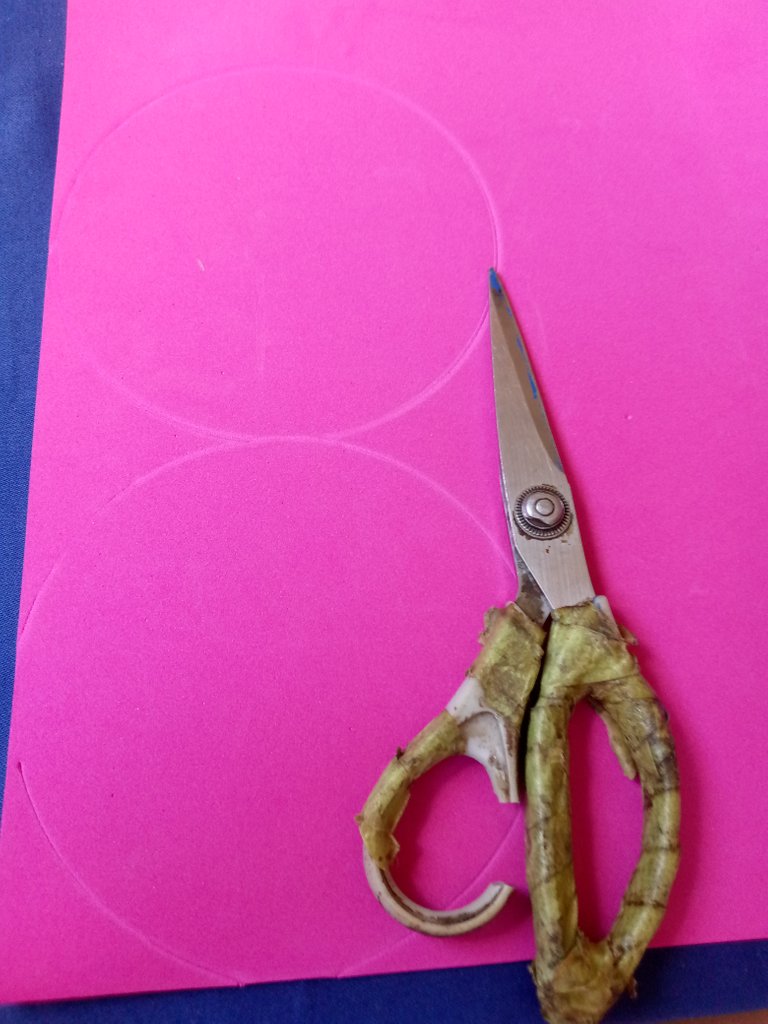
- Tijera
- Foamy escarchado Verde
- Foamy Rosado
- Foamy escarchado Dorado
- Silicón
- Abre Hueco
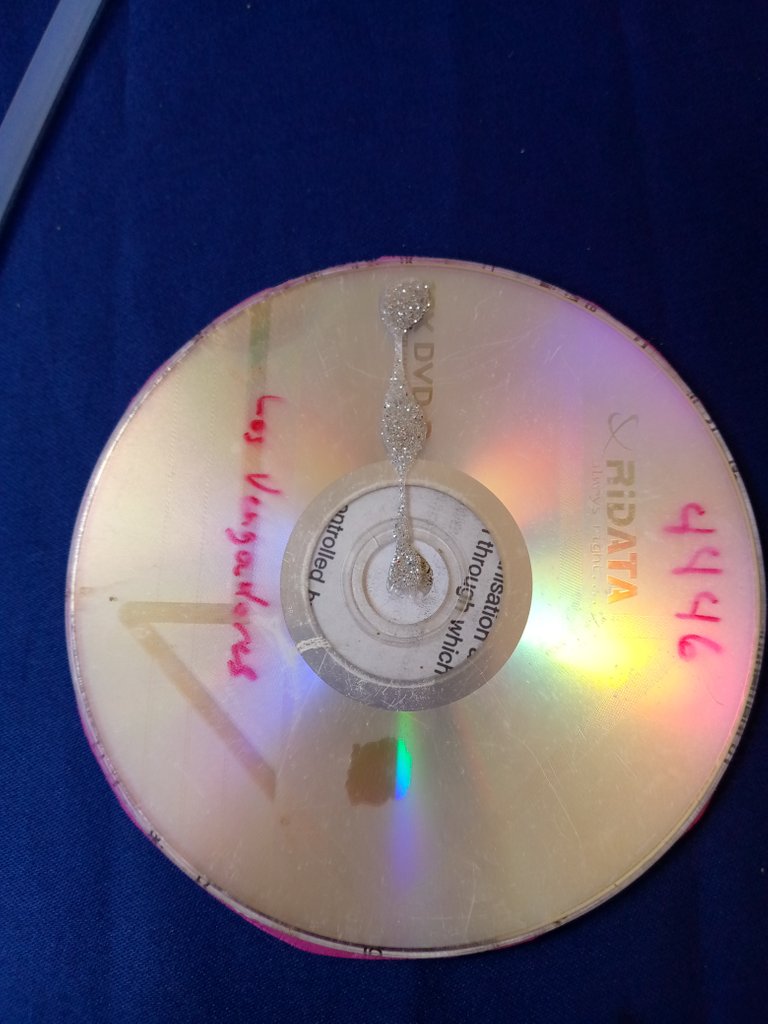
- Cd de Películas
- Cartulina Dorada

A continuación la breve explicación de nuestra hermosa Cartera para el Día del niño
Ahora, comencemos con la fabricación de la cartera:
Pasó 1
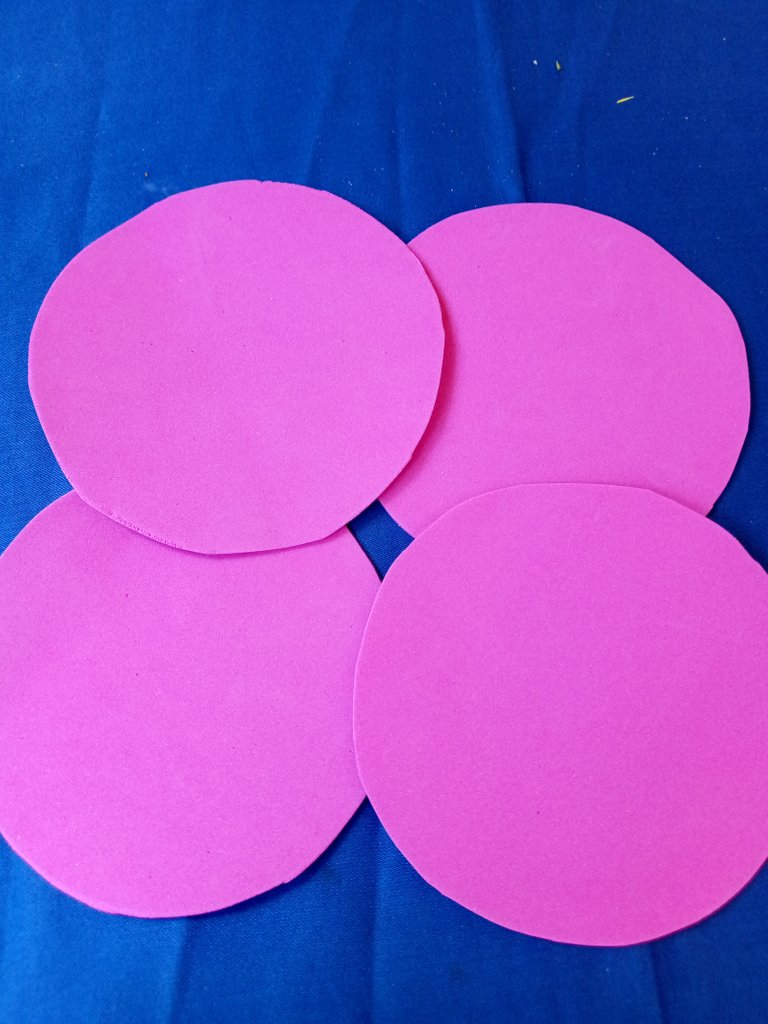
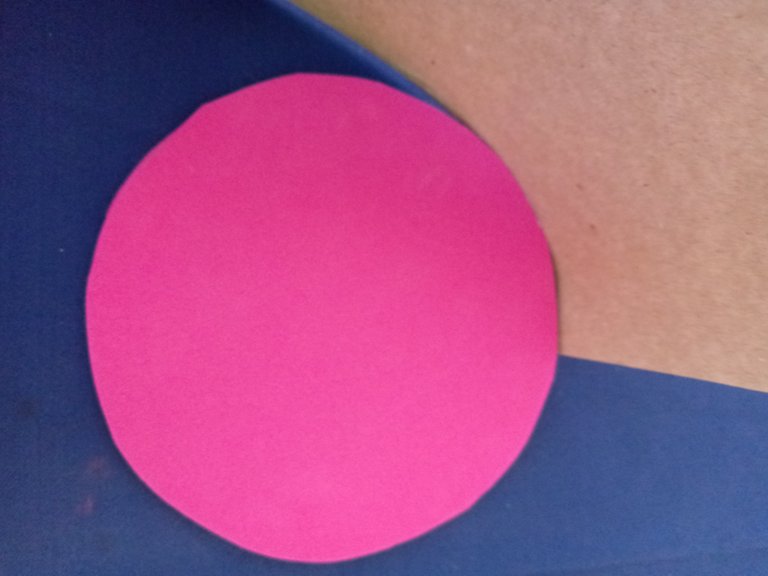
Vamos a tomar el Foamy rosado y vamos a poner dos cd de esta manera seguidamente lo vamos a remarcar y luego después de esto .

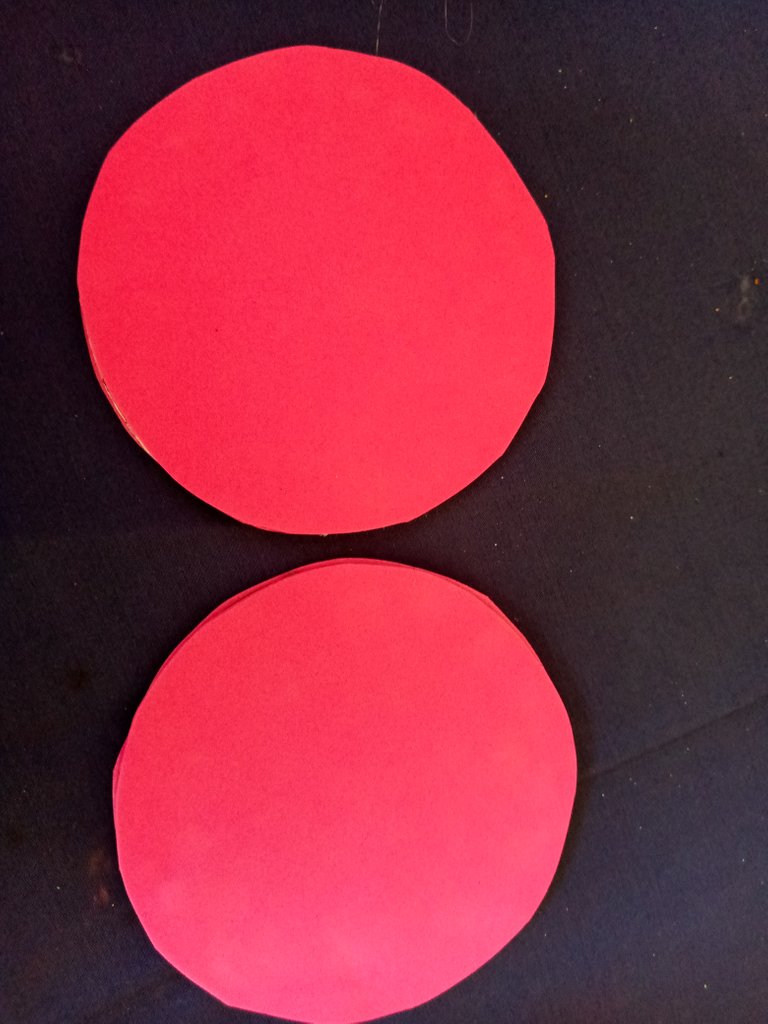
Con la Tijera vamos a recortar el Foamy los dos círculos de los CD para así poder forrarlo y de esta manera se verá un poco más decente .
Pasó 2
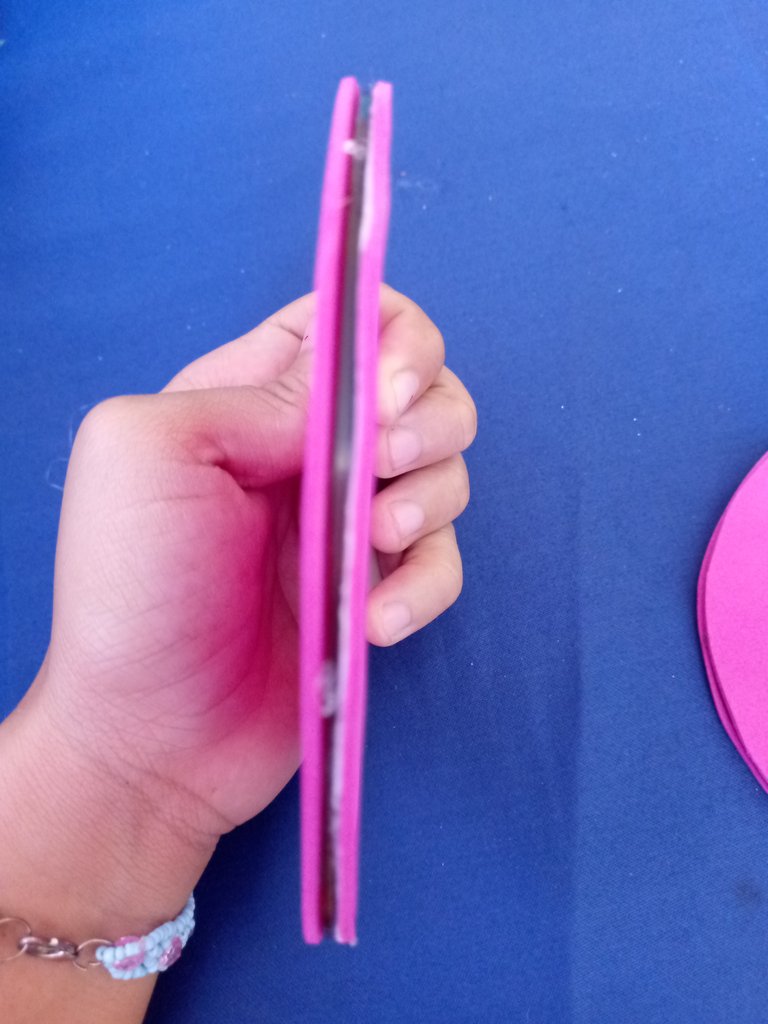
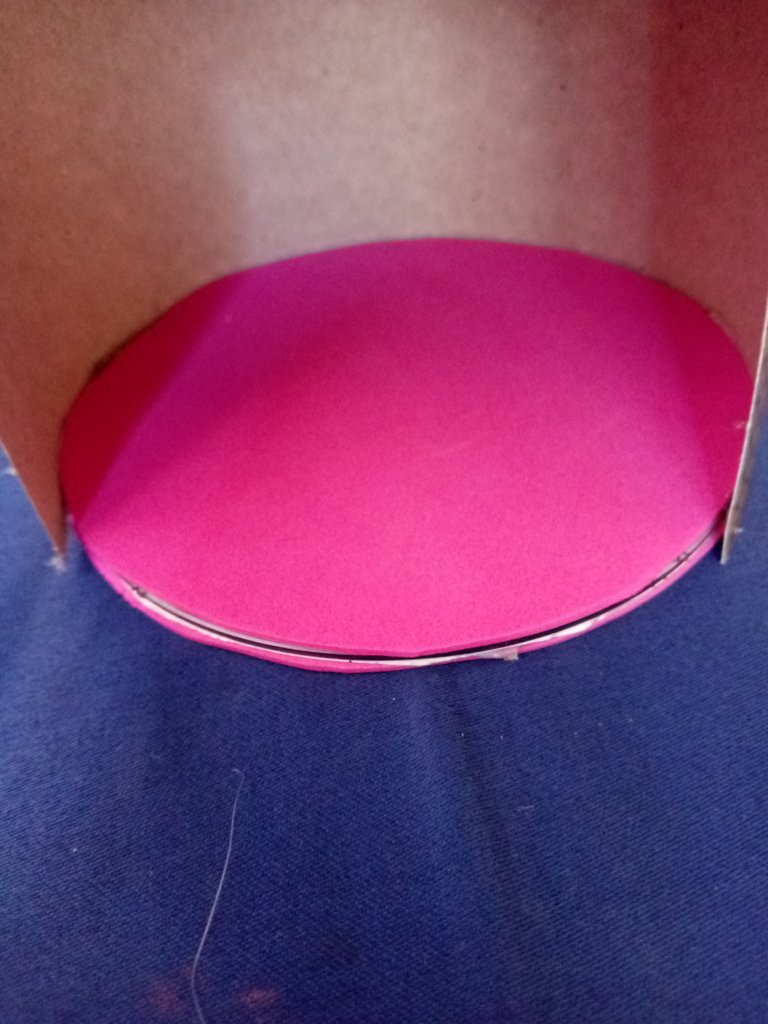
Ahora lo que haremos es con el silicón pegarlo en la parte de adelante y de atrás .
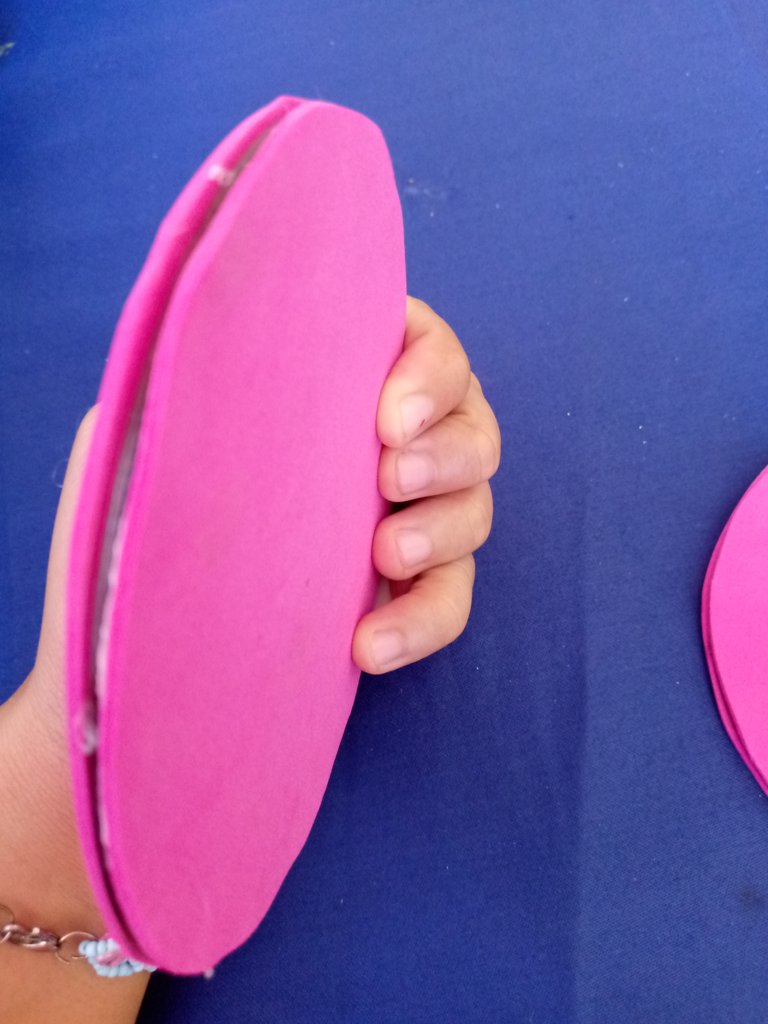
Esto quedará así y debemos tomar en cuenta que el silicón siempre se debe agregar bastante .
Pasó 3
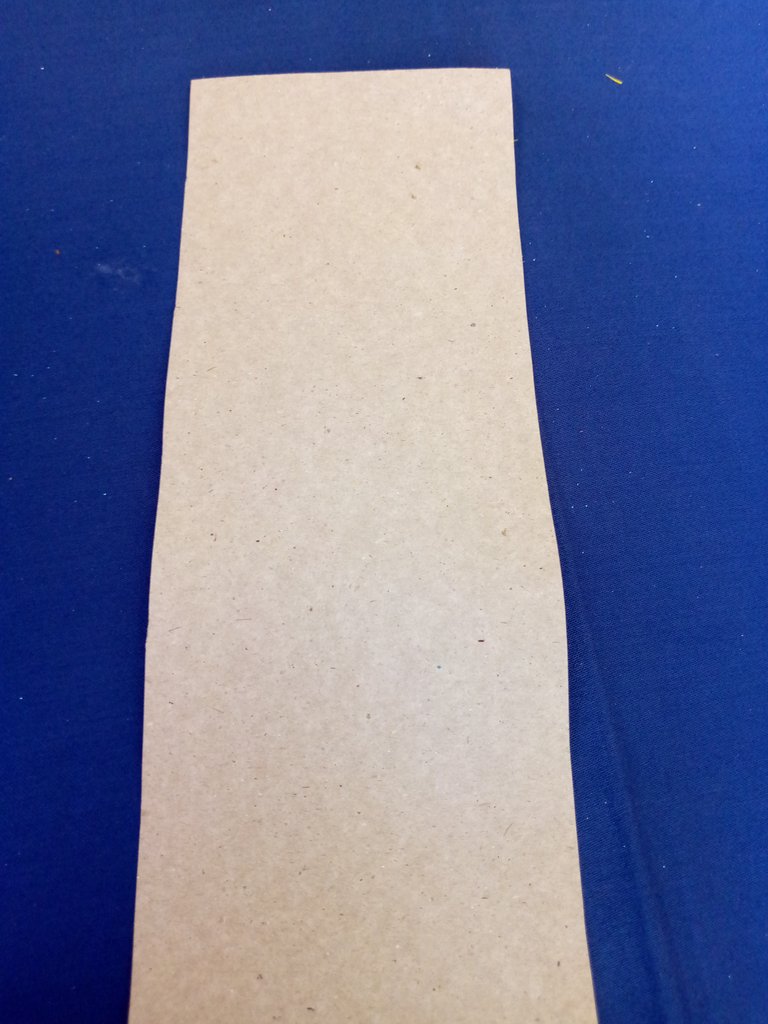
Con la cartulina dorada vamos a recortar de esta manera que quede un poco de espacio de ambos lados .


Luego de recortarla con la tijera la cartulina es una manera de ver de que distancia la queremos hacer .
Está cartulina va a cubrir todo la parte de abajo y de los lados laterales .
Pasó 4
Ahora tomamos el círculo del CD ya forrado y la cartulina y con silicón caliente vamos a ir agregando poco a poco y lo vamos a ir pegando de esta manera.
Pasó 5
Una vez ya lista la parte de la cartera que es prácticamente la estructura vamos a hacer esta forma con la misma cartulina y los mismo CD forman de esta manera la pequeña cartera

Pasó 6
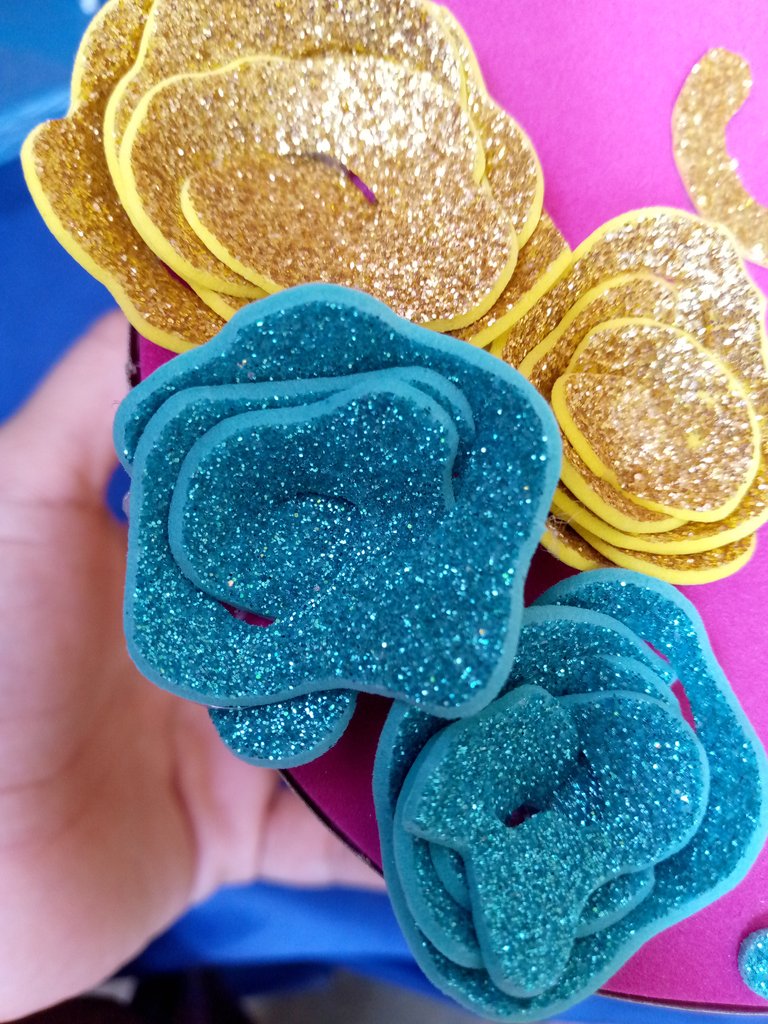
Ahora lo que haremos es despues de esto con el foamy escarchado verde hacemos unas pequeñas flores de modo a que primero marcamos y luego recortamos con la tijera en forma de circulos ondulados .

De modo que cuando se valla a hacer lo que tenemos que hacer es hacerle nada mas vueltas y solo eso para que asi pueda quedar de esta forma y al final solo vamos a ir agregando silicon pegar y ya esta lista esta es la forma en la me quedan las rosas .
Pasó 7
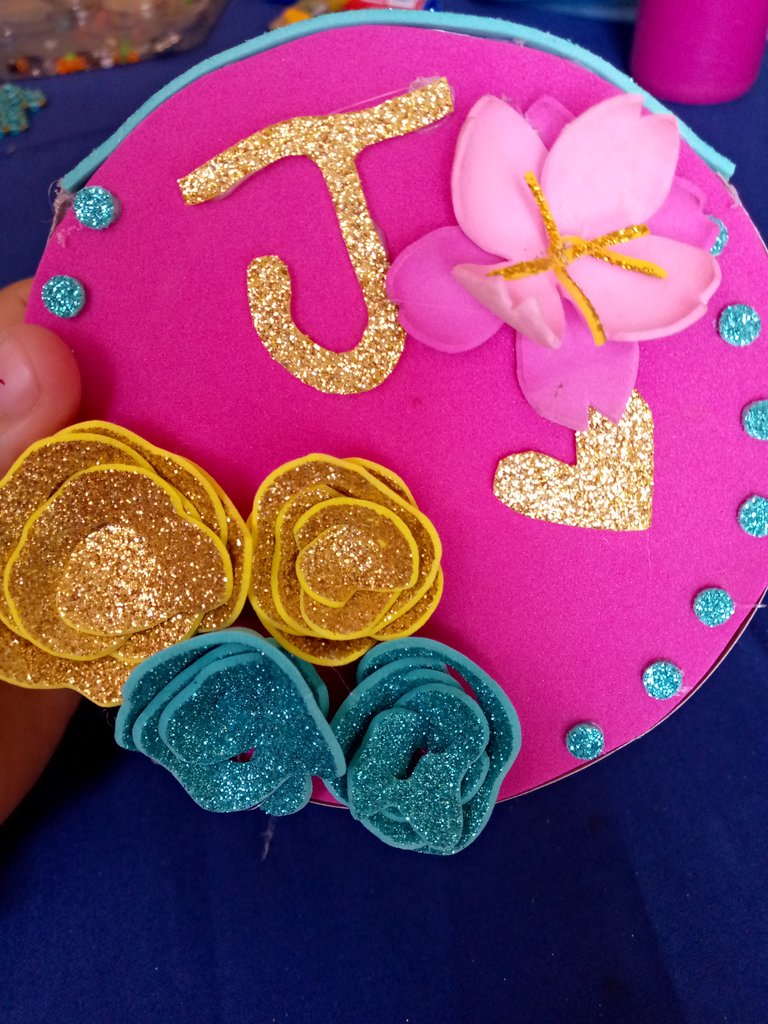
Luego de las flores con el foamy escarchado Dorado voy a hacer La Inicial de mi hija Joheisy porque esta cartera es especial para mi chiquita de la casa mi princesa que esta casi cerca de celebrar el dia del Niño .
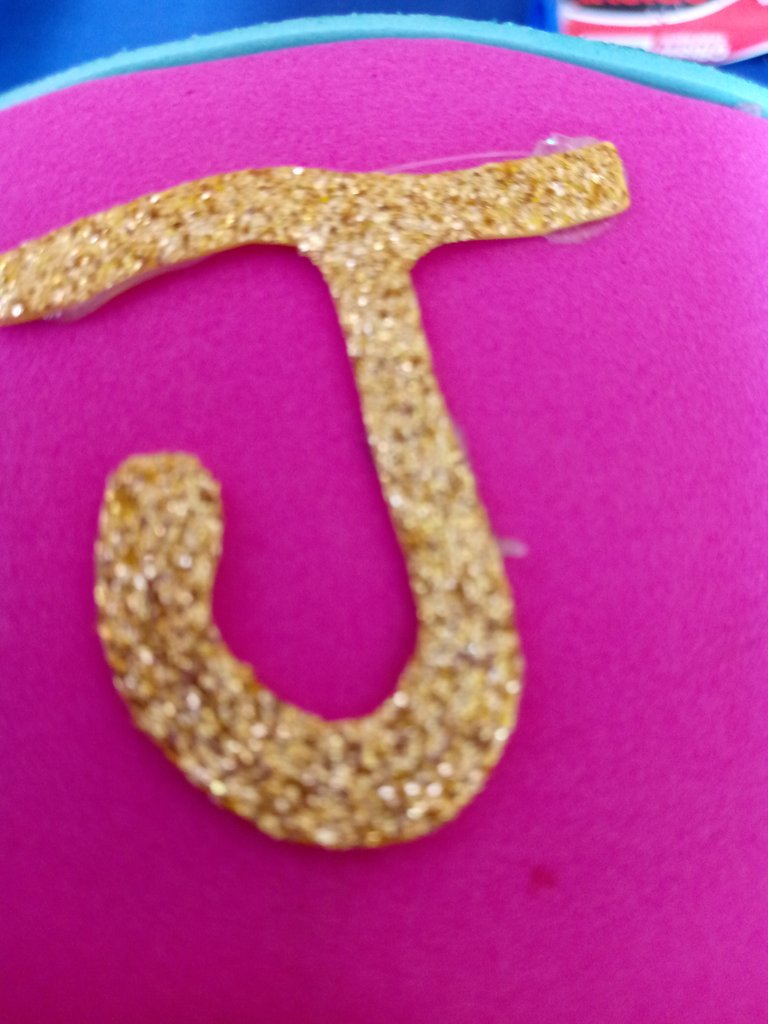
Solo dibujaremos la letra J en dado caso marcamos y luego recortamos y asi quedara de esta manera es muy facil porque solo marcas y recortas .
Pasó 8
Luego hacemos un corazon pequeño con el Foamy escarchado Dorado.

Esta es parte de la decoración.
Pasó 9
Ahora con el abre hueco solo hacemos pequeño circulos de esta manera para pegarlo alrededor de la cartera y es también parte de la decoración ya que es muy buna idea para asi darle un poco mas de color y forma a nuestra pequeña cartera de el dia del niño .


Pasó 10
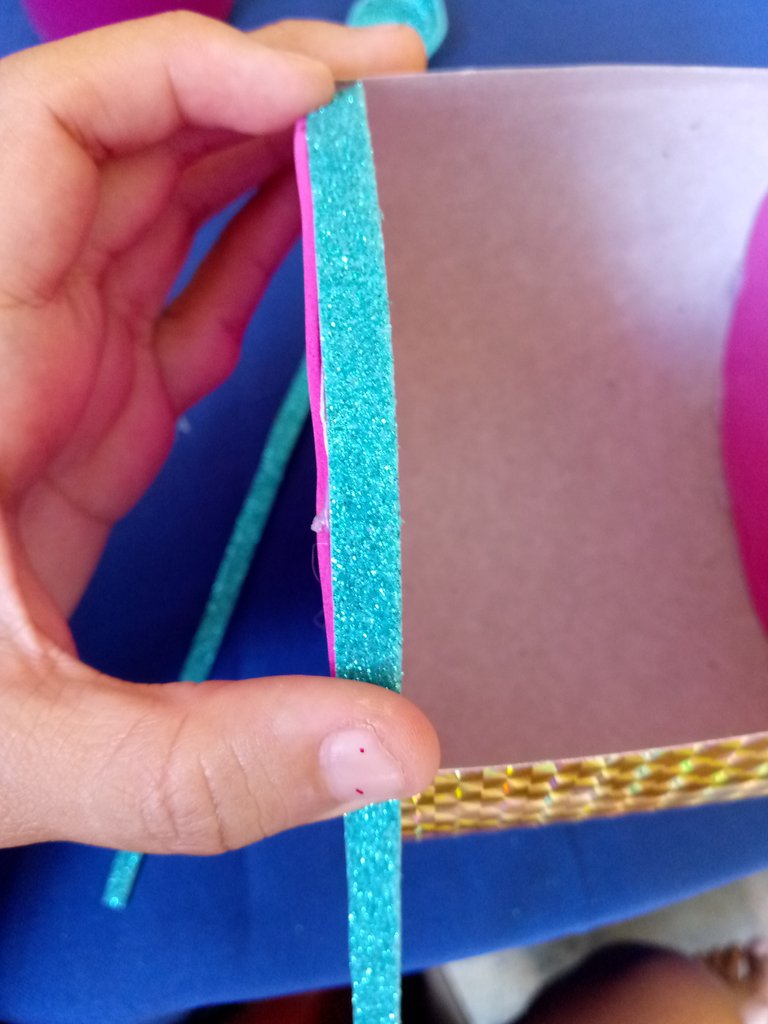
Ahora lo que vamos a hacer es cortar unas tiras y pegarlas alrededor de la parte de encima de la cartera esto es para cubrir la superficie desagradable de la cartera de este modo quedara .
Pasó 11
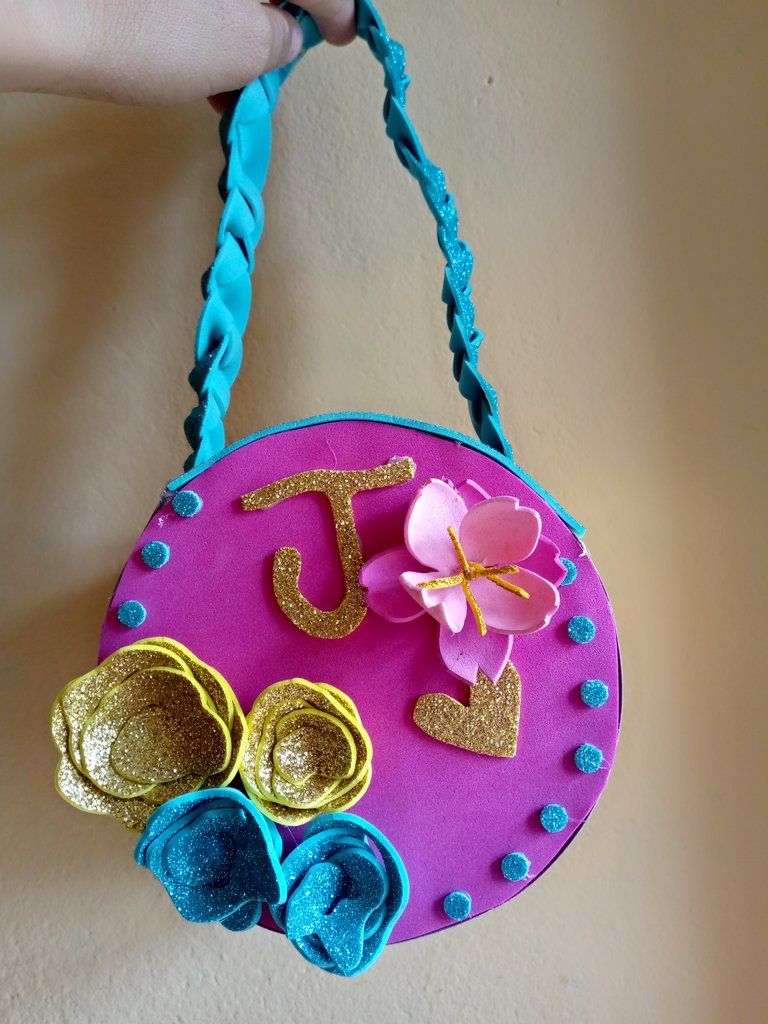
Luego solo nos tocara hacer parte de la tira para ponersela eh decidido ponersela de modo trensa y que quede un poco larga .
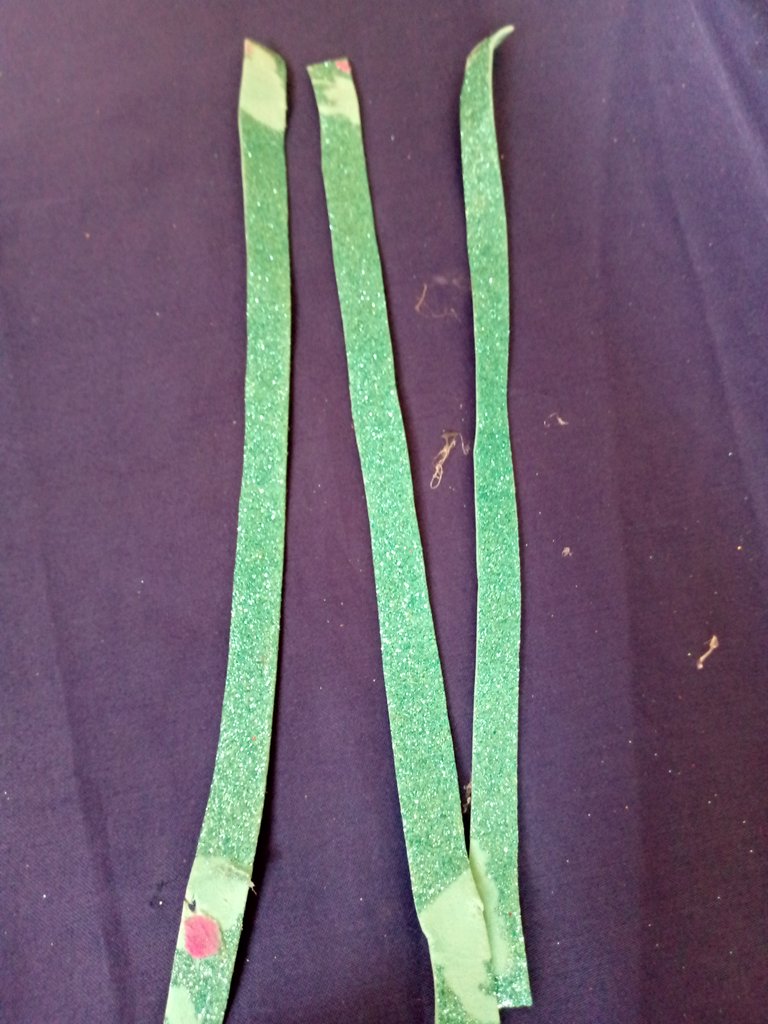
Este paso es muy facil solo debemos cortar tres tiras y pegar en las puntas las tres tiras .
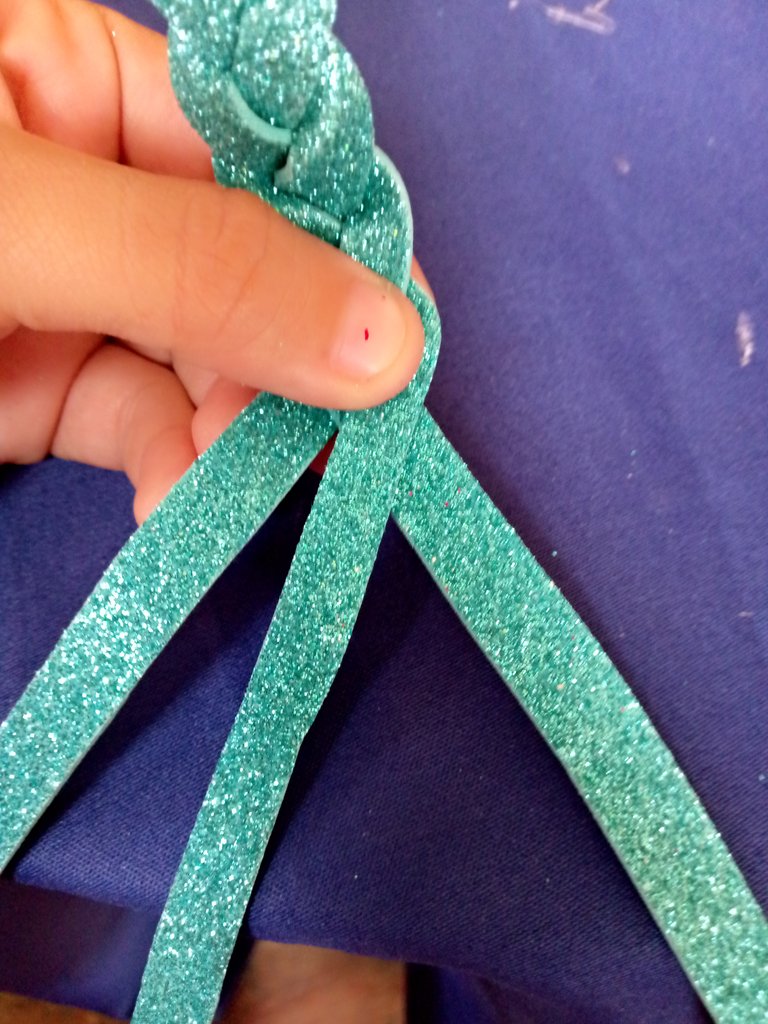
Y despues de todo esto vamos a hacer es tejer las tiras es en
forma de trenzas solo de un lado al otro con las tres tiras .


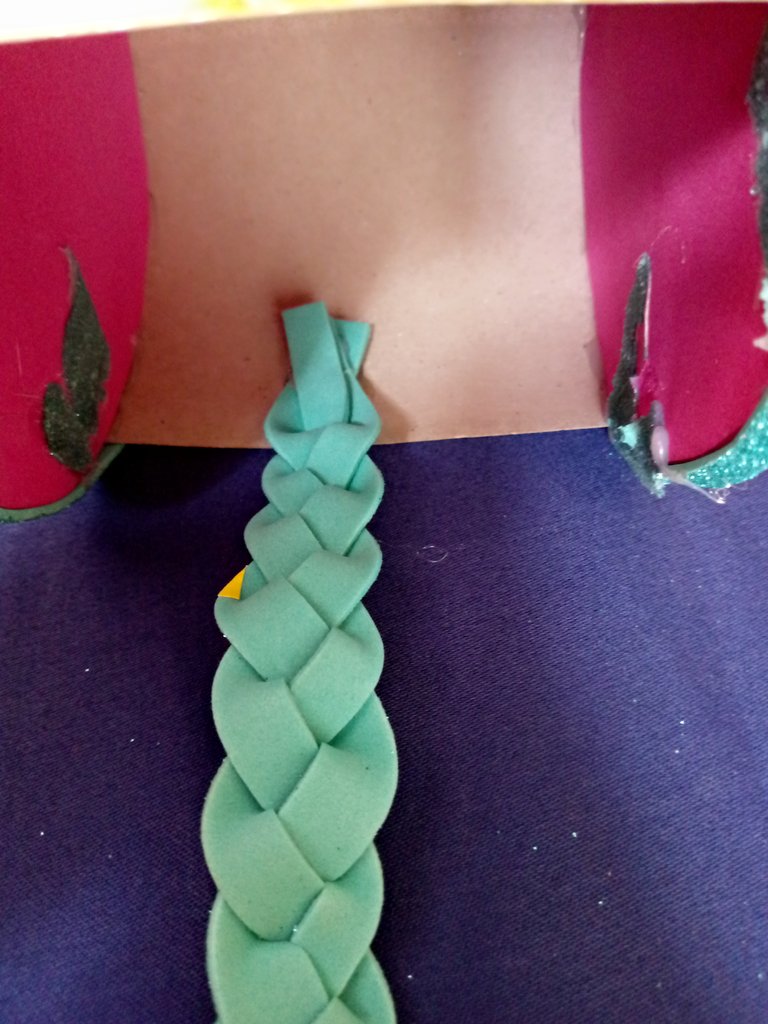
De esta manera quedará nuestra trenza para la cartera y después de con silicón solo vamos a pegar en los lados laterales y ya aquí tenemos nuestra hermosa Cartera.
Es bueno que antes de pegar todas las cosas quiero decir la parte de la decoración es importante siempre diluir mucho silicón para que así quede más pegado y no se valla a soltar el Foamy es muy delicado a la hora de trabajar .
Aqui tienen una maravillosa idea para un lindo y detalle regalo para ñas mas consentidas de mamas
Espero que está Hermosa Cartera sea de agrado para ustedes y sea de mucha alegría para mí pequeña en su día es un regalo
Espero sus comentarios y su apoyo bendiciones del Universo Con mucho cariño.
HASTA PRONTO
- Las fotos son de mi propiedad y fueron tomadas por mi teléfono tecno spark Go 2023
- Las fotos son editadas mediante la aplicación editor de fotos polish y los separadores en canva.
- Traductor Utilizado : Deelp traslater.
#Step by step, I will explain you how to make this wallet. First, you will need the following materials#
- Scissors
- Green Frosted Foamy
- Pink Frosted Foamy
- Gold Frosted Foamy
- Silicone
- Hole Opener
- Film Cd
- Golden Cardboard
Below is a brief explanation of our beautiful Children's Day Wallet
Now, let's start with the making of the wallet:
Step 1
We are going to take the pink Foamy and we are going to put two cd's like this next we are going to redial it and then after that .
With the scissors we are going to cut out the Foamy the two circles of the CD's so that we can cover it and this way it will look a little more decent.
Step 2
Now what we will do is with the silicone glue it on the front and the back.
This will look like this and we must take into account that the silicone should always be added a lot.
Step 3
With the golden cardboard we are going to cut out a little bit of space on both sides.
After cutting out the cardboard with the scissors, it is a way to see how far apart we want to make it.
This cardboard will cover all the bottom and sides.
Step 4
Now we take the CD circle already lined and the cardboard and with hot silicone we are going to add it little by little and we are going to glue it in this way.
Step 5
Once the part of the wallet is ready, which is practically the structure, we are going to make this shape with the same cardboard and the same CD's to form the small wallet
Step 6
Now what we will do is after this with the green frosted foamy we make some small flowers so that first we mark and then we cut with the scissors in the form of wavy circles.
So when we are going to make it, what we have to do is to do nothing more turns and only that so that it can be this way and at the end we are only going to add silicone glue and it is ready, this is the way the roses look like.
Step 7
After the flowers with the gold frosted foamy I'm going to make my daughter Joheisy's initial because this wallet is special for my little princess who is almost ready to celebrate Children's Day.
We will only draw the letter J in this case we mark it and then cut it out and this way it will be very easy because you just mark and cut it out.
Step 8
Then we make a small heart with the gold frosted Foamy.
This is part of the decoration.
Step 9
Now with the hole opener we just make small circles in this way to stick it around the wallet and it is also part of the decoration as it is a very good idea to give a little more color and shape to our little wallet for the children's day.
Passed 10
Now what we are going to do is cut some strips and glue them around the top of the wallet. This is to cover the unpleasant surface of the wallet so it will look like this.
Step 11
Then we just have to make part of the strip to put it on, I decided to put it on a little tight so that it is a little long.
This step is very easy we just need to cut three strips and glue the three strips at the ends.
And after all this we are going to do is weave the strips in the form of braids on one side only.
braids only from one side to the other with the three strips .
This is how our braid for the wallet will look like and after using silicone we will only glue on the lateral sides and here we have our beautiful wallet.
It is good that before gluing all the things I mean the part of the decoration it is important to always dilute a lot of silicone so that it is more glued and not valla to loosen the Foamy is very delicate when working.
Here is a wonderful idea for a nice gift idea for the most spoiled of moms
I hope this beautiful wallet is to your liking and will be of much joy for my little one on her day is a gift
I look forward to your comments and support blessings from the Universe with love.
SEE YOU SOON
- Photos are my property and were taken by my tecno spark Go 2023 phone.
- Photos are edited using polish photo editor app and separators in canva.
- Translator Used : Deelp traslater.
😍 I would love to be a girl to have a bag like this, I am in love with this style of bags, I like your creativity, thanks for sharing.💖
This bag is so beautiful, I wish I could have one for myself.
Thanks for sharing this lovely piece of creativity @yanetzi1
Quedó super lindo! bien mono! me encanta 😍
Aaaaaaaa, que carterita tan hermosa😍 Que gran creatividd la tuya. Verla me trajo muchos recuerdos, de pequeña me regalaron una y cuando se dañó me negué a que la botaran por lo mucho que me gustaba la carterita jajaja. Es un regalo fantastico.
Saludos!
A nice detail to give as a gift on children's day, you got it very flirtatious. Thanks for sharing in our community ✨. // Un lindo detalle para obsequiar en el dia del niño, te quedo muy coqueta. Gracias por compartir en nuestra comunidad ✨
Que linda te quedo la carterita. Excelente para dar un detalle especial el día del niño. Gracias por compartir tu paso a paso @yanetzit ✨
!DIY
Muchas gracias amiga excelente exitos
You can query your personal balance by
!DIYSTATS