[Eng/Esp] Drawing and coloring a duck/ Dibujando y coloreado a un pato
English Version
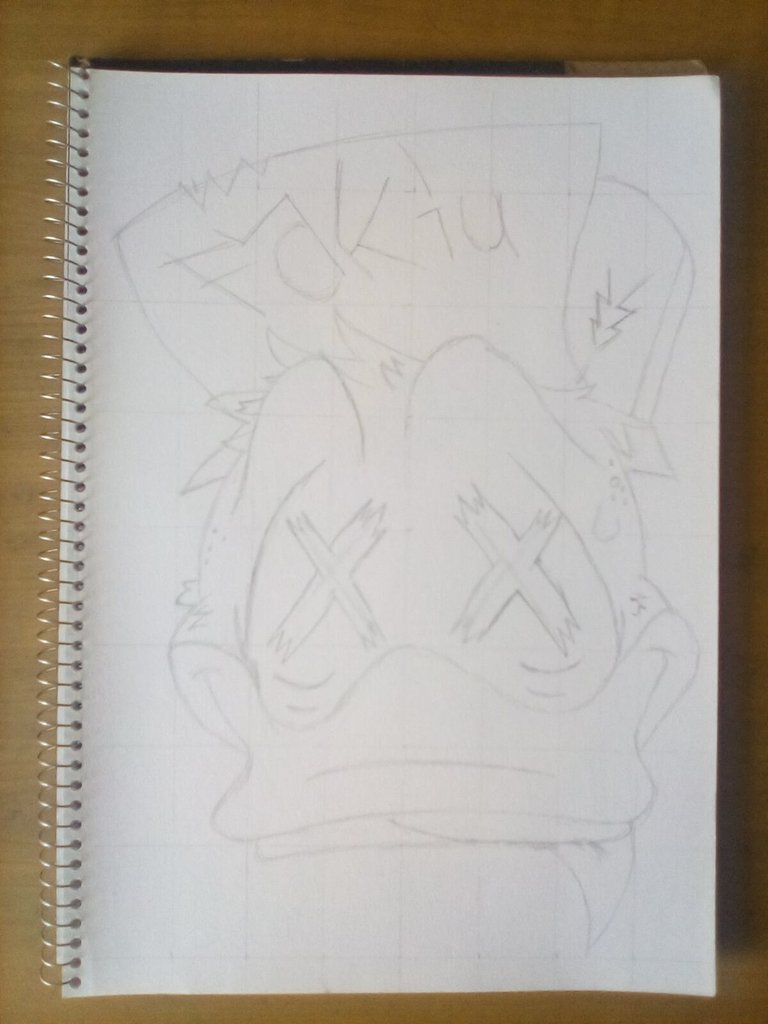
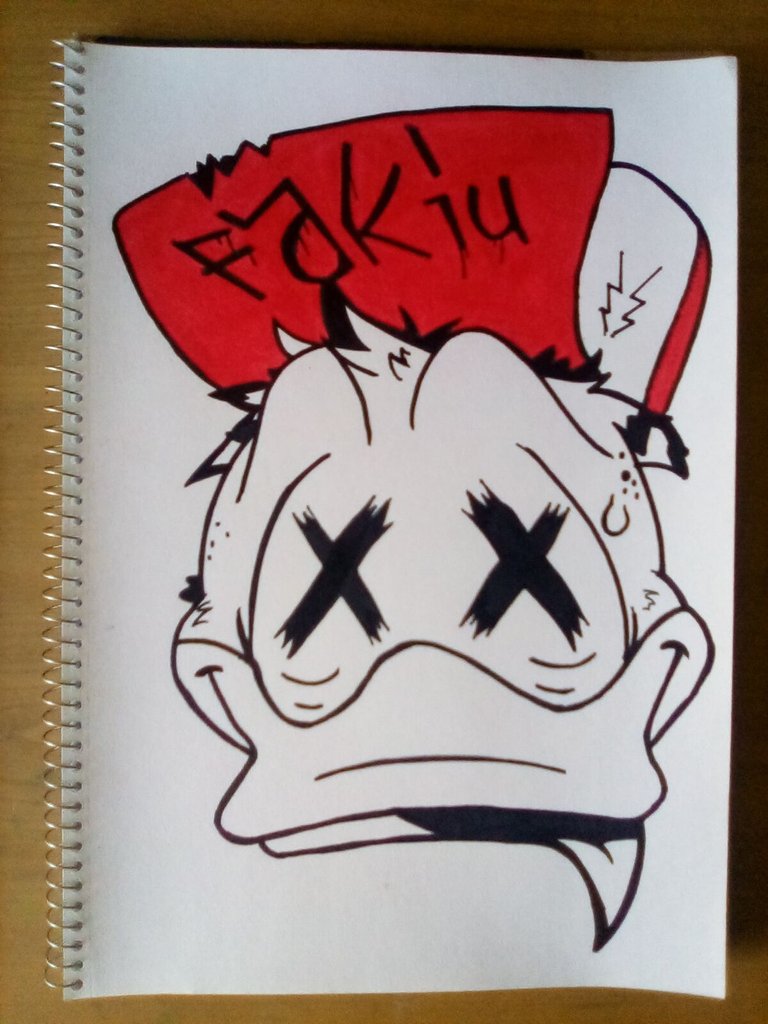
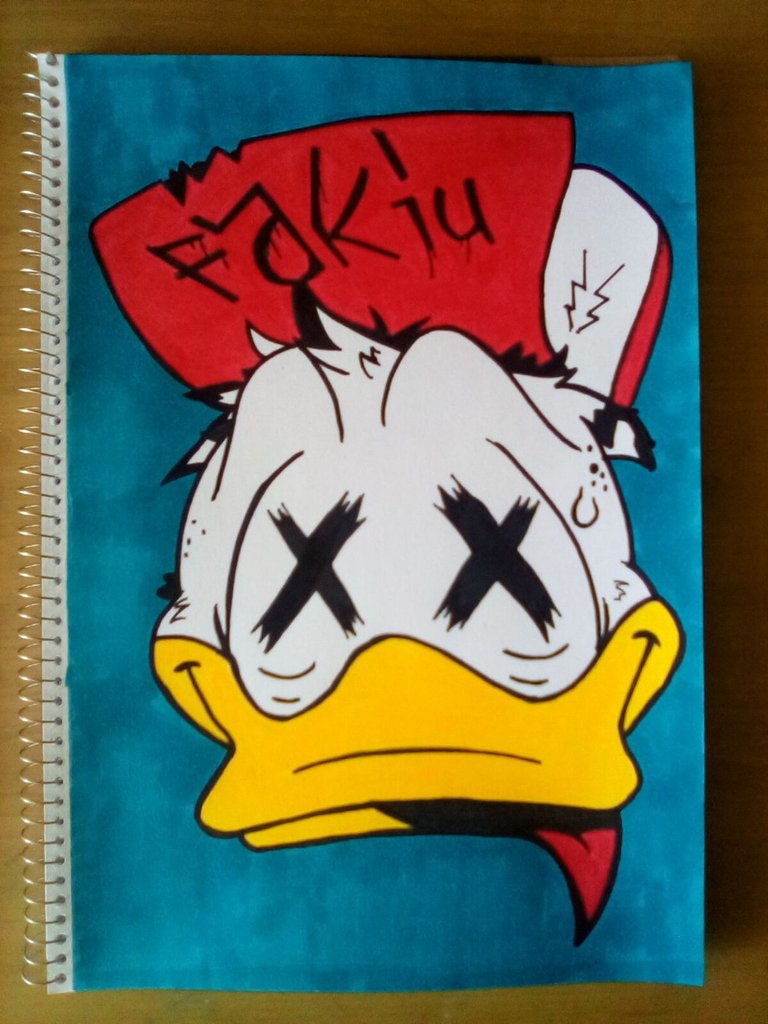
We are not going to do the whole body but only the face of a duck that we are going to make. For this drawing we will start with the elaboration of the sketch by using the grid technique, which will facilitate the work and save us time. Once we have done the above, we proceed with the stylograph to highlight the lines already drawn, and with the help of an eraser we remove all the graphite. We use the stylograph again, as well as markers, to give the effect of thickness to the lines, and on the other hand, shadows.
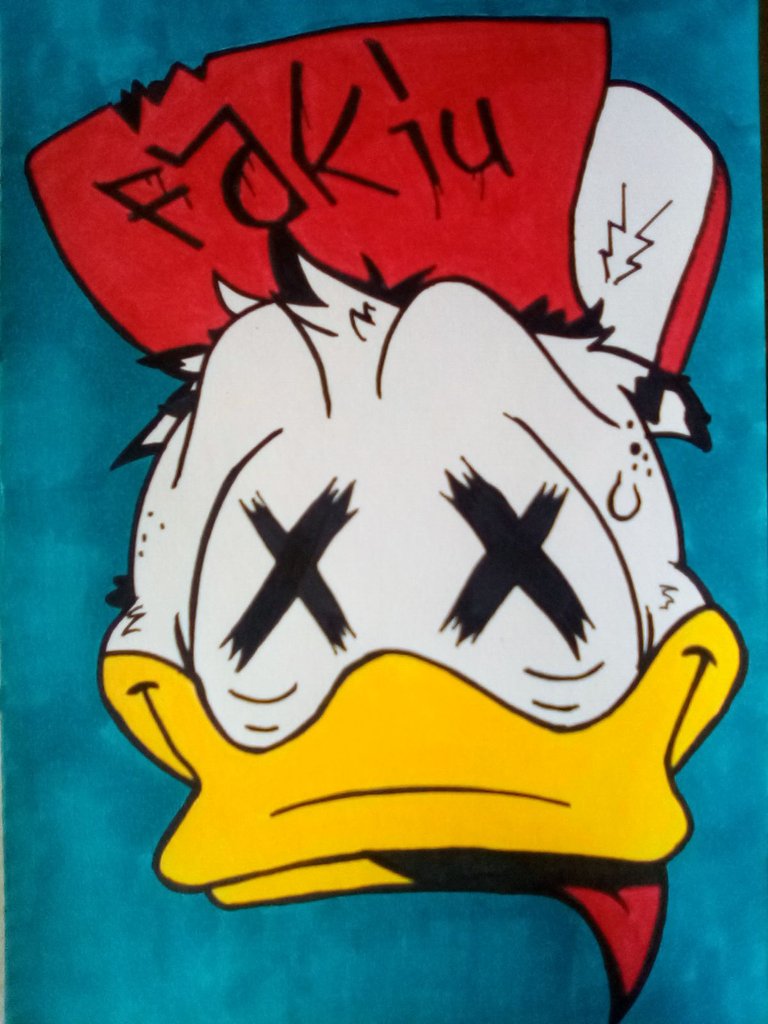
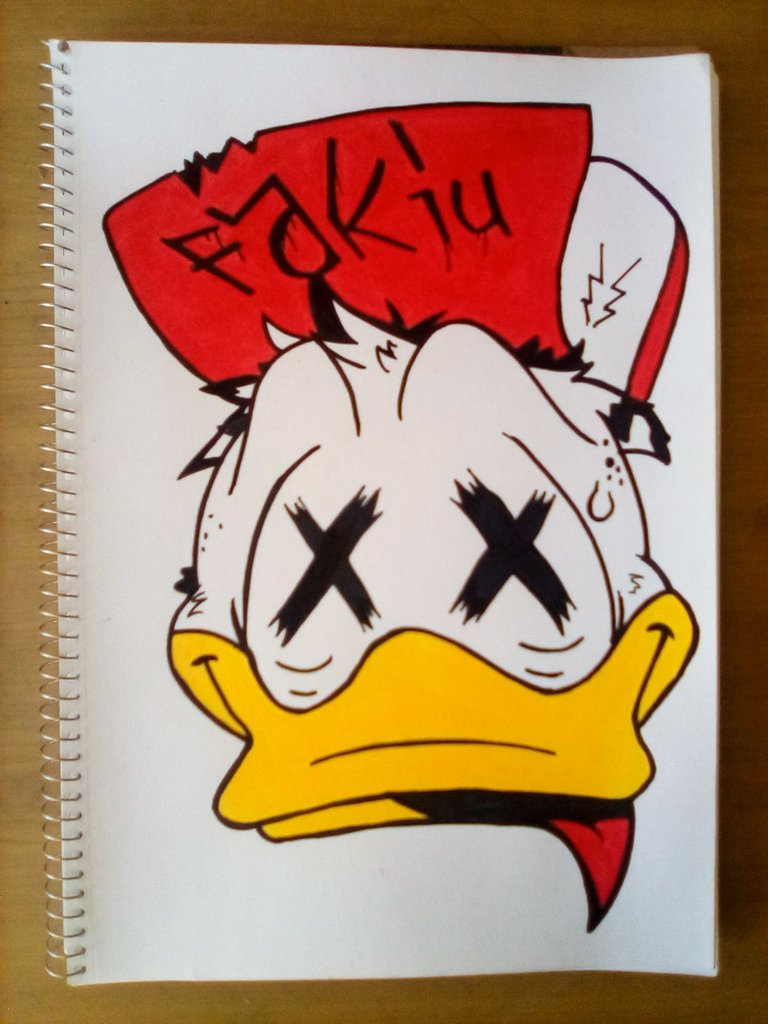
From here we will start painting: the cap will have a raspberry color (I had to use a combination of red and pink for it). The beak, yellow. And finally, the background will be light blue.
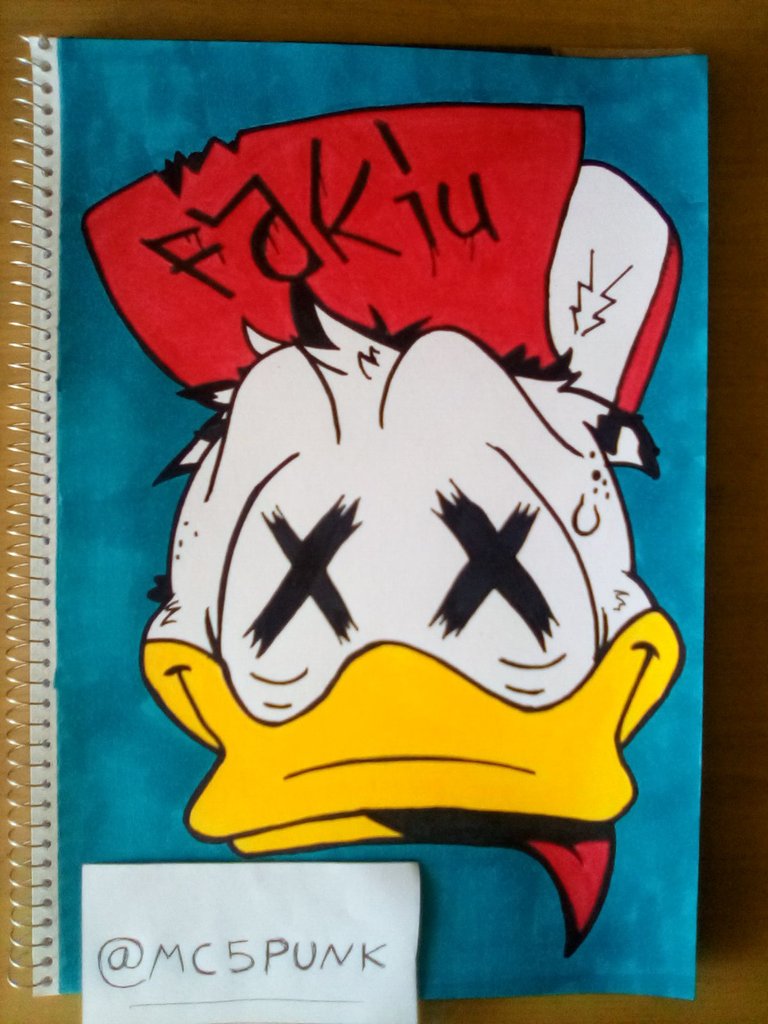
And that's it! We are done with our work 😃 What do you think? 😁
I hope this will motivate you to do it. And remember that you can comment at the end of this post, I'll be reading them and giving feedback. I also appreciate all the support received from all of you.
Without more to say I'll see you in a next installment.
Until then 😎👍.
Materials used:
- Cardboard.
- Eraser.
- Paintbrush.
- Pencil sharpener.
- HB pencil.
- Stylus pen.
- Crayola school colored pencils.
Source of the images
Images captured with my Amazon Fire 8 tablet.
Versión en Español
No va a hacer todo el cuerpo sino tan sólo el rostro de un pato que vamos a realizar. Y es que para este dibujo comenzaremos con la elaboración del boceto al usar la técnica del cuadriculado, la cual nos facilitará el trabajo y nos ahorrará tiempo. Una vez hecho lo anterior, procedemos con el estilografo para remarcar las líneas ya trazadas, y con la ayuda de un borrador retiramos todo el grafito. Volvemos a usar el estilografo, además de marcadores, para dar el efecto de grosor a las líneas, y por otra parte, sombras.
A partir de acá comenzaremos tan sólo a pintar: el gorro tendrá color frambuesa (para el tuve que usar la combinación entre rojo y rosado). El pico, amarillo. Y por último, el fondo será azul claro.
Y listo! Hemos concluido con nuestro trabajo 😃 Que les parece? 😁
Espero que esto les sirva de motivación para hacerlo. Y recuerden que pueden comentar al final de esta publicación, los estaré leyendo y dando respuesta. También agradezco todo el apoyo recibido por parte de todos ustedes.
Sin más que decir nos vemos en una próxima entrega.
Hasta entonces 😎👍
Materiales usados:
- Cartulina.
- Borrador.
- Brocha.
- Afilador de lápiz.
- Lápiz HB.
- Estilografo.
- Lápices de colores escolares Crayola.
Fuente de las imágenes
Imágenes capturadas con mi tableta Amazon Fire 8.


Nice draw ✨
Thanx 😄