🌈Lindo Portaretrato para el Día de las Madres✨Cute Portrait for Mother's Day🌈
(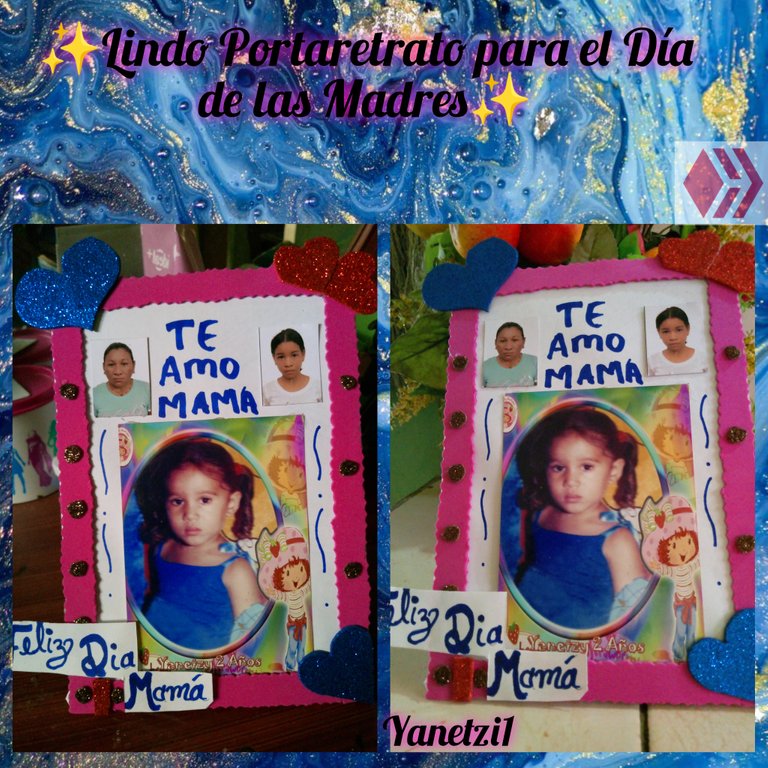
El día de las madres es una motivación para seguir brindando a todos esas mujeres Guerreras y luchadoras siempre unos detalles hermosos como lo son ellas .
Los materiales utilizados en la elaboración del portaretrato femenino Día de las madres Fueron los siguientes:
Materiales
- Cartón
- tijeras
- papel
- Foami Azul rosado rojo y marrón
- silicon
- Lapicero
Como hacerlo
Paso 1
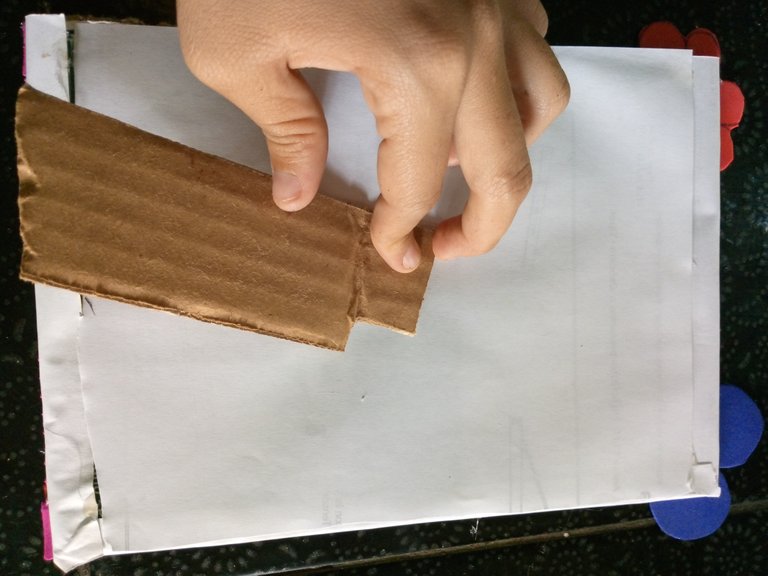
Lo primero que vamos a hacer es remarcar con un lapicero el tamaño del cartón de que altura máxima .
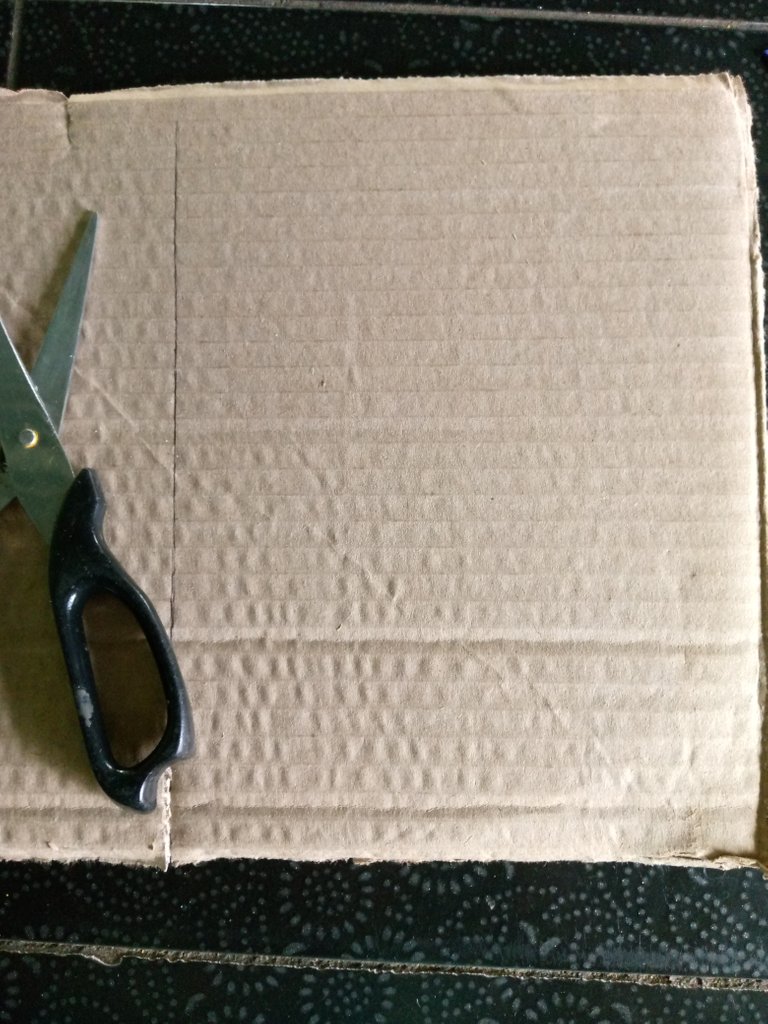
De altura tiene 18 cm y de ancho tiene 10 cm .
Paso 2
Ahora lo siguiente es recortar con la tijera el cartón y así debe quedar de modo .
Paso 3
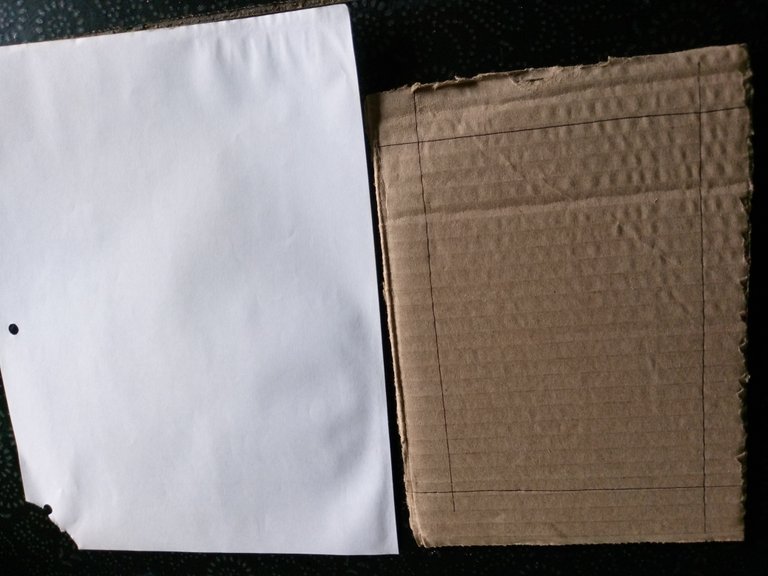
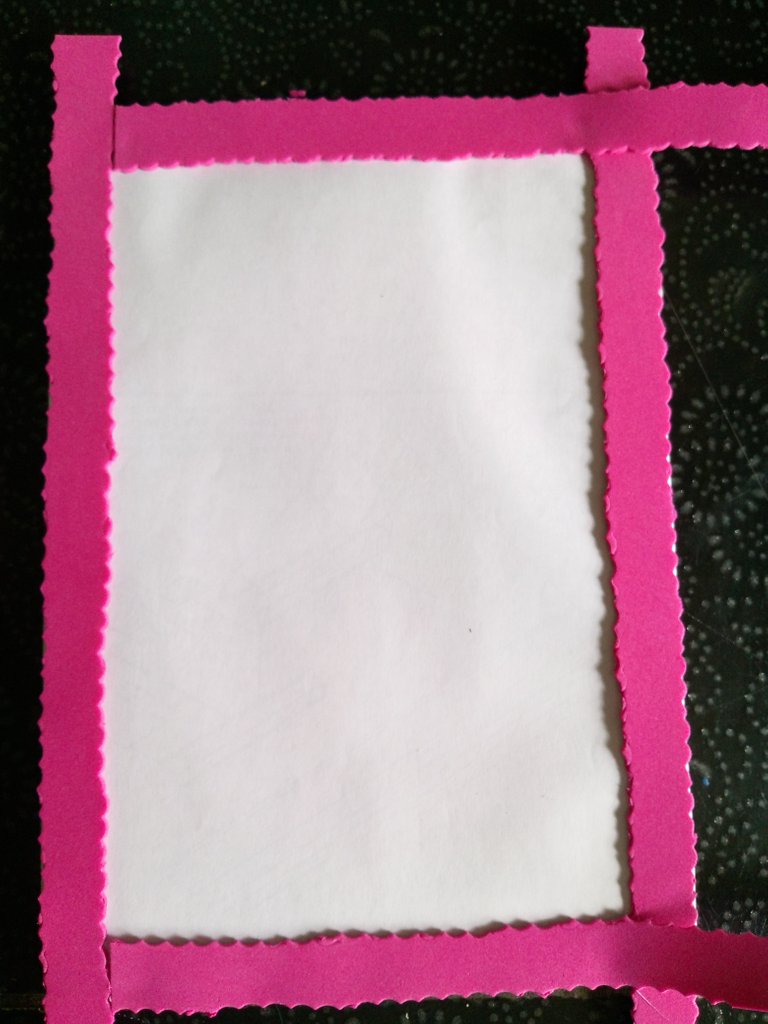
Ahora con papel lo tomamos y lo pegamos en el cartón después de haberlo pegado lo vamos doblando las partes que quedaron sobrando y lo pegamos por la parte de atrás .
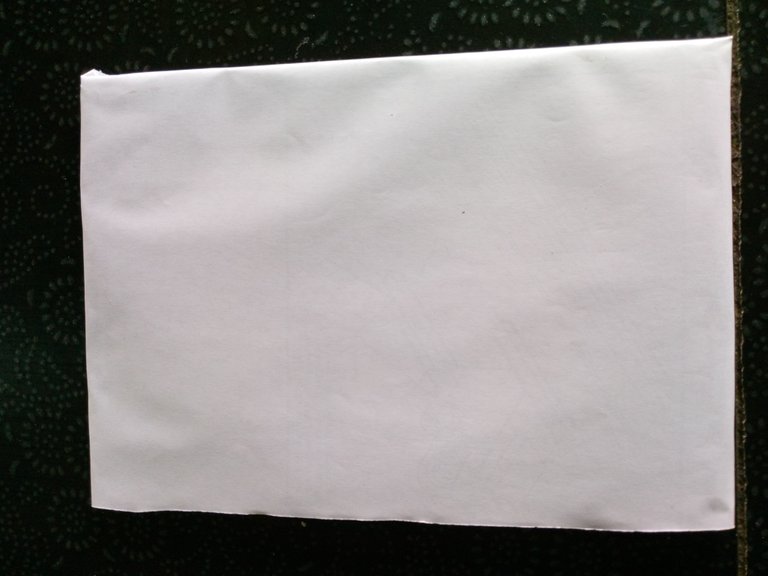
Así vamos hacer tambien Por la parte de atrás del portaretrato eso es para que quede todo forrado y pues no se vea tan mal es como un papel decorativo .
Es muy importante tener que hacer siempre estos pasos porque así debe quedar un poco más limpio y delicado también le da un poco de elegancia.
Paso 4
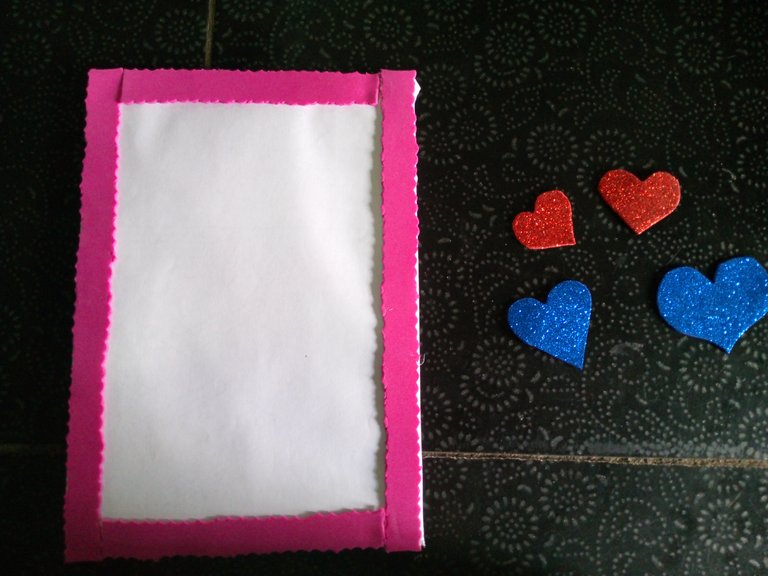
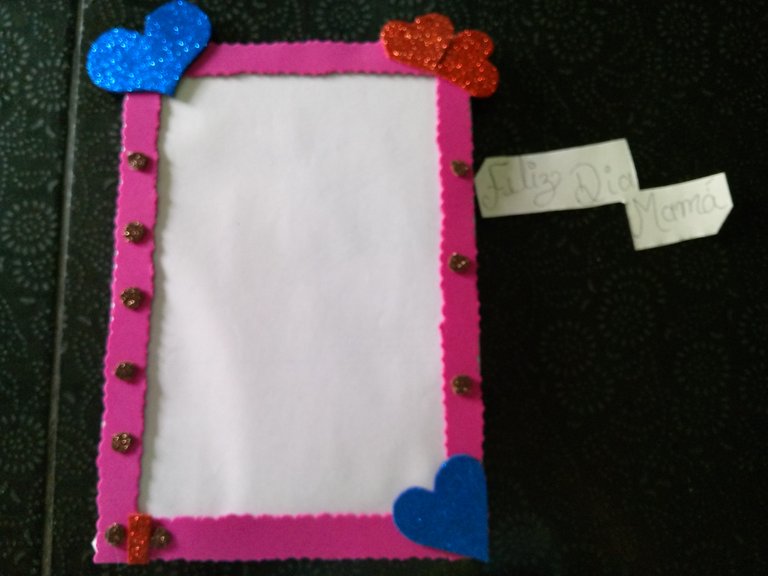
Ahora lo siguiente que haremos es tomar el foami rosado y con la tijera de forma recortada varias tiras exactas para así forrar la parte externa del portaretrato .

Así deben quedar las cuatro tiras de 2 cm de ancho y 18 de largo .
Paso 5
Ahora tomamos con silicón y poco a poco vamos pegando las cuatro tiras de esta manera quedará el portaretrato así ya está un poco más adelantado .
Paso 6
- Con los Foamy azul rojo y Marron.
- Con el Azul formaremos Corazones
- Con el Rojo formaremos Corazones y un cuadro chiquito.
- Con el Marrón unos Círculos pequeños.
Paso 7
- Los dos corazónes azules van pegado en las partes de las esquina derecha y de la izquierda.

- Los Corazones rojos van juntos pegado en la otra esquina izquierda y el cuadro rojo pequeño viseversa de igual manera .
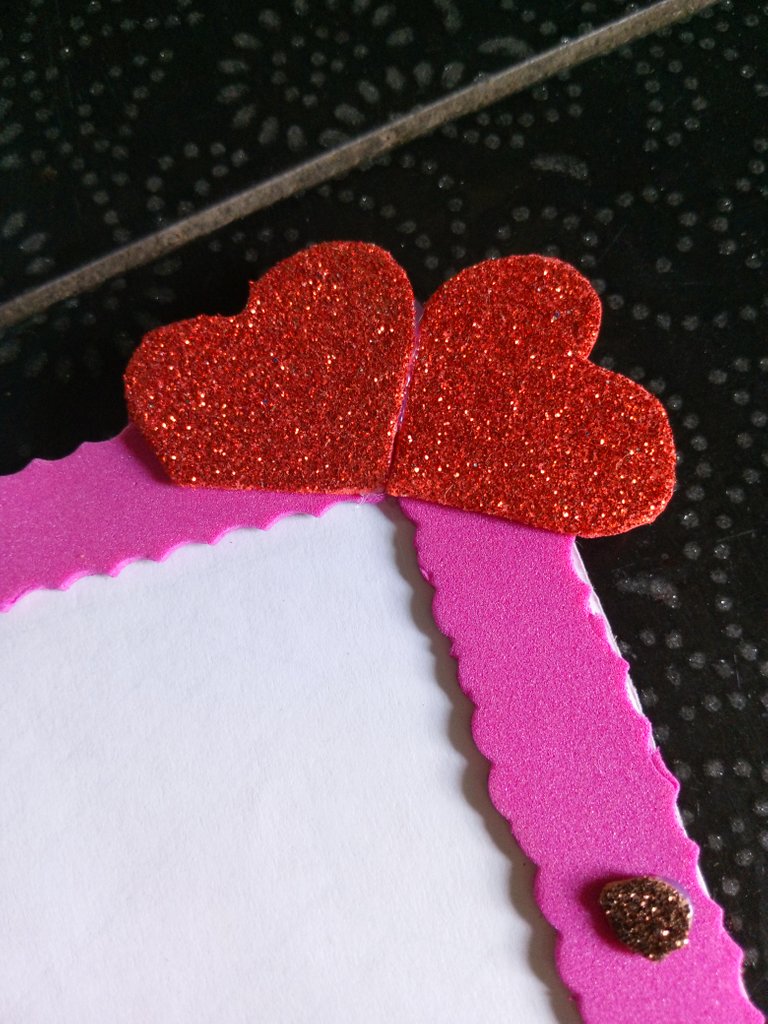
- Los círculos marrones van pegados en las partes laterales del portaretrato.
Paso 8
Una vez ya todo listo lo que tenemos que hacer es por la parte de atrás del portaretrato pegaremos un pequeño carton que formara la parte estable del portaretrato y este permitirá que se sostenga y quede uniformemente .

Paso 9
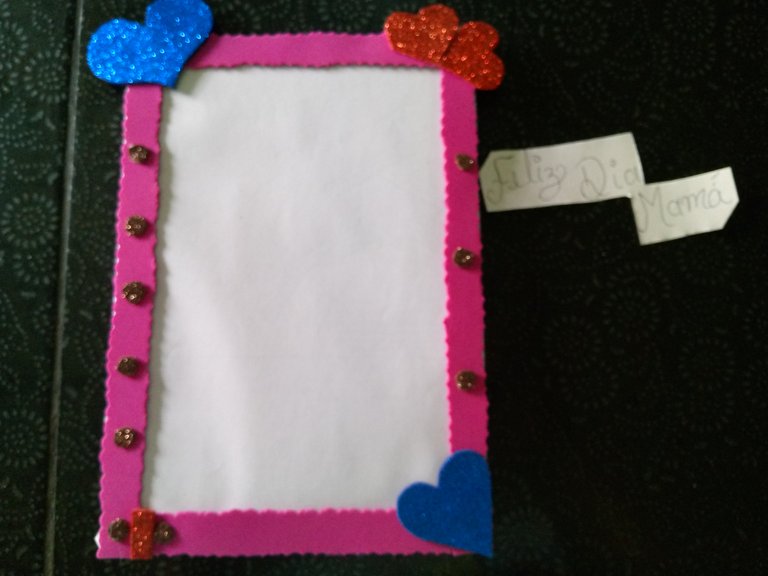
Después de tener ya todo listo finalmente con un pedazo de hoja y un marcador firmaremos el Feliz Dia de las Madres .
Paso 10
Y este lo pegaremos en cualquier parte del portaretrato y poner la foto indicada en mi casa quise poner una foto mia cuanfo estaba pequeña y dos actuales una de mi hermana y la otra de mi madre querida.
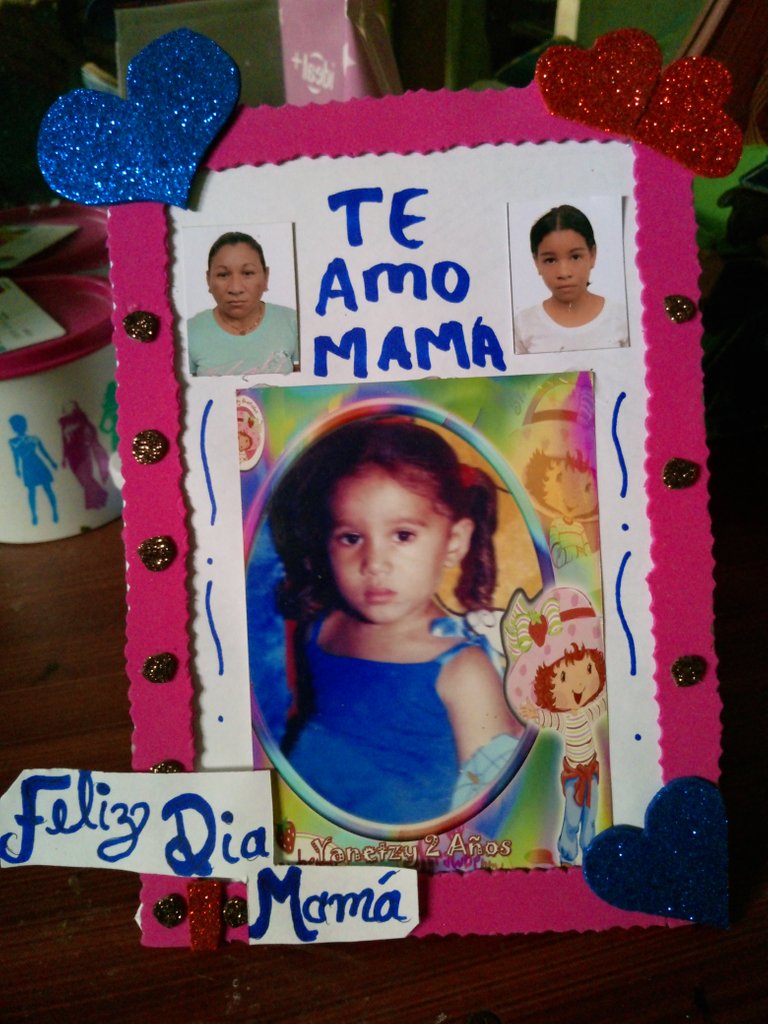
Bueno mis Queridos Lectores aquí está nuestro portaretrato de feliz día de las madres muy fácil de hacer y pues una manera de tener un detalle con esas madres que se merecen todo lo bello de la vida .
Espero que les guste y sea de agrado para todos ustedes espero sus comentarios un Abrazo y que El Dios del Universo les Bendiga siempre.
!HASTA PRONTO!
Las fotos son de mi propiedad y fueron tomadas por mi teléfono tecno pop.
Las fotos son editadas mediante la aplicación editor de fotos polish y los separadores fueron editados en canva.
Traductor utilizado: Deelp traslater traductor.
Mother's Day is a motivation to continue giving to all those women warriors and fighters always beautiful details as they are.
The materials used in the elaboration of the Mothers' Day women's picture frame were the following:
Materials
- Cardboard
- scissors
- paper
- Foami blue, pink, red and brown
- silicone
- pencil
How to do it
Step 1
The first thing we are going to do is to mark with a pencil the size of the cardboard of which maximum height .
The height is 18 cm and the width is 10 cm .
Step 2
Now the next step is to cut the cardboard with the scissors and it should look like this.
Step 3
Now we take the paper and glue it to the cardboard. After gluing it, we fold the parts that are left over and glue it on the back.
This is also how we are going to do it. For the back of the picture frame, this is so that it is all lined and it doesn't look so bad, it's like a decorative paper.
It is very important to always have to do these steps because it should be a little cleaner and delicate also gives it a bit of elegance.
Step 4
Now the next thing to do is to take the pink foami and with the scissors cut out several exact strips to line the outside of the picture frame.
The four strips should be 2 cm wide and 18 cm long.
Step 5
Now we take with silicone and little by little we glue the four strips in this way will be the picture frame so it is already a little more advanced.
Step 6
- With the blue, red and brown Foamy.
- With the Blue we will form Hearts
- With the Red we will form Hearts and a small square.
- With the Brown we will form small circles.
Step 7
- The two blue hearts are glued in the right and left corners.
- The red hearts are glued together in the other left corner and the small red square viseversa in the same way.
- The brown circles are glued on the sides of the picture frame.
Step 8
Once everything is ready, what we have to do is to glue a small piece of cardboard on the back of the picture frame that will form the stable part of the picture frame and this will allow it to be held evenly.
Step 9
After having everything ready, finally with a piece of paper and a marker we will sign the Happy Mother's Day.
Step 10
And this we will paste it anywhere in the picture frame and put the photo indicated in my house I wanted to put a picture of me when I was little and two current one of my sister and the other of my beloved mother.
Well my Dear Readers here is our happy mother's day picture frame very easy to make and a way to have a detail with those mothers who deserve everything beautiful in life.
I hope you like it and I hope you all like it and I look forward to your comments, a hug and may the God of the Universe bless you always.
SEE YOU SOON!
Photos are my property and were taken by my techno pop phone.
The photos are edited using polish photo editor app and the separators were edited in canva.
Translator used: Deelp translator translator.
This post has been manually curated by @steemflow from Indiaunited community. Join us on our Discord Server.
Do you know that you can earn a passive income by delegating to @indiaunited. We share more than 100 % of the curation rewards with the delegators in the form of IUC tokens. HP delegators and IUC token holders also get upto 20% additional vote weight.
Here are some handy links for delegations: 100HP, 250HP, 500HP, 1000HP.
100% of the rewards from this comment goes to the curator for their manual curation efforts. Please encourage the curator @steemflow by upvoting this comment and support the community by voting the posts made by @indiaunited.
It's a great technique to capture memories beautifully in a frame, well done.
Sometimes this method is great for displaying some old memories, you have shared a great way to display a loved one's smile or memory.
Congratulations @yanetzi1! You have completed the following achievement on the Hive blockchain And have been rewarded with New badge(s)
Your next target is to reach 3250 upvotes.
You can view your badges on your board and compare yourself to others in the Ranking
If you no longer want to receive notifications, reply to this comment with the word
STOPCheck out our last posts:
Support the HiveBuzz project. Vote for our proposal!