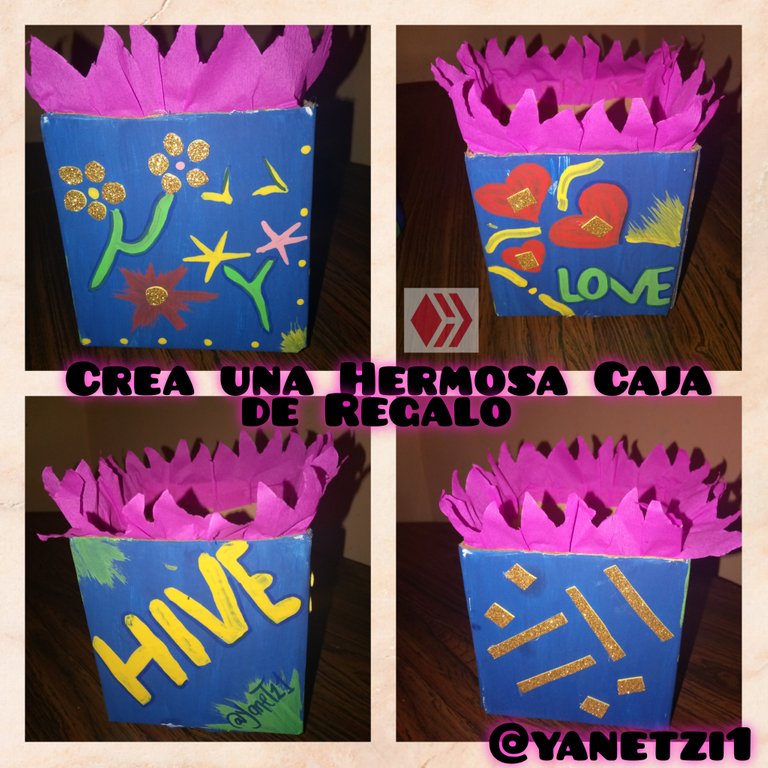
🎁CREA UNA HERMOSA CAJA DE REGALO 🎁🎁CREATE A BEAUTIFUL GIFT BOX 🎁
Hola Mi creativa Comunidad de Hive un Cordial saludo para toda mi gente bonita espero que Estén muy bien agradecida con Dios de seguir publicando para todos ustedes llena de alegría ideas y mucha creatividad siempre dándole las gracias a todas las personas que me han apoyado aquí les estaré presentando una Caja muy linda llamada Crea una Caja hermosa a tu Gusto .
Está caja en realidad es una idea que se me vino a la cabeza porque a mí hermana le gusta guardar cosas como pulsera collares o incluso marcadores reglas infinitas cosas .
Bueno aquí les estaré mostrando los materiales utilizados en la elaboración de la caja .
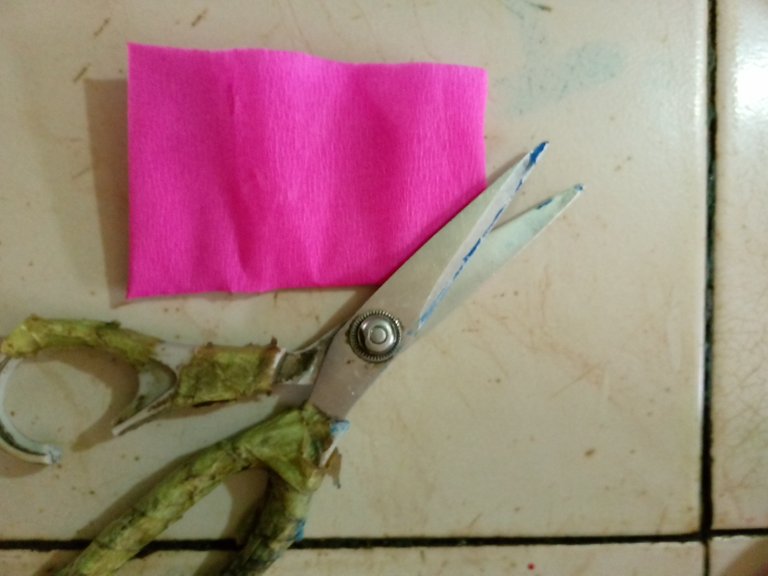
- Tijera
- Foamy escarchado Dorado
- Silicón
- papel crepé
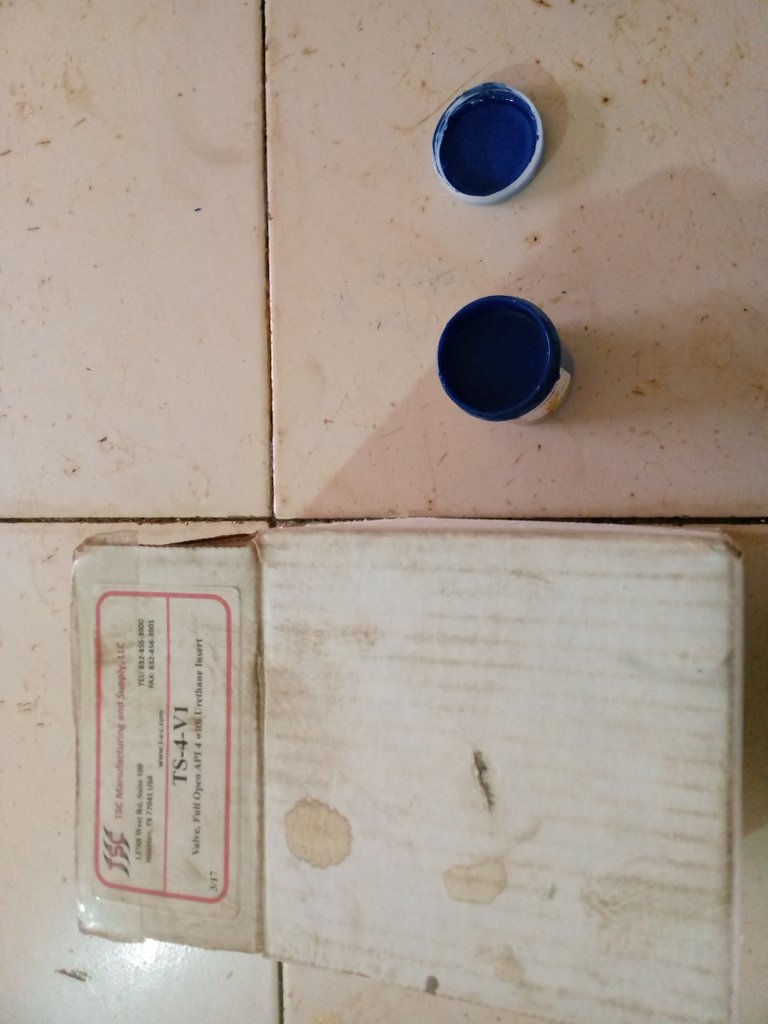
- Pinturas al Frío azul rojo rosado verde amarillo
- Pincel
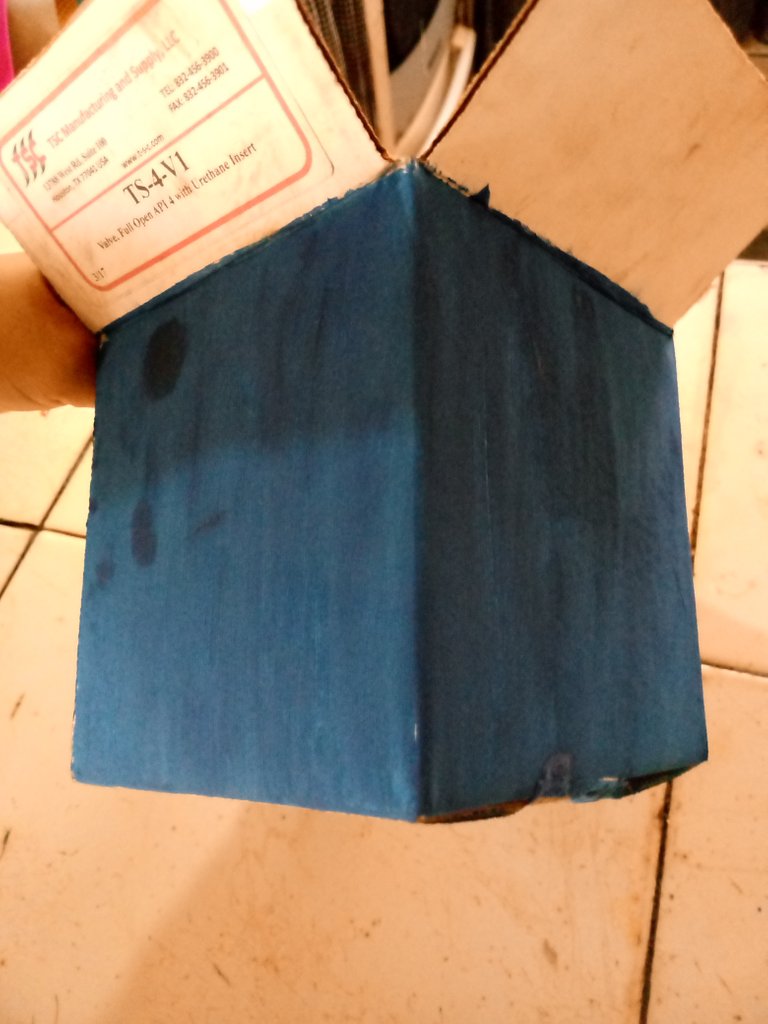
- Caja pequeña
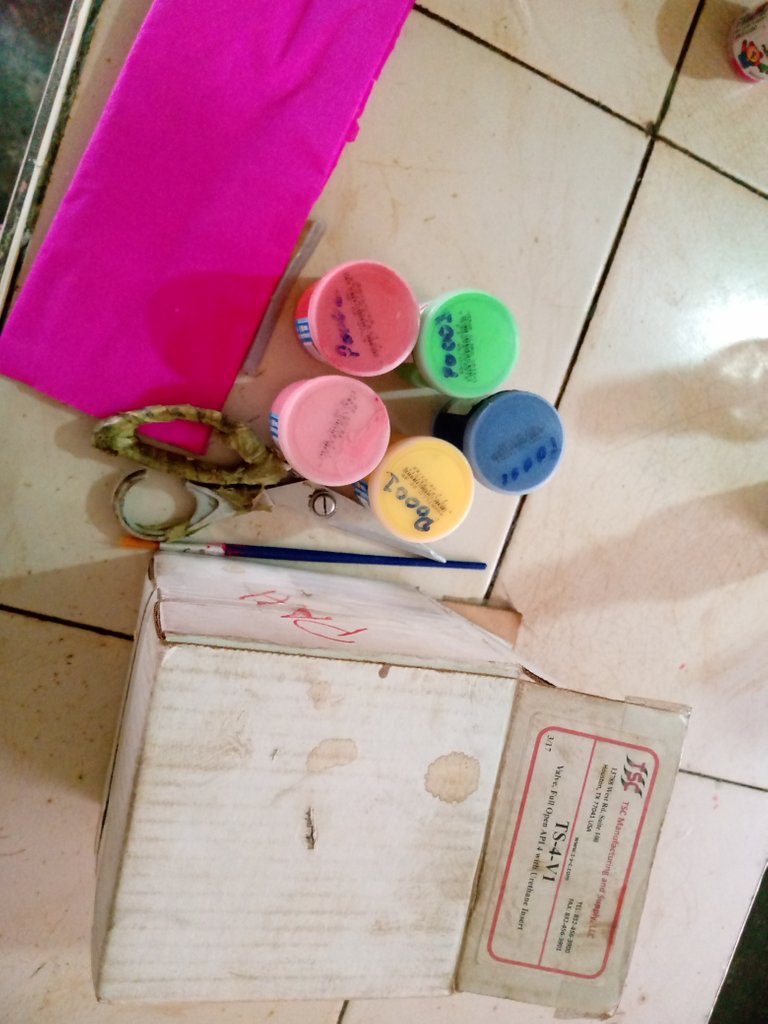
Estos fueron los materiales utilizados en la elaboración de la hermosa caja
A continuación los paso a seguir son
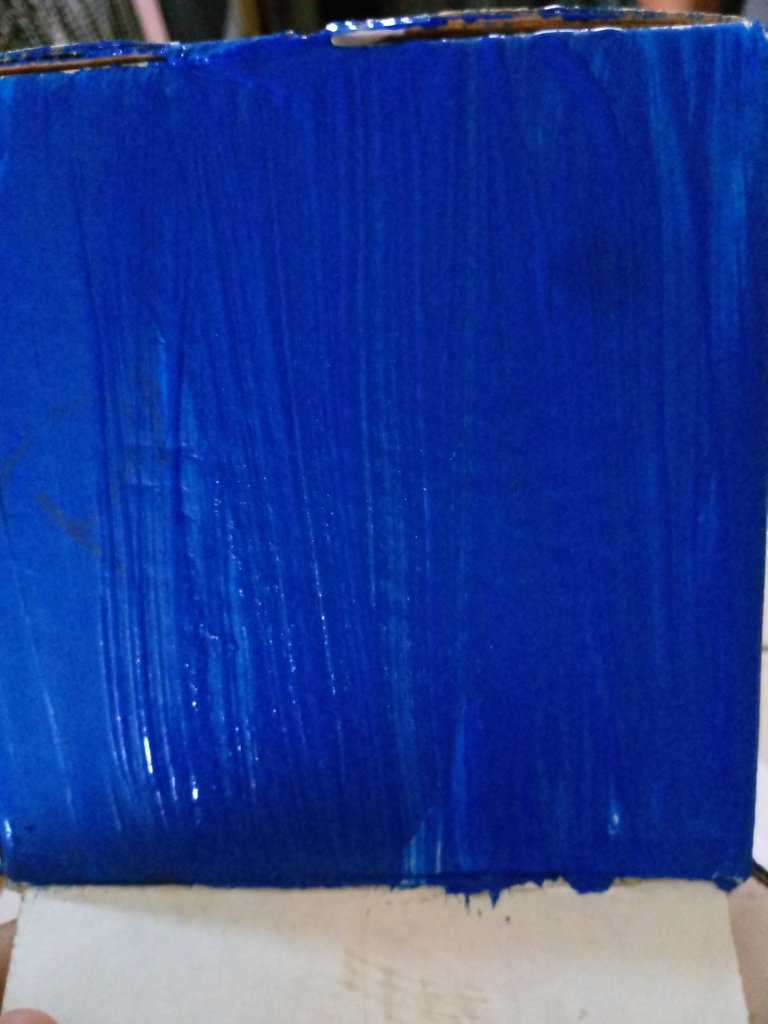
Paso 1
Lo primero es pintar de color azul la caja toda completa de de esta manera esperamos a que se seque y esto es lo primero que vamos a hacer .
Paso 2
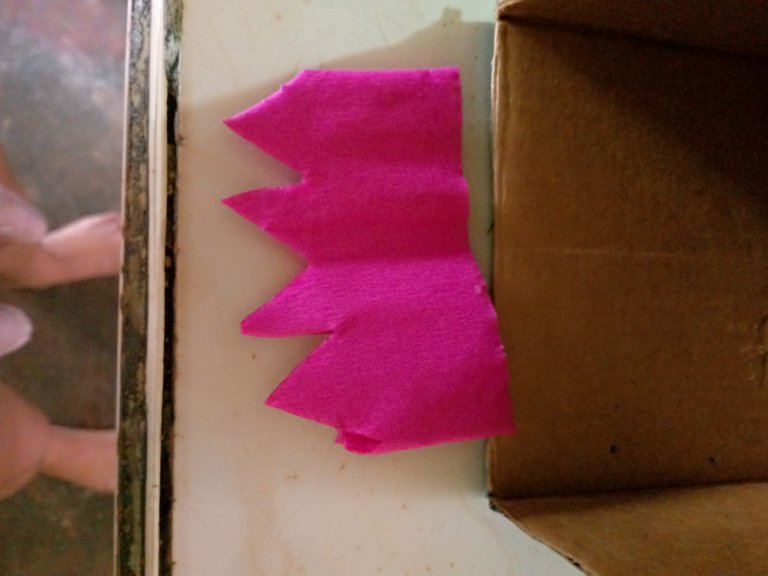
Ahora lo que sigue es cortar un pedazo de papel crepé de esta forma y con la tijera le vamos a hacer un pequeño corte diagonal y en forma de Triángulo vamos a cortar.
Y con el silicón vamos a ir agregando en la parte de alrededor de la caja y rápidamente vamos a ir pegando el papel crepé .
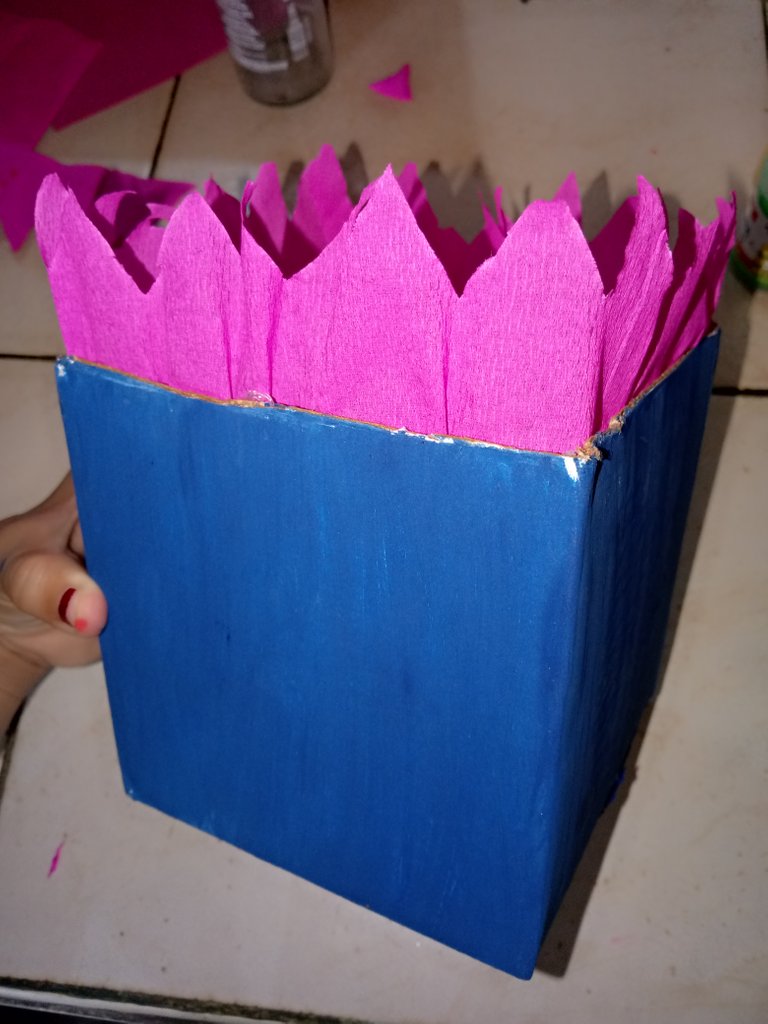
En el mismo momento vamos a ir arruchando y de esta manera quedará .
Es muy fácil solo debemos pegar y después arruchar .
Paso 3
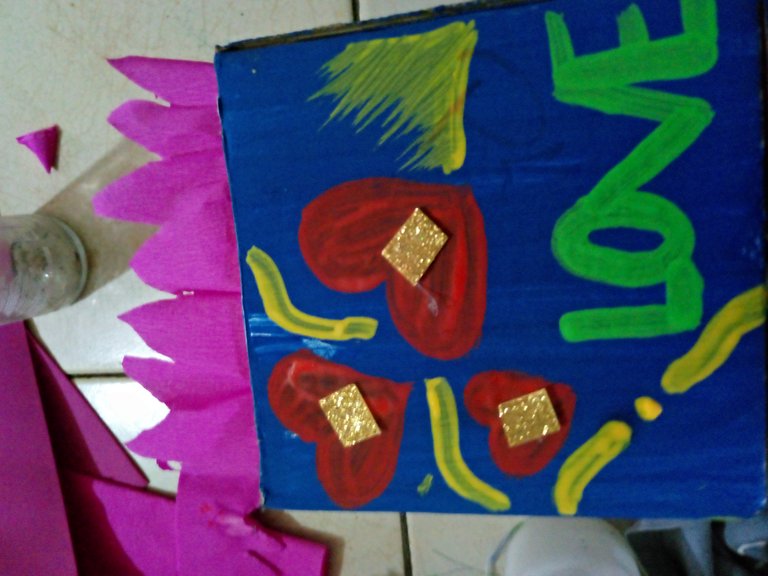
Ahora lo que vamos a hacer es con la pintura amarilla hacemos unas pequeñas flores de esta manera , seguidamente a los lados laterales puntos de esta manera .

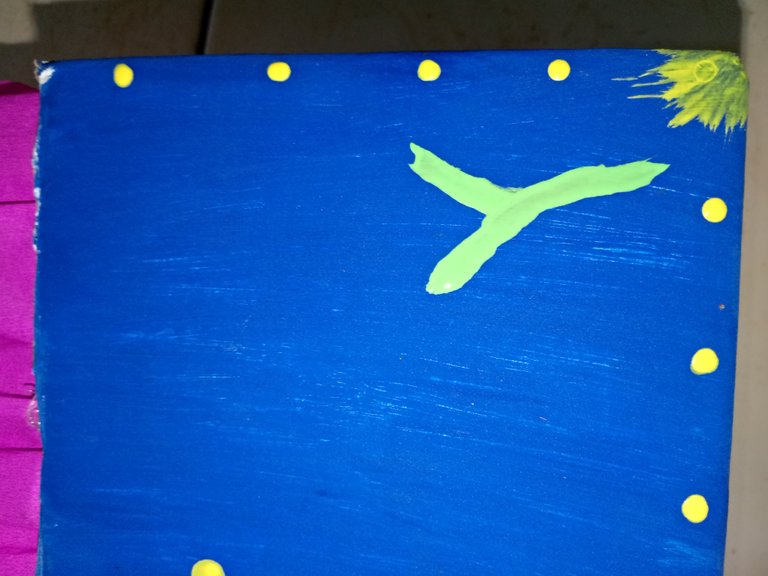
Y después de esa flor haremos dos más pero en forma de estrella.
Así deberá quedar el primer cuadro .
Paso 4
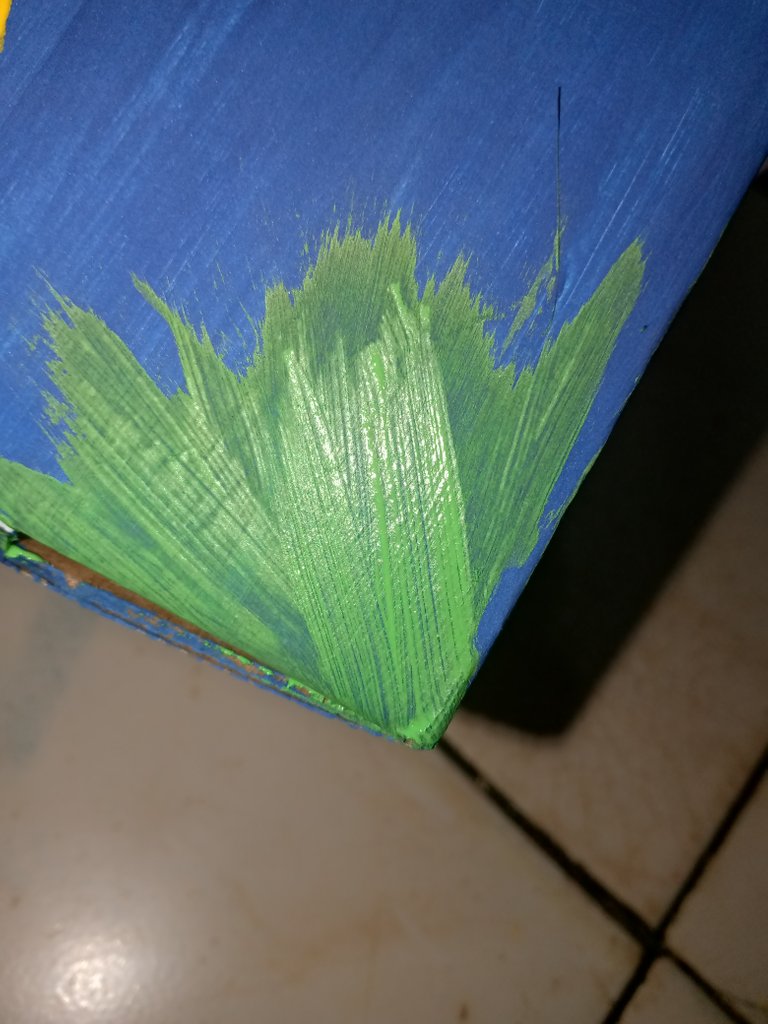
Con la pintura verde solo vamos a ir formando como una pequeña mata la parte del tronco .
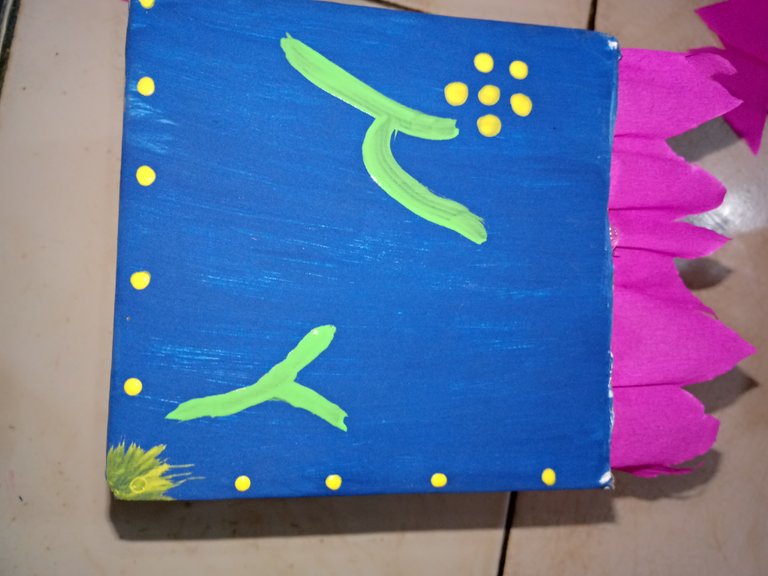
Solo hay que hacer la forma con el pincel nada más y lista es muy fácil seguir estos pasos pero solo debemos hacerlo con mucho equilibrio .
Paso 5
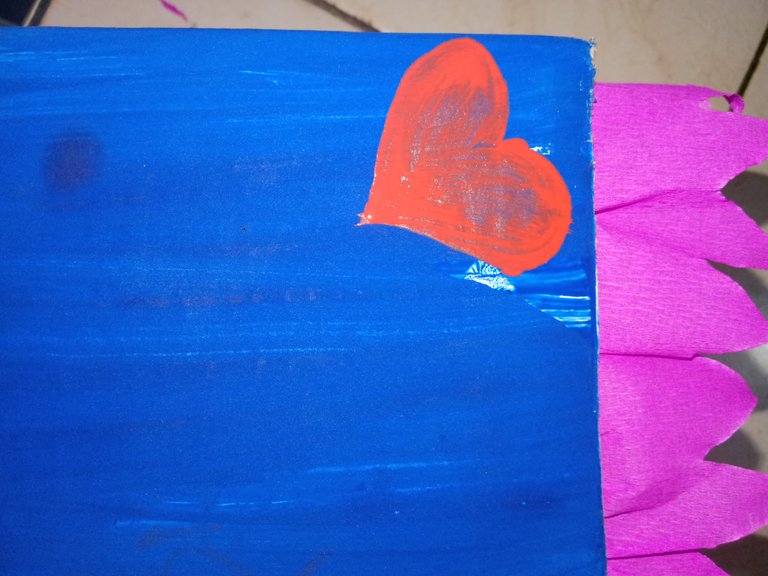
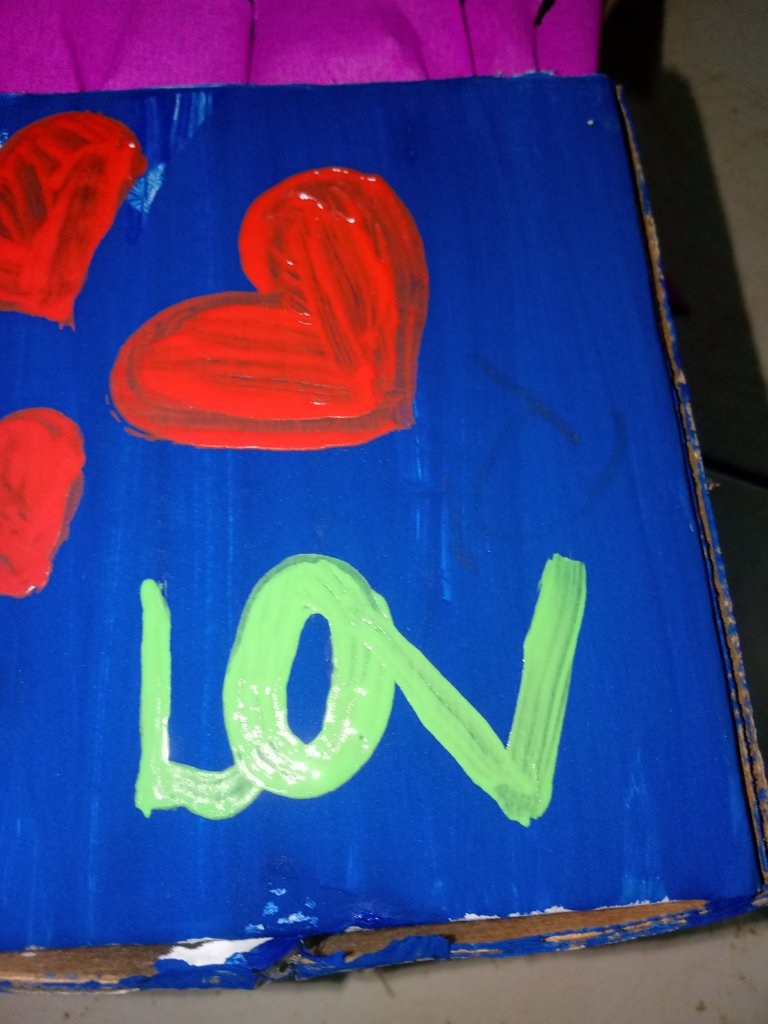
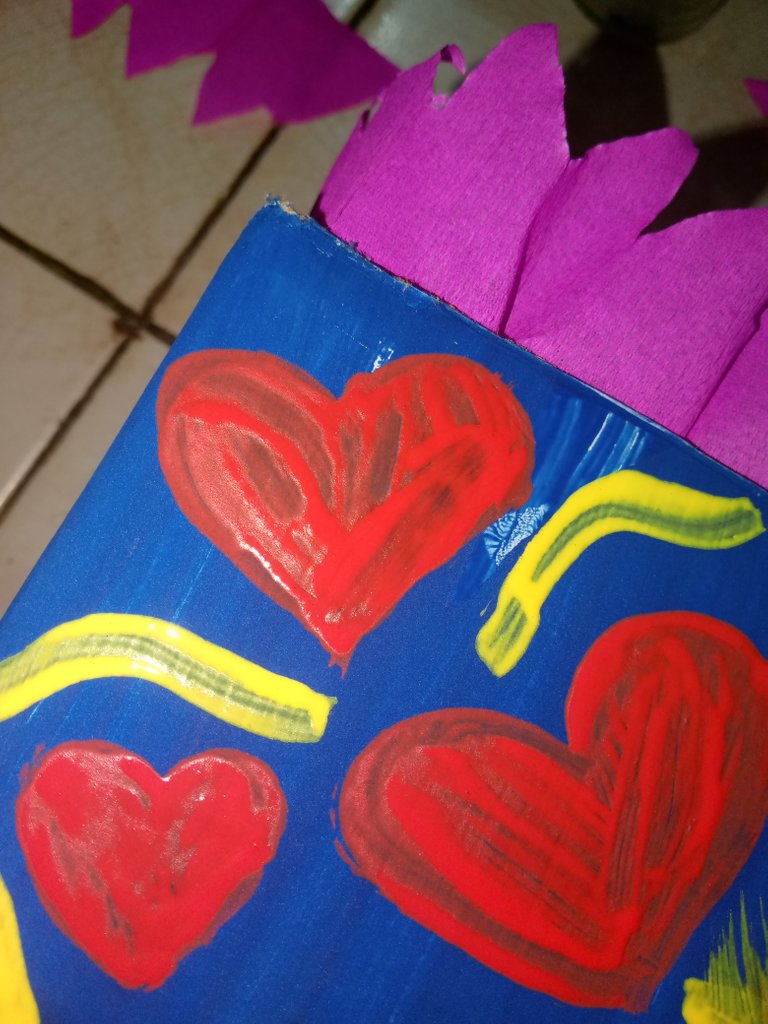
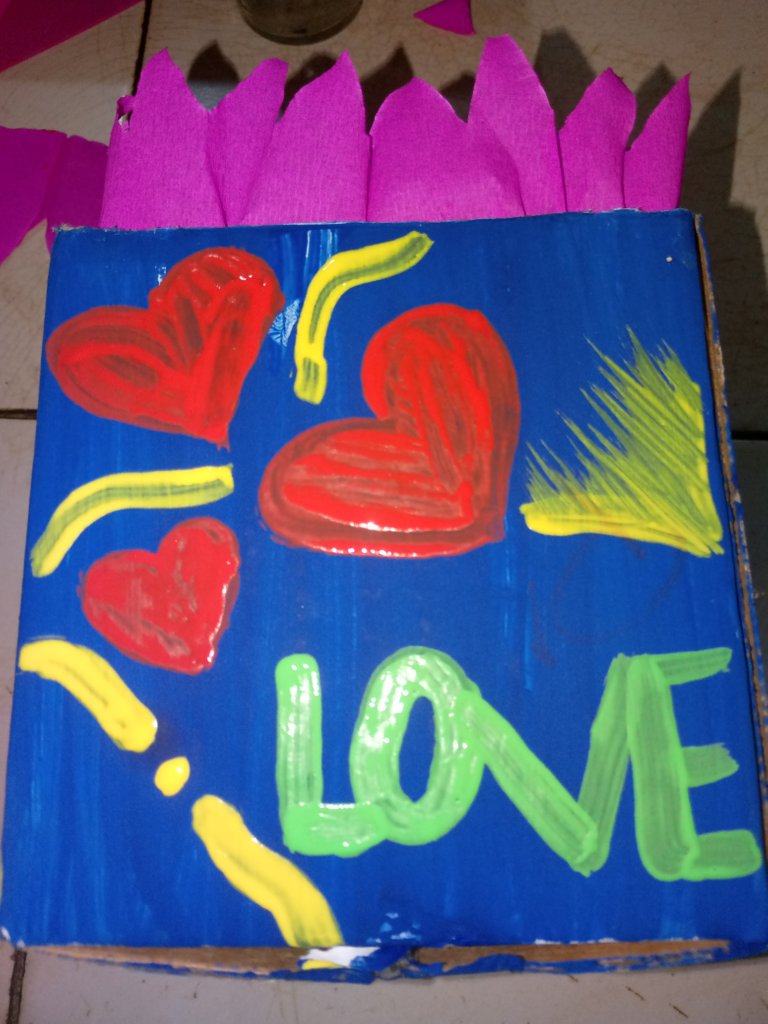
Ahora haremos tres corazones pintados uno arriba y dos hacia los lados .

Con la pintura verde tomamos el pincel y vamos a ir pintando el nombre de LOVE de esta forma y en las partes
Paso 6
Con la pintura amarilla vamos a ir formando pequeñas acuarelas como estás y después haremos una media luna acostada y hacemos especie de rayas hacia arriba así quedará esto es para que quede un poco más llamativa.
Paso 7
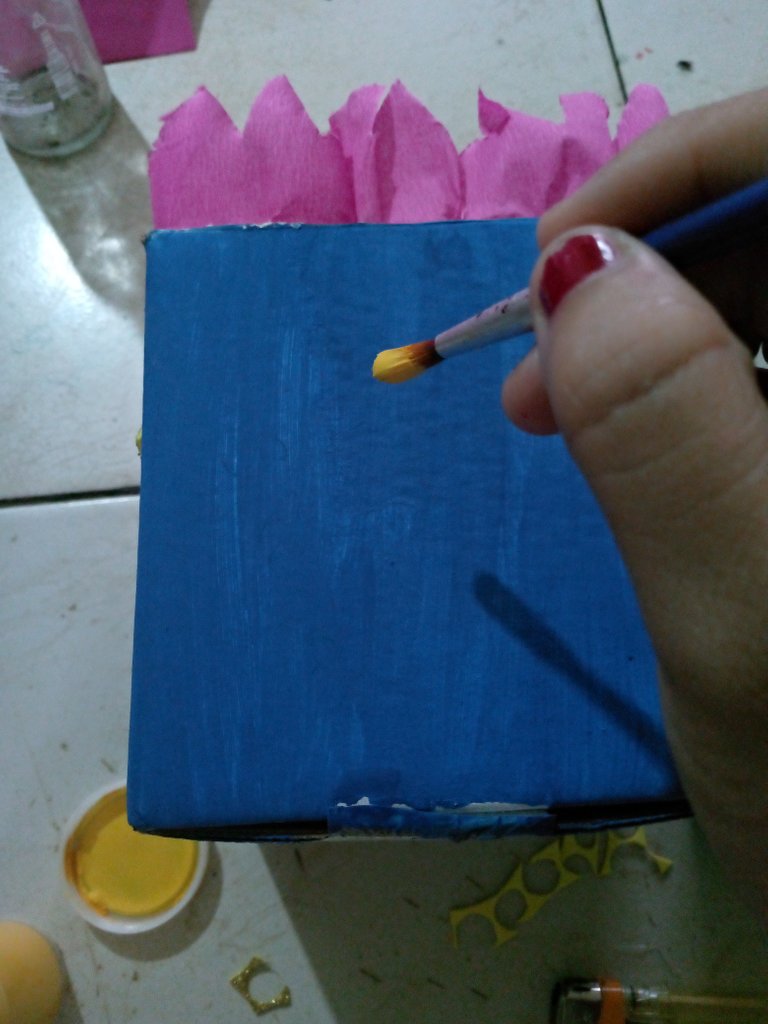
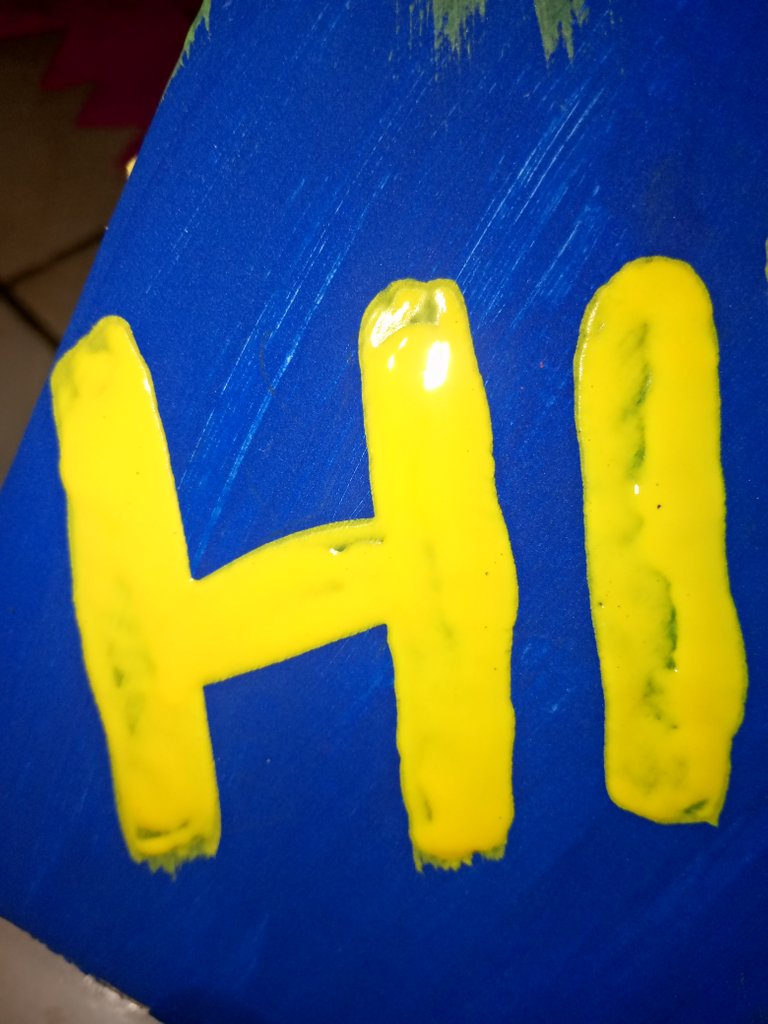
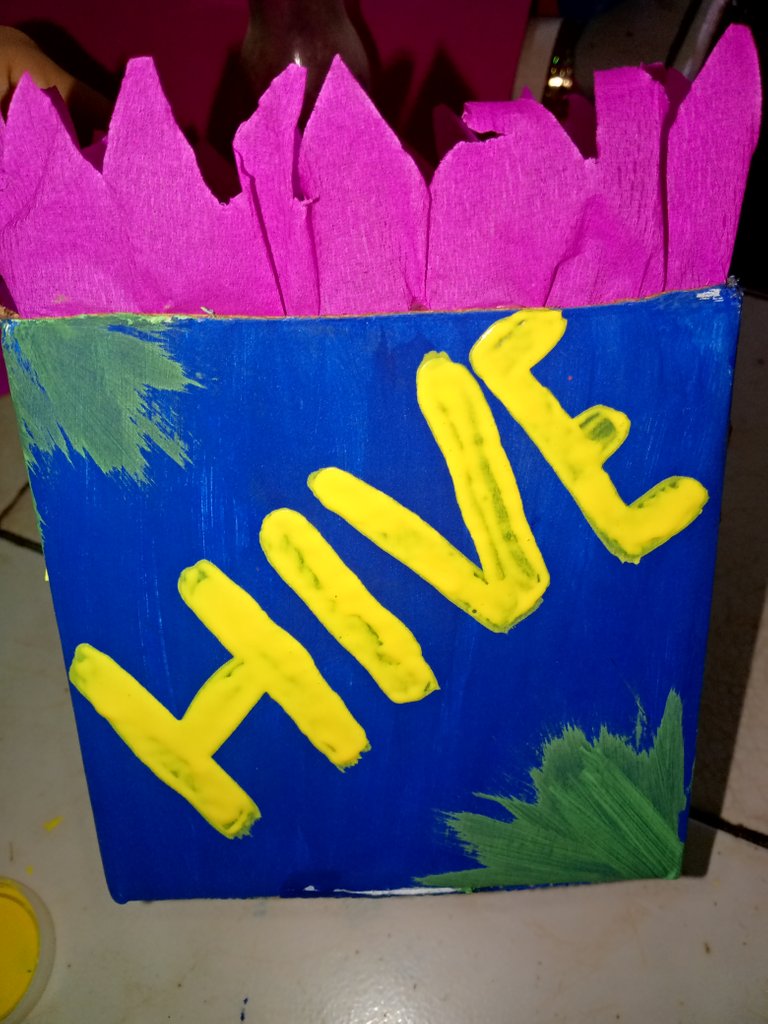
En lo otra parte de la caja vamos a pintar el nombre de HIVE en colo amarillo.
Y en las esquinas con pintura verde hacemos estás formas ya que le den un poco más de color y diversión a la palabra .
Paso 8
Ahora con el Foamy escarchado vamos a hacer unos pequeños círculos que irán pegado en la primera párte que hicimos de las flores .
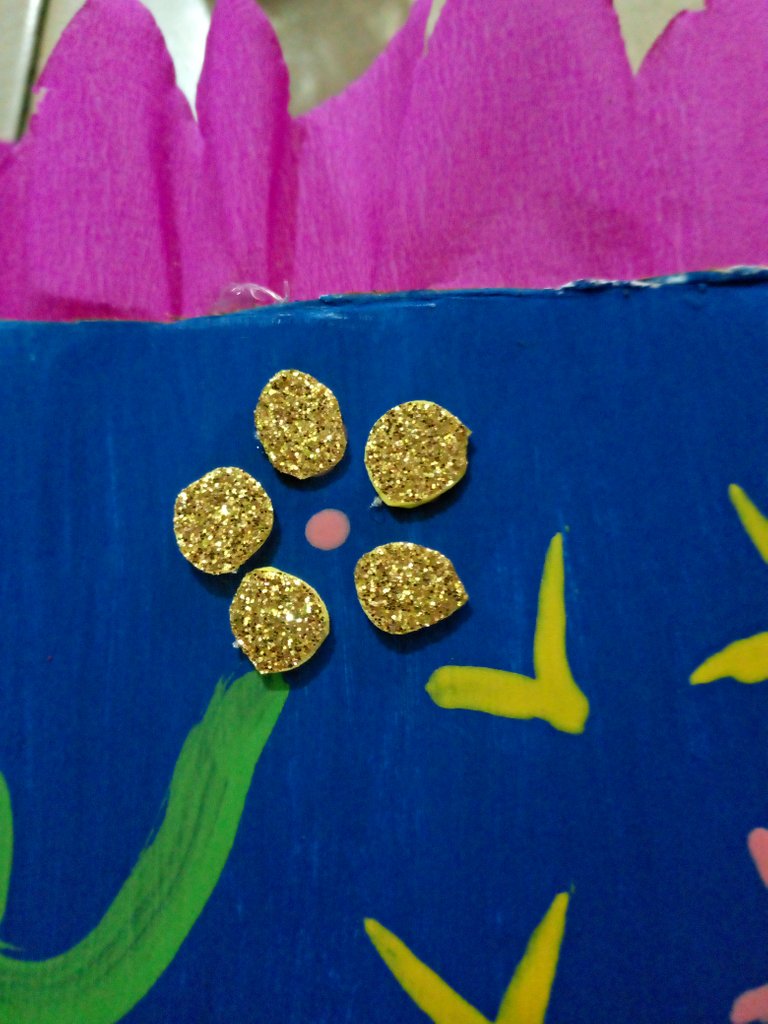
Está es la manera en que quedarán las flores y bueno así se verá un poco más llamativo a la hora de lucir .
Paso 9
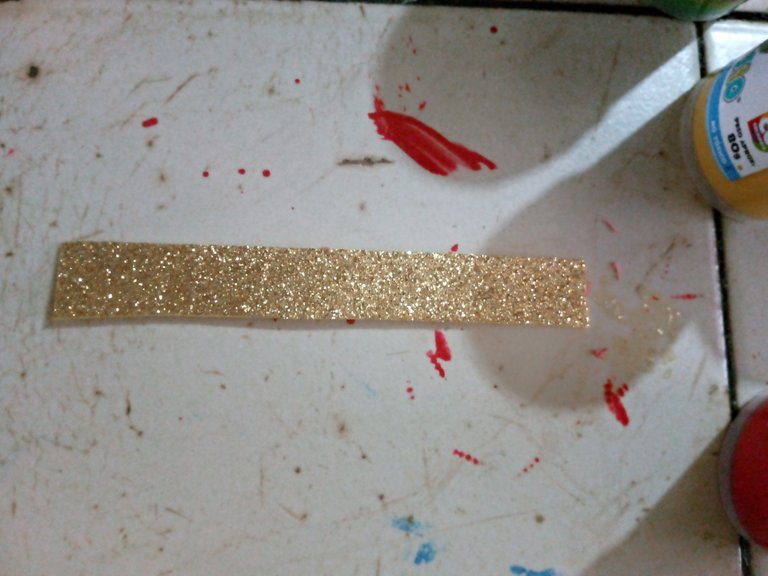
Vamos a recortar estos pequeños pedazos de Foamy escarchados son unas pequeñas listas que van a ir pegadas en la ultima parte de la caja vamos a pegarlas con silicón de esta manera y luego recortamos unos pedazos más pequeños de esta forma.
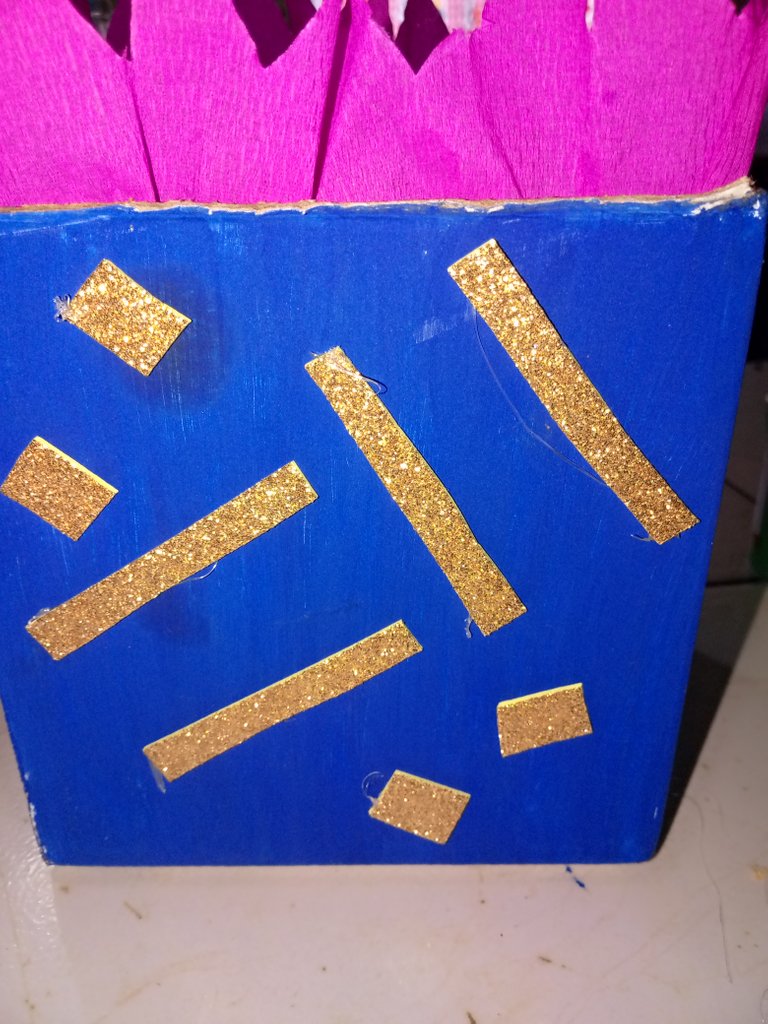
Estos irán pegado tanto en la parte del centro de los tres corazones como en dónde irán los listones .
Por último lo que vamos a hacer es delinear con marcador las partes de los dibujos .
Esto es para darle una forma más delicada y poder seguir cubriendo los errores que quedaron de las pasadas del pincel .
Ahora así de esta forma quedará nuestra hermosa Caja ideal para obsequiar algún regalo
Es ideal está linda y sencilla caja porque puede ser multifuncional .
Aquí les dejo está maravillosa creación de cajita para ustedes
Espero que les guste mucho y que este contenido sea de agrado para ustedes espero sus comentarios saludos exitos y bendiciones
Gracias por Leer y Apoyar Siempre
Las fotos son de mi propiedad y fueron tomadas por mi teléfono tecno spark Go 2023
Las imágenes son editadas mediante la aplicación editor de fotos polish
Traductor Utilizado:Deelp traslater
Hello My creative Hive Community a warm greeting to all my beautiful people I hope you are very grateful to God to continue publishing for all of you full of joy ideas and lots of creativity always thanking all the people who have supported me here I will be presenting a very nice box called Create a beautiful box to your liking.
This box is actually an idea that came to my head because my sister likes to keep things like bracelets necklaces or even markers rules infinite things.
Well here I will be showing you the materials used in the making of the box.
- Scissors
- Gold frosted Foamy
- Silicone
- crepe paper
- Cold paints blue red red pink green green yellow
- Brush
- Small box
These were the materials used in the elaboration of the beautiful box
The next steps to follow are as follows.
Step 1*** Step 1*** Step 2*** Step 3*** Step 4
The first thing to do is to paint the whole box in blue color and then we wait for it to dry and this is the first thing we are going to do.
**Step 2
Now what follows is to cut a piece of crepe paper in this shape and with the scissors we are going to make a small diagonal cut and in the shape of a Triangle we are going to cut it.
And with the silicone we are going to add around the box and quickly glue the crepe paper.
At the same time we are going to go creasing and in this way it will be .
It is very easy, we only need to glue and then crease.
**Step 3
Now what we are going to do is with the yellow paint we make some small flowers in this way, then on the sides we will make dots in this way.
And after that flower we will make two more but in the shape of a star.
This is how the first picture should look like.
**Step 4
With the green paint we are going to form a small bush on the trunk.
We just have to make the shape with the brush and it is very easy to follow these steps but we just have to do it with a lot of balance.
**Step 5
Now we will make three painted hearts, one on the top and two on the sides.
With the green paint we take the brush and we are going to paint the name of LOVE in this way and in the following parts
**Step 6
With the yellow paint we are going to form small watercolors like this and then we will make a half moon lying down and we will make a kind of stripes upwards. This is to make it a little more striking.
**Step 7
On the other side of the box we will paint the name HIVE in yellow.
And in the corners with green paint we make these shapes to give a little more color and fun to the word.
**Step 8
Now with the frosted Foamy we are going to make some small circles that will be glued on the first part we made of the flowers.
This is the way the flowers will look and well this way it will look a little more striking when it's time to show it off.
**Step 9
We are going to cut these small pieces of frosted Foamy, they are small lists that are going to be glued on the last part of the box, we are going to glue them with silicone in this way and then cut some smaller pieces in this way.
These will be glued both in the center of the three hearts and where the ribbons will go.
Finally what we are going to do is to outline with marker the parts of the drawings.
This is to give it a more delicate form and to be able to continue covering the mistakes that were left from the brush strokes.
Now this is how our beautiful box will look like, ideal to give as a gift.
This beautiful and simple box is ideal because it can be multifunctional.
Here I leave this wonderful creation of a box for you.
I hope you like it very much and that this content is to your liking I hope your comments greetings, success and blessings.
Thank you for always reading and supporting me*** Thank you for reading and supporting me.
Photos are my property and were taken by my tecno spark Go 2023 phone.
The images are edited using the polish photo editor application
Translator Used:Deelp traslater
it looks beautiful, you have a great gift box with the use of minimum things that you have. Great 🎉😊
Congratulations @yanetzi1! You have completed the following achievement on the Hive blockchain And have been rewarded with New badge(s)
Your next target is to reach 60 posts.
You can view your badges on your board and compare yourself to others in the Ranking
If you no longer want to receive notifications, reply to this comment with the word
STOPTo support your work, I also upvoted your post!
Check out our last posts:
@tipu curate
Upvoted 👌 (Mana: 17/57) Liquid rewards.
Muy bonito y creativo amiga, un lindo detalle para regalar, me encanto el nombre de HIVE jijij, saludos.
This is Very creative. Thanks
Que proceso más explicativo, en cada detalle te esmeraste bastante, no hay luga a dudas por donde comenzar si se desea hacer una. Te felicito!