🎀Making a ribbon hair clip called 'Cakey Bow'🎀
Hello my loving Asean Hive community,
Welcome back to my handmade new blog. Today is Sunday, so what are you doing? Yesterday I talked about unboxing the raw materials used in making hair accessories. Today I'm going to show you how to make a cute hair clip using some of those materials.

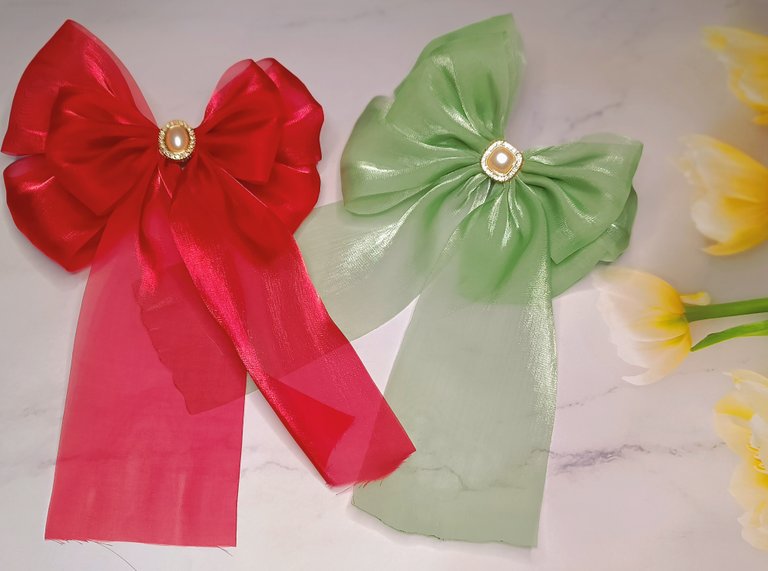
The name of the little hair clip I made today is called 'Cakey bow'. The reason why it is called 'Cakey Bow' is because the ribbon used to make this hair clip is soft like a cake. First, I will tell you about the materials I used to make this ribbon hair clip. Let's get started.
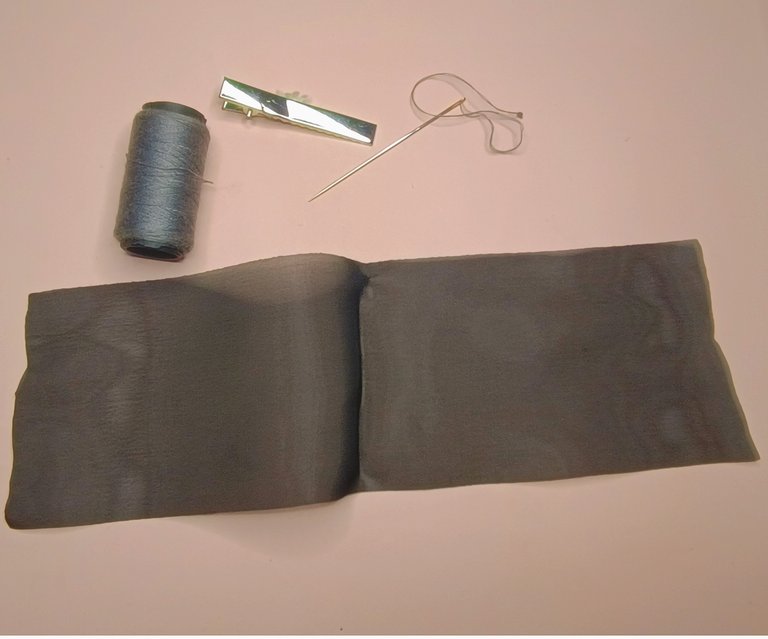
Materials-
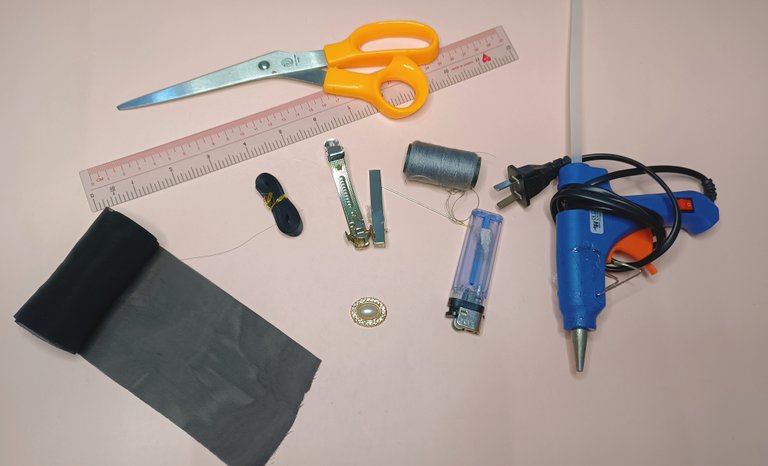
- ribbon
- hair clip
- Scissors
- ruler
- glue gun
- pearl
- Needle and thread
Step-1
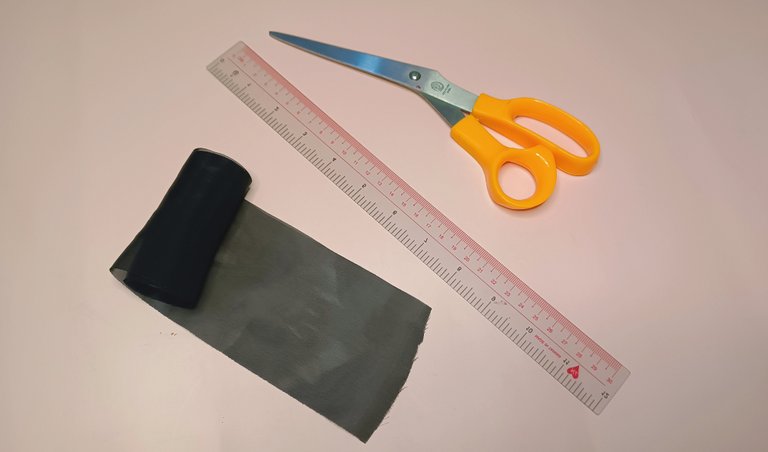
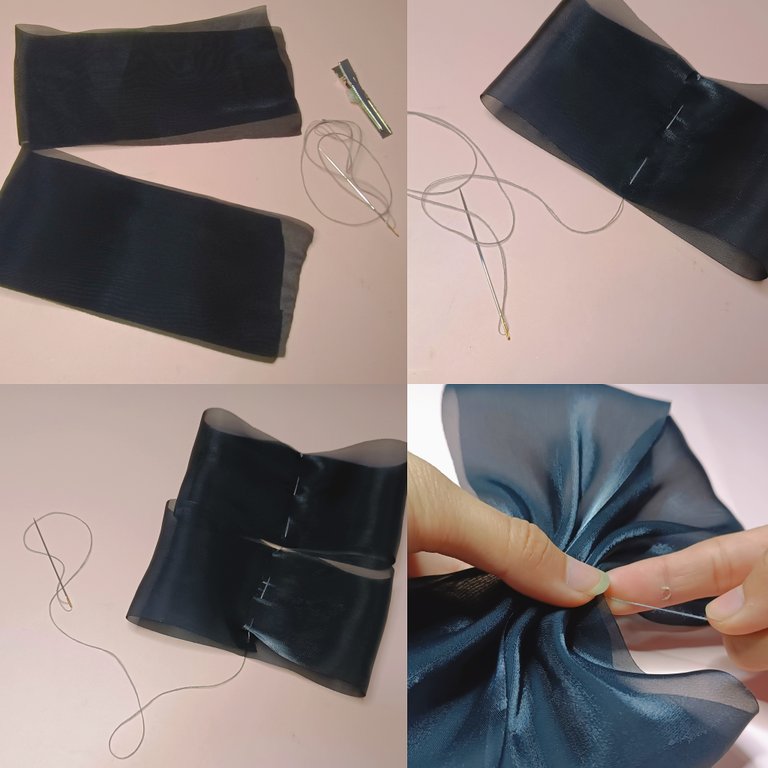
In the first step, I used a ribbon, scissors and a ruler. I measured and cut the ribbon into 16 inches, 14 inches and 10 inches. I cut 2 pieces of 14 inches.
Step-2
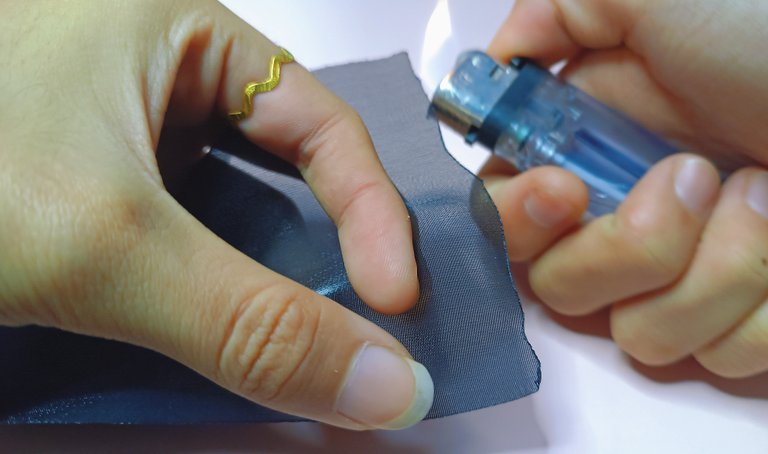

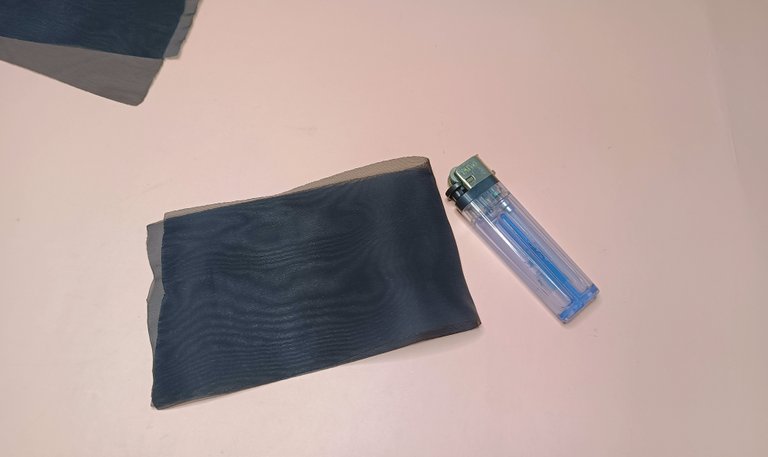
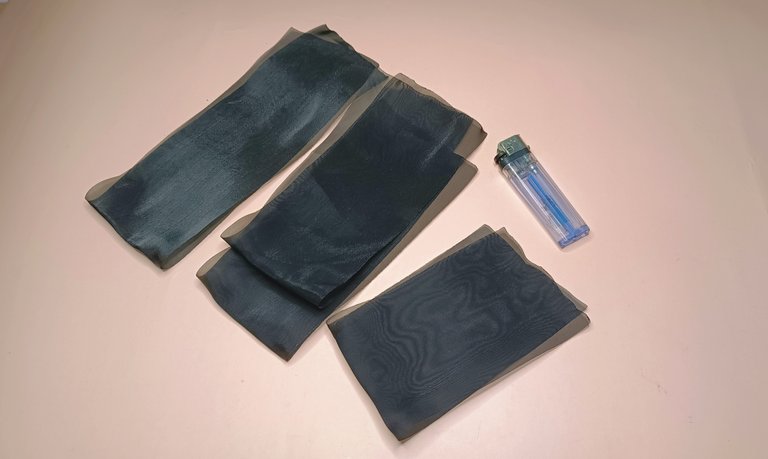
In Step-2, I slightly touched the edges of the cut ribbons with fire. Doing so is to make the ribbons neater. Then I folded the ribbons from the middle and touched them with a little fire. This is to make it easier to see the middle point of the ribbon.
Step-3
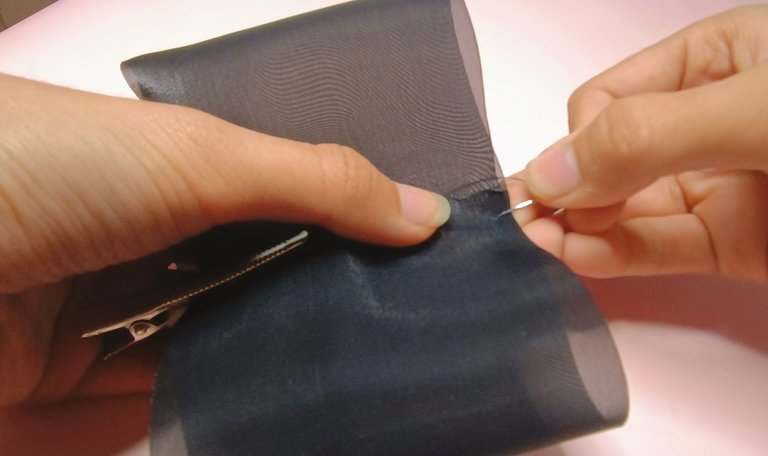
I took 10 inches of the ribbon and left the ribbon as it was originally. You can see in the picture that there is a small line in the middle of the ribbon. Then put both ends of the ribbon on that line and sew it with a needle.

After pulling the thread and making a knot, you have a ribbon as shown above.
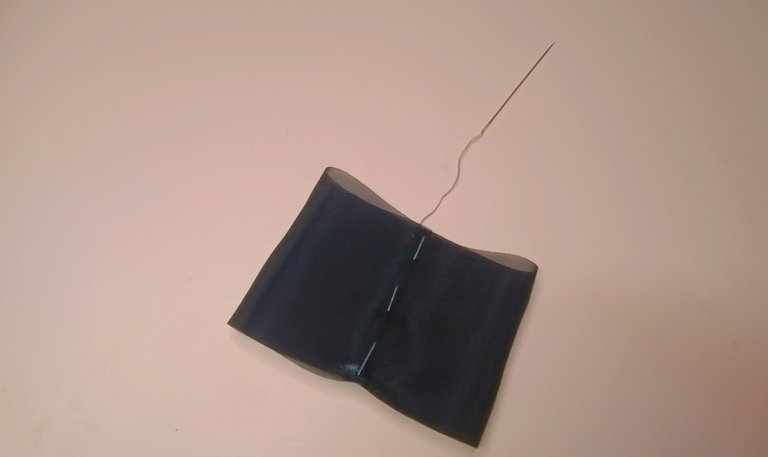
Step-3
In step-3, I made 2 ribbons of 14 inches size as in step-2. However, I only tied the 2 ribbons together with the needle before pulling the thread and making a knot.
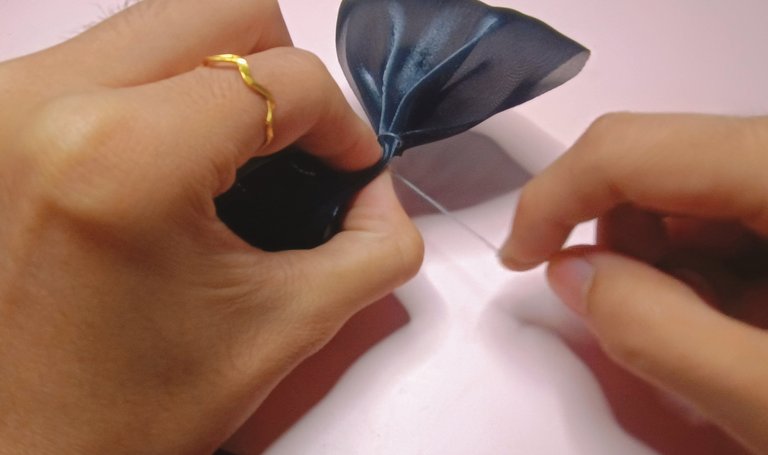
Step-4
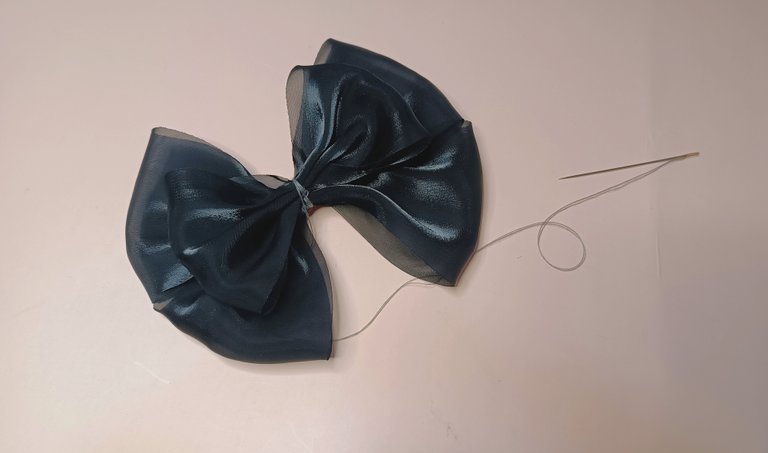
After step-3, I inserted the needle into the middle of the big ribbon without cutting the thread. Then I sewed the small ribbon together there and made another knot.
Step-5
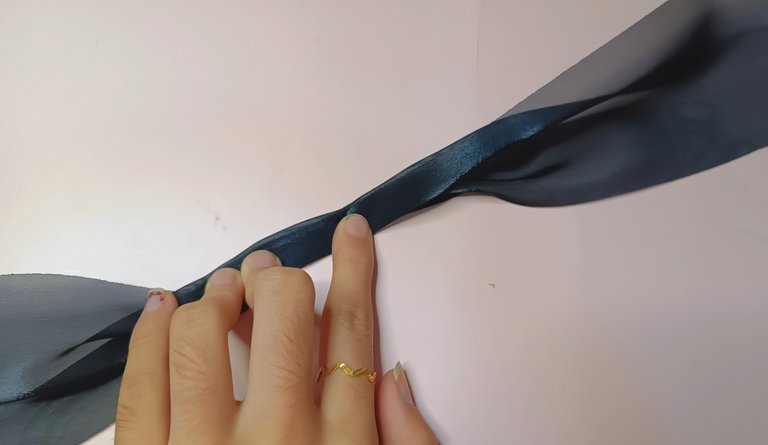
I folded the 16 inches of ribbon as shown in the picture at the center point. Then I attached it to the bottom of the largest ribbon and wrapped it around with thread and made another knot.
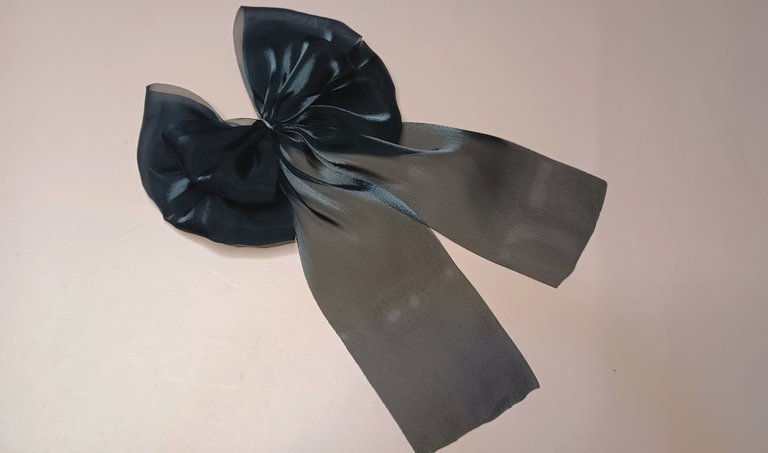
Now I have a lovely ribbon, but it's not over yet.
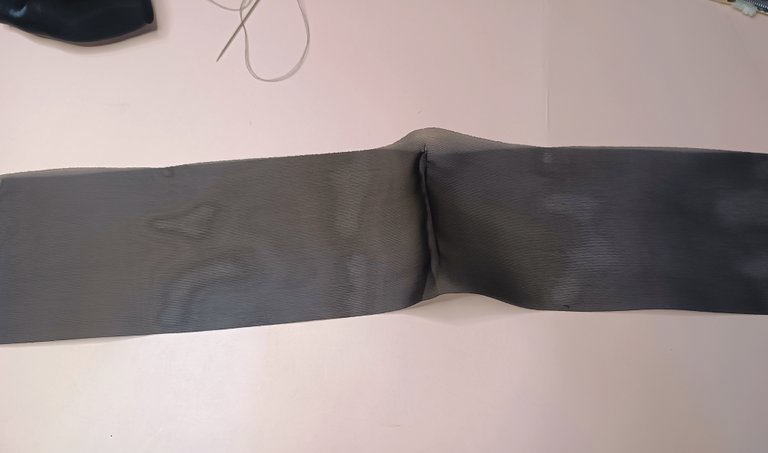
Step-6
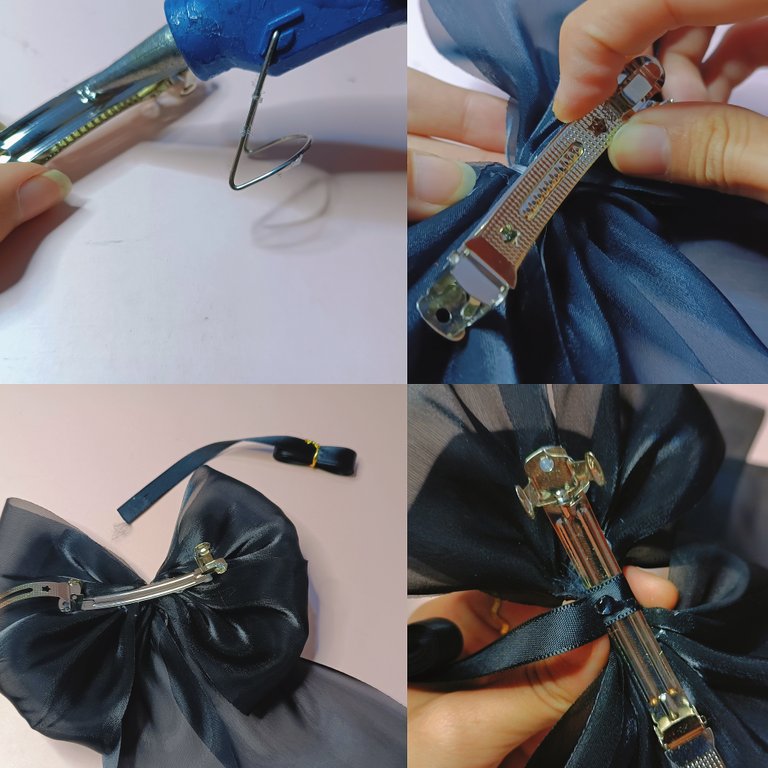
First, I attached the ribbon and clip with glue. Then I attached a small ribbon to the middle of the ribbon as shown in the picture.
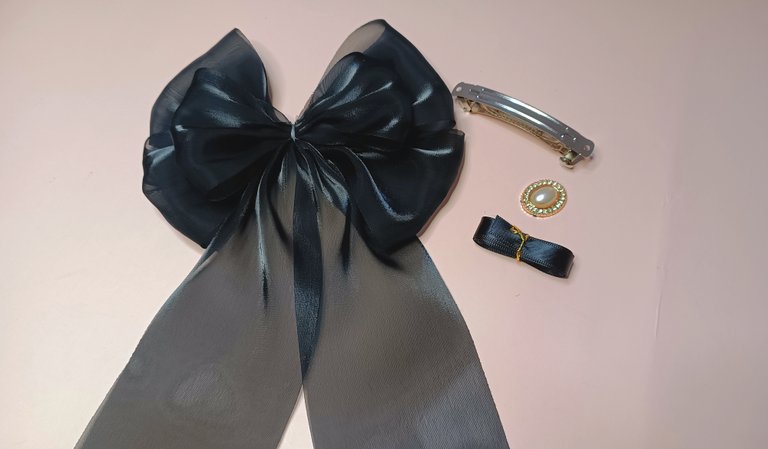
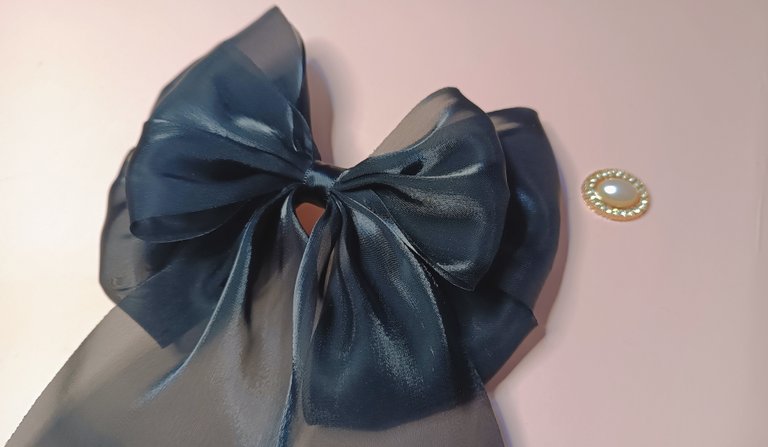
In the last step, I glue the pearl in the middle of the ribbon. If you don't want to use pearls, you can stop at step-6. I used pearls because I felt it was more gorgeous.
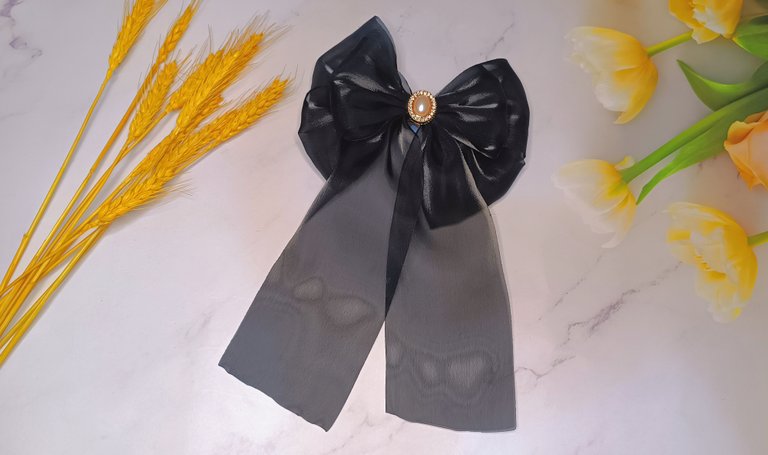
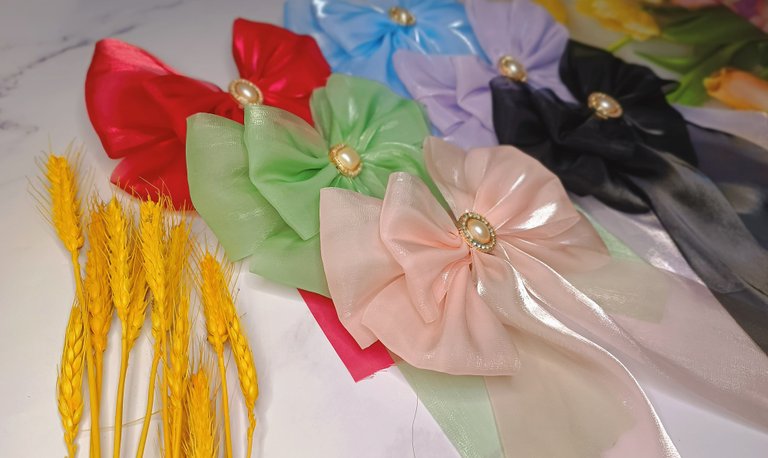

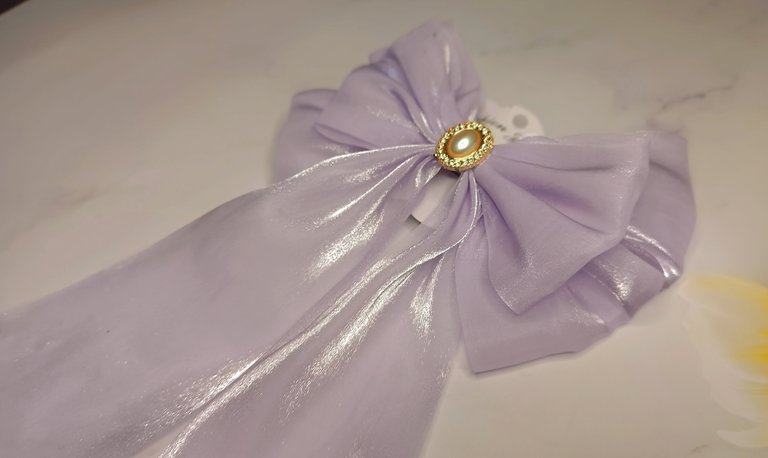
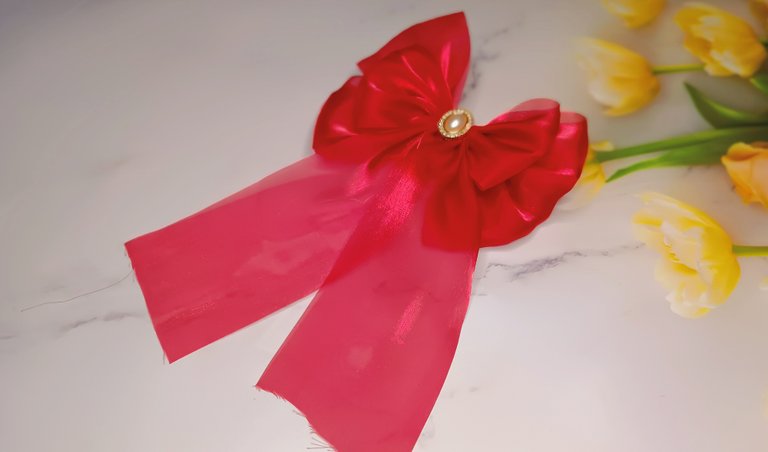
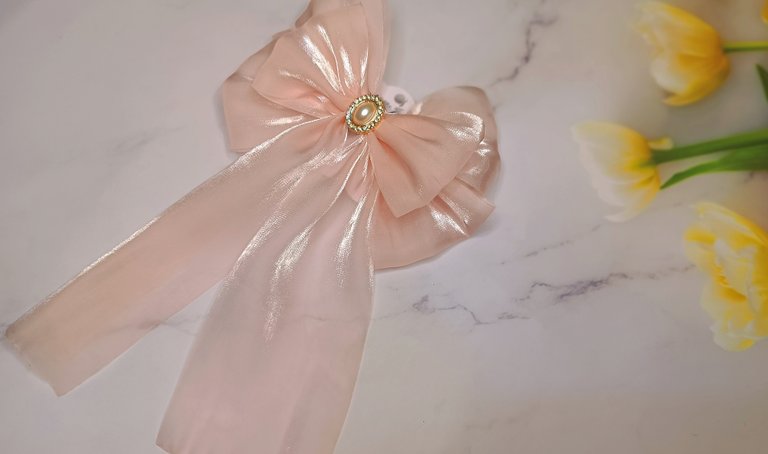
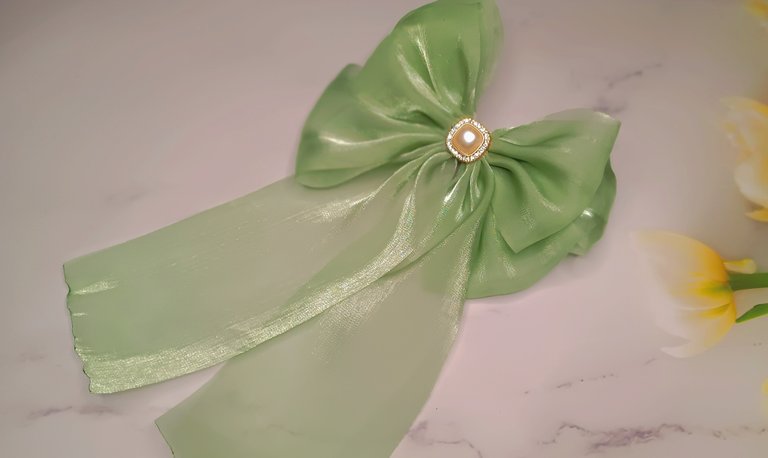
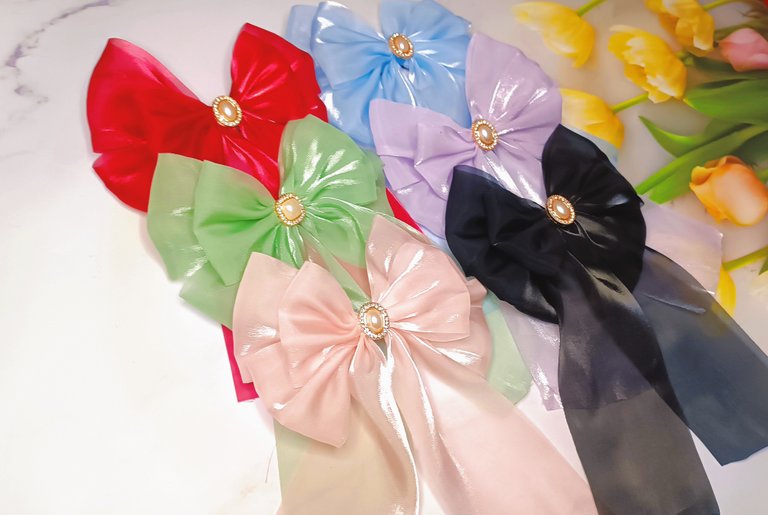
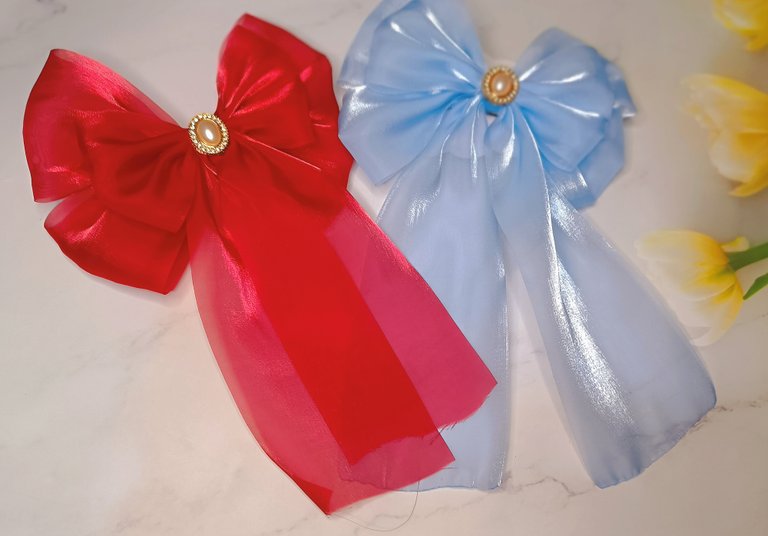
Now I have a very beautiful Cakey Bow. Since this bow is easy to make, you can try it if you are interested. I made this Cakey bow in 6 colors. Which color do you think is the most beautiful? This Cakey Bow is the most sold of the hair clips I sell, so it is often out of stock. Thank you so much for reading my post to the end. Bye Bye. See you next the post.

That's a lovely bow, with a really cool name, haha
Thank you very much. I am trying to share other designs soon.
Yay! 🤗
Your content has been boosted with Ecency Points, by @winelay.
Use Ecency daily to boost your growth on platform!
Support Ecency
Vote for new Proposal
Delegate HP and earn more
Thank you.
⋆ ᴛʜᴇ ᴘʟᴀᴄᴇ ғᴏʀ sᴏᴜᴛʜᴇᴀsᴛ ᴀsɪᴀɴ ᴄᴏɴᴛᴇɴᴛ ᴏɴ ʜɪᴠᴇ
⋆ sᴜʙsᴄʀɪʙᴇ ᴛᴏ ᴛʜᴇ ᴀsᴇᴀɴ ʜɪᴠᴇ ᴄᴏᴍᴍᴜɴɪᴛʏ
⋆ ғᴏʟʟᴏᴡ ᴛʜᴇ ᴀsᴇᴀɴ ʜɪᴠᴇ ᴄᴏᴍᴍᴜɴɪᴛʏ ᴠᴏᴛɪɴɢ ᴛʀᴀɪʟ
⋆ ᴅᴇʟᴇɢᴀᴛɪᴏɴ ʟɪɴᴋs 25 ʜᴘ⇾50 ʜᴘ⇾100 ʜᴘ⇾500 ʜᴘ⇾1,000 ʜᴘ