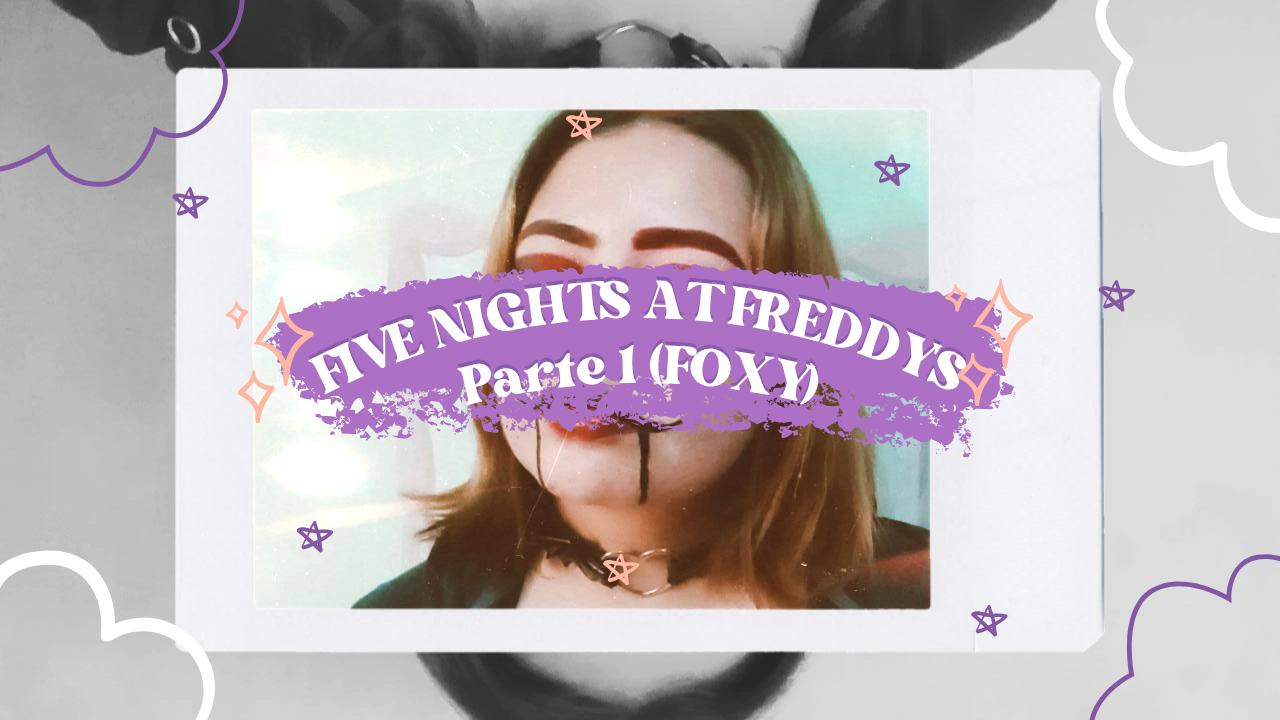
🦊 Maquillaje Inspirado en Foxy – Five Nights at Freddy’s | Tutorial Paso a Paso / 🦊 Foxy-Inspired Makeup – Five Nights at Freddy’s | Step-by-Step Tutorial [ESP | ENG]
.gif)
La idea surgió cuando estaba en la app de Pinterest buscando ideas de nuevos maquillajes para recrear y es ahí donde encontré una imagen que me inspiró por completo. Así que me puse manos a la obra y quise compartirles todo el paso a paso, mis trucos personales y los materiales que utilicé.
Si amas el maquillaje creativo o simplemente te gusta experimentar con nuevos estilos, este tutorial es para ti. 💄✨
Lápiz labial rojo (Salomé tono 04).
Labial rojo intenso (Matte lip Gloss tono 05).
Correctores (Valmy tono 04 y Salomé tono 103).
Jabón fijador de cejas (BelendaBeauty).
Gloss y bálsamo labial.
Piedritas decorativas . (Opcional)
Delineador negro en plumón (Huxiabeauty).
.gif)
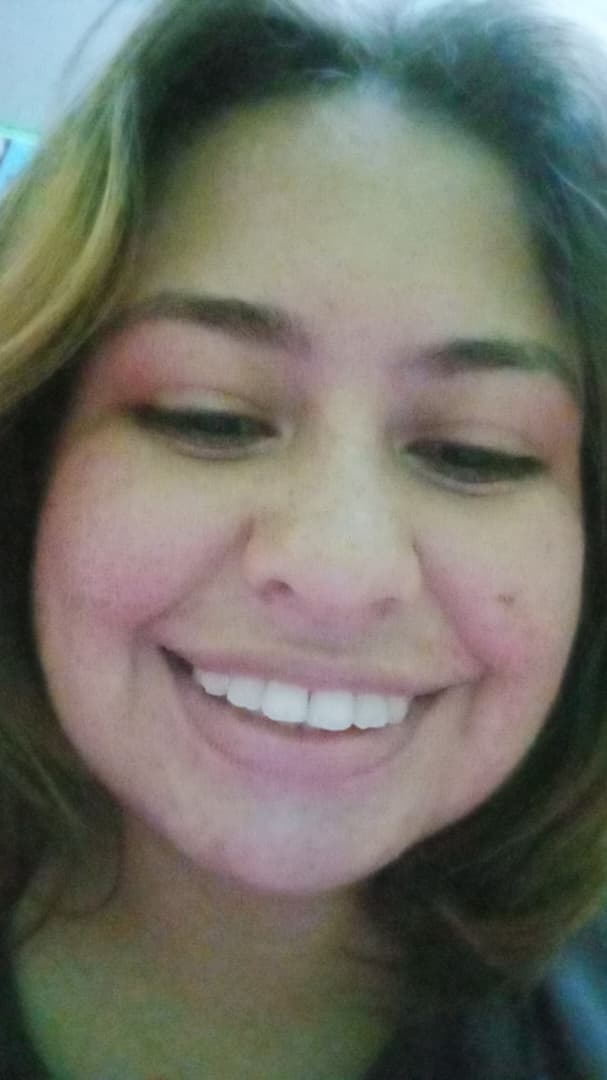
Paso 1: Preparar la piel
Antes de cualquier maquillaje, piel limpia e hidratada. Un buen lienzo es clave para que el resultado final luzca impecable y dure más.
Paso 2: Cejas
Inspirada en Foxy, decidí hacer una ceja oscura y otra roja, esto siguiendo la idea de la imagen que estuve usando de referencia.
Para la ceja roja, usé sombra roja con brocha angular humedecida.
Si el rojo se ve demasiado fuerte, puedes bajarlo con toques de sombra negra sin perder su esencia vibrante.
Ya para la ceja oscura la estuve realizando con sombra café, como lo haría en un día normal, maquillándome las cejas. Para finalizar perfeccionamos ambas cejas con correctos y en este caso estaremos usando el corrector Valmy Tono 04 y una brocha delgada, sino tienes puedes difumar el corrector con el dedo anular.
Paso 3: Preparación de párpados
Apliqué corrector Salomé tono 103 en todo el párpado y cuenca.
Difuminé con el dedo anular, de manera suave para no maltratar la piel.
Como mis párpados son ligeramente caídos (por no decir mucho, jeje), subí un poquito el corrector a mi parpado fijo para adaptar el look a mi ojo.
Paso 4: Base de color
Con el delineador de labios rojo, marqué la cuenca como si hiciera un eyeliner y rellené.
Luego sellé con sombra roja a toquecitos. Esto ayuda a que el color se mantenga intenso por más tiempo.
Paso 5: Smokey eye y delineado dramático
Coloqué sombra negra y café en la esquina externa y difuminé con una brocha para difuminar, para lograr un smokey eye.
Hice un delineado grueso y dramático en el párpado superior y delineé también el lagrimal y la línea de pestañas inferiores.
Consejo: el delineador en plumón da mayor precisión y es mucho más cómodo, pero esto ya es algo mas personal.
Paso 6: Labios
Labio superior: delineado negro (puedes usar lápiz de ojos) y sellado con sombra negra.
Labio inferior: delineado con el lápiz rojo y relleno con labial rojo intenso.
Siempre hidrato con bálsamo labial antes de aplicar todo esto.
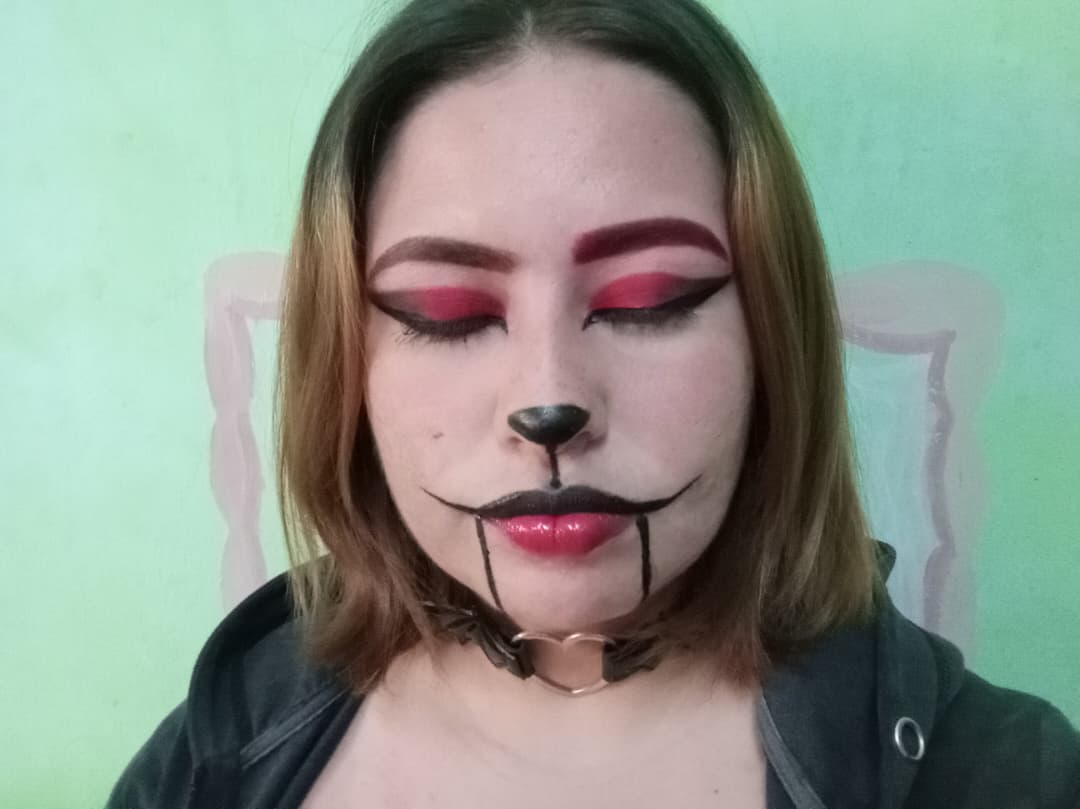
Paso 7: Detalles finales – esencia Foxy
Dibujé líneas negras desde las comisuras hacia la barbilla.
Pinté la punta de la nariz y tracé una línea fina hacia abajo, conectando con el labio superior.
Añadí piedritas decorativas para ese toque final que hace la diferencia.
Paso 8: Piel natural y ligera
No soy fan de la base pesada porque mi piel es sensible (tuve problemas de acné antes), así que:
Solo apliqué corrector Valmy en ojeras y zonas específicas.
Añadí un toque de rubor líquido en mejillas y, por supuesto, protector solar.
The idea came to me when I was on Pinterest looking for new makeup ideas to recreate, and that's where I found an image that completely inspired me. So I got to work and wanted to share the whole step-by-step process with you, along with my personal tips and the materials I used.
If you love creative makeup or simply enjoy experimenting with new styles, this tutorial is for you. 💄✨
Red lipstick (Salomé shade 04).
Intense red lipstick (Matte Lip Gloss shade 05).
Concealers (Valmy shade 04 and Salomé shade 103).
Eyebrow fixing soap (BelendaBeauty).
Lip gloss and balm.
Decorative stones. (Optional)
Black felt-tip eyeliner (Huxiabeauty).
.gif)
Step 1: Prepare your skin
Before applying any makeup, cleanse and moisturize your skin. A good canvas is key to ensuring the final result looks flawless and lasts longer.
Step 2: Eyebrows
Inspired by Foxy, I decided to make one eyebrow dark and the other red, following the idea of the image I was using as a reference.
For the red eyebrow, I used red eyeshadow with a damp angled brush.
If the red looks too strong, you can tone it down with touches of black eyeshadow without losing its vibrant essence.
For the dark eyebrow, I used brown eyeshadow, as I would on a normal day when doing my eyebrows. To finish, we perfected both eyebrows with concealer. In this case, we used Valmy Concealer Shade 04 and a thin brush. If you don't have one, you can blend the concealer with your ring finger.
Step 3: Preparing the eyelids
I applied Salomé concealer shade 103 all over my eyelids and under-eye area.
I blended it in gently with my ring finger so as not to damage the skin.
As my eyelids are slightly droopy (to say the least, haha), I applied a little concealer to my upper eyelid to adapt the look to my eye shape.
Step 4: Base color
Using red lip liner, I outlined the lip line as if applying eyeliner and filled it in.
Then I sealed it with red eyeshadow, dabbing it on lightly. This helps the color stay intense for longer.
Step 5: Smokey eye and dramatic eyeliner
I applied black and brown eyeshadow to the outer corner and blended it with a blending brush to achieve a smokey eye.
I applied thick, dramatic eyeliner to the upper eyelid and also lined the inner corner and lower lash line.
Tip: Liquid eyeliner gives greater precision and is much more comfortable, but this is a personal preference.
Step 6: Lips
Upper lip: outline with black (you can use eyeliner) and seal with black eyeshadow.
Lower lip: outline with red pencil and fill in with intense red lipstick.
Always moisturize with lip balm before applying all of this.
Step 7: Final details – Foxy essence
I drew black lines from the corners of the mouth to the chin.
I painted the tip of the nose and drew a thin line downwards, connecting it to the upper lip.
I added decorative stones for that final touch that makes all the difference.
Step 8: Natural, light skin
I'm not a fan of heavy foundation because my skin is sensitive (I used to have acne problems), so:
I only applied Valmy concealer to dark circles and specific areas.
I added a touch of liquid blush to my cheeks and, of course, sunscreen.


.jpeg)

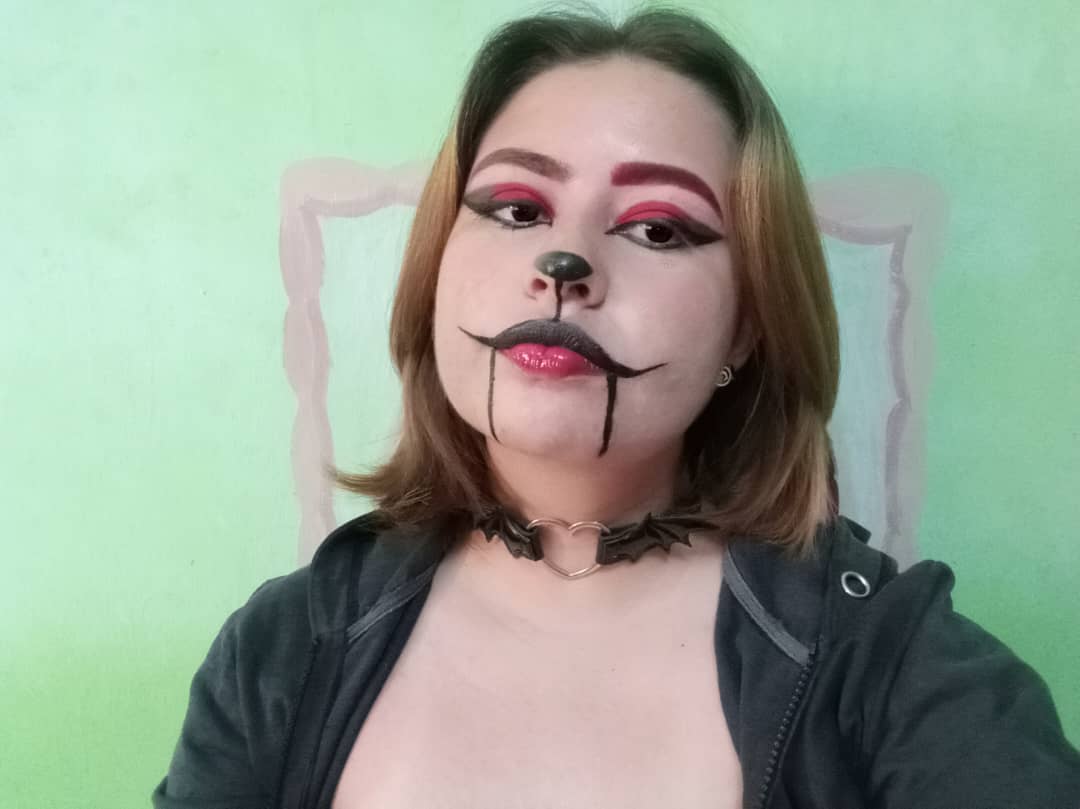
Un look atrevido, creativo y con mucha personalidad, perfecto para fotos, eventos temáticos o simplemente para divertirse creando.
¿Qué opinan? ¿Les gustaría que el próximo tutorial sea otro personaje gamer o prefieren un look glam clásico?
¡Déjenmelo en los comentarios!
Si les gustó este contenido, apóyenme con un voto, reblog y sigamos compartiendo arte y creatividad en HIVE.
A bold, creative look with lots of personality, perfect for photos, themed events, or simply for having fun creating.
What do you think? Would you like the next tutorial to be another gamer character, or would you prefer a classic glam look?
Let me know in the comments!
If you liked this content, support me with a vote, reblog, and let's continue sharing art and creativity on HIVE.
.gif)
.gif)
!LOL
Posted using Hive Images
lolztoken.com
Because they only have one tale.
Credit: marshmellowman
@vene1425, I sent you an $LOLZ on behalf of hivephoto
(2/10)
Delegate Hive Tokens to Farm $LOLZ and earn 110% Rewards. Learn more.