Investigating the Tomb to Find the Helmet | Continuing Lodgok's Mission in Hogwarts Legacy

https://play.3speak.tv/embed?v=venapboyz/ukwoy0c6
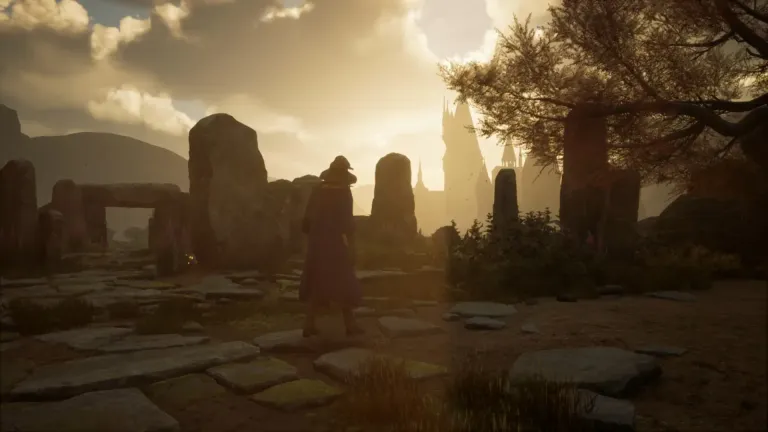
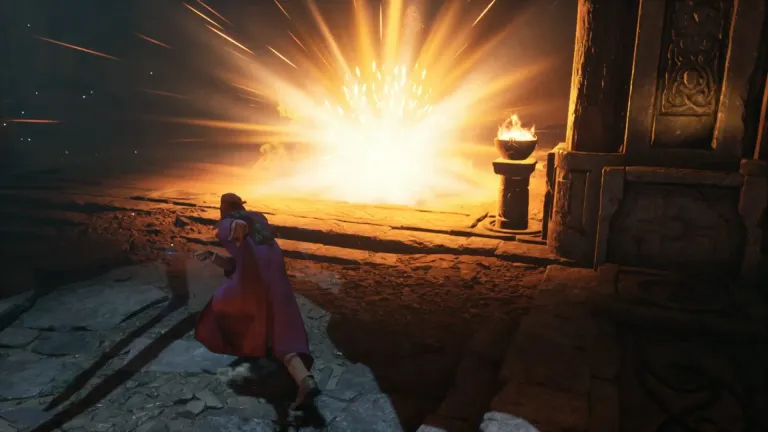
Hey gamers, how are you all doing? This time I'm continuing my Hogwarts Legacy adventure picking up right where we left off with Lodgok's mission — standing at the entrance of the Witch's Tomb with the objective of going inside and finding a helmet that connects directly to the Ranrok and Rookwood investigation. This session I also decided to slow down a little and actually enjoy the visual side of things by taking some screenshots along the way, because this tomb is genuinely one of the more atmospherically impressive locations the game has dropped me into so far and it felt wrong to just rush through it without documenting what it looks like. So enjoy the visuals alongside the adventure today.
Entering the Tomb and Exploring Its Path
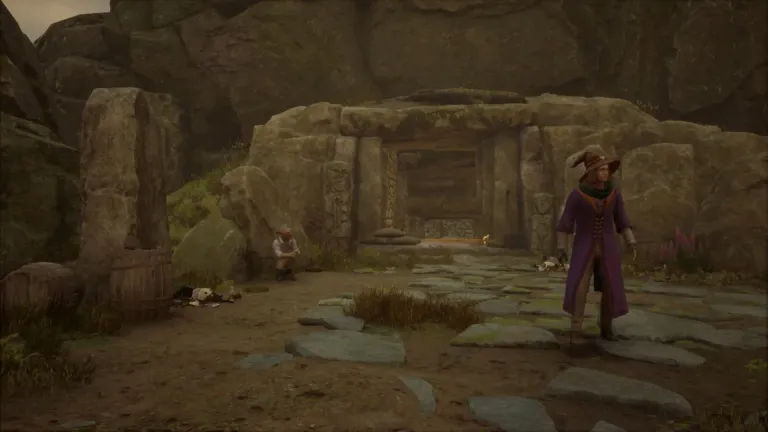
Stepping through the entrance of the Witch's Tomb and leaving the highland landscape behind immediately puts you in a completely different world. The transition from open sky and green grass to ancient underground stonework is sharp and deliberate — the kind of environmental design shift that communicates very clearly that you're now in a place that has been sealed off from the outside world for a very long time. The stone walls inside are dark and damp, covered in old magical carvings that suggest whoever built this place was working with deep knowledge of ancient rites and protective enchantments. Revelio is essential from the first steps inside because the tomb is loaded with interactable objects, hidden alcoves, and collectible chests that blend into the environment easily if you're not actively looking for them.
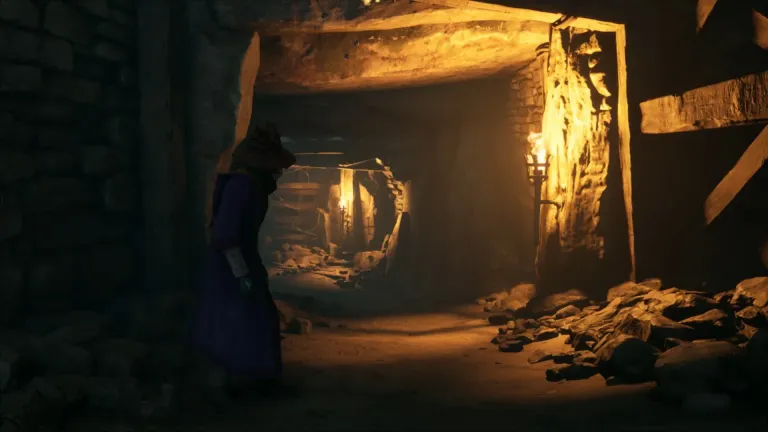
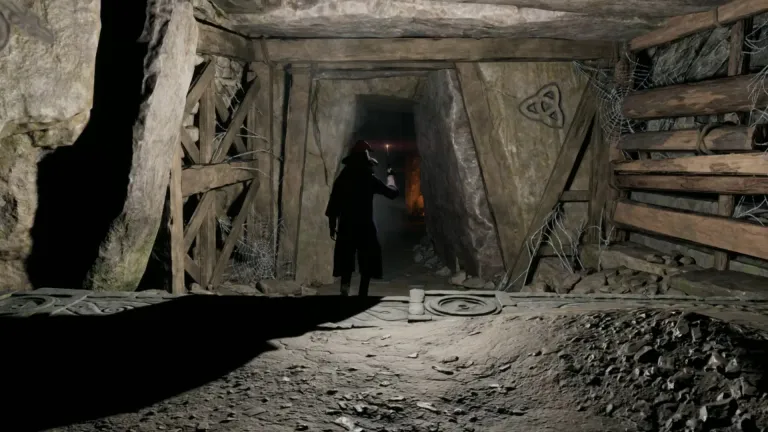
The path through the tomb is linear but never feels like a corridor you're just rushing down. It winds and drops through different levels of the underground structure, occasionally opening into larger chambers before narrowing again into tighter passages. Each section has its own distinct architectural character — some areas feel like they were built as ritual spaces with ceremonial significance, others feel more like functional passages connecting the important chambers deeper inside. The lighting throughout all of this is handled beautifully, which is part of why taking screenshots in here was so rewarding. There are torch braziers that cast warm amber light across the stone floors, areas of near-total darkness that your wand light cuts through in a very satisfying way, and occasional shafts of greenish magical luminescence coming from ancient enchantments still active in the walls after centuries of neglect. Every few steps there's a composition worth stopping for.
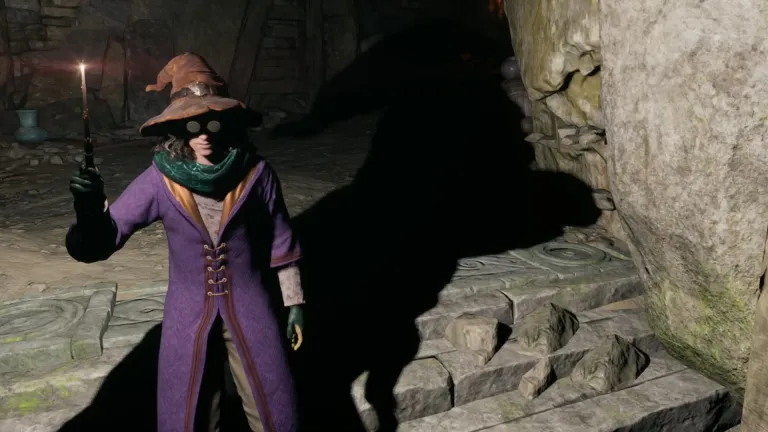
The chest hunt through the initial exploration sections is solid — several medium and large chests are positioned off the main route in spots that reward thorough exploration. One in particular requires you to use Accio to pull a moveable stone block out of the way before you can squeeze into the side passage where the chest is sitting. Another is tucked up on a ledge that you can only reach by using Levioso to float yourself up via a nearby crate. The game continues to use the utility spell toolkit as the solution to environmental puzzles in ways that feel organic rather than forced, and the tomb provides plenty of these opportunities.
Facing Inferi for the First Time
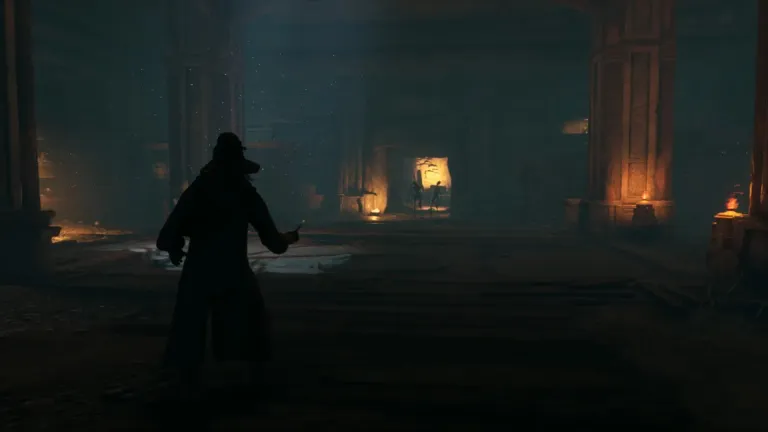
And then the Inferi show up. And everything changes. If you haven't encountered Inferi before in this game, let me prepare you: these are reanimated human corpses raised by dark magic, and they look exactly as unsettling as that description suggests. They move with this jerky, wrong quality that immediately sets off every alarm in your brain, their skin is pale and deteriorated, and they make sounds that are deeply uncomfortable. The first time one crawled out of the ground in the darkness ahead of me I genuinely tensed up, which is a testament to how well the game handles their introduction. You don't get a warning or a loading screen tip — they just appear, and you have to deal with them.
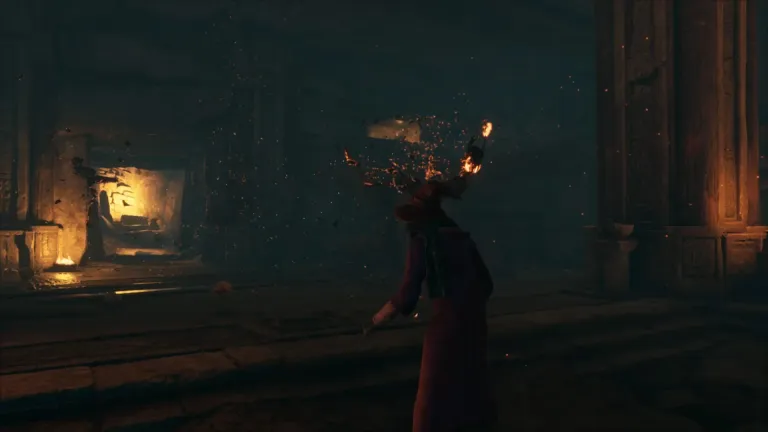
The key thing to understand about Inferi immediately — and this is the rule that governs every single fight against them — is that fire is the law. Regular spells barely register against them. Basic casts tickle them. Expelliarmus does next to nothing. But the moment you hit an Inferius with Incendio or Confringo, it staggers, takes real damage, and the fire continues burning for several seconds of additional damage after the initial hit. A fully charged Incendio sweep that catches multiple Inferi at once is one of the most effective tools in this entire tomb because these enemies tend to come in groups and the area damage of fire spells handles multiple targets simultaneously.
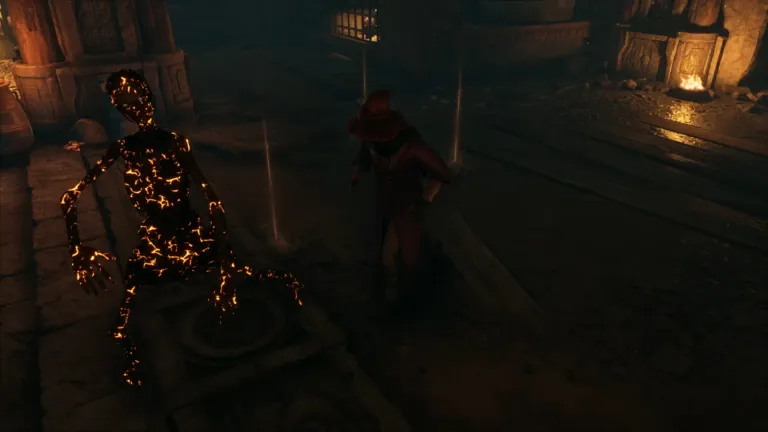
The Ancient Magic Throw is also excellent against them — grab one of the environmental objects the tomb provides, hurl it at a cluster of Inferi, follow up immediately with Confringo or Incendio on whatever is still standing. The combination of impact damage from the throw and fire damage from the follow-up spell drops individual Inferi fast. What you want to avoid is getting surrounded — Inferi in groups close distance aggressively and if three or four of them reach melee range simultaneously you're in trouble because each individual hit isn't enormous but the cumulative damage from multiple melee strikes very quickly puts you in a dangerous position. Keep moving, keep fire spells cycling, and never let them back you into a corner.
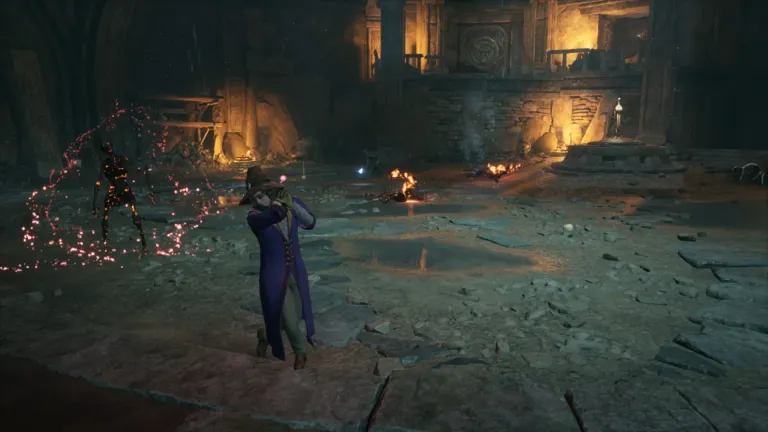
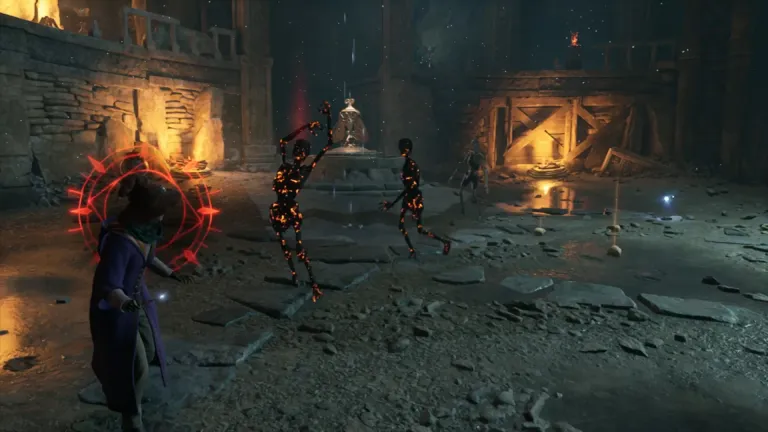
The first Inferi encounter in the tomb is manageable but it's clearly designed as an introduction to the enemy type rather than a full test of how to fight them at their most dangerous. Subsequent waves deeper in the tomb scale up the numbers and add more aggressive variants that close distance faster and shrug off single fire hits more effectively before going down. By the time you've cleared the deeper sections you have a very thorough understanding of how these enemies work and how to handle them efficiently, which feels exactly like the intended design — use the earlier encounters to build competence for the tougher ones ahead.
Solving the Firefly Puzzles
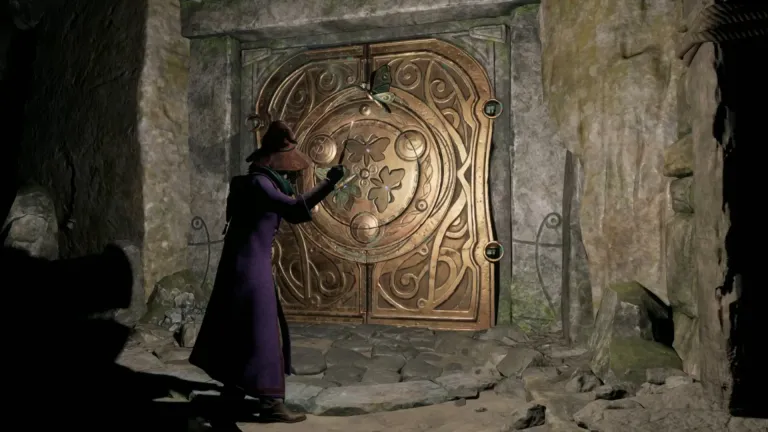
Deeper into the tomb the game introduces a new environmental puzzle mechanic tied to fireflies — small floating clusters of magical light that are positioned throughout certain chambers and need to be redirected into specific receptacles to unlock doors or activate platforms. The concept is elegant: you use your spells to interact with the firefly clusters and guide them toward where they need to go, with the environment around them changing based on whether the correct receptacle is filled or empty.
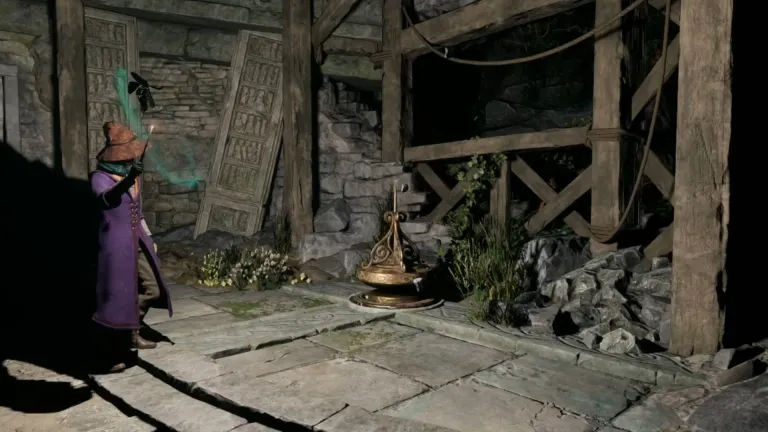
The first firefly puzzle is essentially a tutorial for the mechanic — the firefly cluster is visible right next to the receptacle it belongs in, and a single Depulso to push it gently in the right direction solves the whole thing in about fifteen seconds. The door it unlocks swings open and you move forward feeling like you've figured out the logic of the puzzle type cleanly and quickly. The sense of competence this gives you going into the second puzzle is real, which makes what happens with the second puzzle all the more humbling.
Getting Stuck on the Second Firefly Puzzle
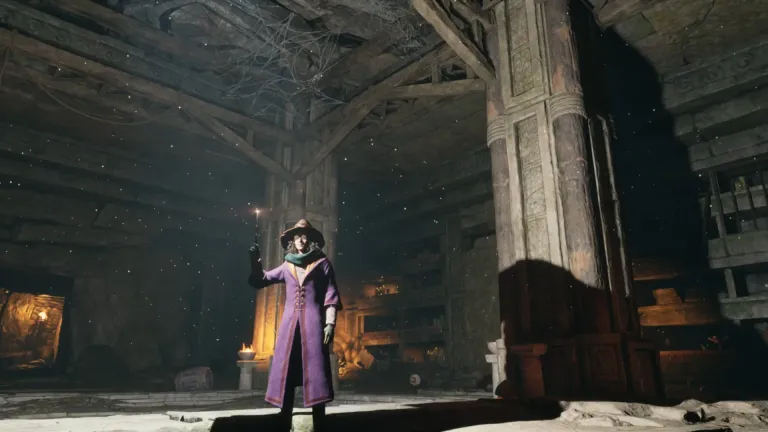
Okay gamers, I have to be real with you here because honesty is always the policy. The second firefly puzzle in this tomb has me completely stumped as of the end of this session. The setup involves using Depulso to move what appears to be a kind of key mechanism — a stone or magical object that when repositioned correctly raises platforms and opens the path forward. The firefly cluster in this section is positioned in relation to this mechanism in a way that I can clearly see is intentional and logical, but the exact sequence of actions required to get the mechanism into the correct position to trigger the platform rise is something I have not cracked yet.
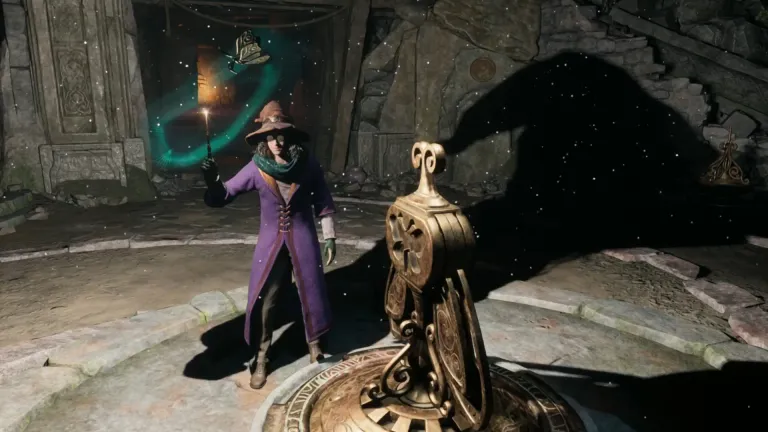
I spent more time on this puzzle than I want to admit. I tried Depulso from every angle I could position myself. I tried combining Depulso with Accio to pull the mechanism back and then push it from a different direction. I tried using Levioso on nearby objects to see if creating a new platform changed the angles available to me. I tried Revelio multiple times just to make sure I wasn't missing a completely separate interactable element that would make the solution obvious. Nothing has worked yet and at a certain point continuing to throw the same attempts at it without a fresh perspective isn't productive. Sometimes you have to step away, come back with clearer eyes, and look at the problem from scratch.
So that's exactly what we're going to do. The second firefly puzzle in the Witch's Tomb is where this post ends, and the next post picks up with either the solution or a very honest account of needing outside help to figure it out — whichever comes first. The tomb has more to reveal beyond this point and Lodgok's mission still needs completing, so we're not leaving this place without that helmet. See you in the next post gamers!