Making a coin into a beautiful snake ring (Eng - Esp)
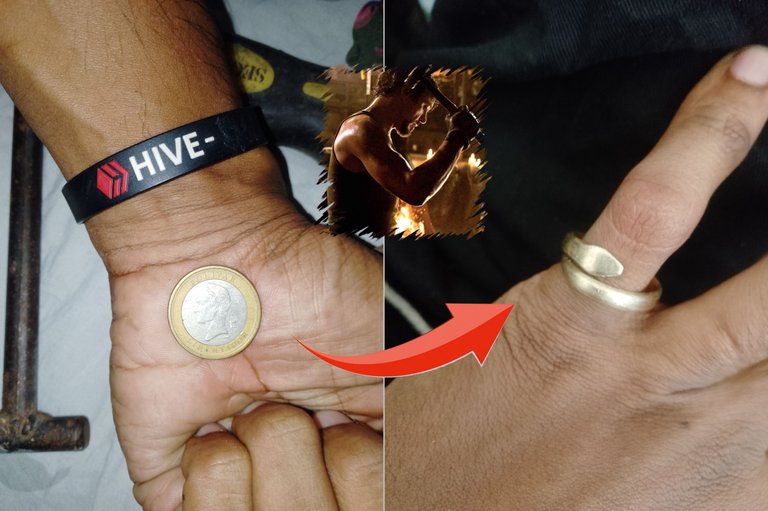

Greetings dear friends, I had a long time thinking about sharing this type of content with you and what better opportunity now that I found a coin of my country.
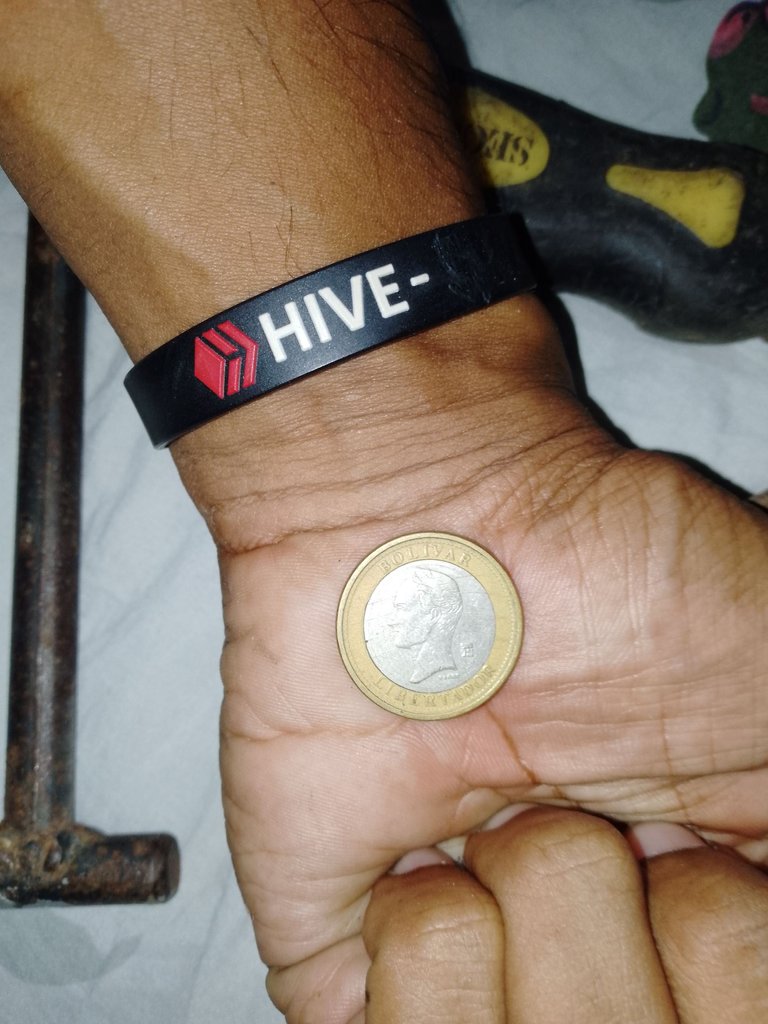
This coin came out in 2007 and was similar to the euro, the subject of the currency of my country is very complex and long to explain in this opportunity, I will only tell you that this type of crafts was popular because the Bolivar had almost no value.
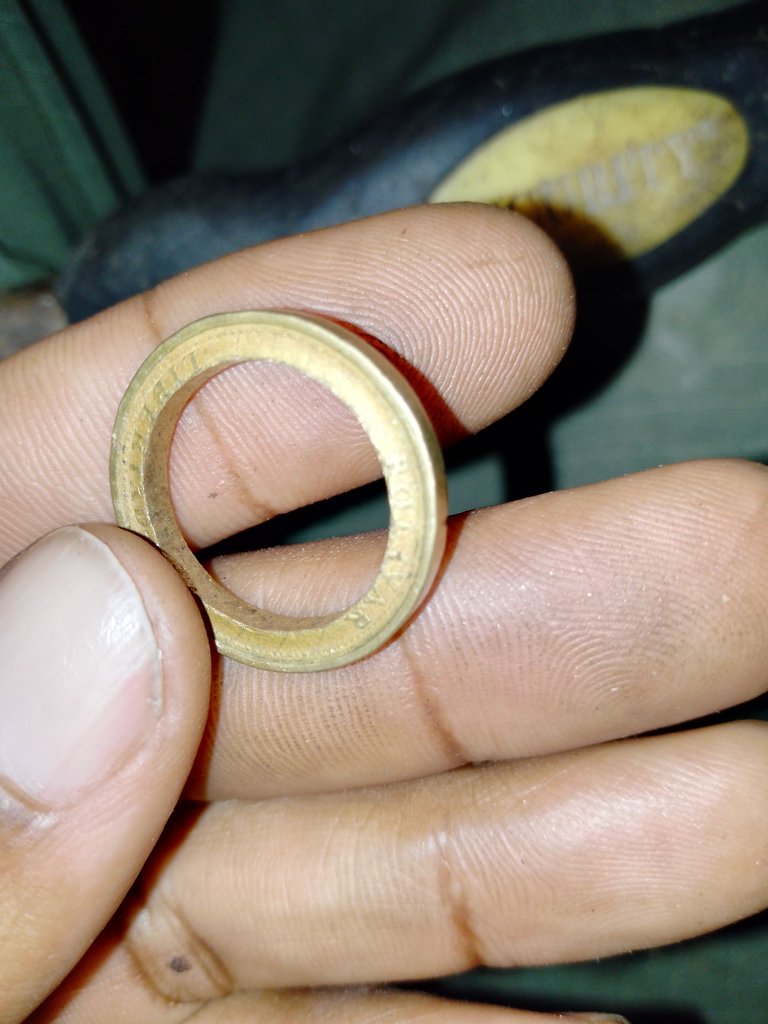
This coin has a nickel center and a ring with a bronze-aluminum alloy, in this case it is the ring that interests us.
Saludos apreciados amigos, tenía mucho tiempo pensando en compartir este tipo de contenido con ustedes y que mejor oportunidad ahora que encontré una moneda de mi pais.
Esta moneda salió en el año 2007 y era parecida al euro, el tema de la moneda de mi pais es muy complejo y largo de explicar en esta oportunidad, solo les diré que este tipo de artesanías era popular ya que el Bolívar no tenía casi nada de valor.
Esta moneda tiene un centro de niquel y un anillo con aleación de bronce-aluminio, en este caso es ese aro el que nos interesa.

I would like to give you a list of tools, but the truth is that I am improvising, I have only done this once and never something as elaborate as what I plan to do.
I know very well that if you can figure out how you will find a way to do it.
Quisiera darles una lista de herramientas, pero la verdad estoy improvisando, solo hice esto una vez y nunca algo tan elaborado como lo que tengo pensado hacer.
Se muy bien que si puedes imaginar el como encontraras la forma de lograrlo.
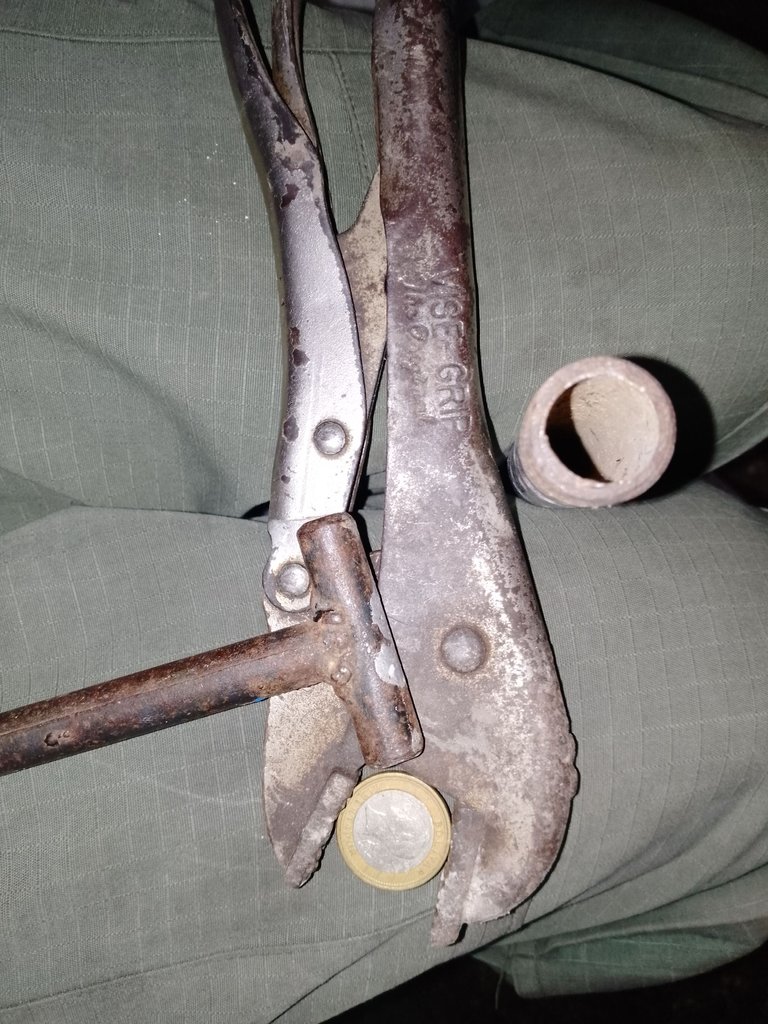
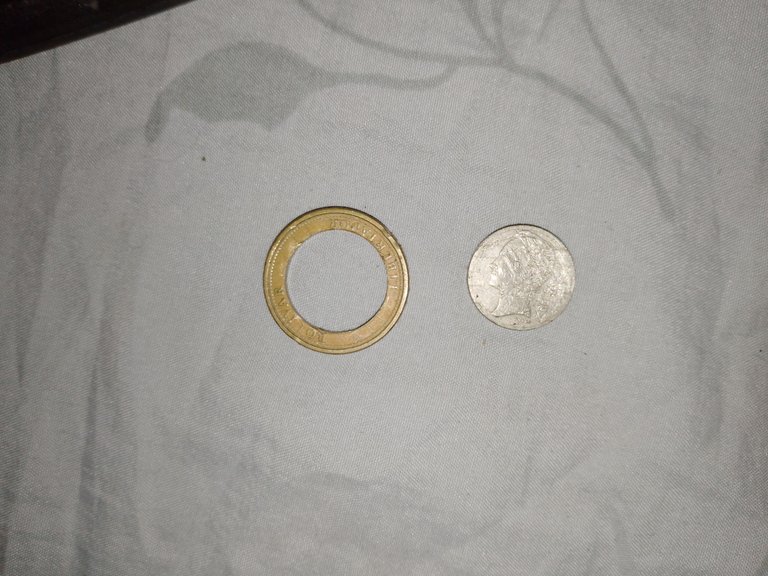
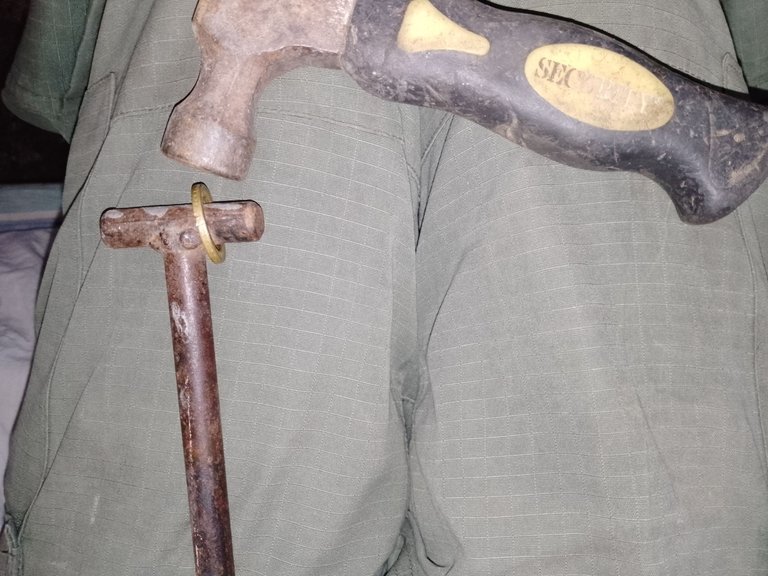
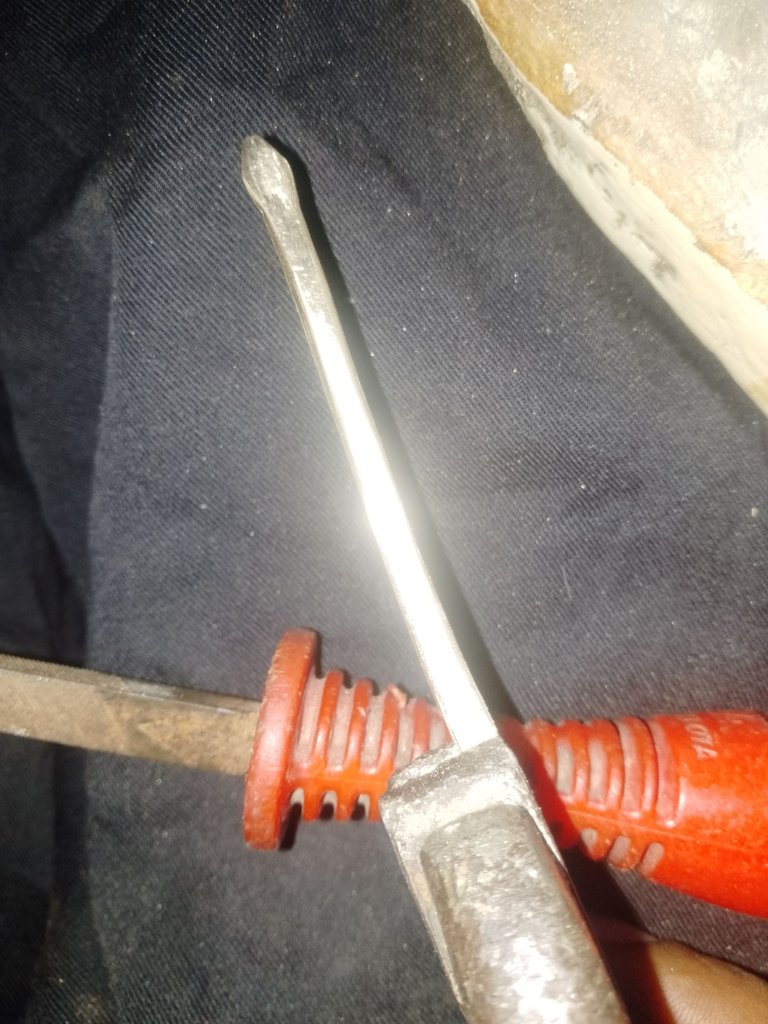
The first step is to separate the coin into two parts, I'm not sure how they make them, but I know that if you tap constantly you can separate the ring we need from the nickel.
El primer paso es separar la moneda en dos partes, no estoy seguro de como las fabrican, pero se que si golpeas constantemente puedes separar el anillo que necesitamos del níquel.
Now we can start cold forging, I have mixed feelings when I hit the metal cold but with a lot of patience this ring is flattening little by little.
Ya podemos empezar a forjar al frio, tengo sentimientos encontrados al golpear el metal en frio pero con mucha paciencia este aro se va aplanando poco a poco.
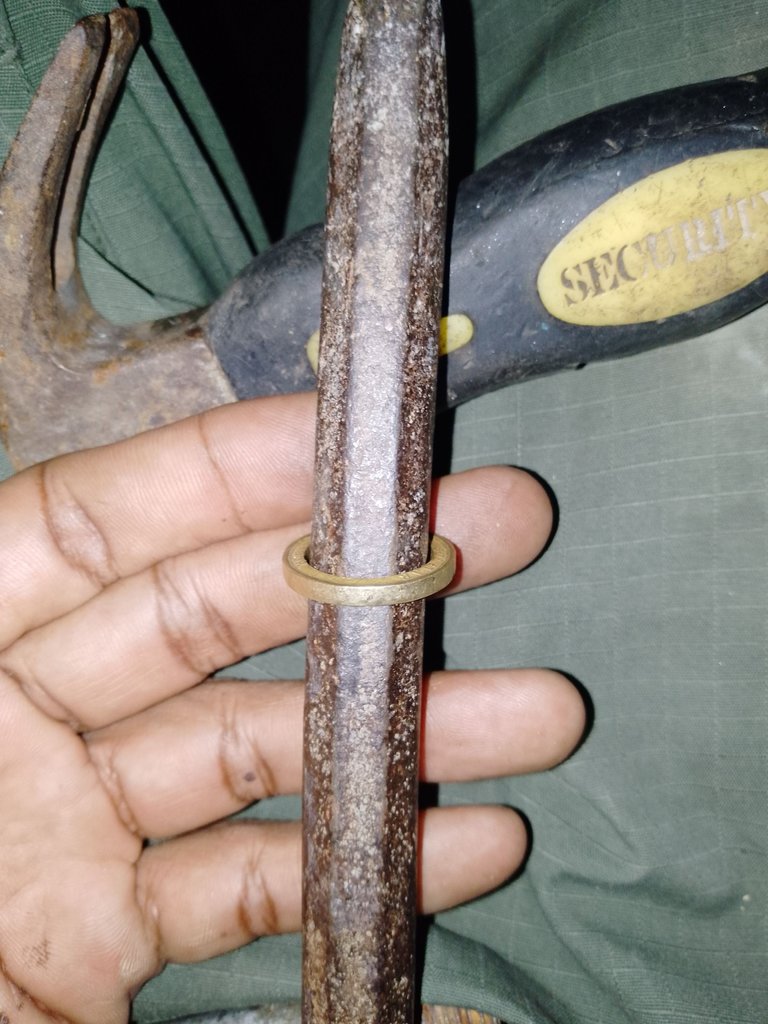
As you can see, this ring increases in size as we go carefully, so much so that I can now use a larger iron to hold it in place.
Como pueden notar este aro aumenta su tamaño a medida que vamos golpeando con cuidado, tanto asi que ya puedo usar un hierro mas grande para matenerlo.
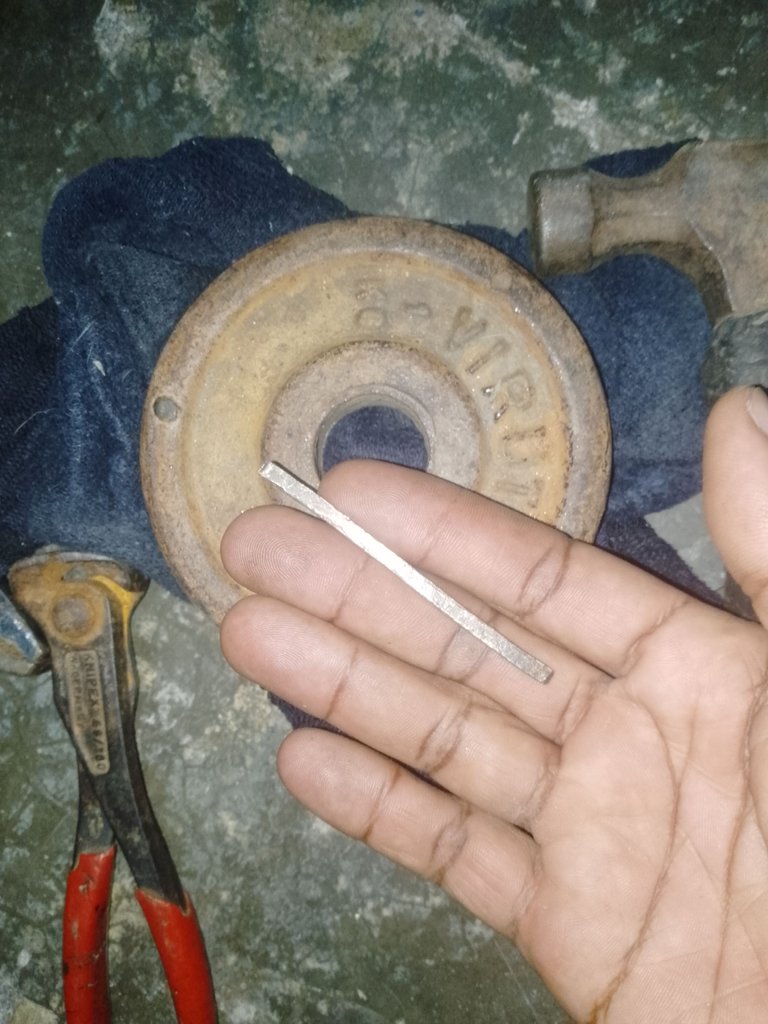
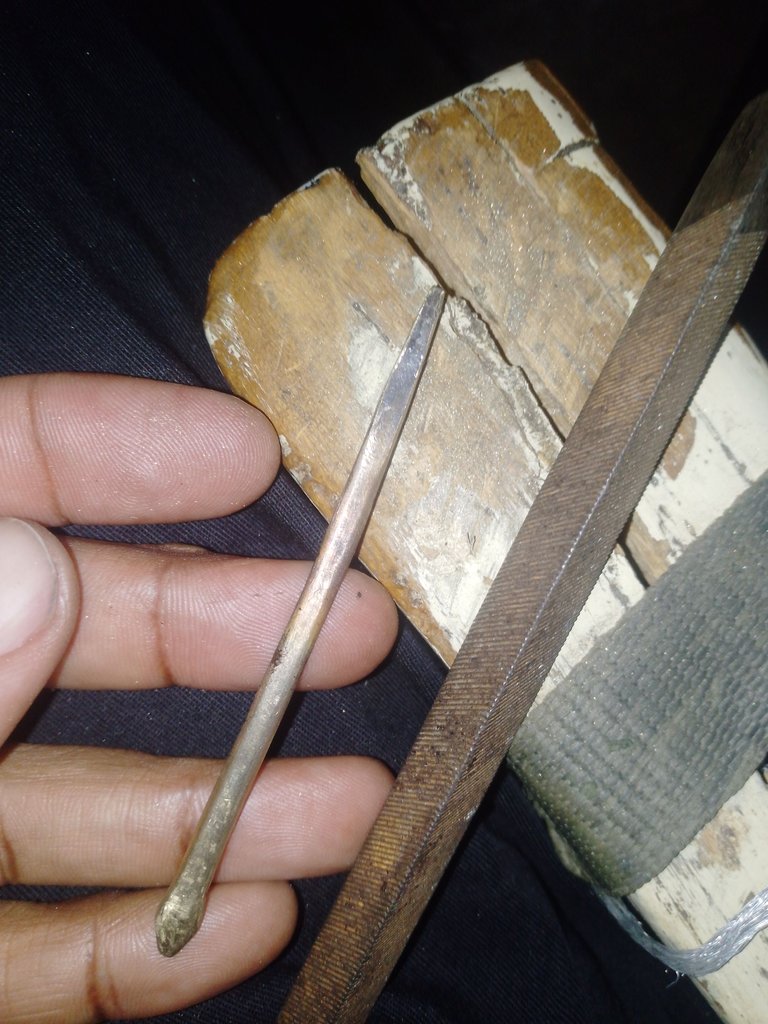
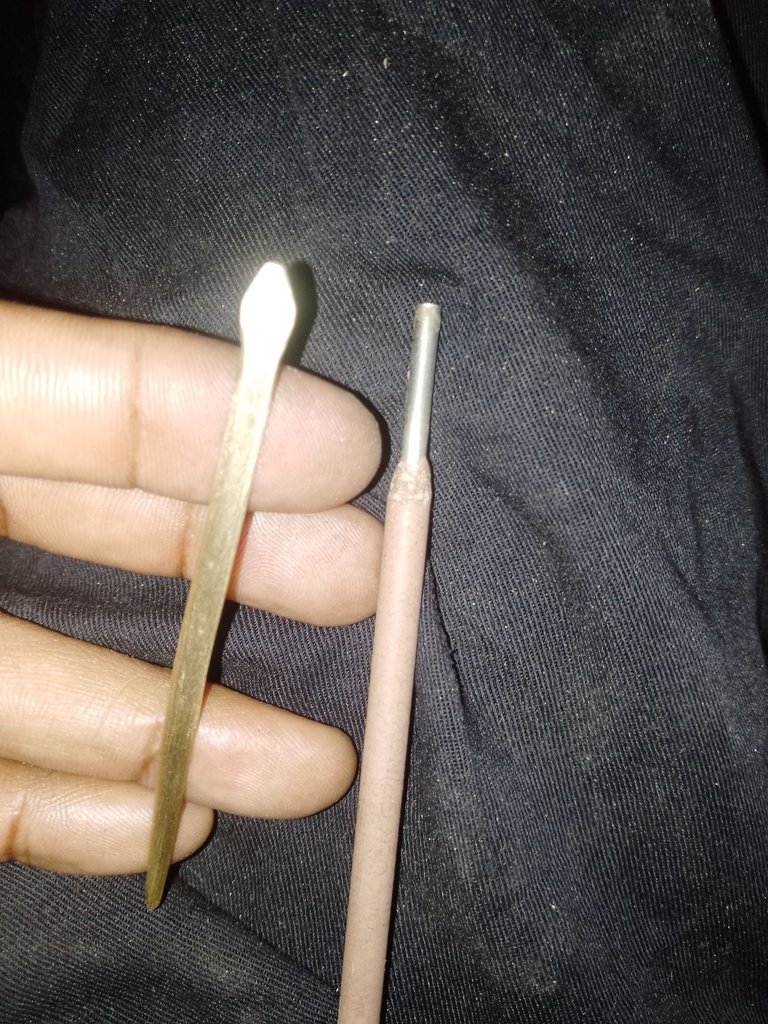
When we get a good size ring, we make a cut and flatten it, something very important to say is that for this step I did heat the piece, I don't know how flexible this material is but I was afraid it would break if I tried to bend it in the cold.
The result is this little elongated dowel.
Al conseguir una aro de buen tamaño, hacemos un corte y aplanamos, Algo muy importante que debo decir es que para este paso si calenté la pieza, no se que tan flexible es este material pero tenía miedo que se rompiera si intentaba doblarlo al frío.
El resultado es esta pequeña espiga alargada.
To carve the snake head was easy, just hammer it to give it a flattened shape, then with a metal file you finish giving it its shape.
Para tallar la cabeza de serpiente fue fácil solo se debe martillar hasta dar la forma aplanada, luego con una lima para metales se le termina de dar su forma.
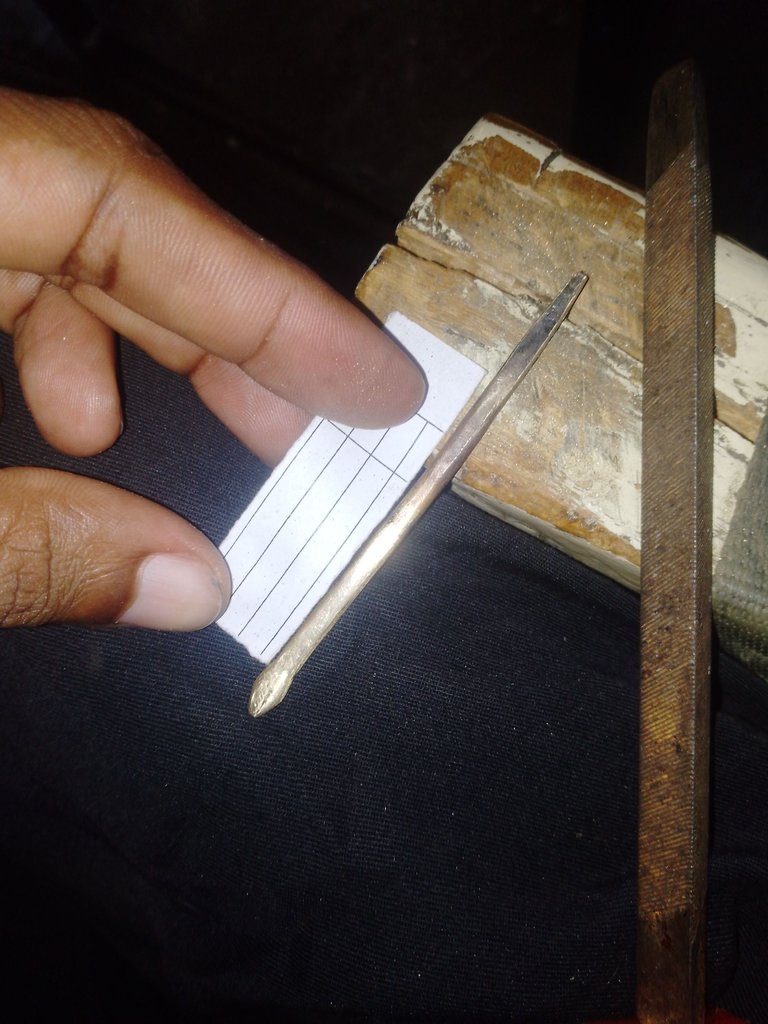
I have this paper as a guide for the size I want for this ring and the design of the ring will allow me to adjust it to various sizes once it is ready.
Tengo este papel como guia de la medida que quiero para este anillo de igual forma el diseño del anillo me permitirá ajustarlo a varias medidas una vez listo.
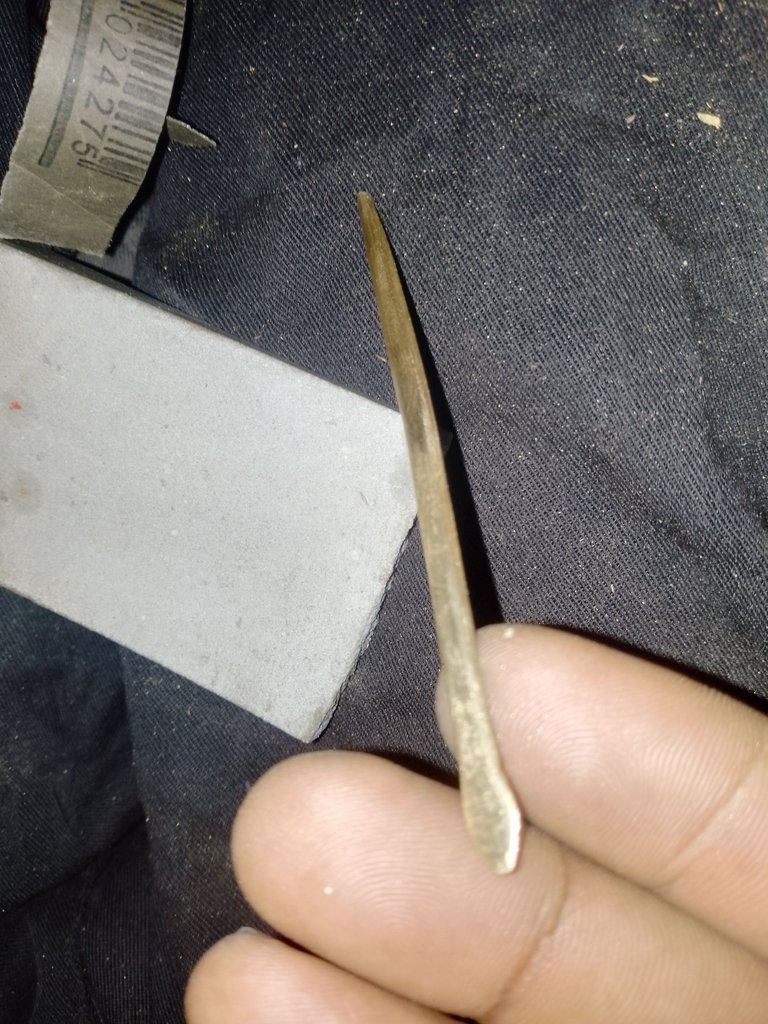
To polish the piece, we will use a whetstone, sandpaper and a small metal bar, some time ago I saw that if you rub it against this material it gives a lot of shine.
Para pulir la pieza, usaremos una piedra de afilar, papel de lija y una pequeña barra de metal, hace tiempo vi que si la frotas contra este material le da muchísimo brillo.
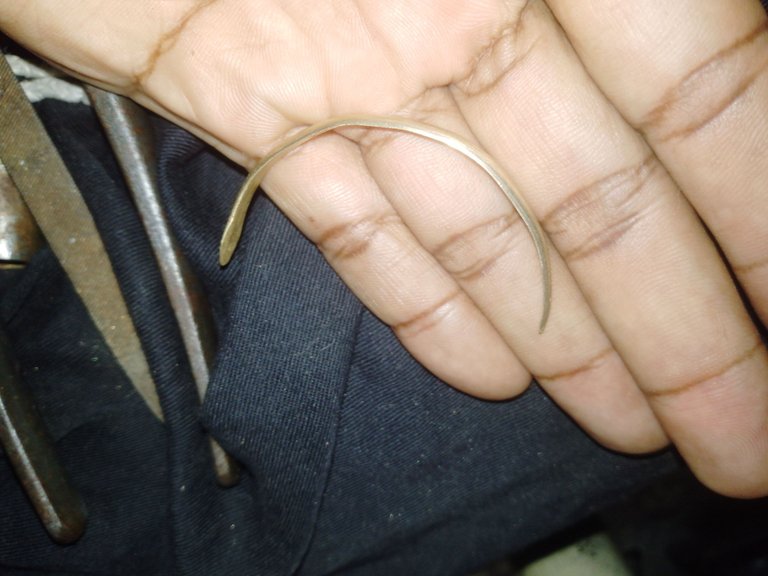
We start with one of the most tedious steps to create a ring again without bending too much in one area, it must be all as uniform as possible or we risk ruining the piece, I could heat for this step but that means that the color of the metal will change, so I decided to take the risk and
Empezamos con una de las etapas mas tediosas, crear un aro nuevamente sin doblar mucho en una sola zona, debe ser todo de forma lo mas uniforme posible o corremos el riesgo de arruinar la pieza, pude calentar para este paso pero eso quiere decir que el color del metal se cambiara, por lo que decidí correr el riesgo y hacerlo al frio
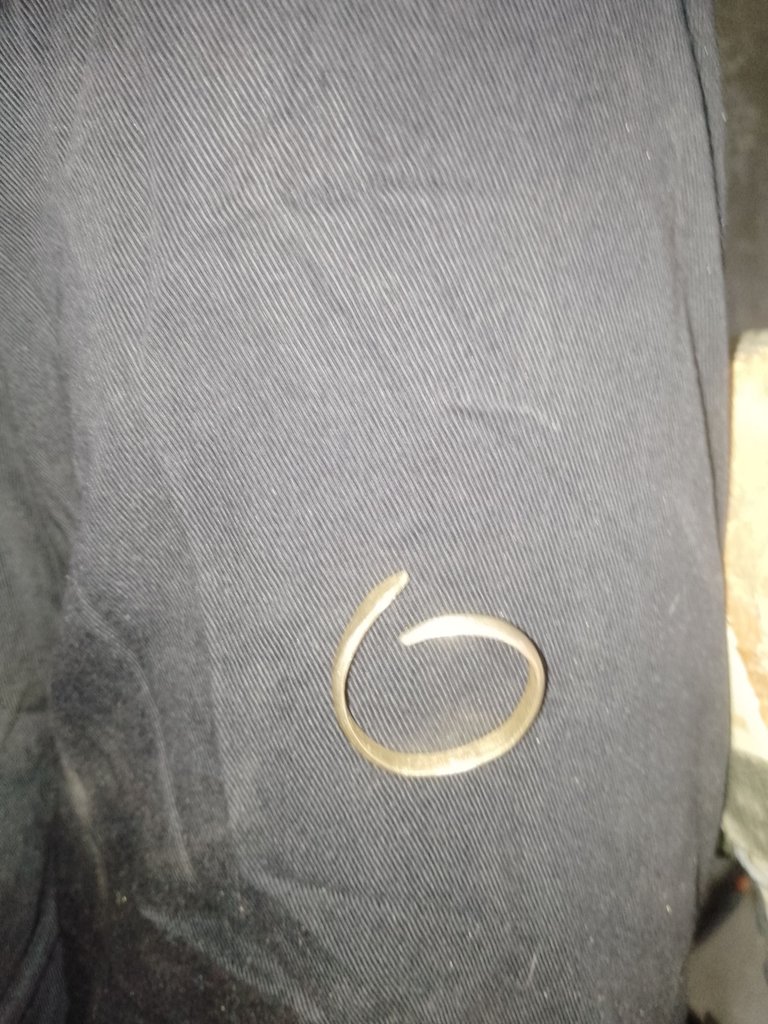
We are closing the ring until we get the right size, in this step it is inevitable that the piece is left with marks, so we must sand and polish once again.
Vamos cerrando el aro hasta conseguir la medida adecuada, en este paso es inevitable que la pieza quede con marcas, así que debemos lijar y pulir una vez más.
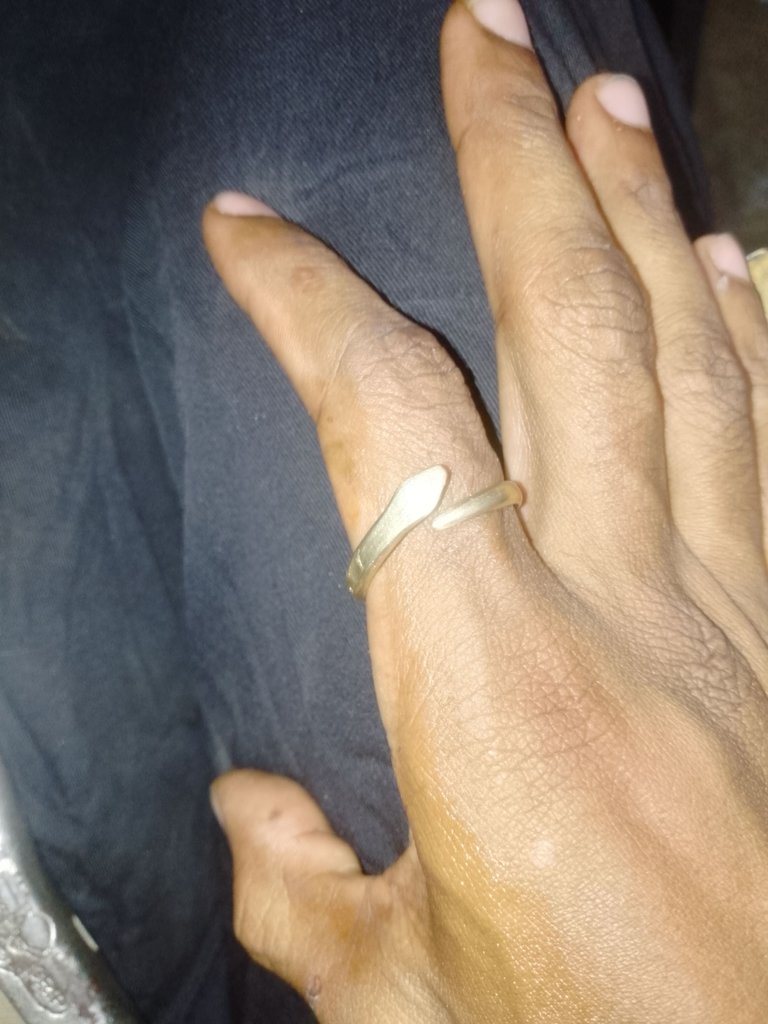
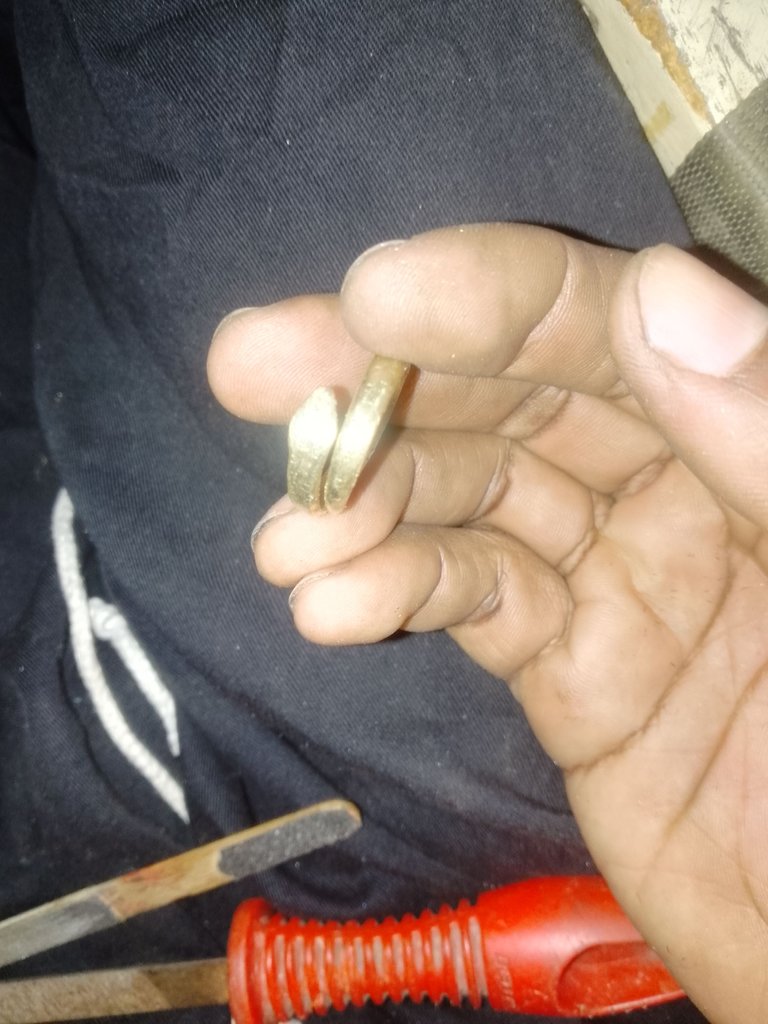
Results - Resultados
Our ring is ready, now all that's left is who to propose to heh heh heh heh.
Listo nuestro anillo ahora solo falta a quien pedirle matrimonio je je je :).

That's all for now friends, I hope to bring you many more crafts, see you soon.
Es todo por ahora amigos, espero poder traerles muchas más artesanías, nos vemos vaqueros!

Wow, looks very cool!