Making a model of the water cycle (ENG-ESP)
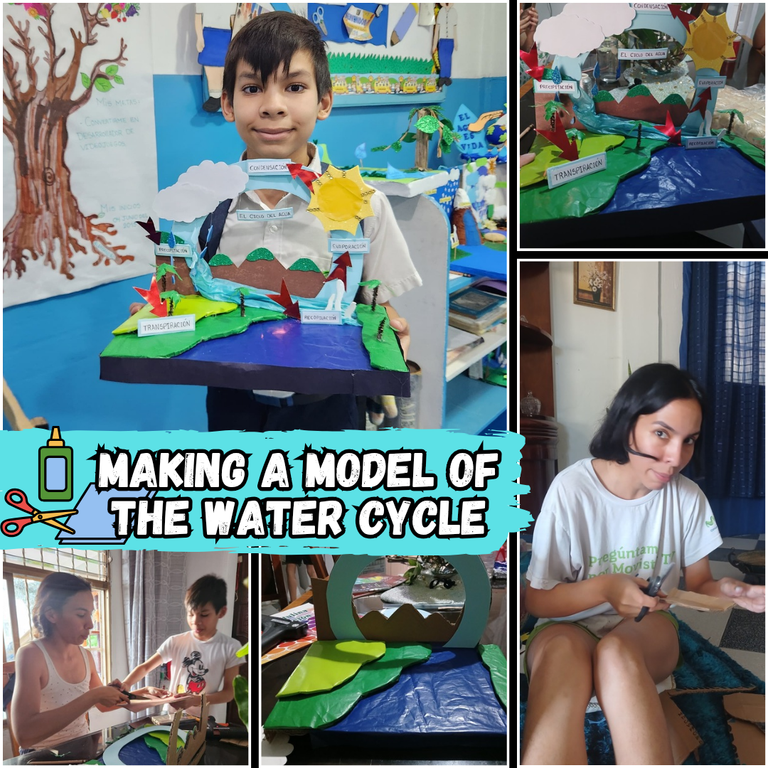
Hello, dear friends of this beautiful community I want to share with you how was the creation of our beautiful model of the water cycle, on March 22 is celebrated World Water Day, on this occasion the teacher of my son requested that he would have to make a model as an activity for that day ❤️ where we had to investigate a little before making it to guide us of some image of how to do it.
Then I had to first check what materials we had at home to know if we had to buy and exactly which ones we would need. Once we had all the materials ready, we got down to work, of course.
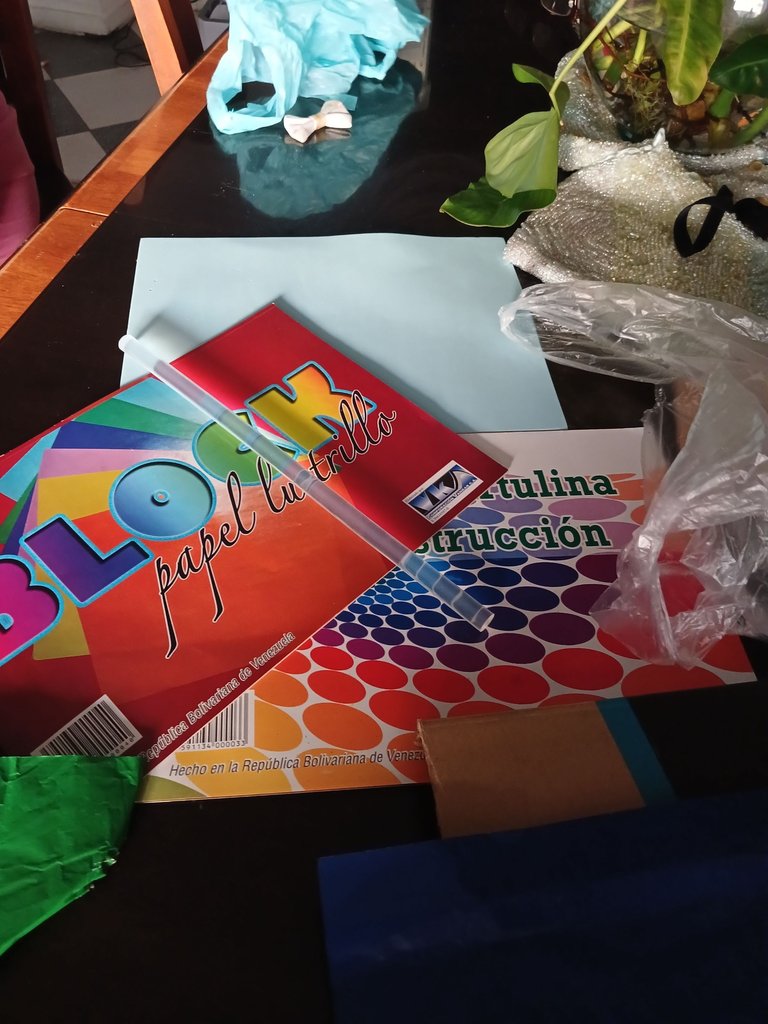
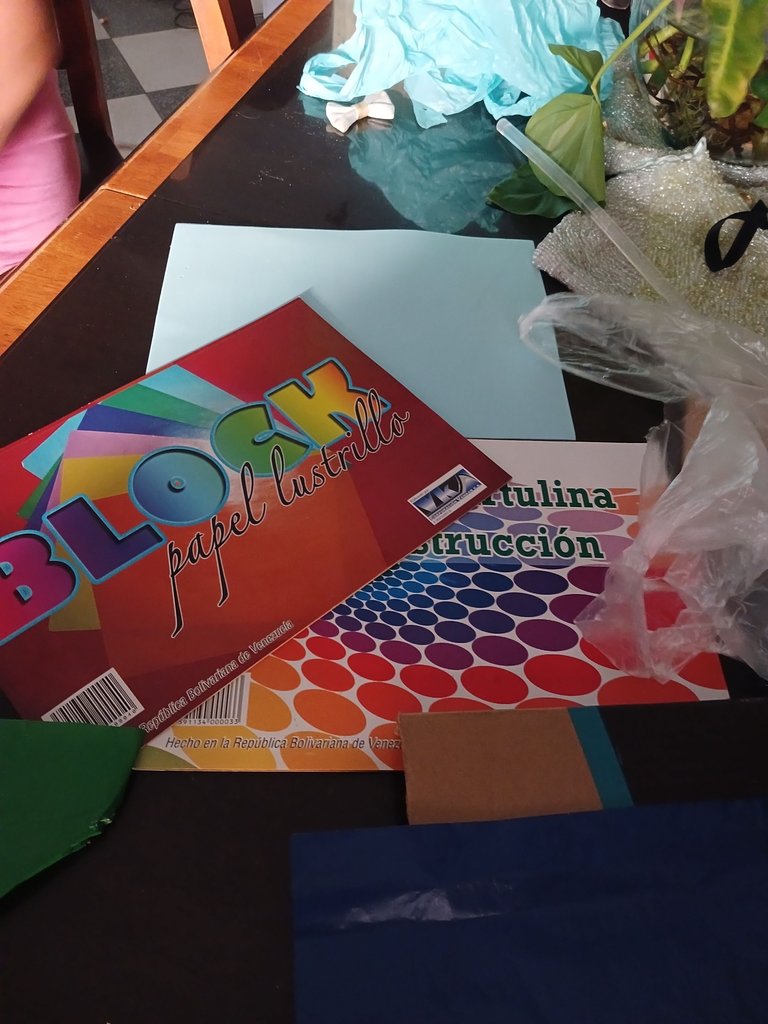
The materials to be used were the following.
- 2 units of large silicone bar
- Scissors
- Silicone bar gun.
- cardboard box
- A sheet of light green lustrillo paper.
- One sheet of dark green lustrillo paper.
- A sheet of dark blue lustrillo paper.
- One sheet of light blue foami
- one sheet of light blue tissue paper
- One sheet of black construction paper.
- a brown folder
- Scraps of frosted green and yellow foami.
- Scraps of yellow lustrillo paper
- White construction paper
- Some silver thread
Hola, queridos amigos de esta hermosa comunidad quiero compartir con ustedes sobre como fue la creación de nuestra hermosa maqueta del ciclo del agua, el 22 de marzo se celebra el día mundial de agua, por esta ocasión la maestra de mi hijo solicitó que tendría que realizar una maqueta como actividad por ese día ❤️ donde nos tocó investigar un poco antes de realizarla para guiarnos de alguna imagen de como realizarla.
Entonces me tocó primero revisar qué materiales teníamos en casa para saber si había que comprar y cuáles con exactitud nos harían falta. Al ya tener todos los materiales listos, nos pusimos manos a la obra, claro está.
Los materiales a utilizar fueron los siguientes.
- 2 unidades de barra silicona grande
- Tijera
- Pistola para barra de silicona.
- cartón de caja
- Un pliego de papel lustrillo verde claro
- Un pliego de papel lustrillo verde oscuro
- Un pliego de papel lustrillo azul oscuro.
- un pliego de foami azul claro
- Un pliego de papel de seda azul claro
- Un pliego de cartulina de construcción negra.
- una carpeta marrón
- Recortes de foami verde escarchado y amarillo
- Recortes de papel lustrillo amarillo
- Cartulina blanca
- Un poco de hilo plateado

 |  |  |
|---|
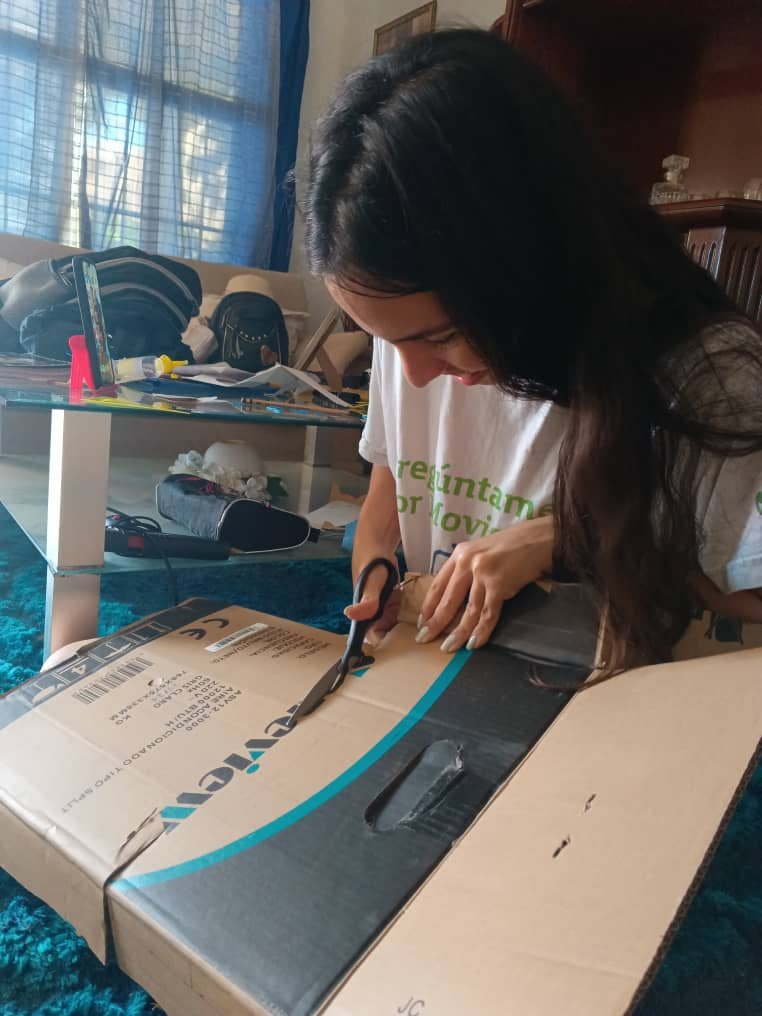
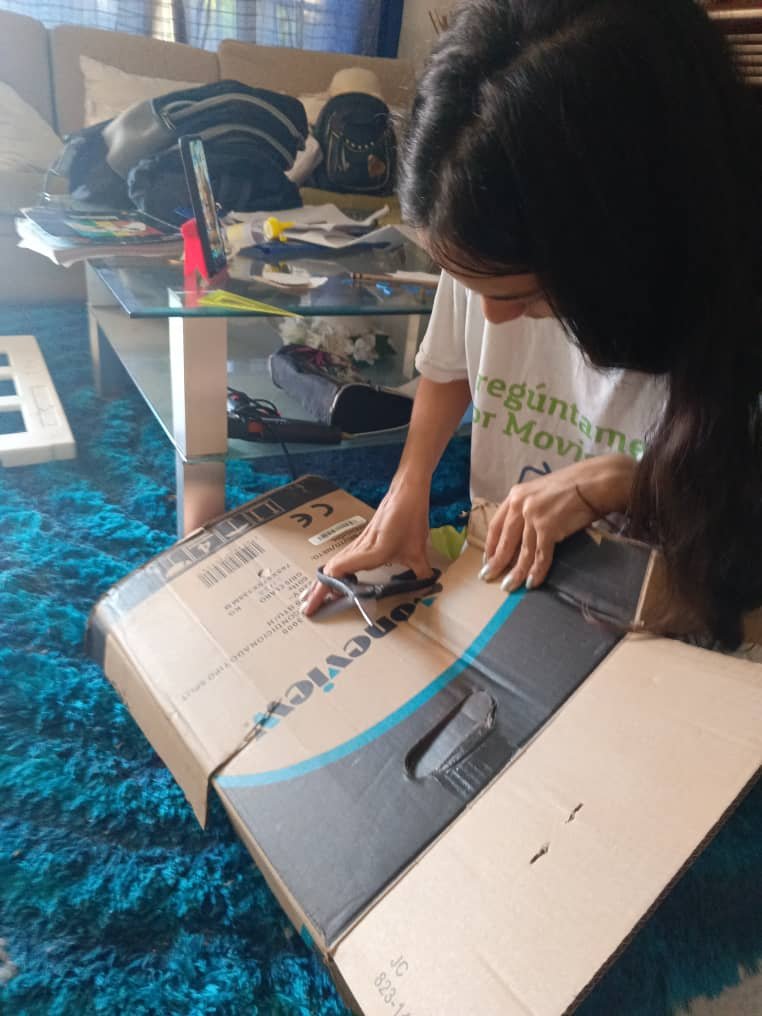
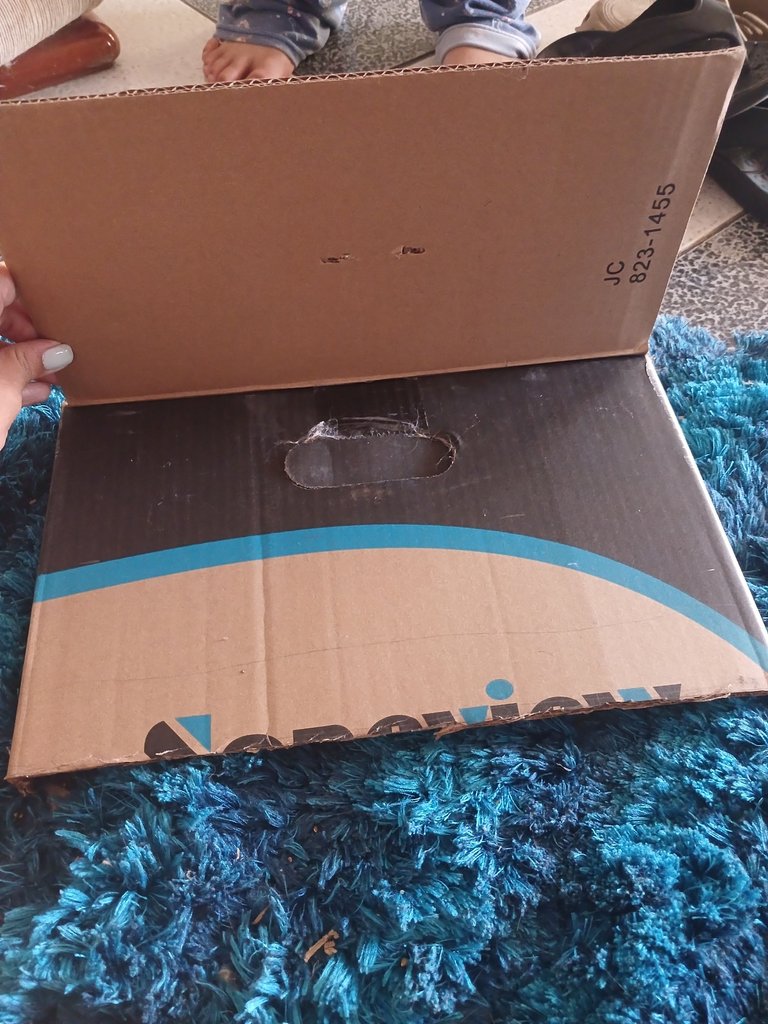
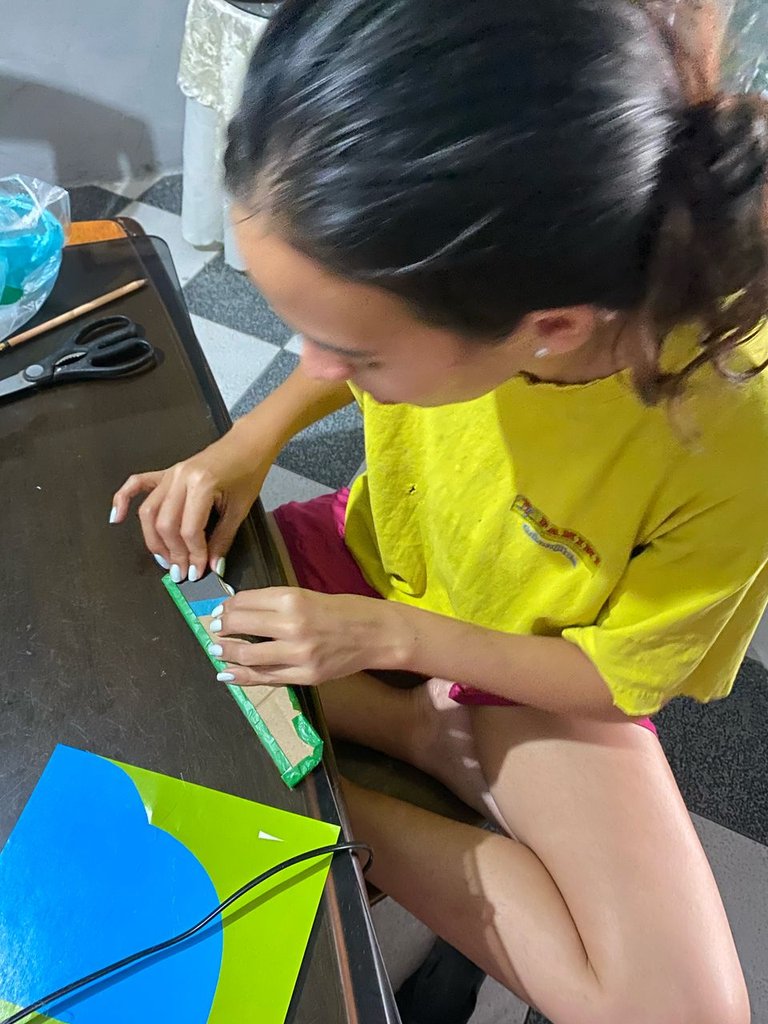
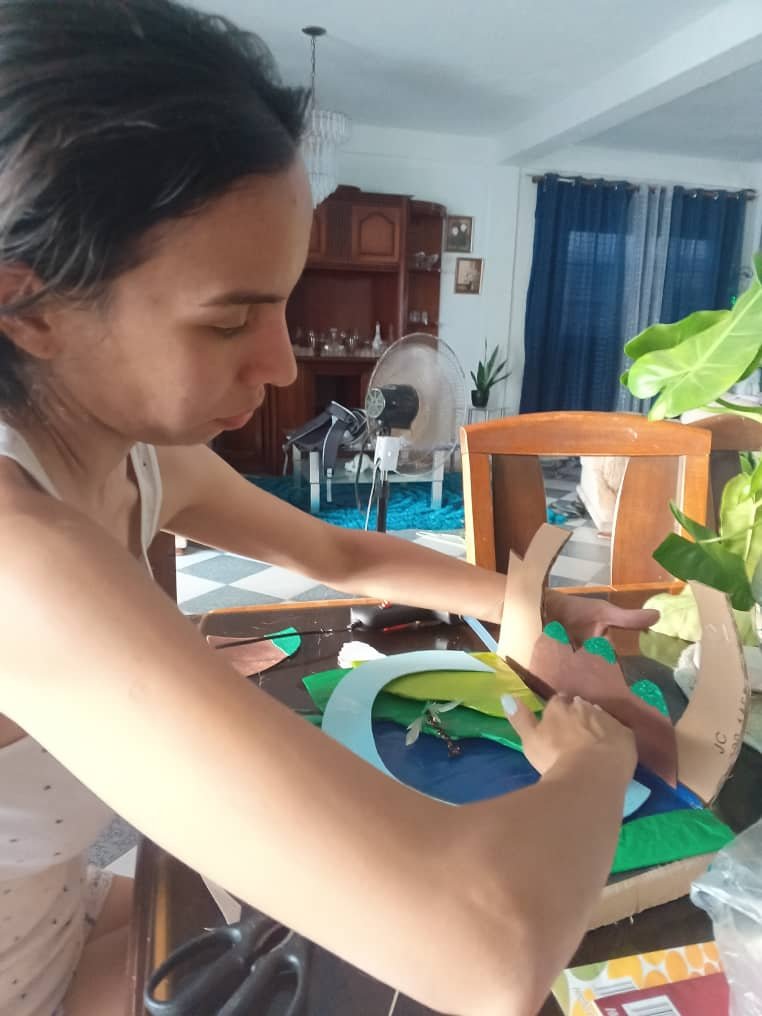
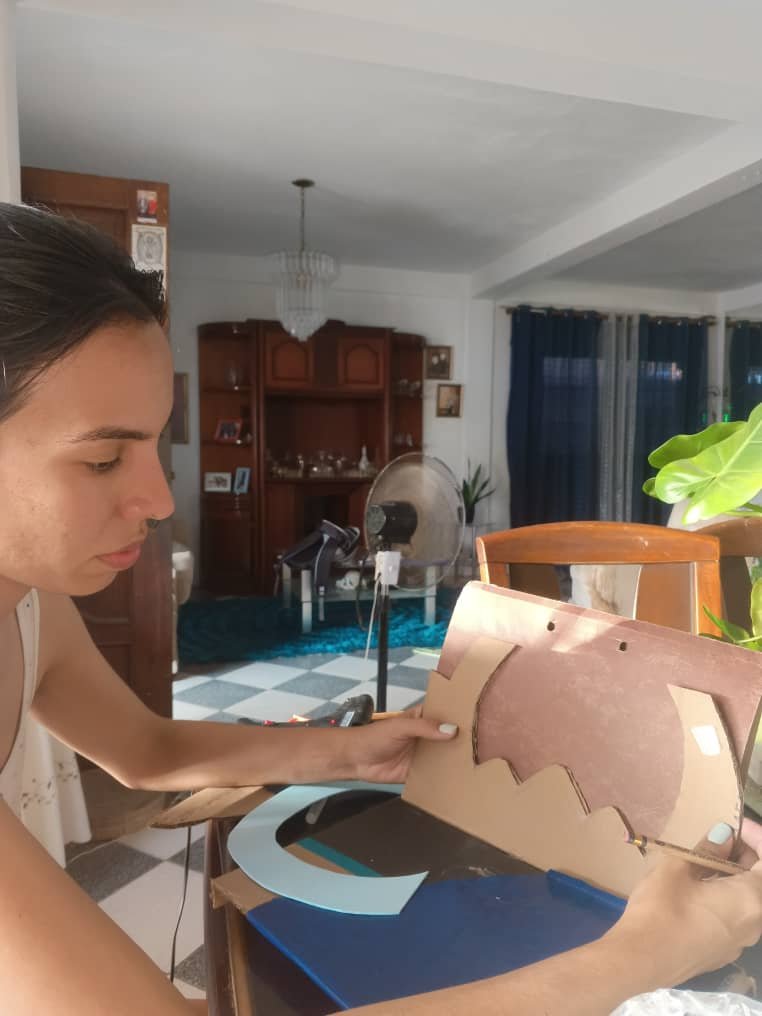
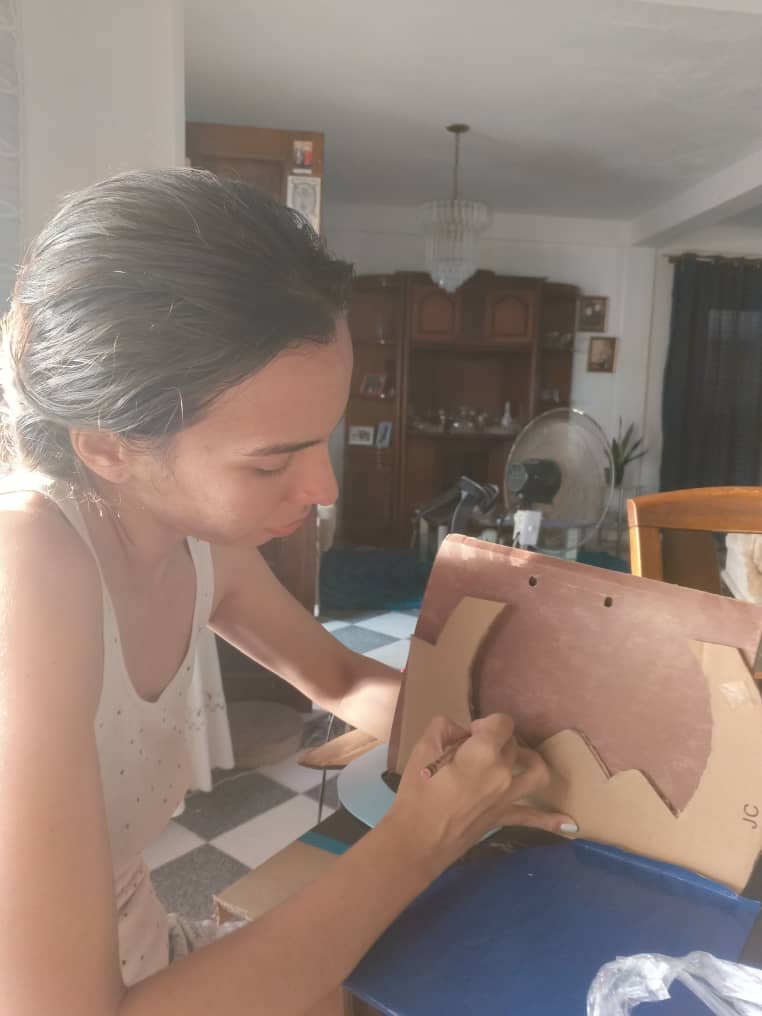
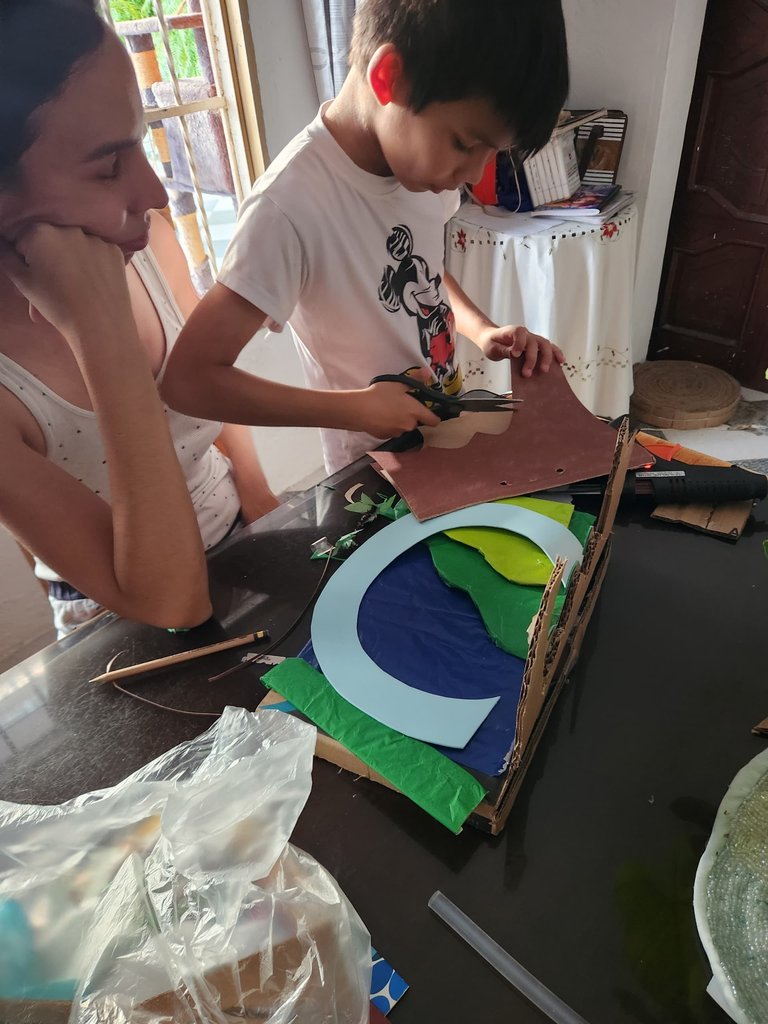
Once we had all the materials ready, we started with the main thing, assembling the base. We made it with the help of my husband and the cardboard of a box.
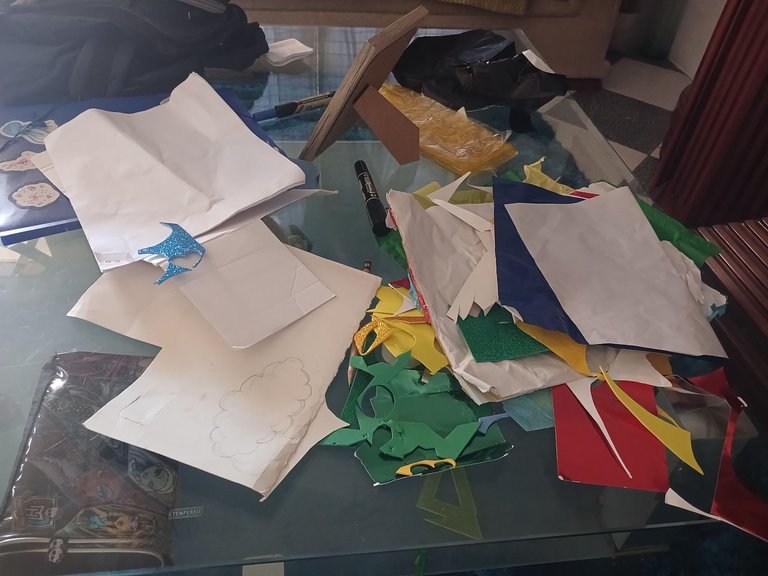
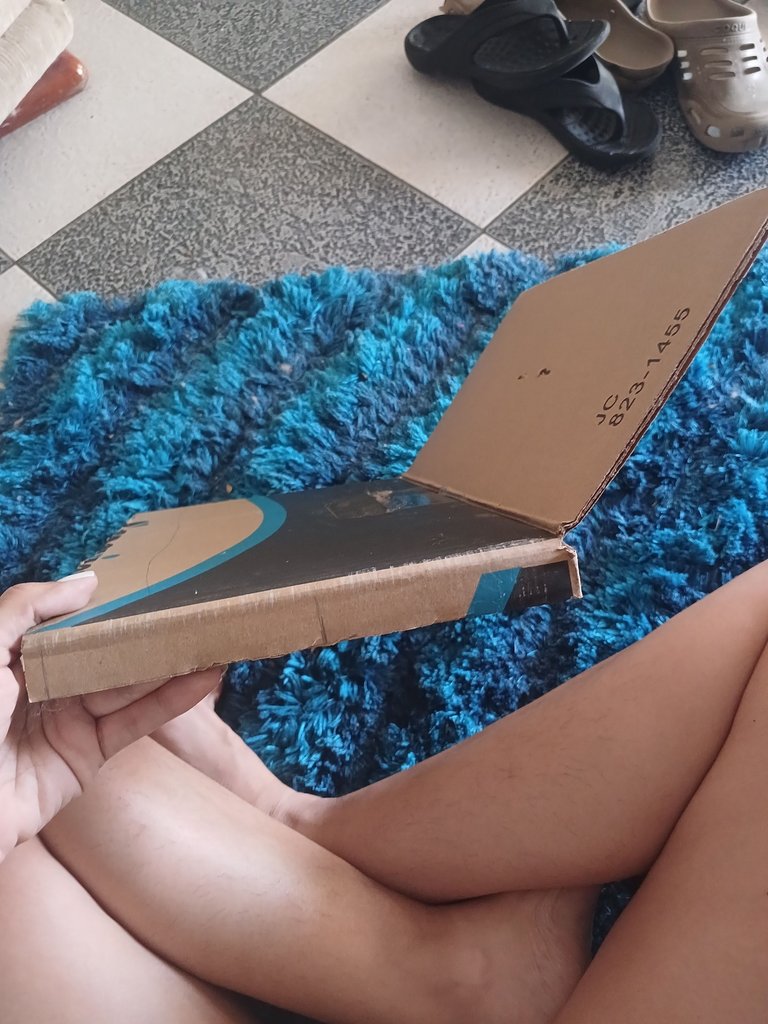
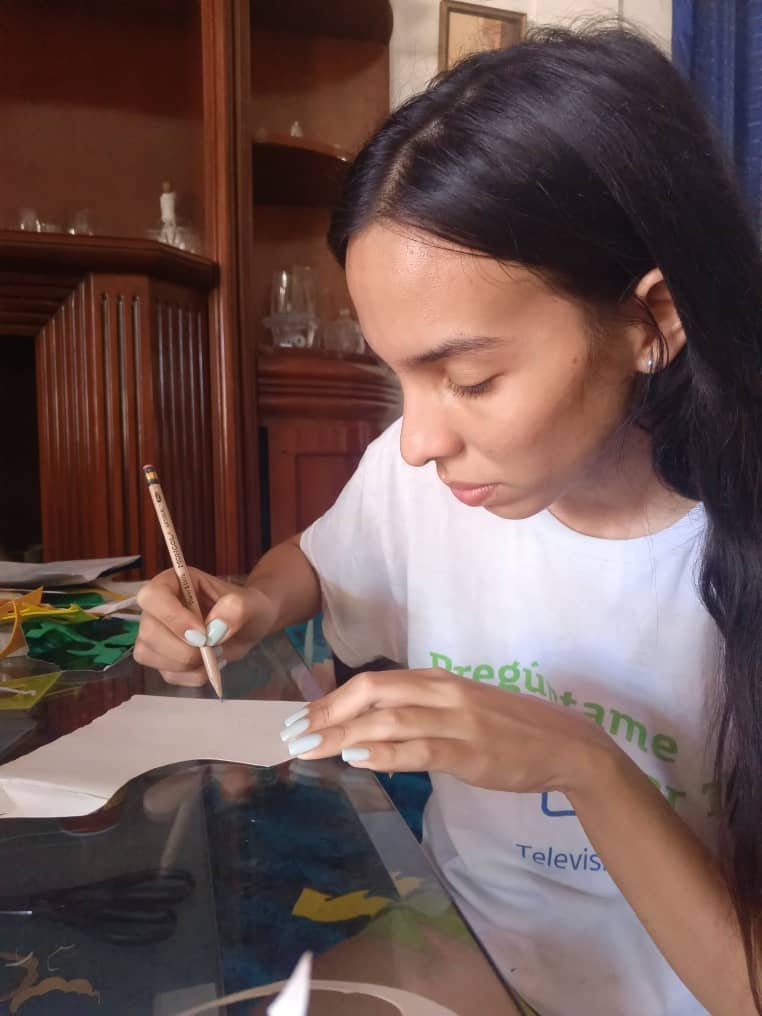
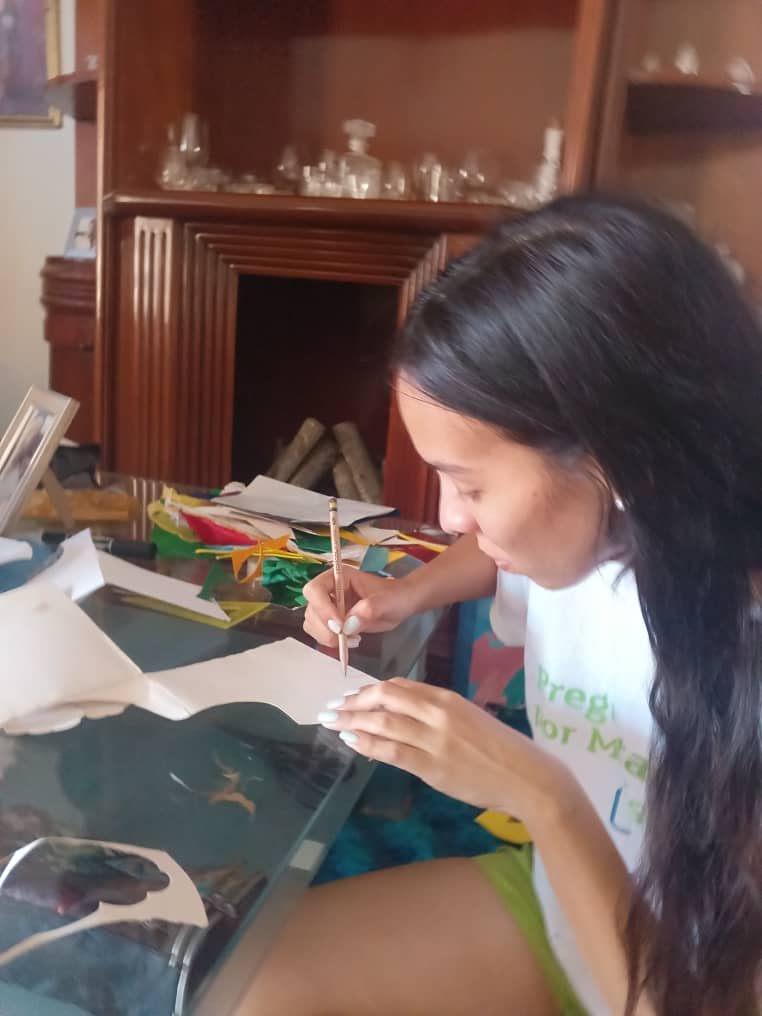
Then, I started to cut little by little part of the model in cardboard box to get an idea of how it would look like.
I started this model on a Sunday, it took me 2 days to finish it because I was missing some things to finish it.
Al tener ya todos los materiales listos, comenzamos con lo principal armando la base que está. La realizamos con ayuda de mi esposo y con el cartón de una caja.
Seguidamente, me puse a cortar poco a poco parte de la maqueta en cartón de caja para tener una idea de cómo se vería.
Esta maqueta la comencé un domingo, demoré en terminarla 2 días porque me faltaban unas cosas para poder terminarla.
 |  |
|---|
 |  |  |
|---|
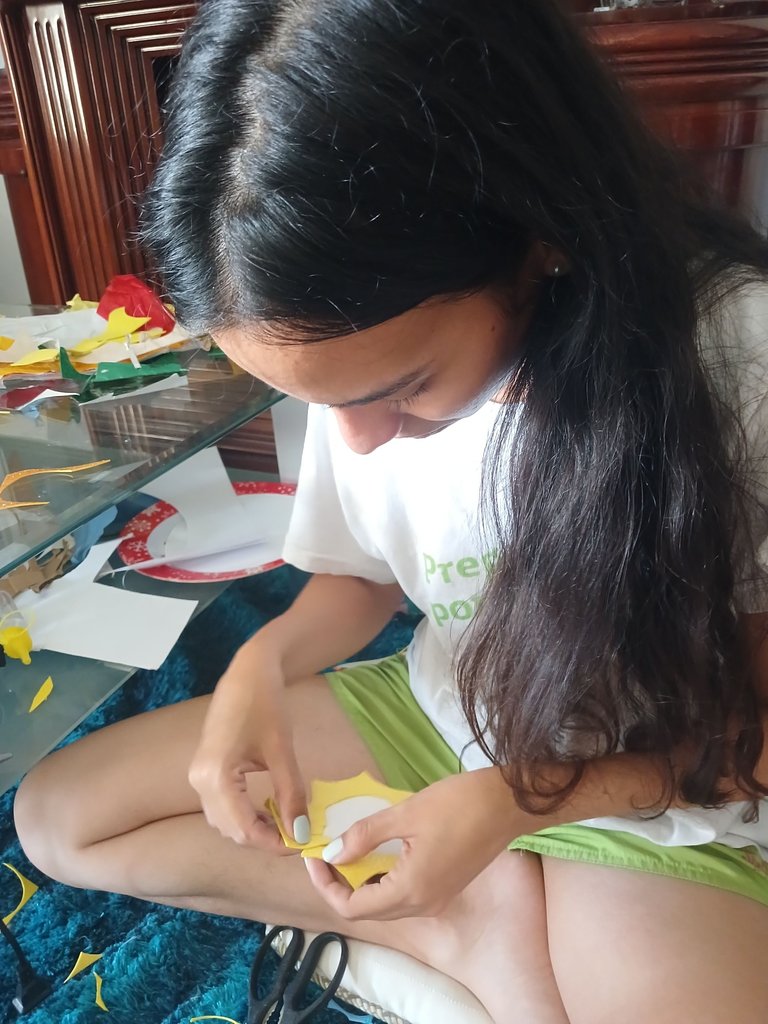
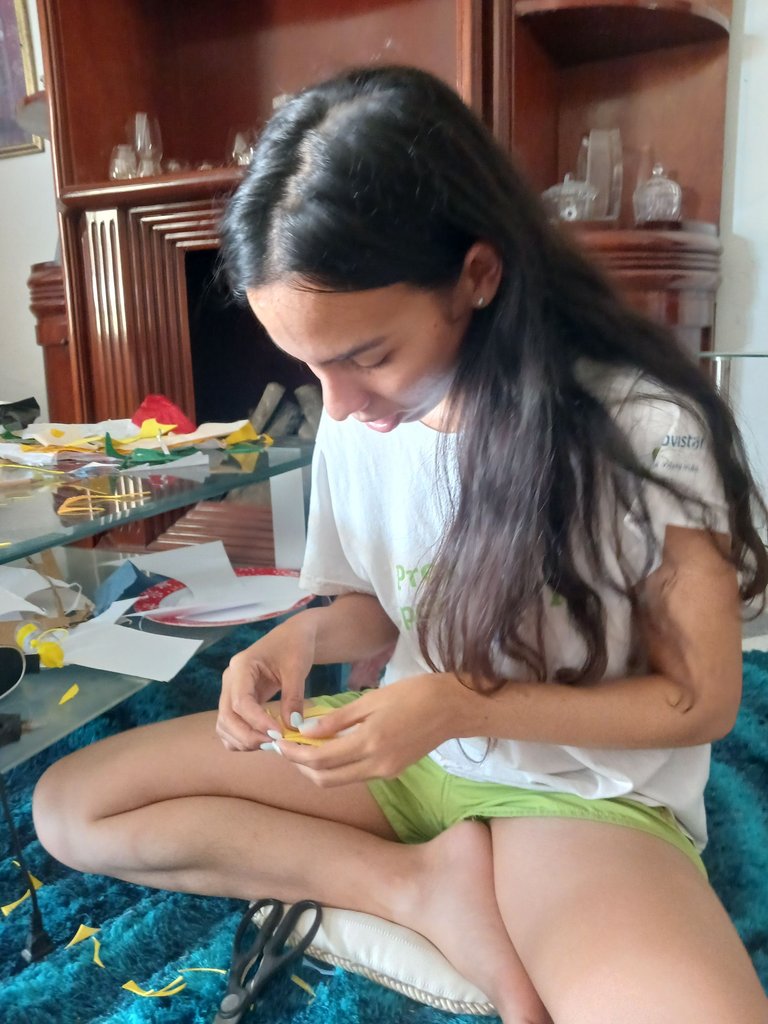
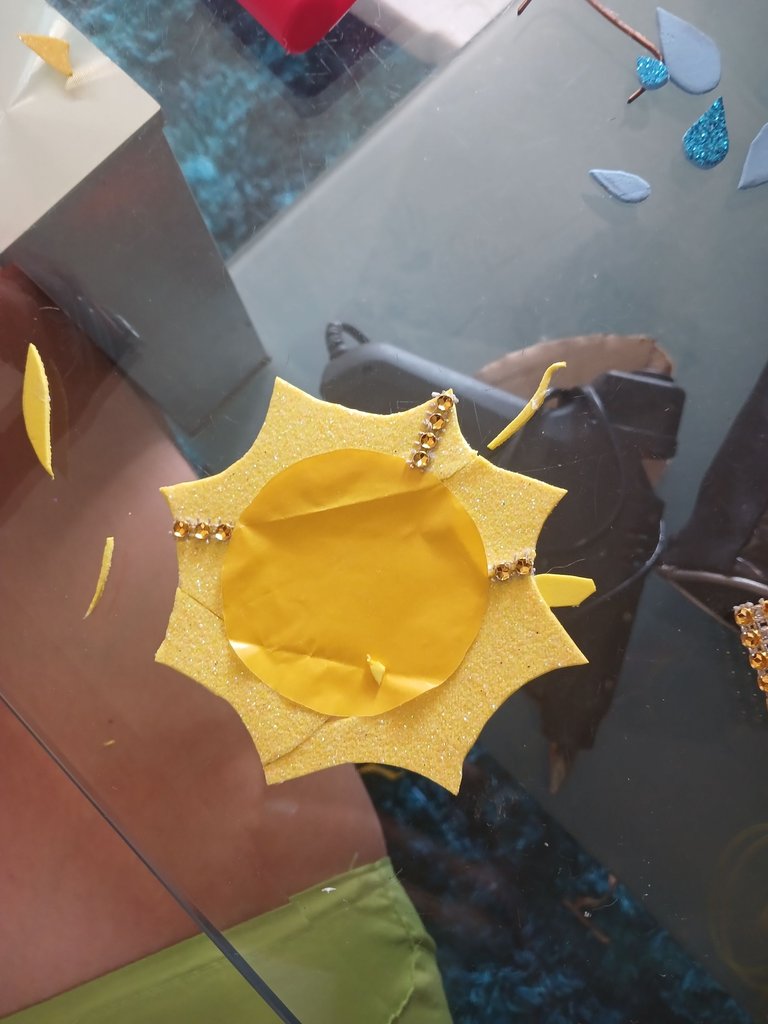
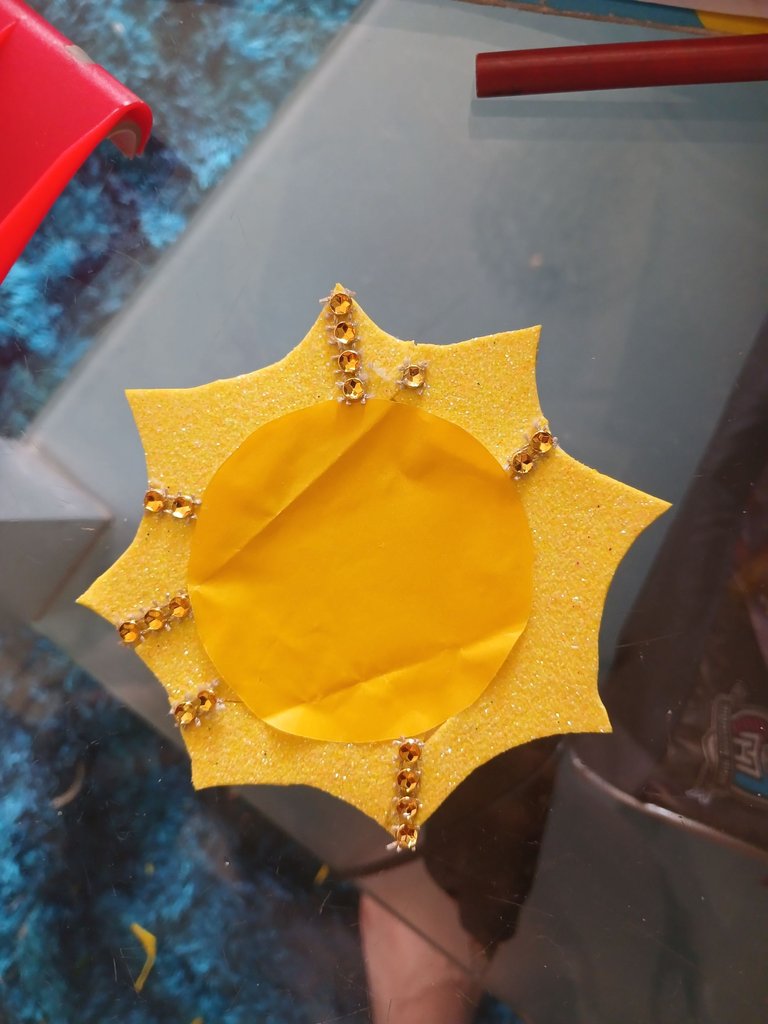
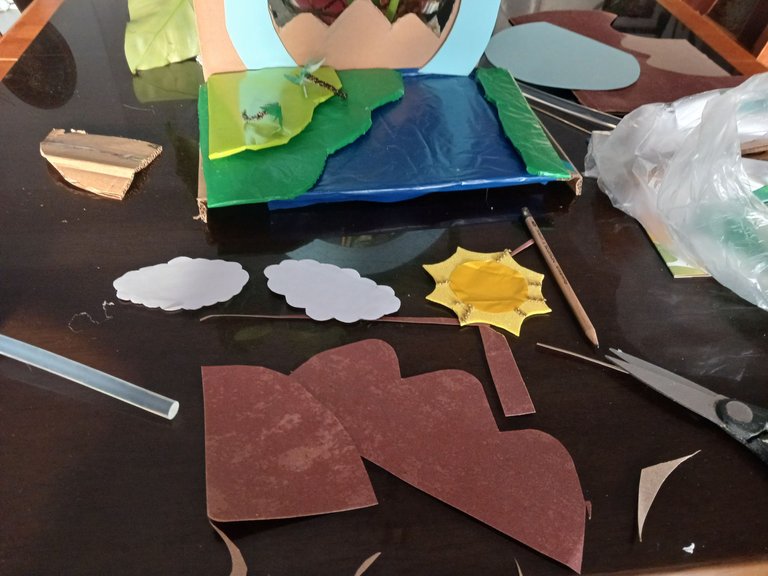
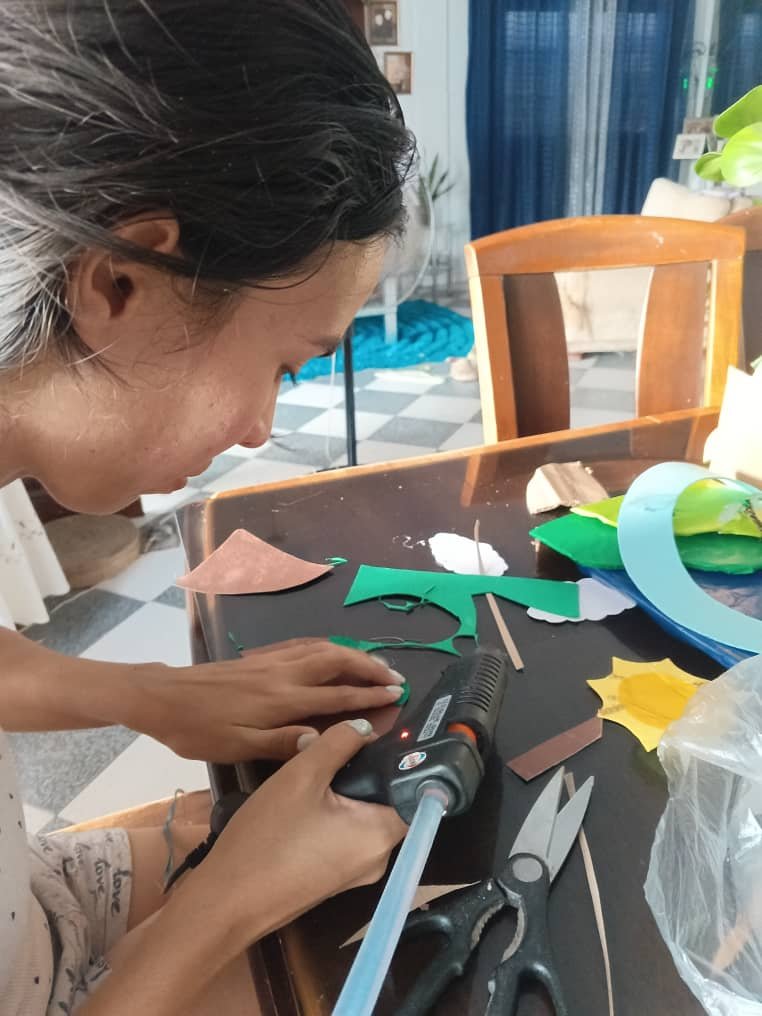
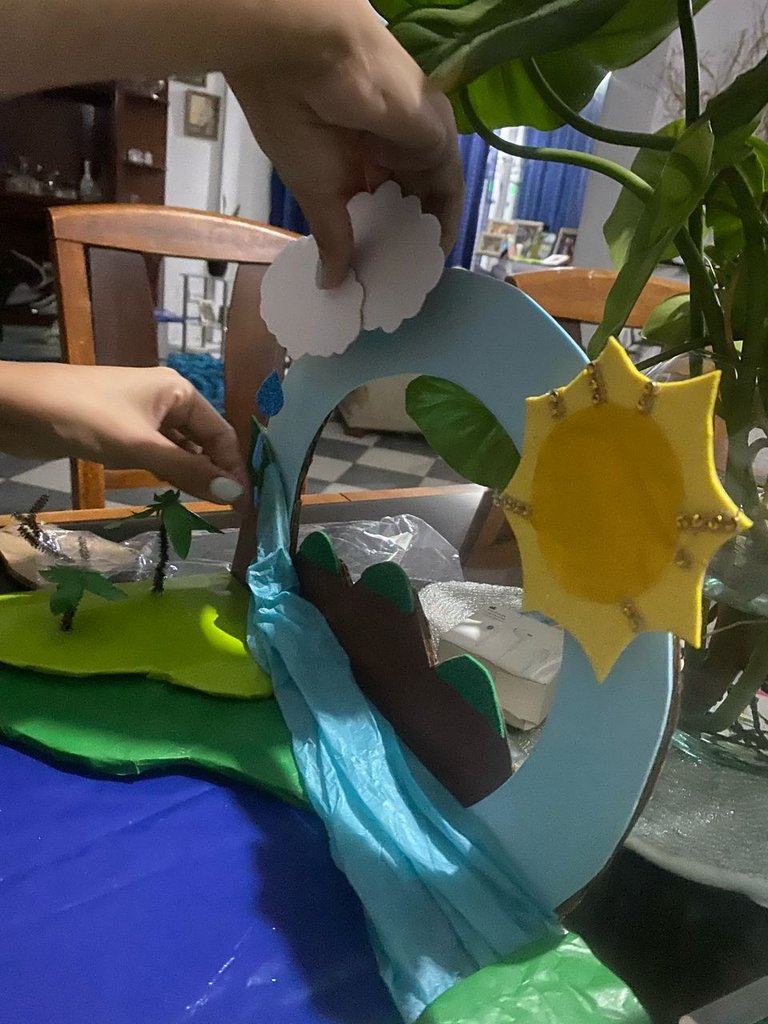
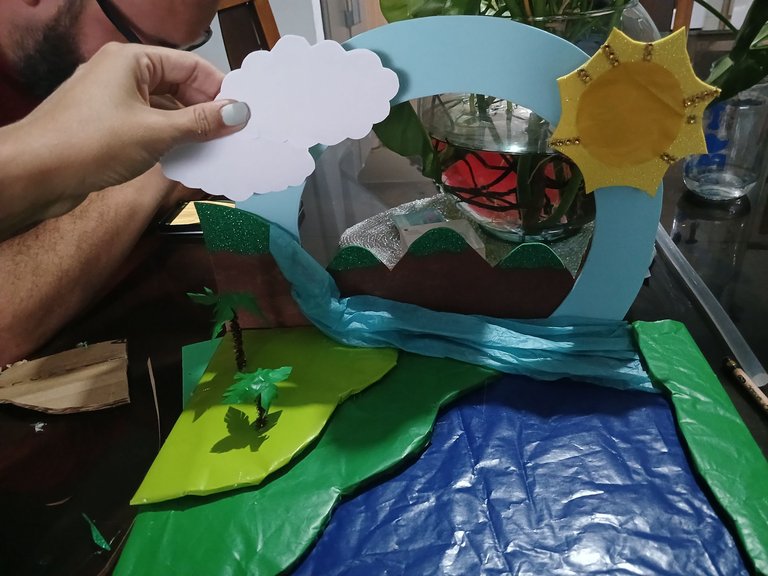
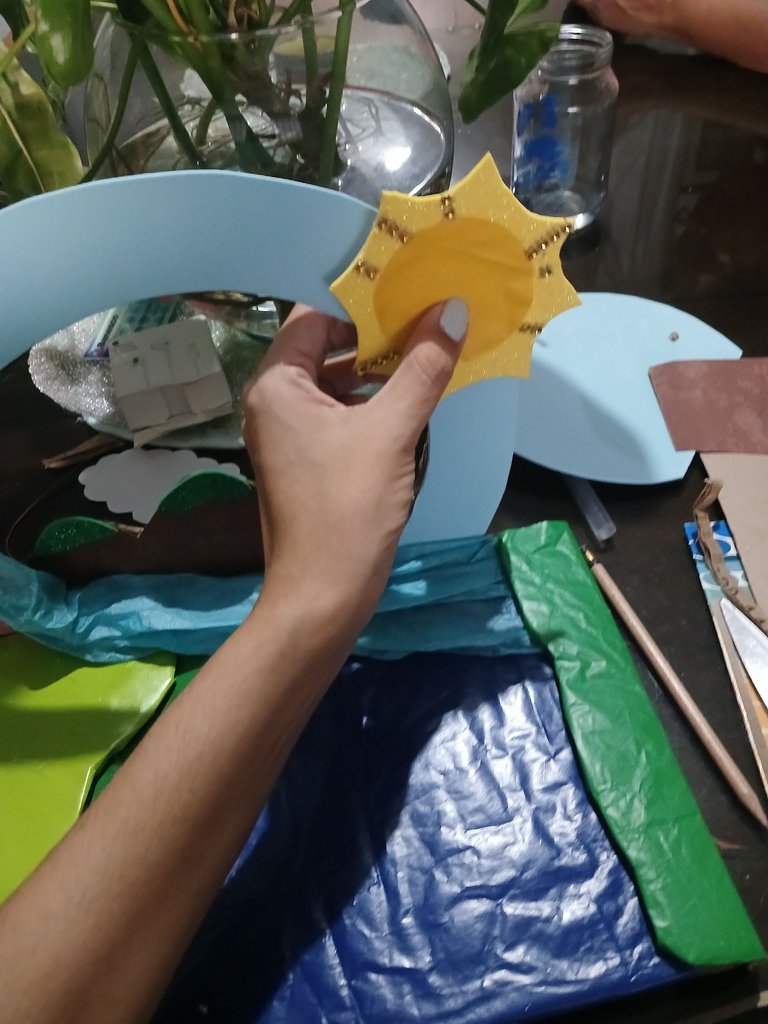
We made what was the sun with recycled foami from pieces I had from other tasks, and lustrillo paper as well.
We placed some small stones in the foami joints to hide it a little.
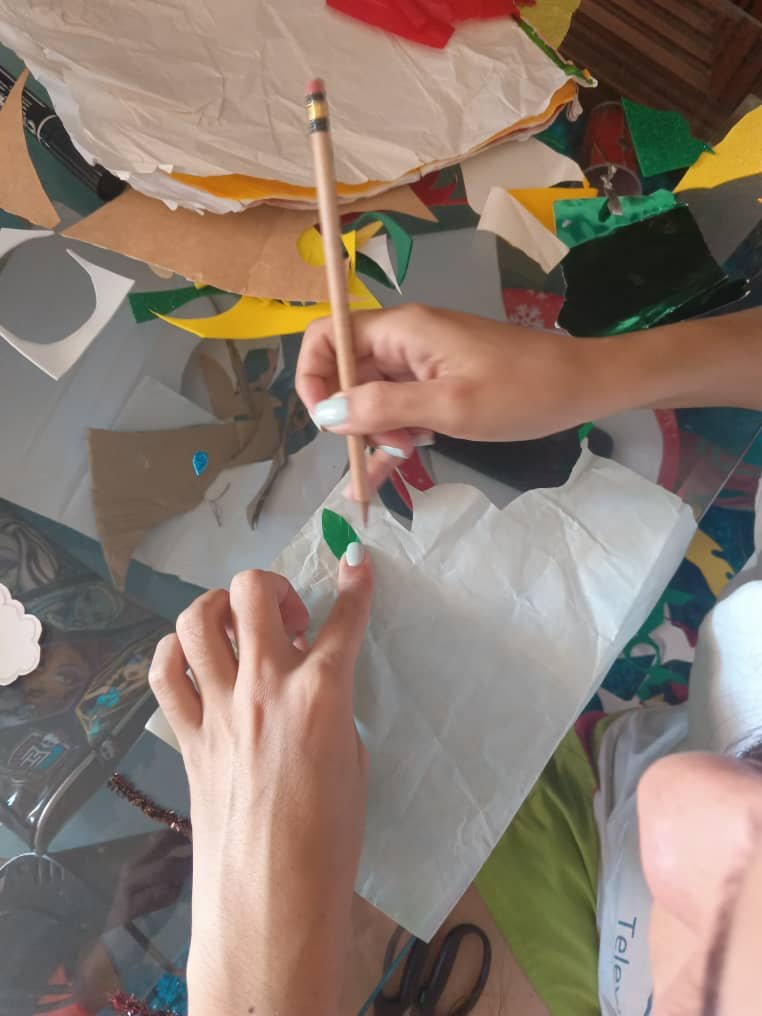
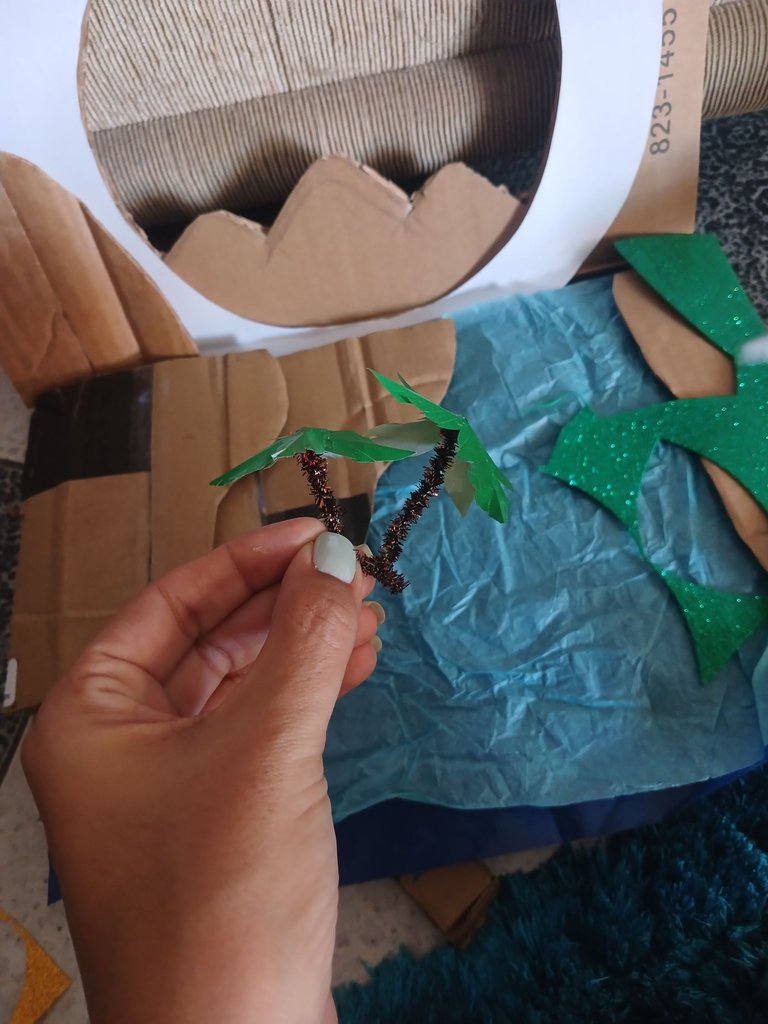
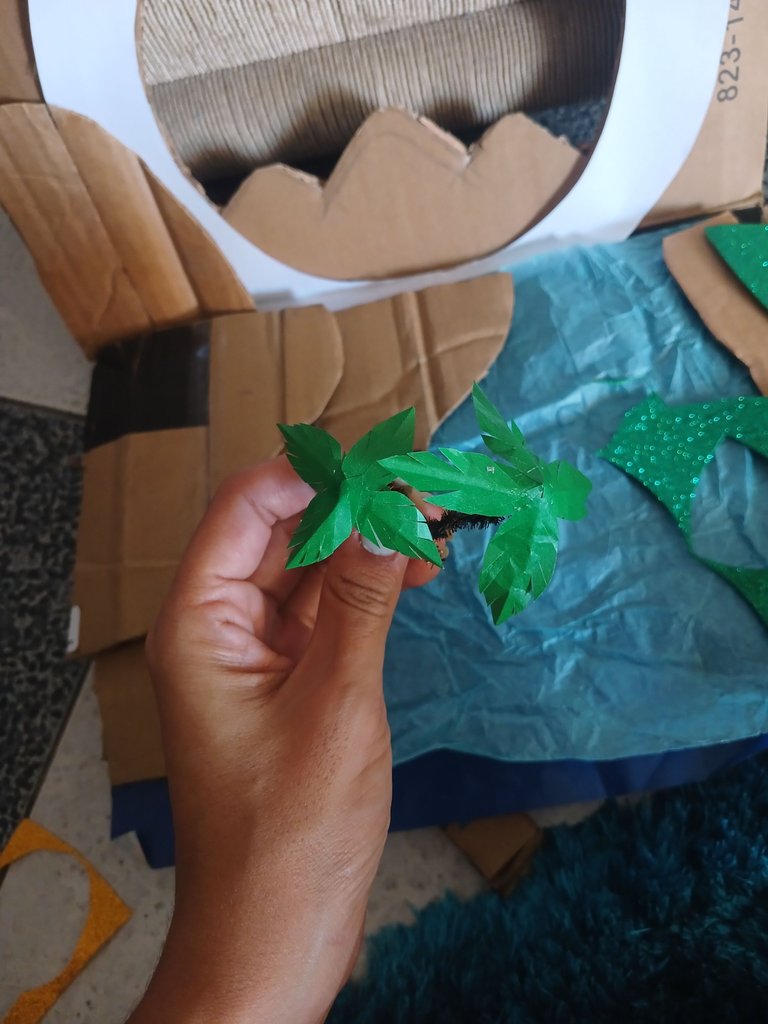
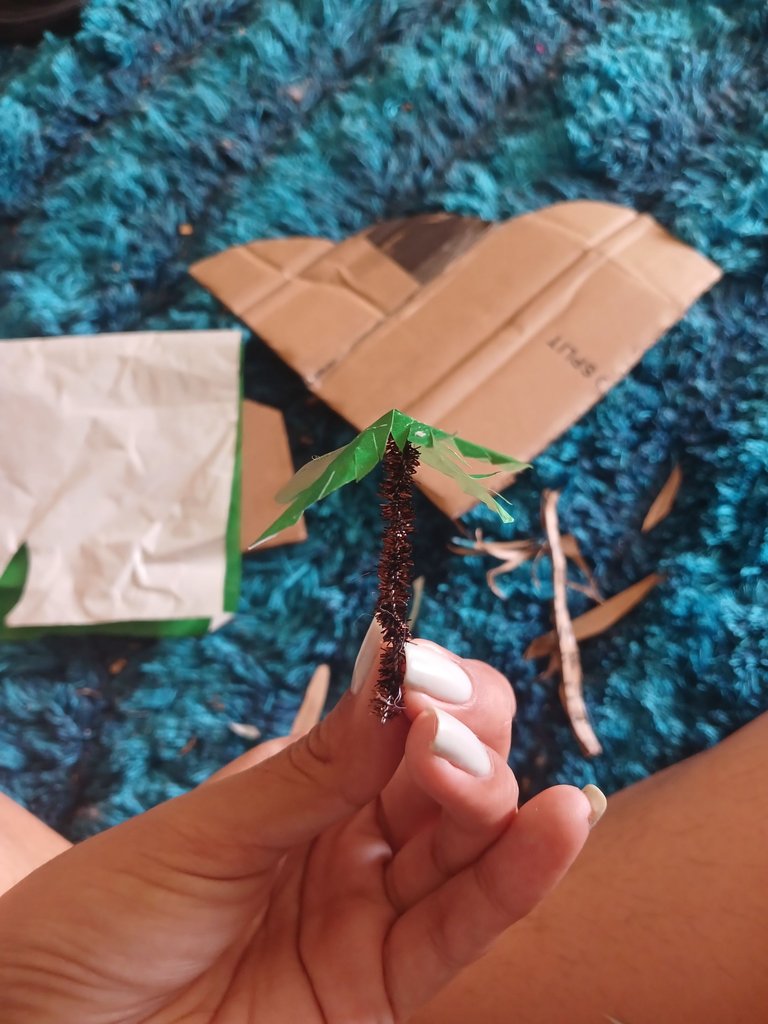
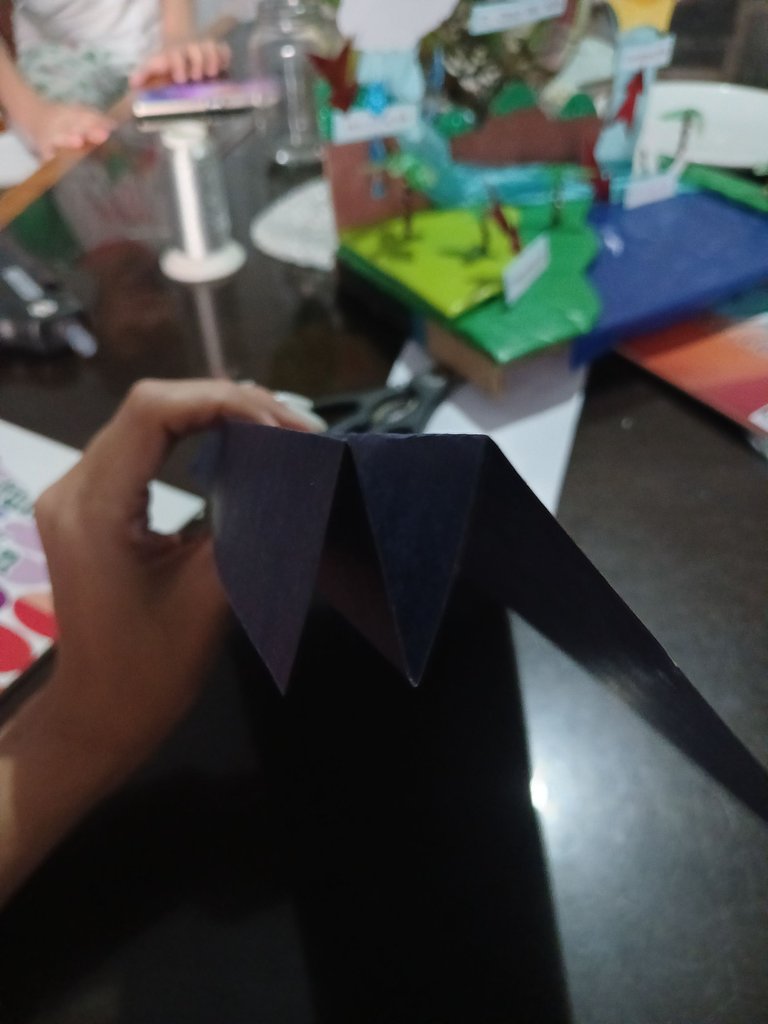
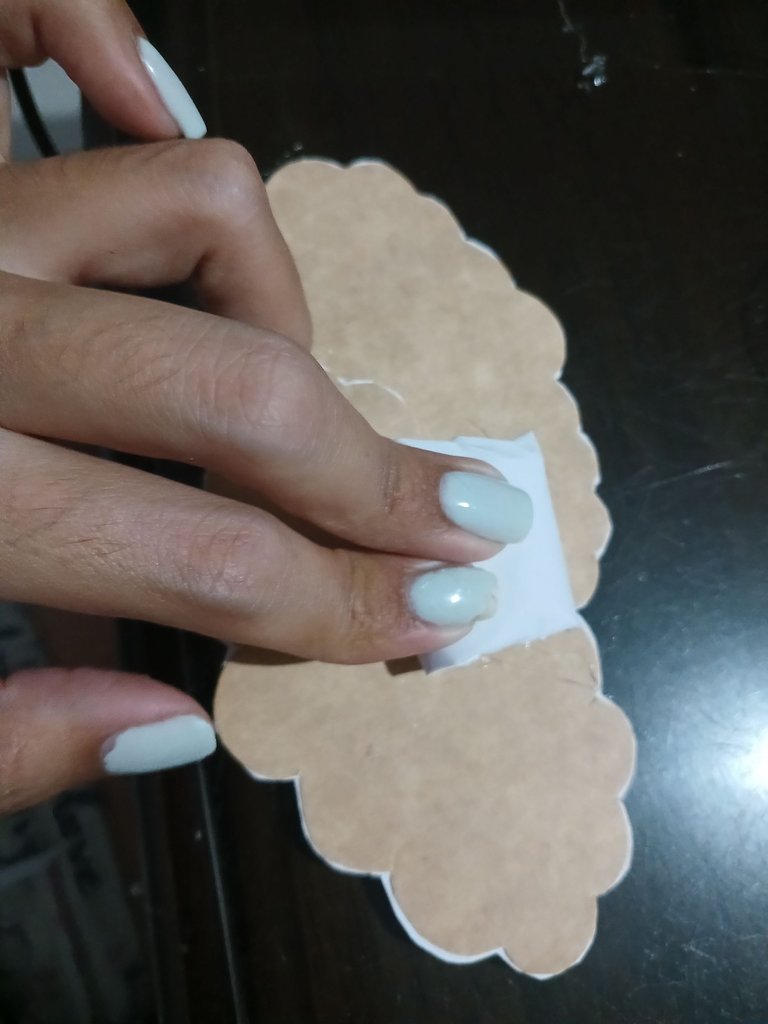
We also made some small palm trees that looked nice, I hadn't made them for a while and I did them as I remembered.
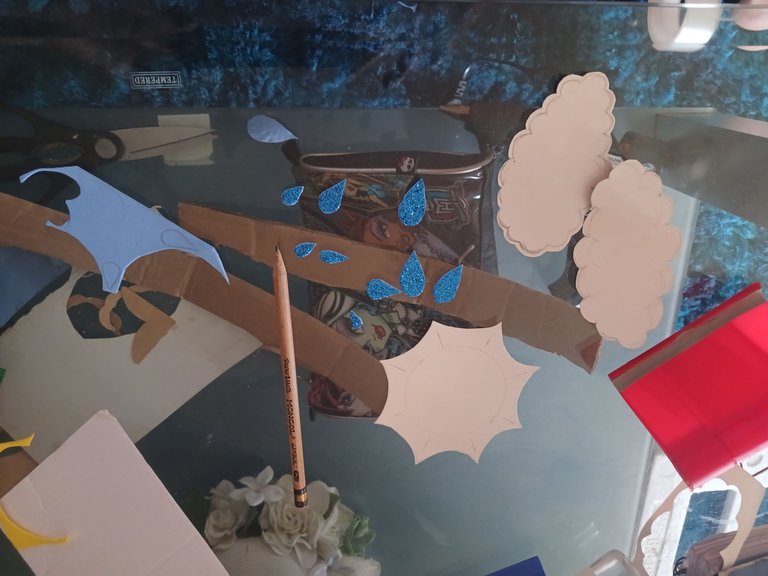
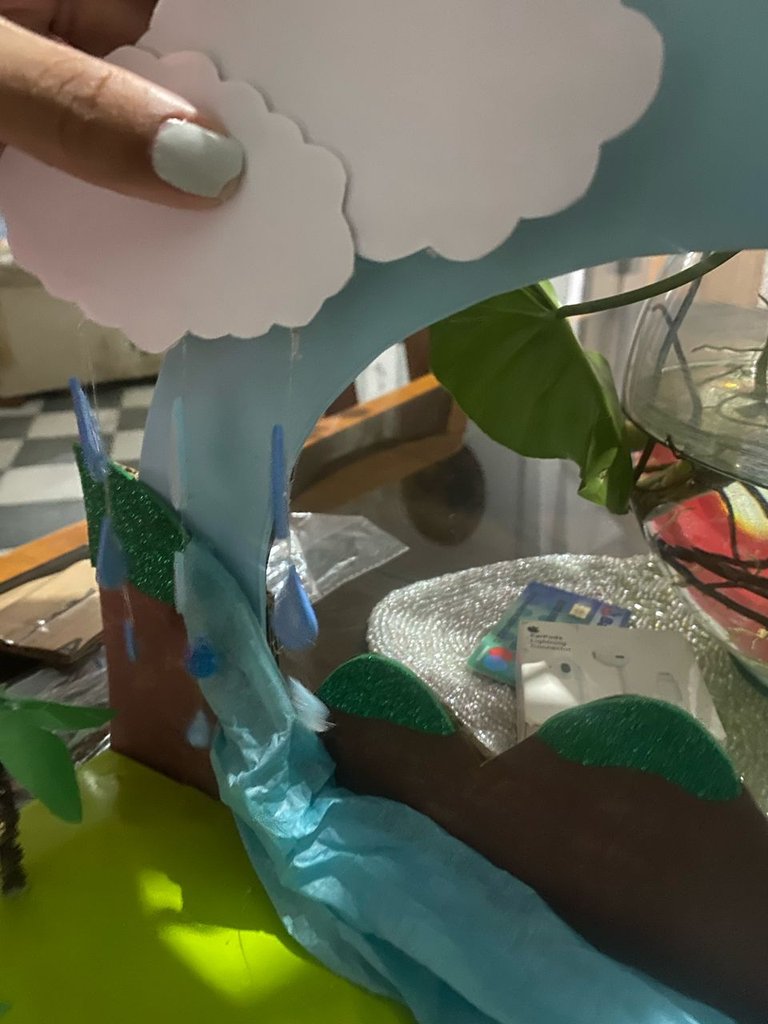
Continuamos con lo que eran las nubes y las gotas de lluvia para ya tener listo estos detalles pequeños que son los que más tiempo se llevan. Las nubes se realizaron a mano alzada el dibujo y luego se recortaron, igualmente, las gotas de lluvia.
Realizamos lo que fue el sol con foami reciclado de pedazos, que tenía de otras tareas, y papel lustrillo igualmente.
Le colocamos unas piedras pequeñas en los empates del foami para que disimulara un poco.
También realizamos unas pequeñas palmeras que quedaron bonitas, tenía tiempo que no las realizaba y las hice según cómo me iba acordando.
 |  |  |
|---|
 |  |  |  |
|---|
 |  |  |  |
|---|
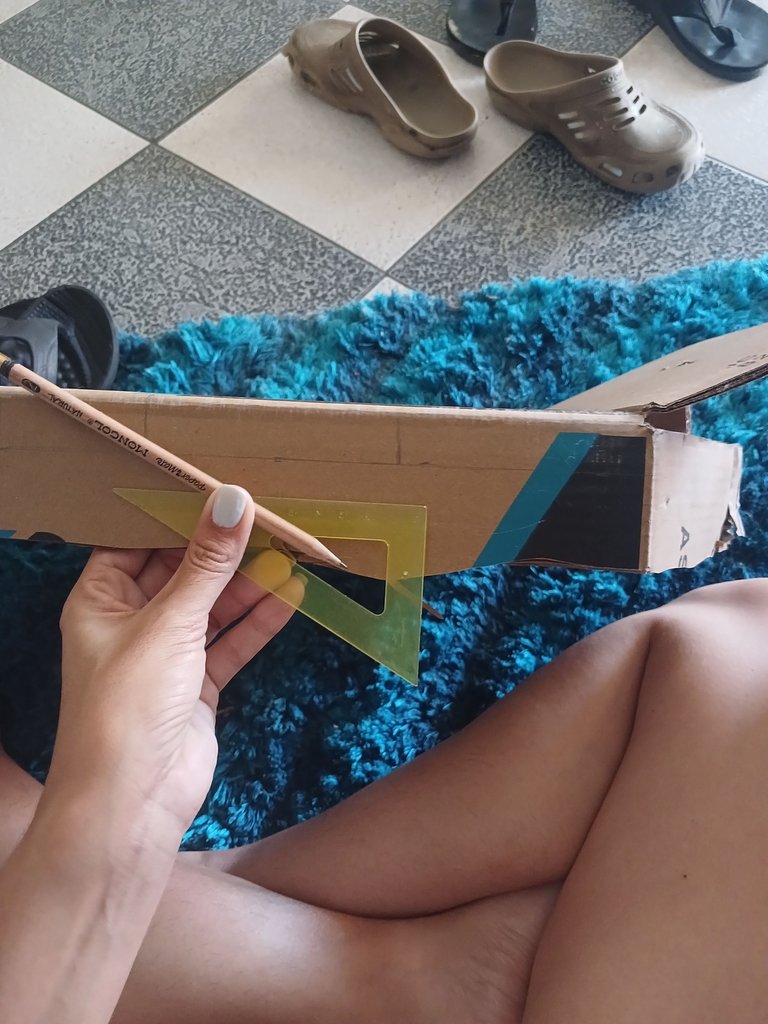
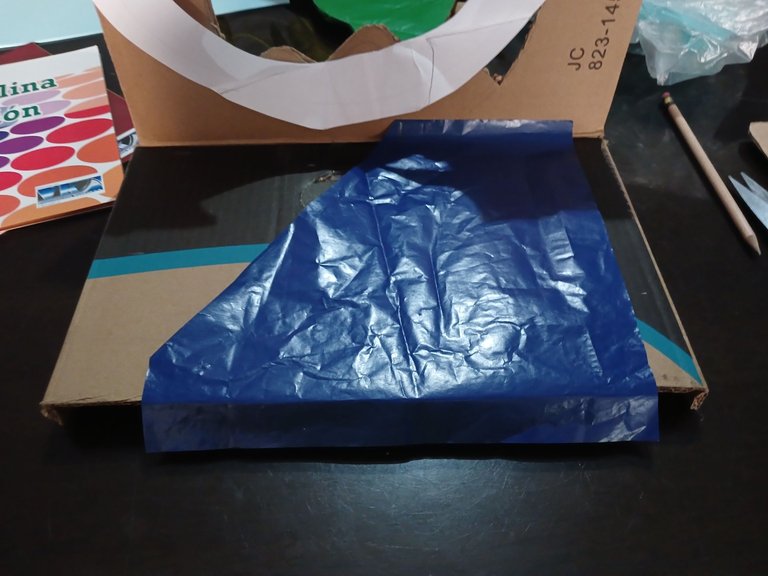
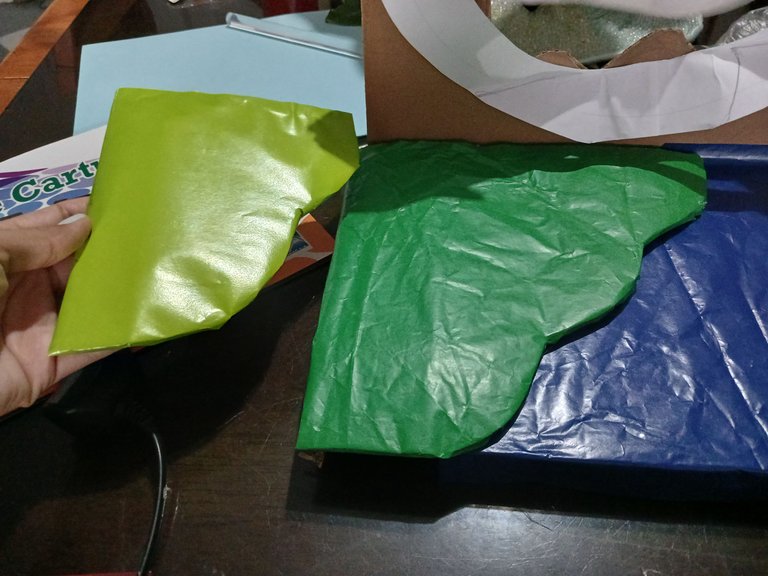
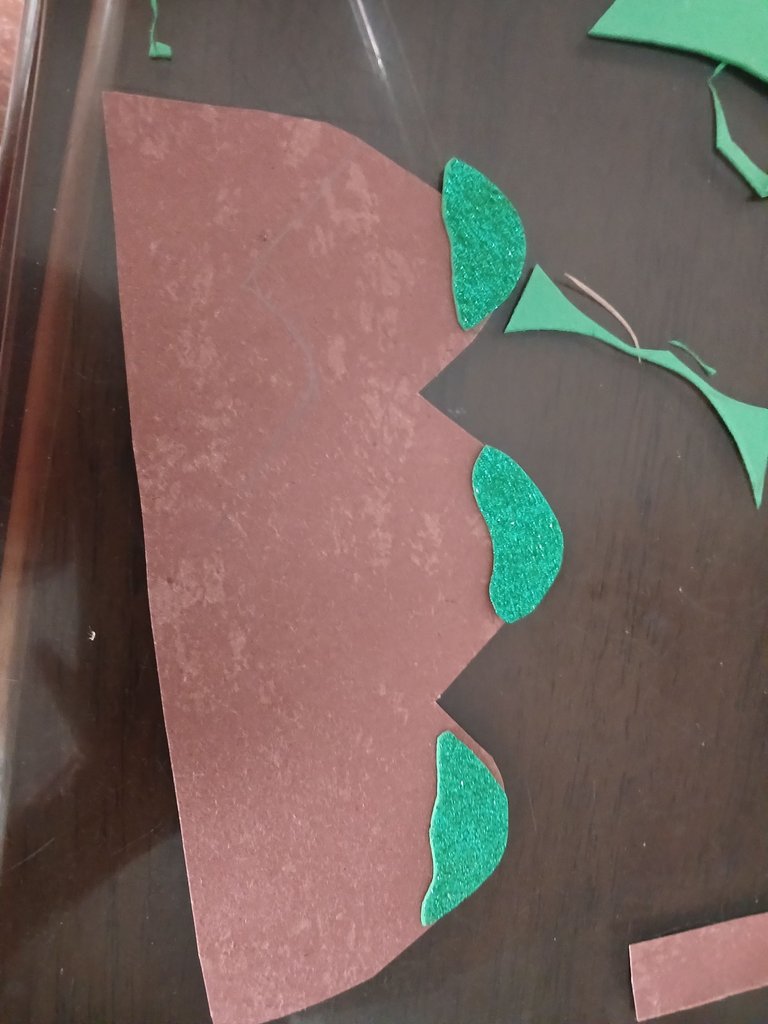
Then, having all the parts of the model already cut, I started to apply the corresponding luster paper according to the color I would need. I can't show you previous drawings, since I did everything freehand without any guide.
Seguidamente, al ya tener todas las partes de la maqueta ya cortadas, comencé a colocarle el papel lustrillo correspondiente según el color que necesitaría. No puedo mostrarle dibujos previos, ya que todo lo realicé a mano alzada sin necesidad de guía.
 |  |  |
|---|
 |  |  |  |
|---|
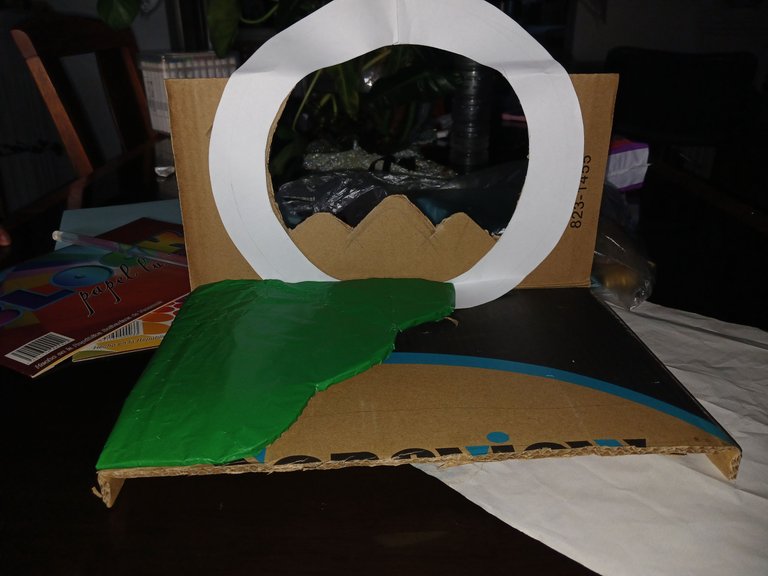
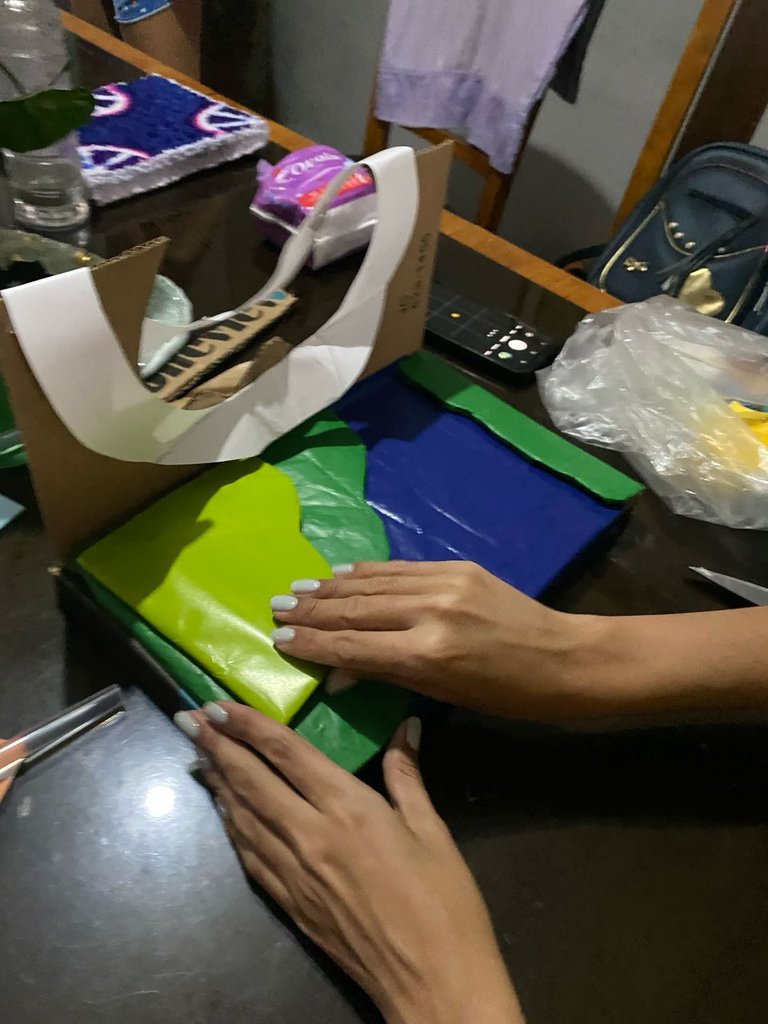
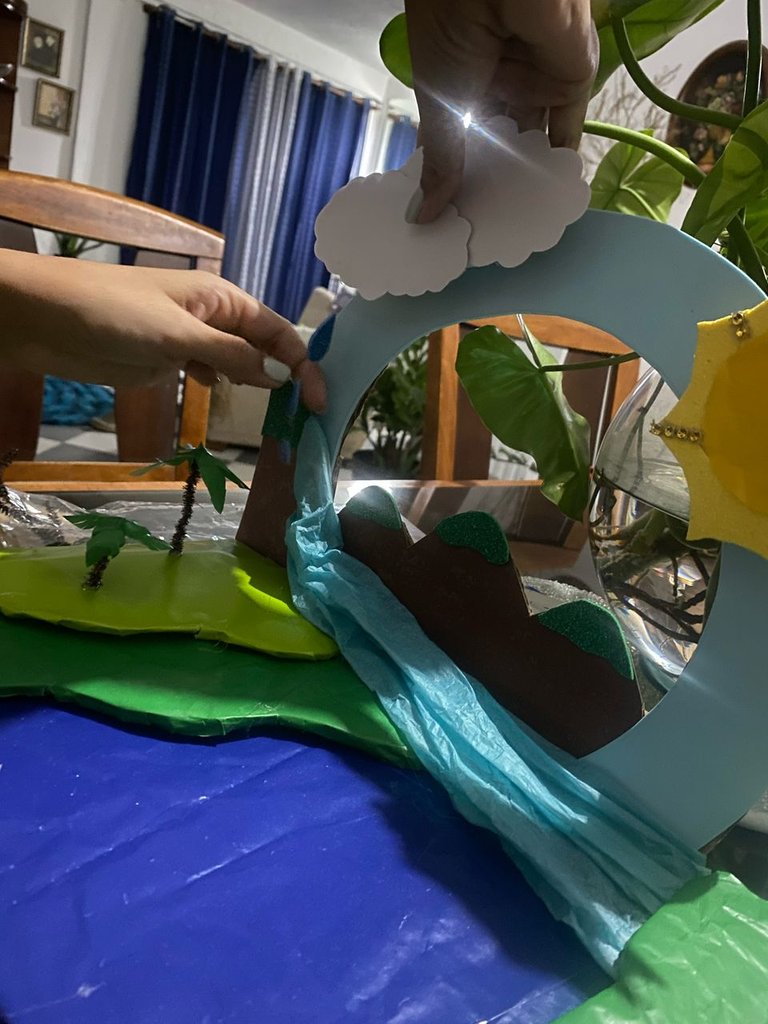
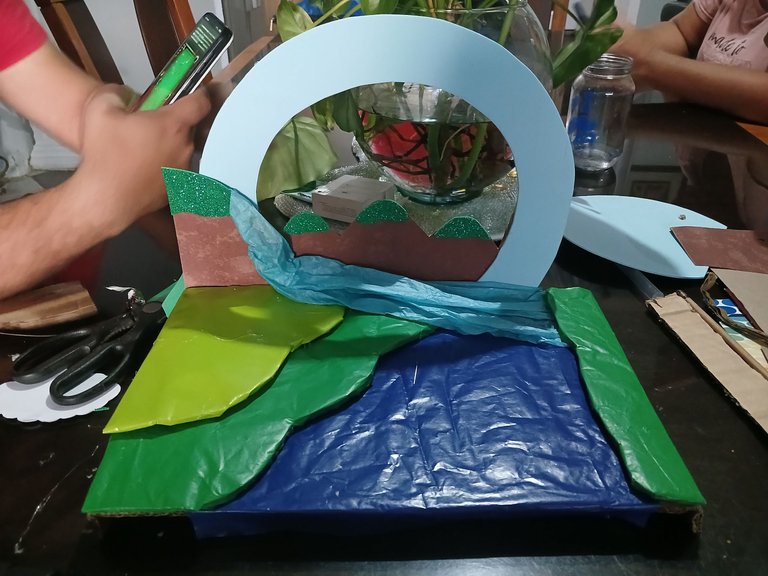
After having everything already chopped, we began to assemble it, we started first with the mountains on the back, which were made with cardboard from a brown folder, then we placed the ring, which was made in light blue, and so I was continuously placing piece by piece where each one would be located.
Al tener todo ya picado se comenzó armar comenzamos primero por lo que era las montañas de la parte de atrás las cual se realizó con el cartón de una carpeta marrón, seguidamente se colocó el aro qué se realizó en color azul claro, y así fui continuamente colocando pieza por pieza donde iría cada una ubicada.
 |  |  |  |
|---|
 |  |  |  |
|---|
 |  |  |  |
|---|
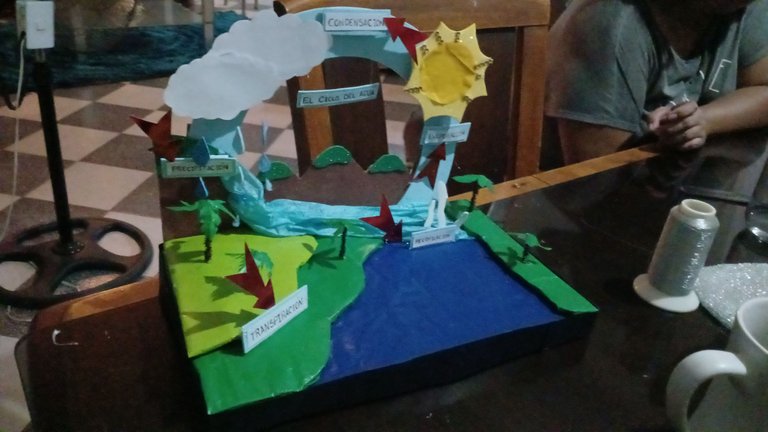
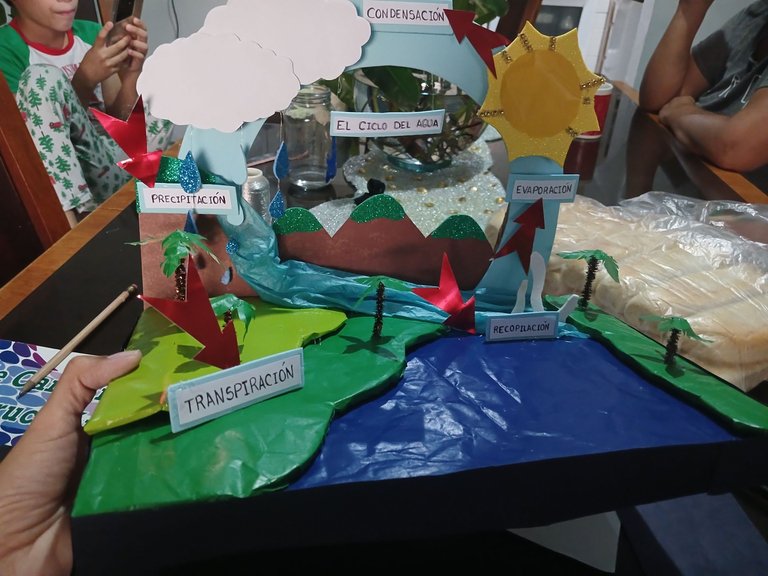
What I left last was the placement of the names, because I made them by hand with black pencil and then pasted them on light blue foami so that they would hold up better.
Along with this, on pieces of red metallic cardboard, I made several arrows to go along with the names.
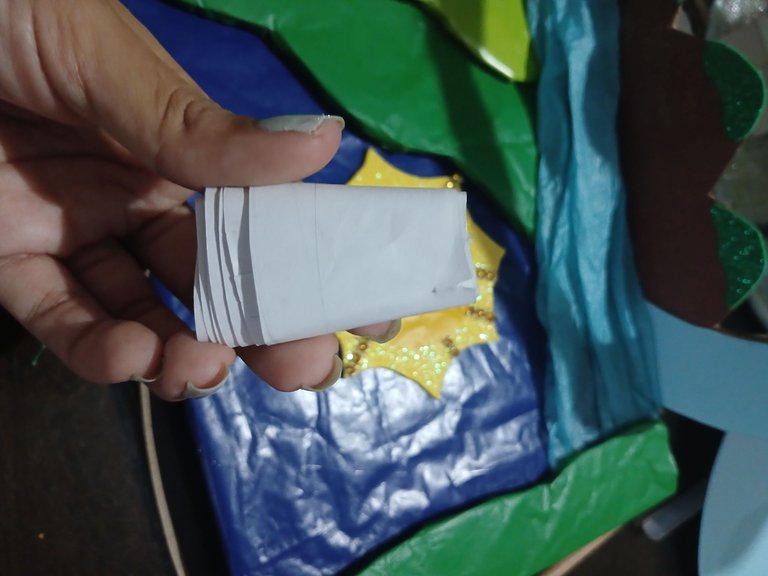
I tried to give a little movement to the model in the area of the clouds by placing pieces of paper on the back to make them look overhanging and in the raindrops I connected them with silver thread that I had at home, and with these small details the model looked even prettier having details that stood out and gave movement.
For the edge of the model with black cardboard, cut, strips and small around the edge, thus disguised all the cardboard and extra paper I had on the sides and front.
Lo que dejé de último fue la colocación de los nombres, porque los realicé a mano con lapicero negro y luego los pequé en foami azul claro para que tuvieran un mejor aguante.
Junto con esto, en pedazos de cartulina metalizada roja, realicé varias flechas para ir en conjunto con los nombres.
Intente darle un poco de movimiento a la maqueta en el área de las nubes colocándole pedazos de papel en la parte de atrás para que se vean sobre salientes y en las gotas de lluvia las conecte con hilo plateado que era el que tenía en casa, y con estos pequeños detalles la maqueta se vio aún más bonita teniendo detalles que sobresalientes y dieran movimiento.
Para el borde de la maqueta con cartulina negra, corte, tiras y peque en todo el borde, así disimulaba todo el cartón y papel extra que tenía por los laterales y el frente.
 |  |  |  |
|---|
 |  |  |  |
|---|
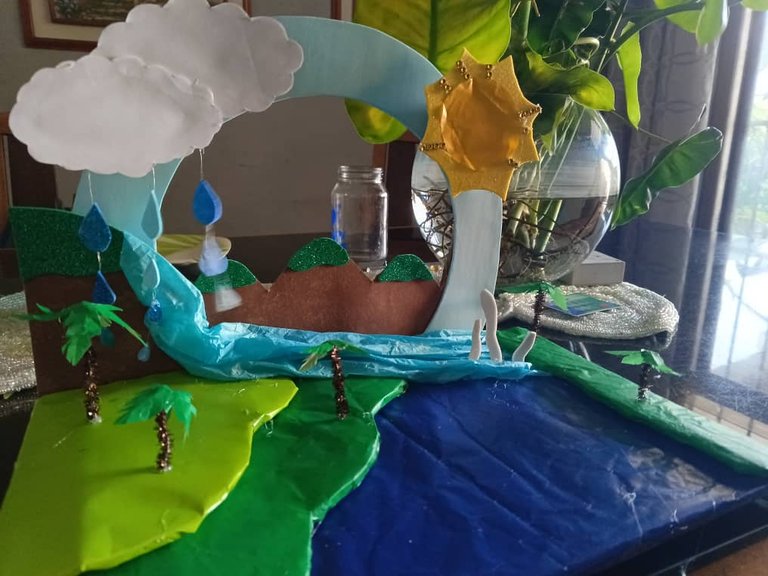
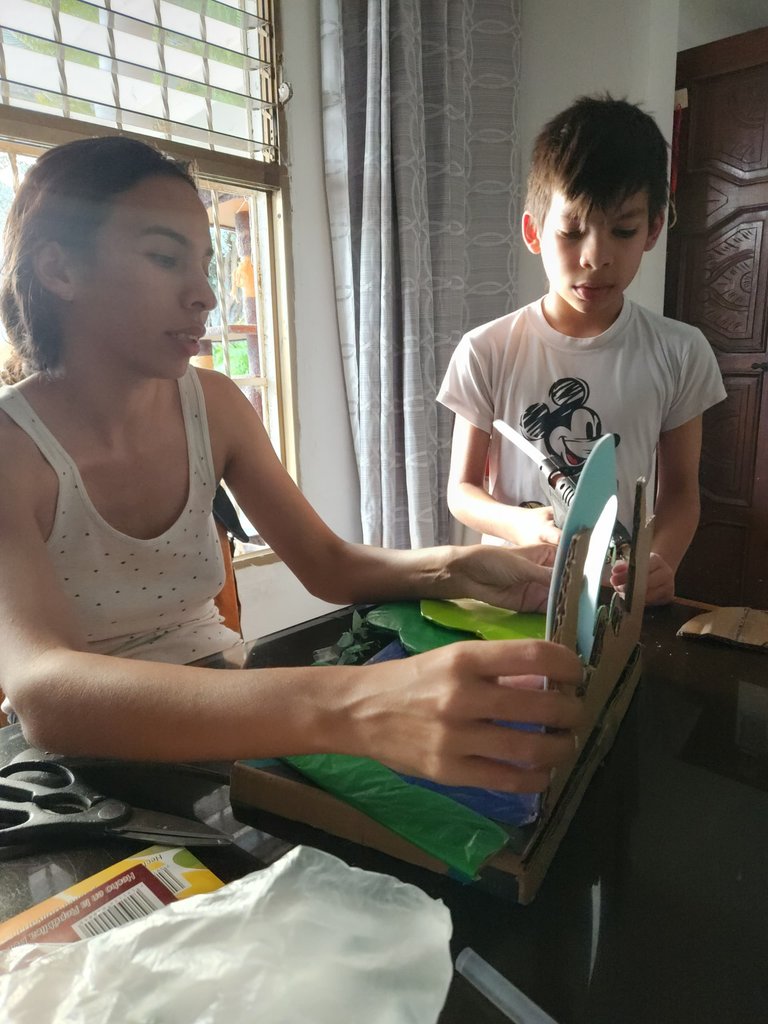
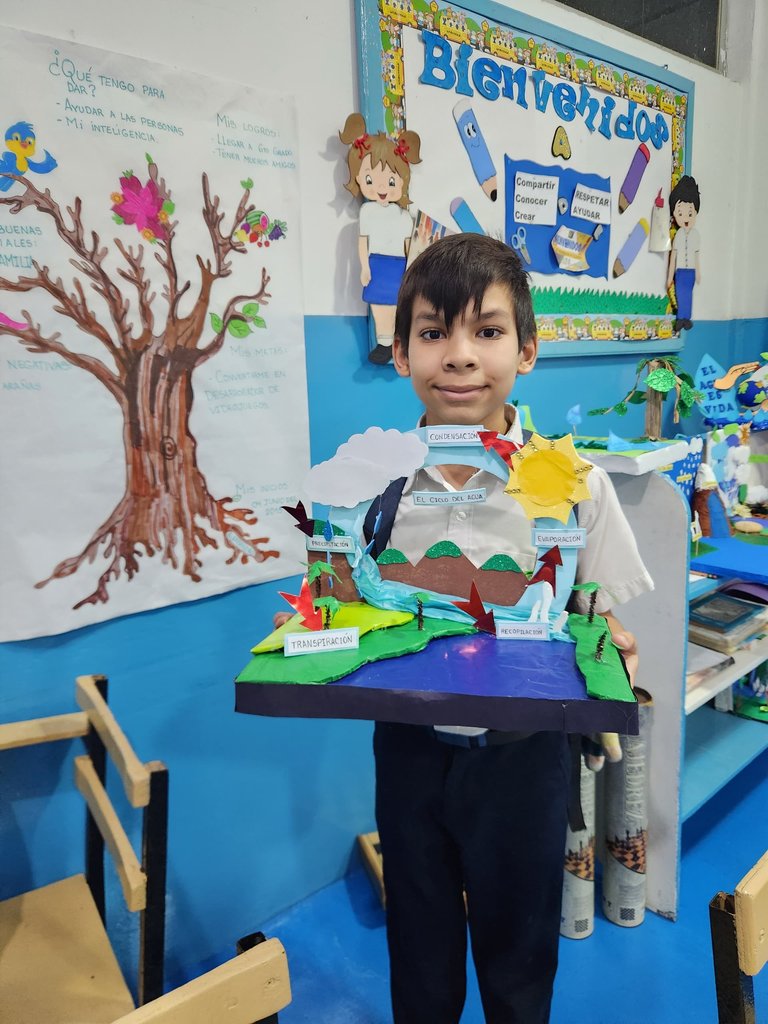
And ready my son had a beautiful model of the water cycle and of course this grace also to the help of my husband who helped me cut the cardboard box which is quite thick because it was the air conditioner and my son helped me cut and paste on the model the small details, everything was glued with hot silicone and very carefully because the silicone gun is the big ones, I hope you like the result and that serves you to have an idea when you make a model.
Y listo mi hijo tuvo una hermosa maqueta del ciclo del agua y claro esta gracia también a la ayuda de mi esposo que me ayudo a cortar el cartón de caja qué es bastante grueso porque era del aire acondicionado y mi hijo me ayudo a cortar y pegar en la maqueta los pequeños detalles, todo se pegó con silicona caliente y con mucho cuidado porque la pistola de silicona es de las grandes, espero que les guste el resultado y que le sirva para que tengan una idea al momento de ustedes realizar una maqueta.
 |  |
|---|

THANKS TO SEPARATOR AND BANNER/GRACIAS A SEPARADOR Y PANCARTAS
https://peakd.com/hive-148441/@ikasumanera/eng-es-i-made-hive-free-use-art-of-for-all-of-you-part-1-dividers-and-banners-or-hice-arte-de-libre-uso-para-todos-parte-1
Beautifully and skillfully crafted, you nailed it friend and thanks for not giving up on the project.
Quedó linda, gracias por compartir 😉
Gracias amiga, si valió la pena el esfuerzo !
great👍 you managed to make something interesting.
Yes, I really liked how it turned out, thanks for reading my post. Regards ❤️
It turned out beautiful, you did an excellent job 👍 bravo