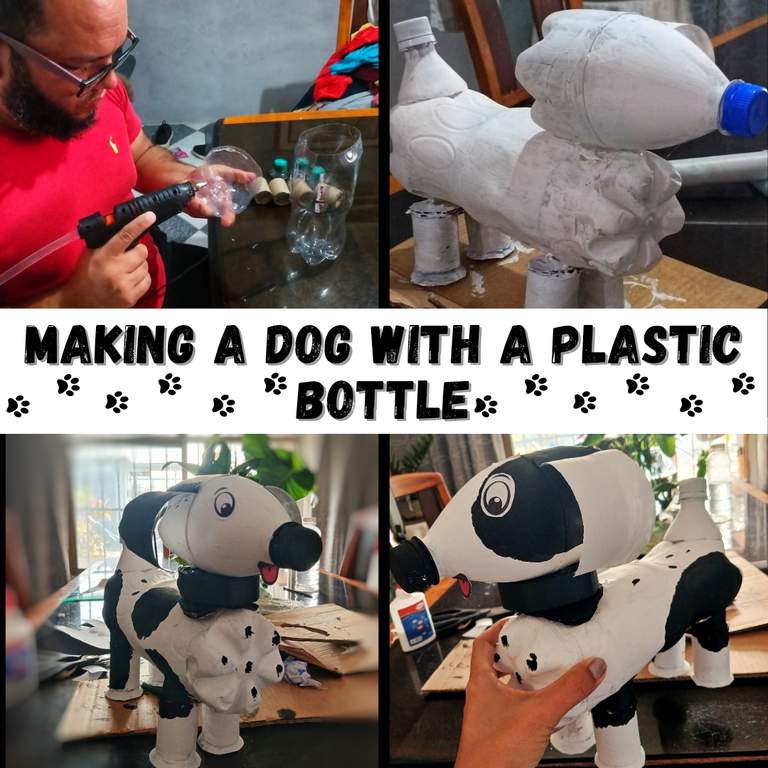
Making a dog with a plastic bottle (ENG-ESP)
For this we need the following materials:
- 2 plastic bottles of 2 lts
- 2 plastic bottles of 1 lts
- 4 plastic bottle tips with their respective caps
- 1 small cardboard tube
- silicone
- silicone gun
- white rubber paint
- black cold paint
- brush
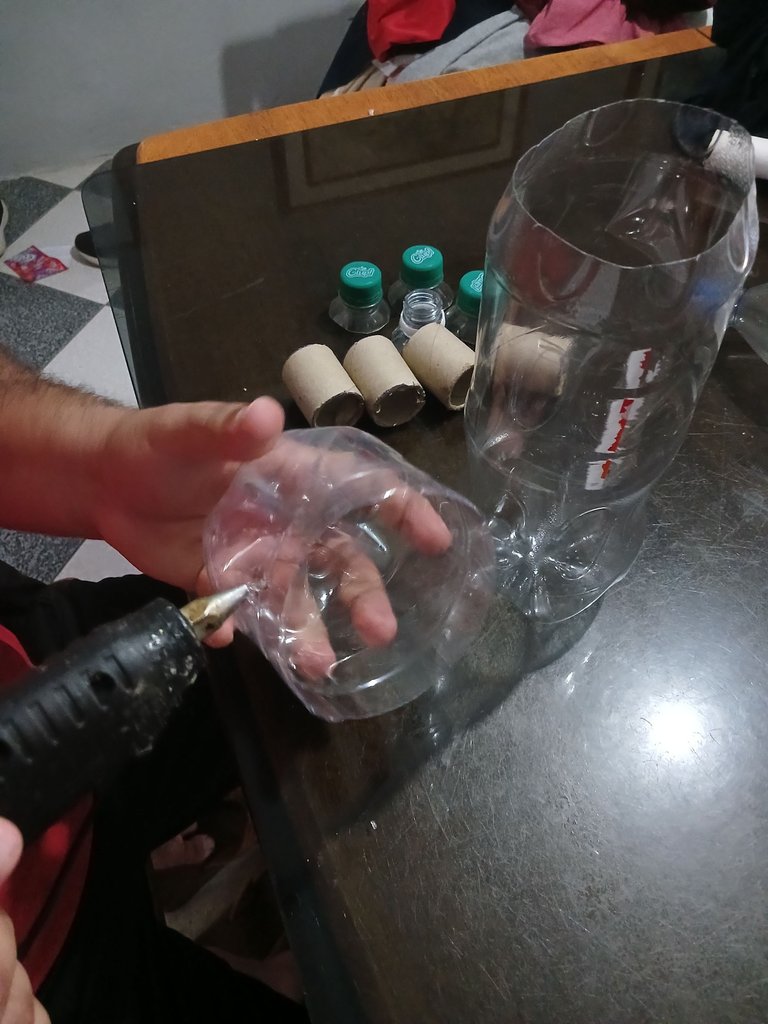
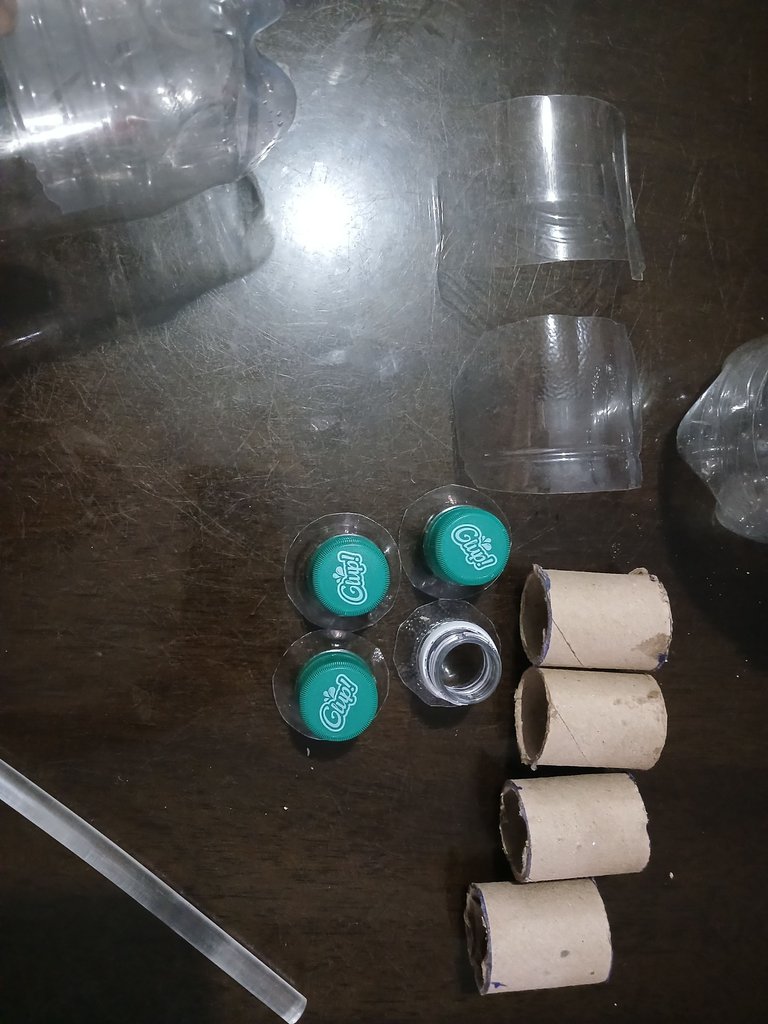
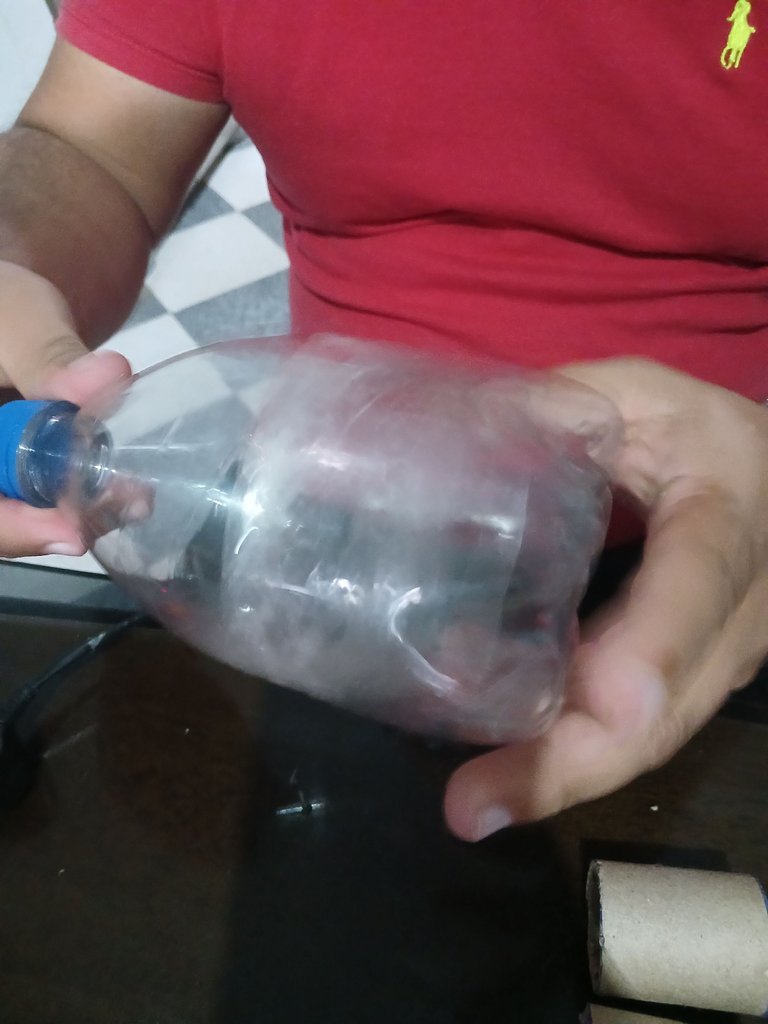
We start by cutting all the pieces corresponding to the dog. First we start by cutting the two 2 liter bottles in half, using only the bottom part of both bottles and inserting one inside the other to create the body of the dog.
¡Hola! Queridos amigos de esta hermosa comunidad espero que todos se encuentren bien quiero en esta oportunidad compartir con ustedes la hermosa creación de un perro con botellas de plástico que mi hijo necesitaba para el colegio, ya que su cierre de proyecto se trata de reciclaje, ya hace unos días compartí con ustedes un hermoso gato de Minecraft hecho de cartón, bueno ahora les compartiré de como hicimos el perro con botellas de plástico.
Para esto necesitamos los siguientes materiales:
- 2 botellas de plástico de 2 lts
- 2 botellas de plástico de 1 lts
- 4 puntas de botella de plástico con su respectiva tapa
- 1 tubo de cartón pequeño
- silicona
- pistola de silicona
- pintura de caucho blanca
- pintura al frío negro
- pincel
Comenzamos cortando todas las piezas correspondientes al perro. Primero comenzamos cortando las dos botellas de 2 litros a la mitad, usando solo la parte de abajo de ambas botellas y introduciendo una dentro de la otra para así crear el cuerpo del perro.

 |  |
|---|
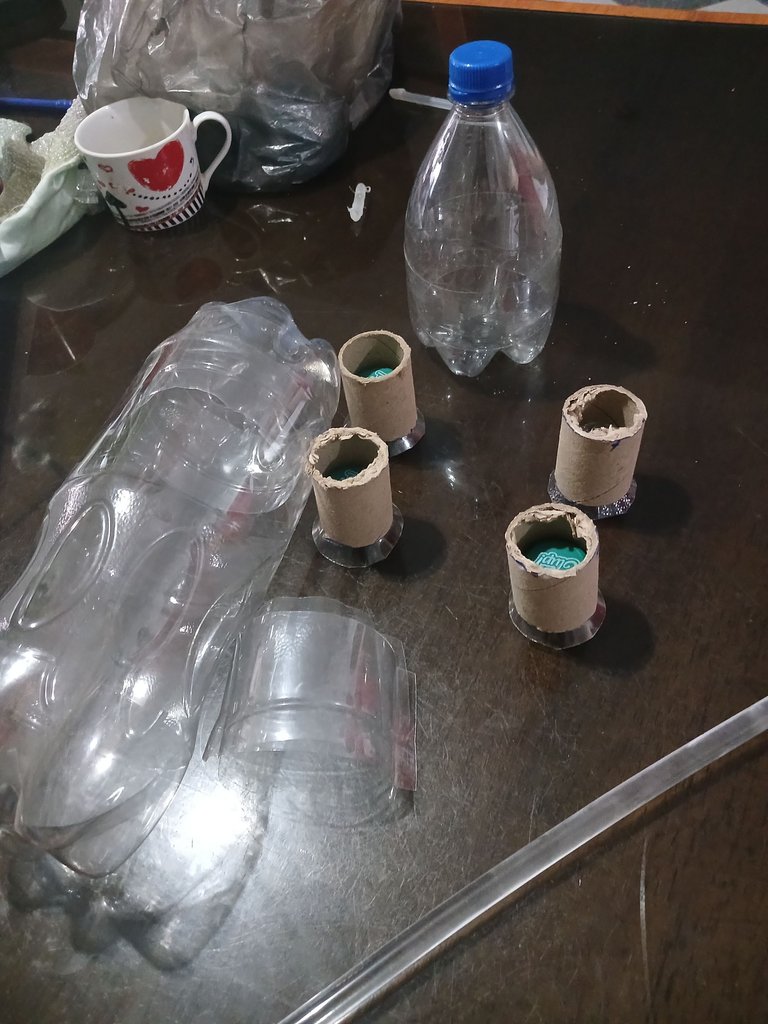
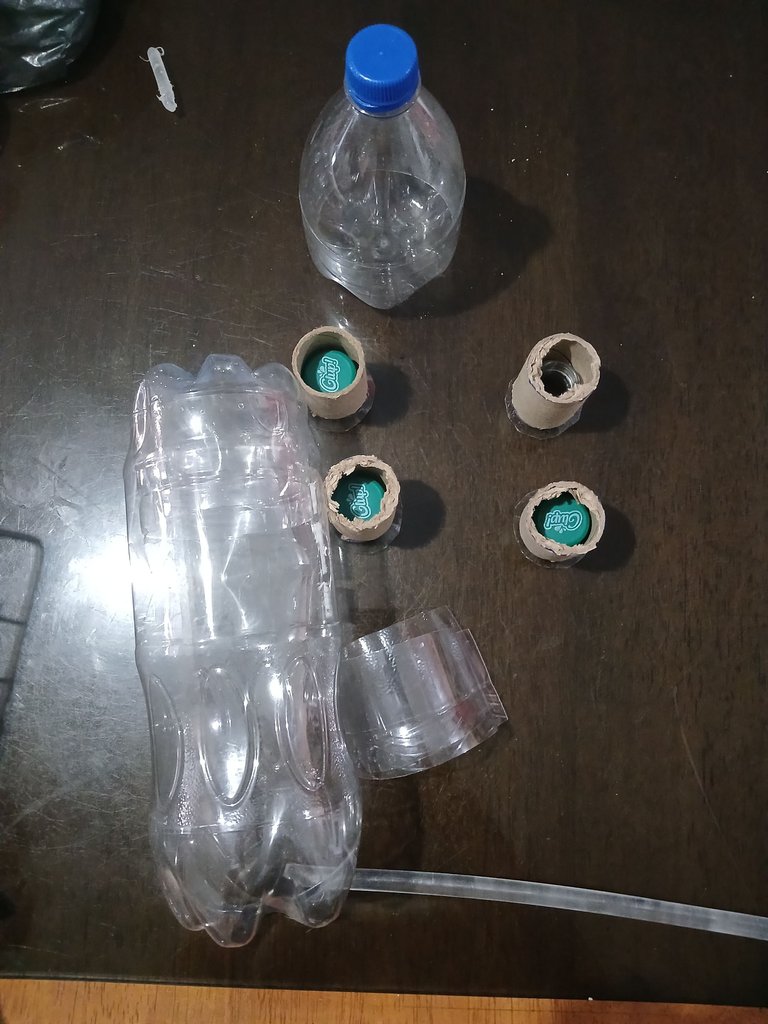
Then we continue with the leftovers of the 2 liter bottles. We make 2 pieces in the shape of an oval that would correspond to what would be the ears of our dog.
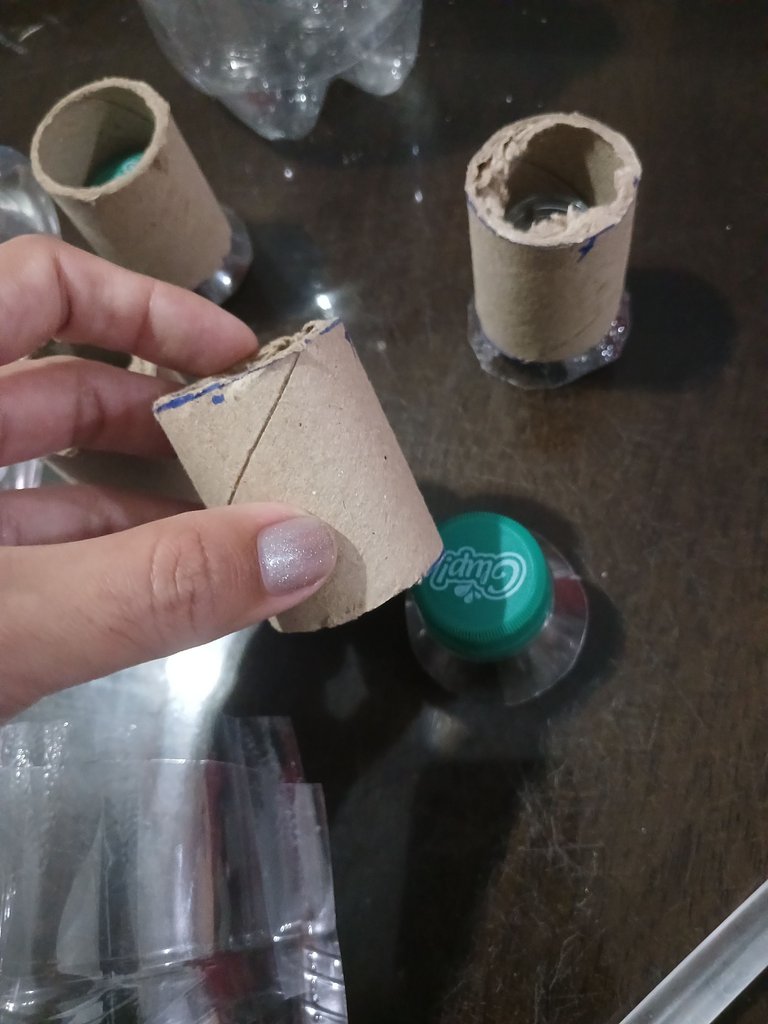
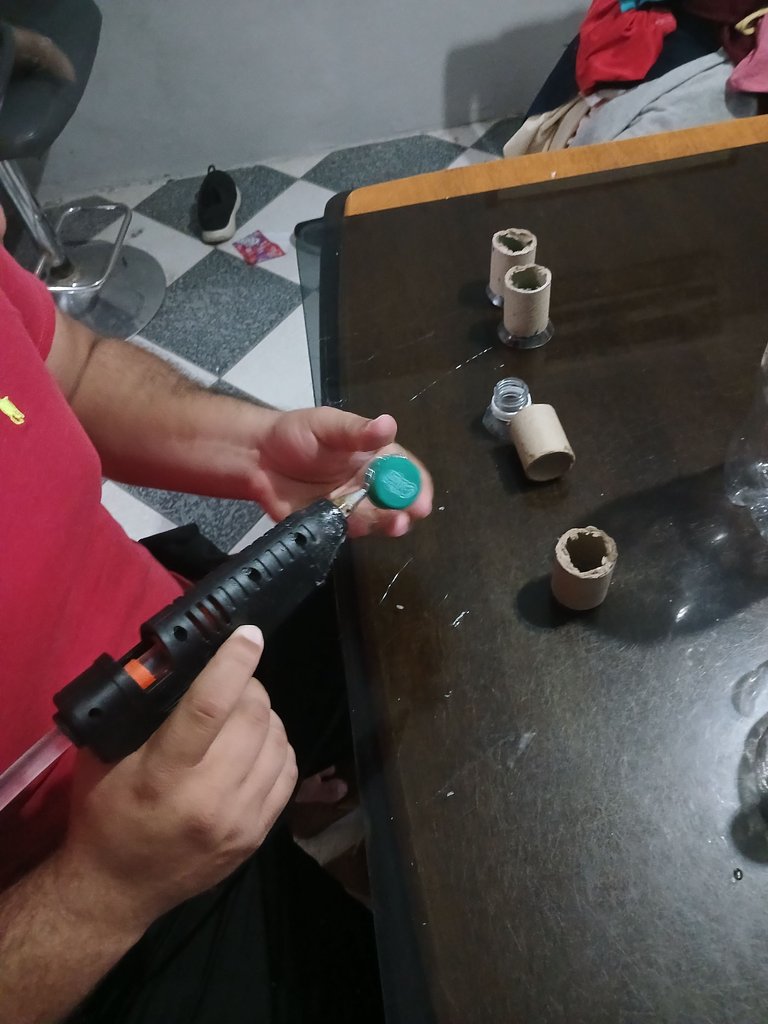
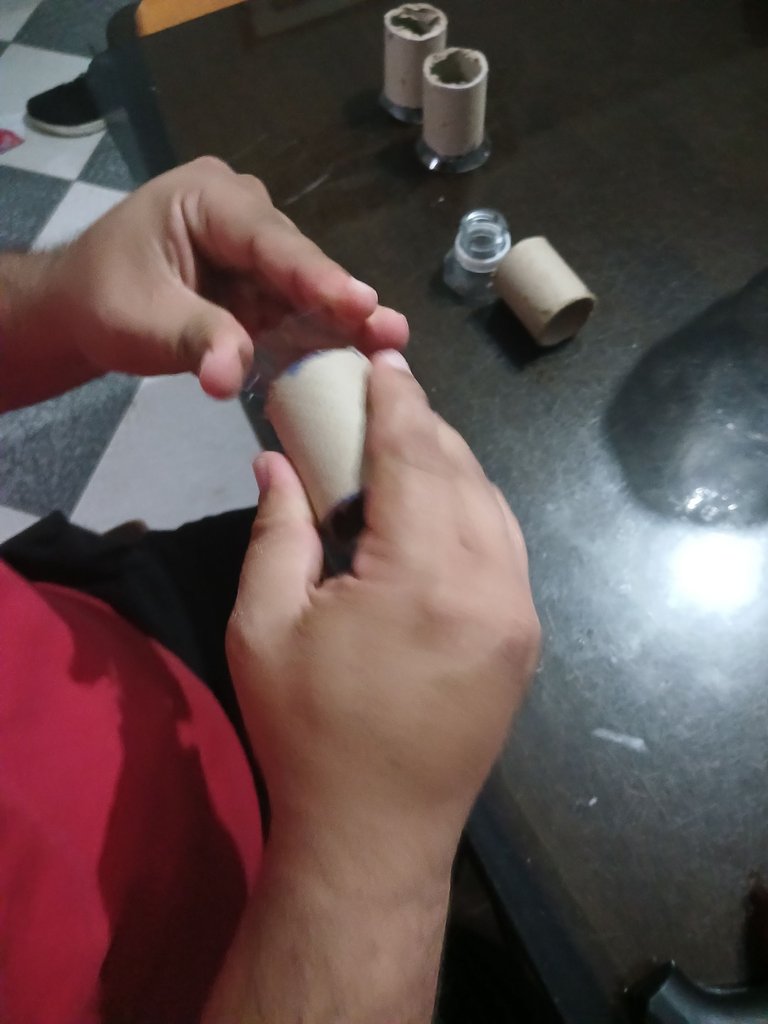
Seguidamente, al tener el cuerpo del perro, cortamos el tubo de cartón en 4 partes iguales y lo ponemos junto a las 4 puntas de botellas con sus respectivas tapas de plástico.
Luego continuamos con los sobrantes de las botellas de 2 lts Realizamos en forma de óvalo 2 piezas que corresponderían a lo que serían las orejas de nuestro perro.
 |  |  |
|---|
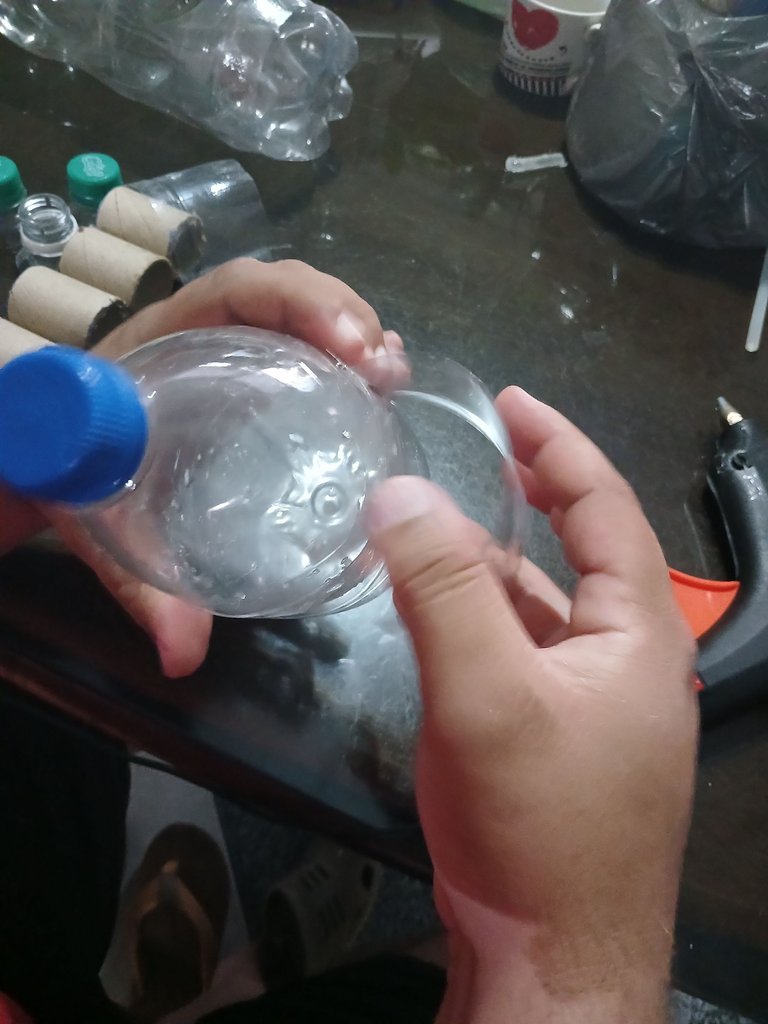
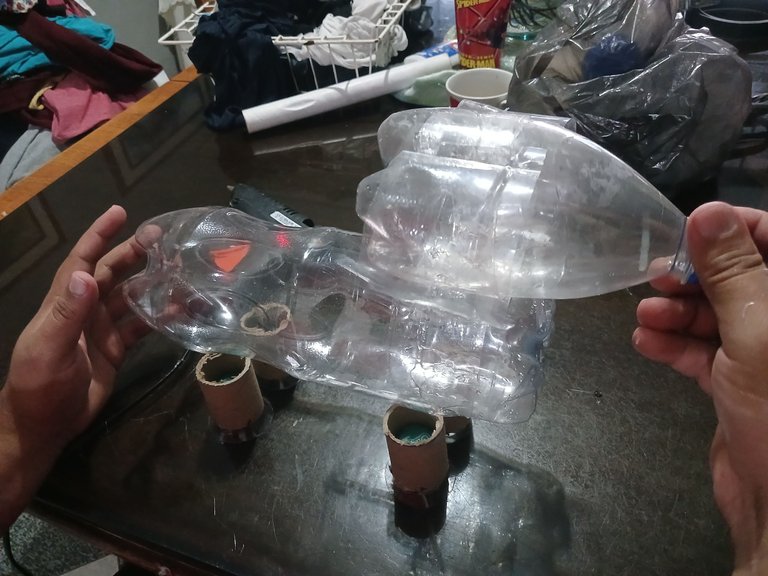
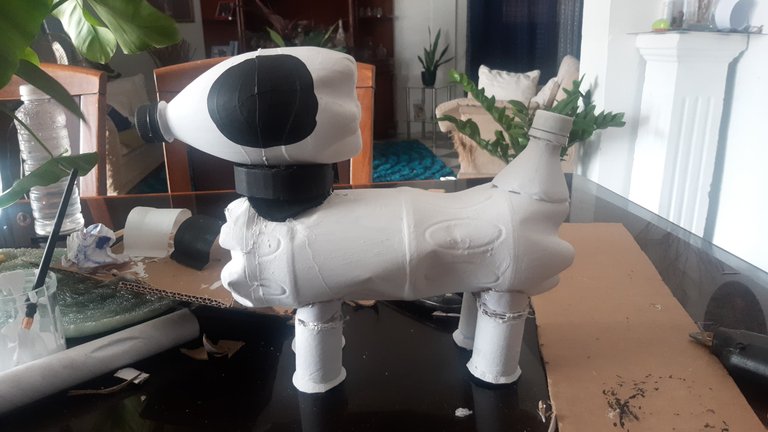
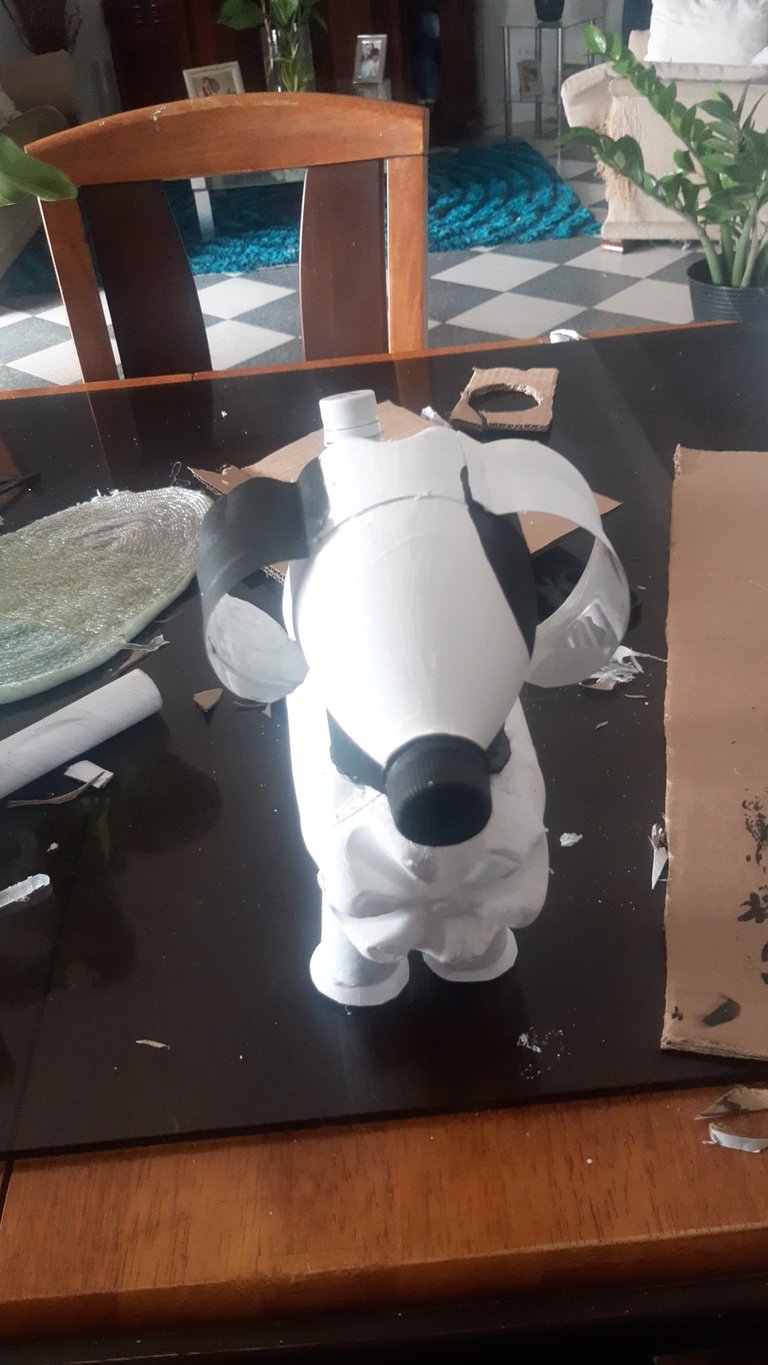
We continue with the head, for that we use the one liter bottle where we cut the bottom part and the part of the beak. We place the part of the beak with hot silicone inside the bottom of the bottle and thus create what will be our dog's head.
For the tail we cut a tip of a 1 liter bottle with its respective cap.
Continuamos con la cabeza, para eso utilizamos la botella de un litro donde cortamos la parte de abajo y la parte del pico. Colocamos la parte del pico con silicona caliente adentro de la parte de abajo de la botella y así creamos lo que será nuestra cabeza del perro.
Para la cola cortamos una punta de una botella de 1 litro con su respectiva tapa.
 |  |  |
|---|
 |  |
|---|
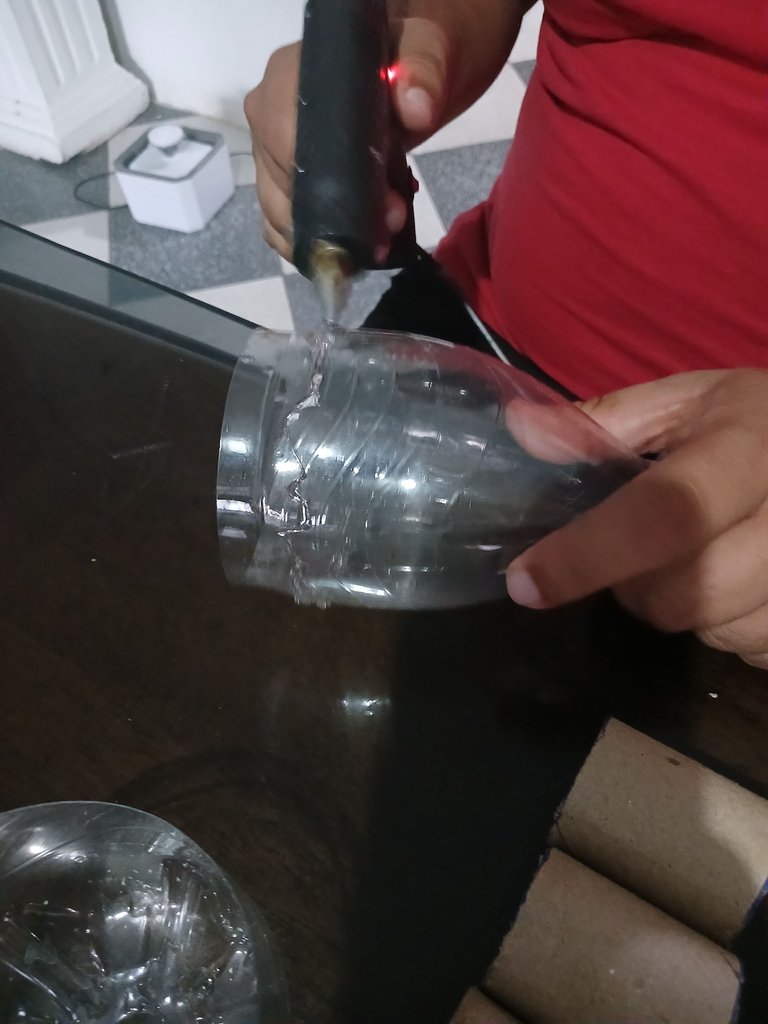
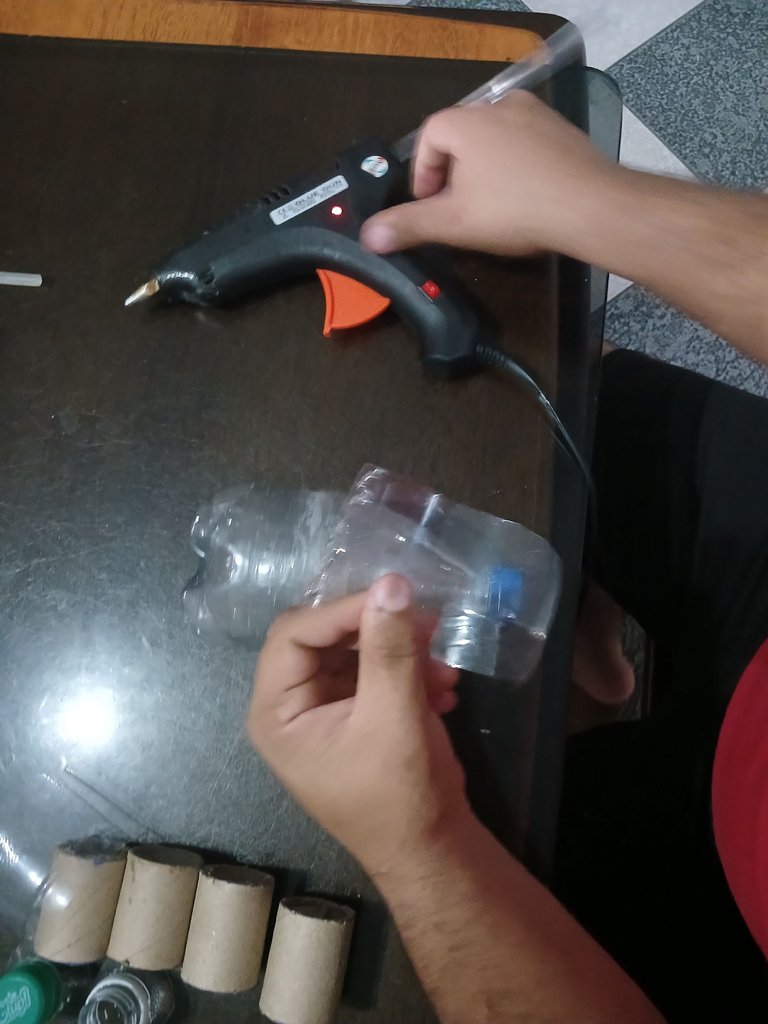
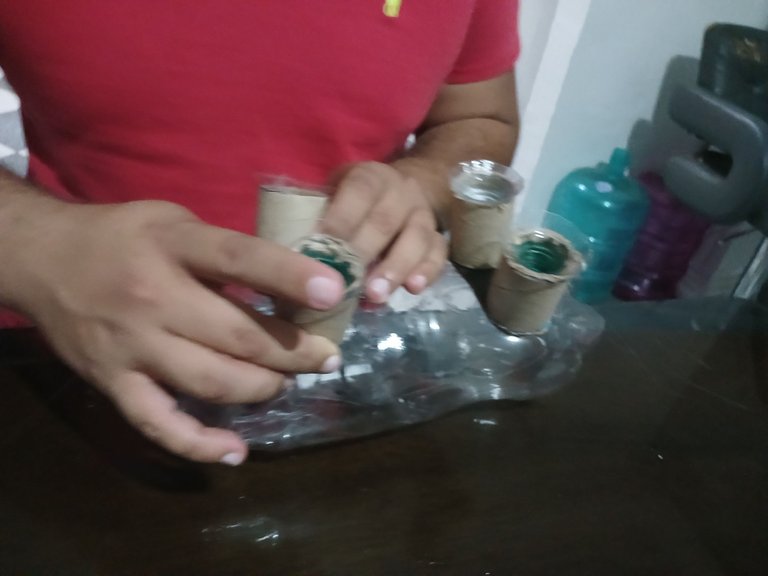
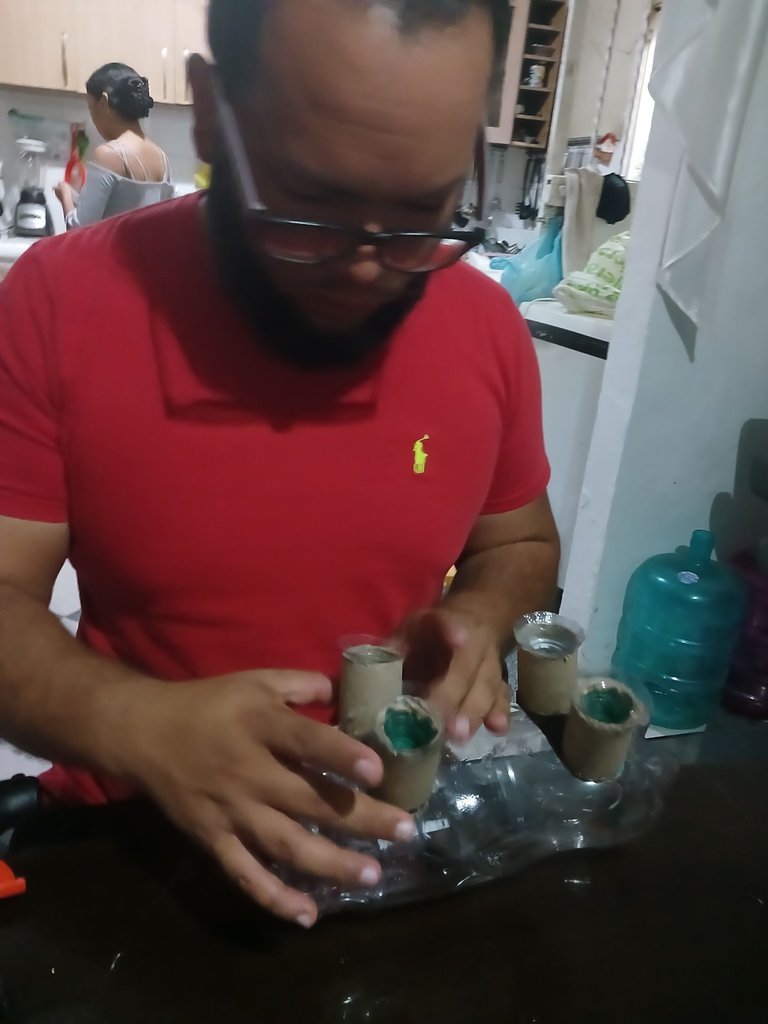
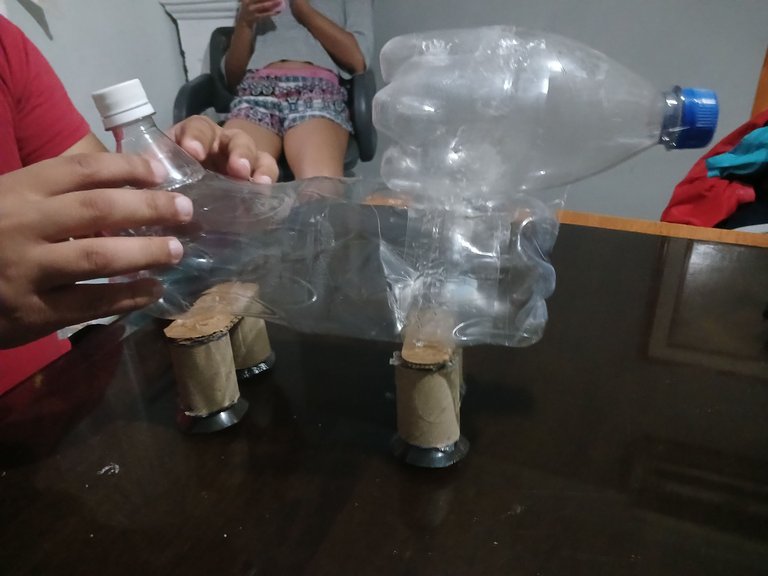
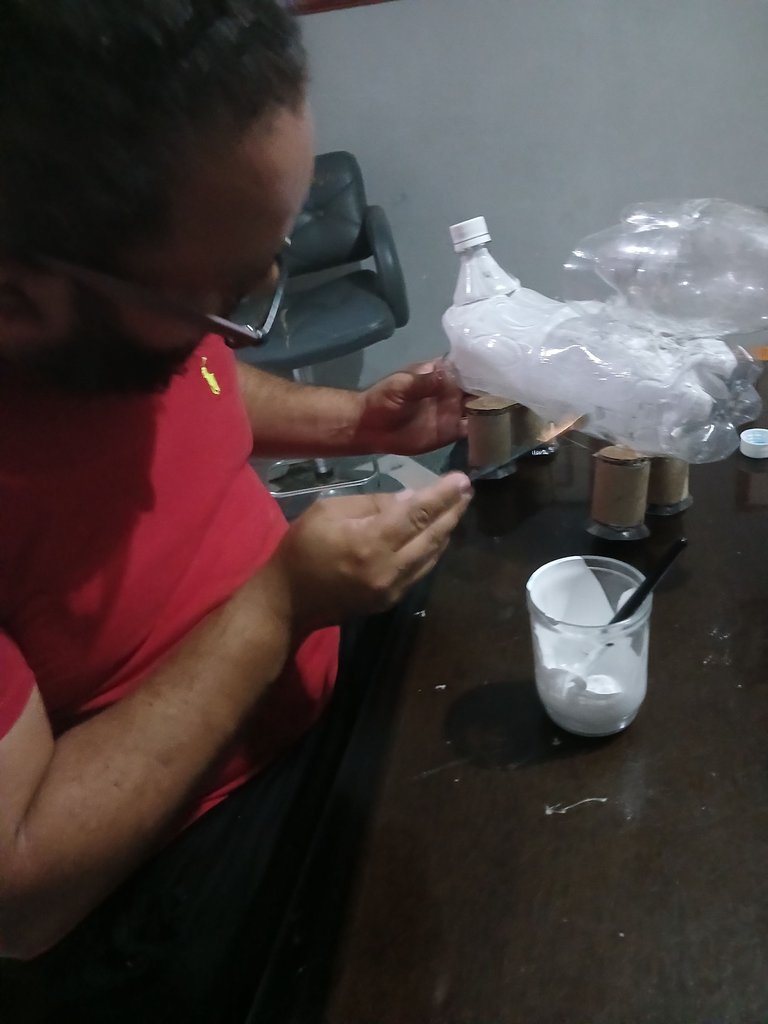
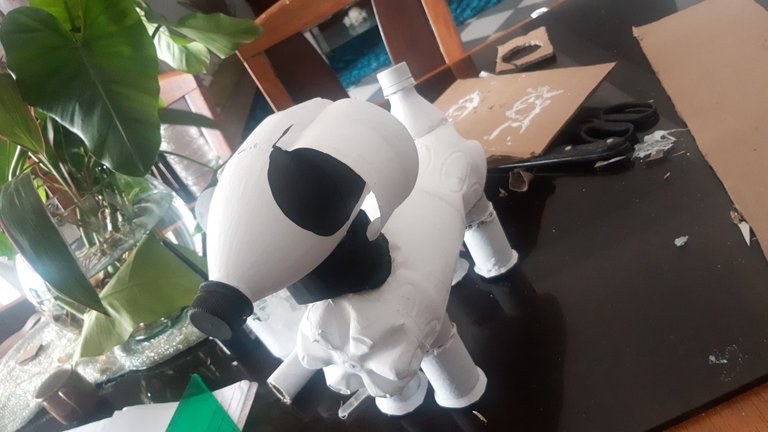
Once we had all the pieces cut, we began to assemble our dog, but when we started to glue, we began to realize that if the silicone is too hot, it begins to deform and that complicated us a little to be perfect.
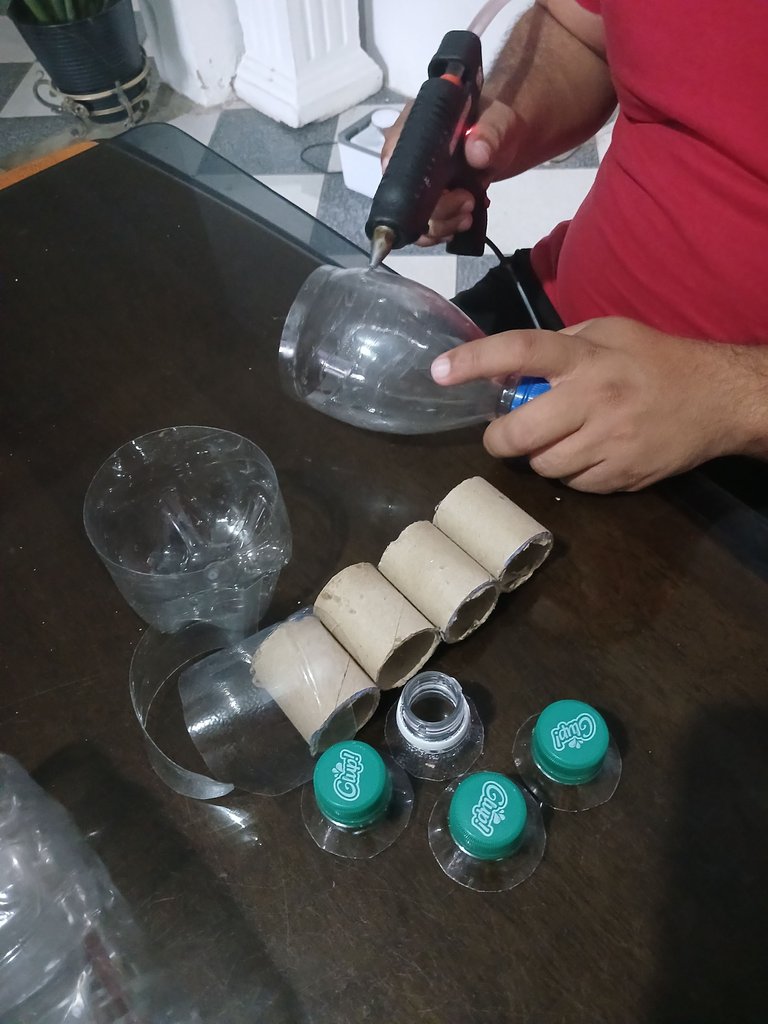
We glued the cardboard tubes to the 4 peaks of the plastic bottles with their respective lids, to create with them what will be the legs of the dog, when we had the four glued together we began to glue them on what would be the body of our dog and try to level it so that it stands on its own without the help of anything.
Al tener ya todas las piezas cortadas, comenzamos a armar nuestro perro, pero al comenzar a pegar, nos comenzamos a percatar que si la silicona está muy caliente, se comienza a deformar y eso nos complicó un poco que nos quedara del todo perfecto.
Los tubos de cartón los pegamos de los 4 picos de las botellas de plástico con sus respectivas tapas, para con ellas crear lo que serán las patas del perro, al tenerlas ya las cuatro pegadas comenzamos a pegarlas en lo que sería el cuerpo de nuestro perro e intentar nivelarlo para que se mantenga parado por sí solo sin ayuda de nada.
 |  |
|---|
 |  |  |
|---|
 |  |  |
|---|
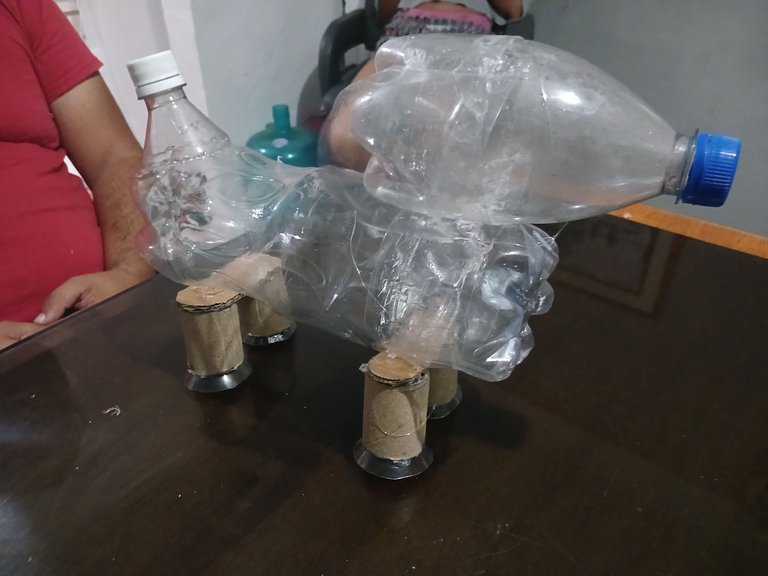
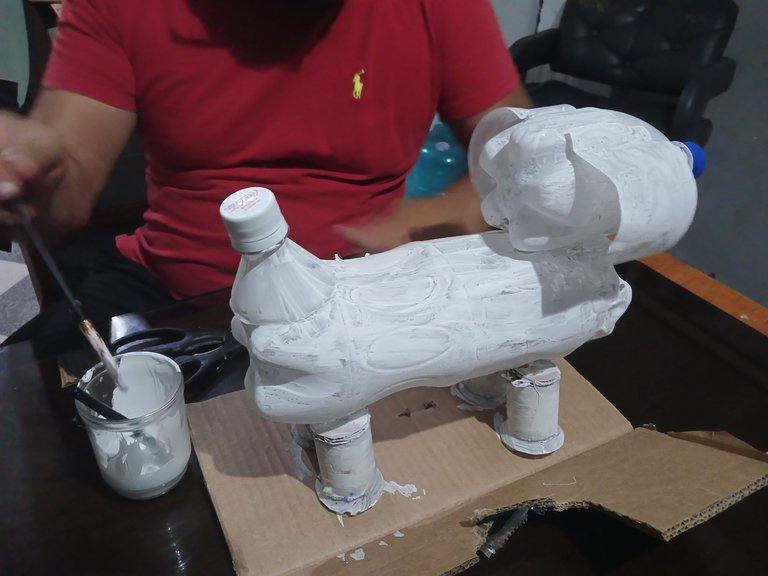
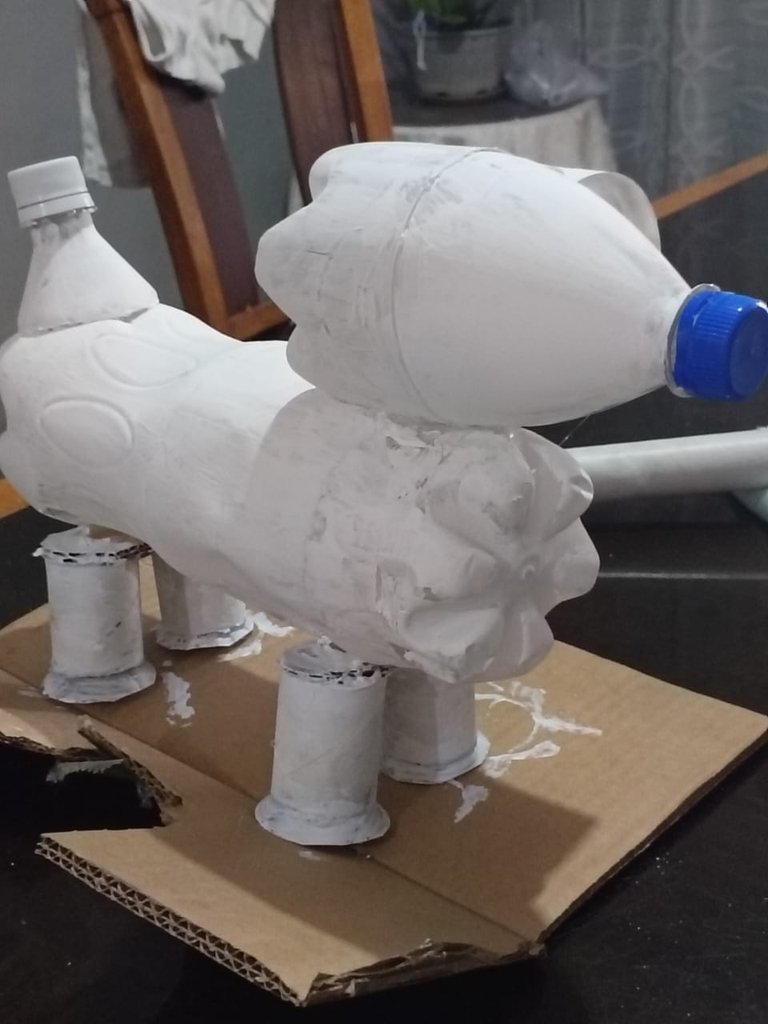
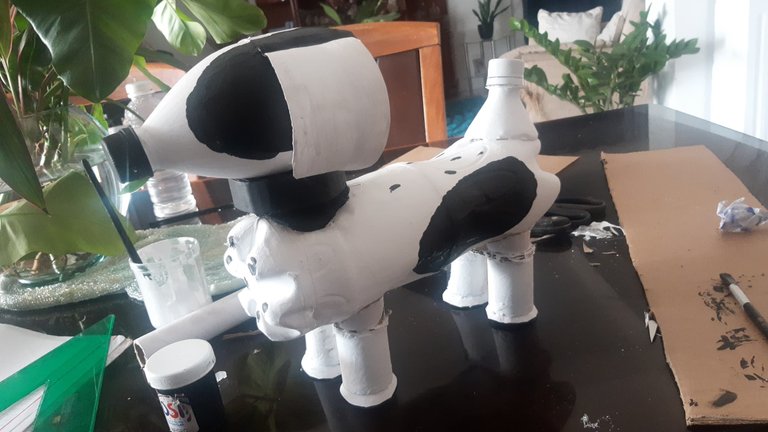
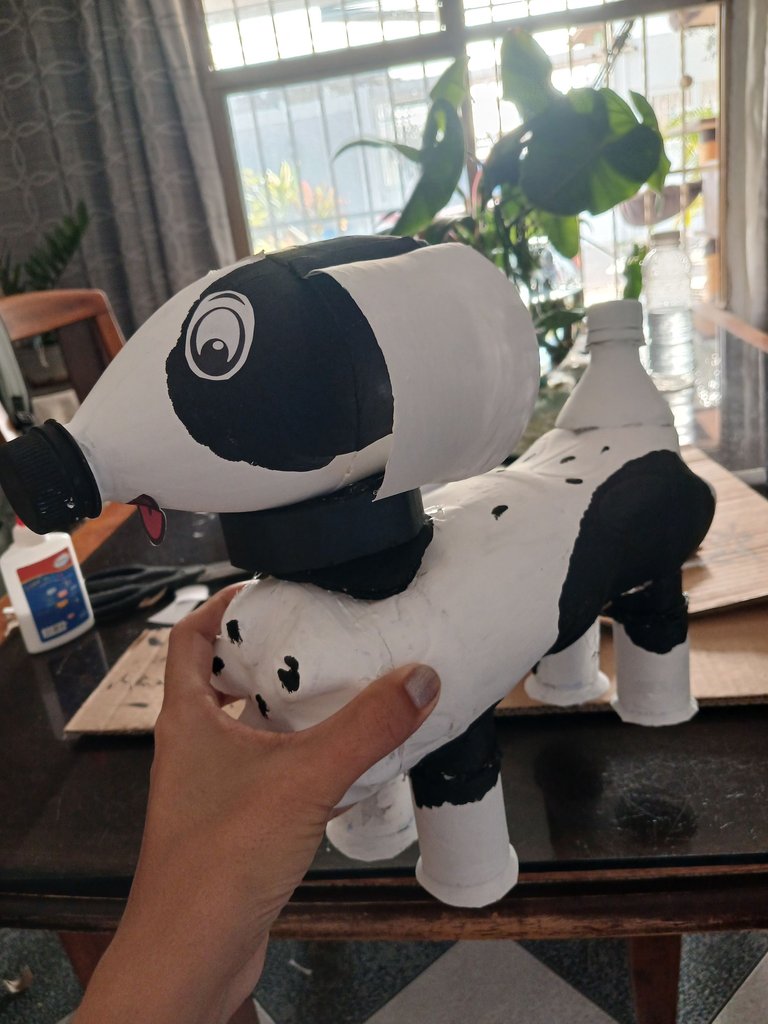
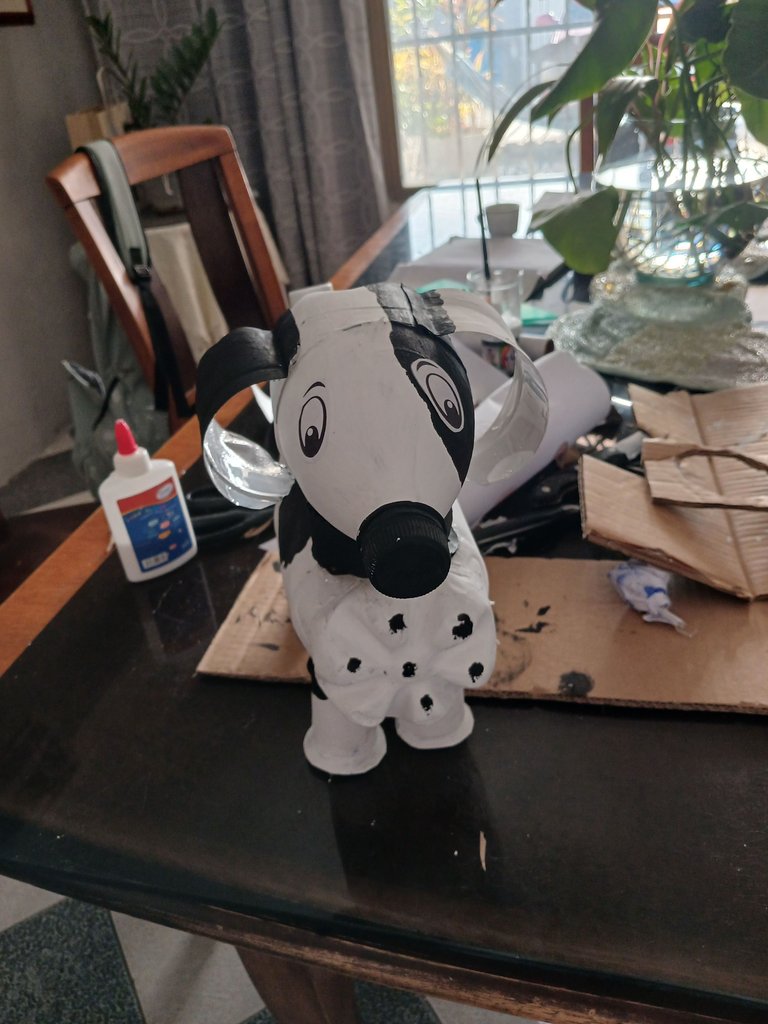
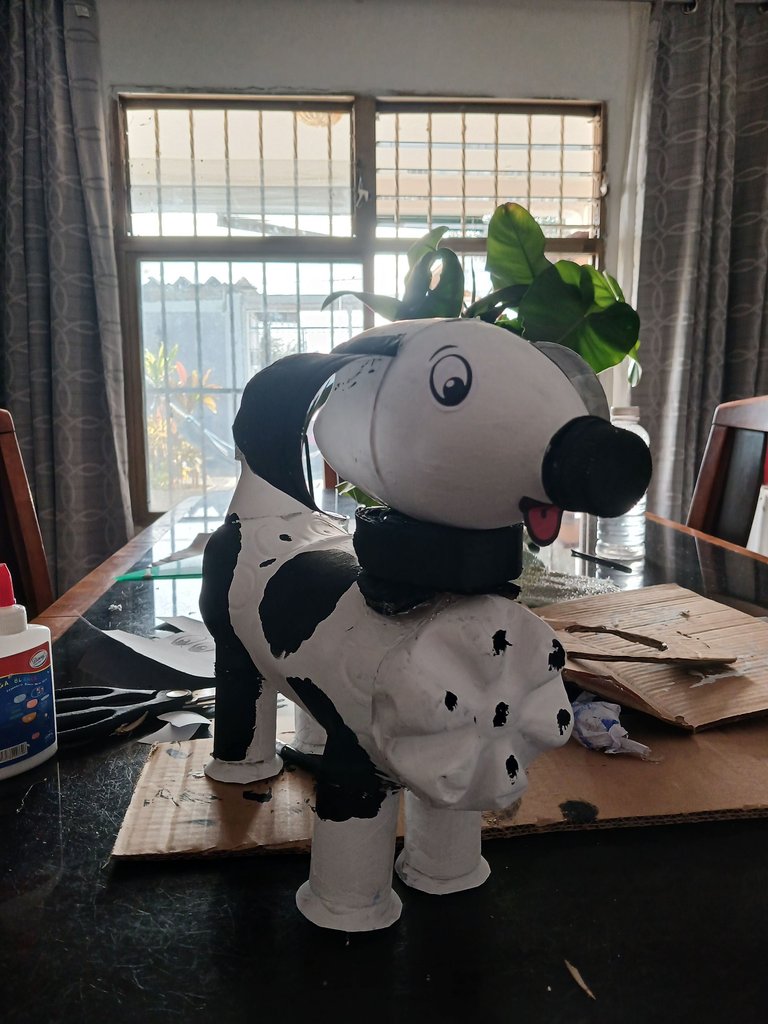
Next, we glue the head. Then we place what would be the tail, which we make with the spout of the liter bottle. Once it is ready, we finally put the ears of this beautiful dog, and then we just dedicate ourselves to painting.
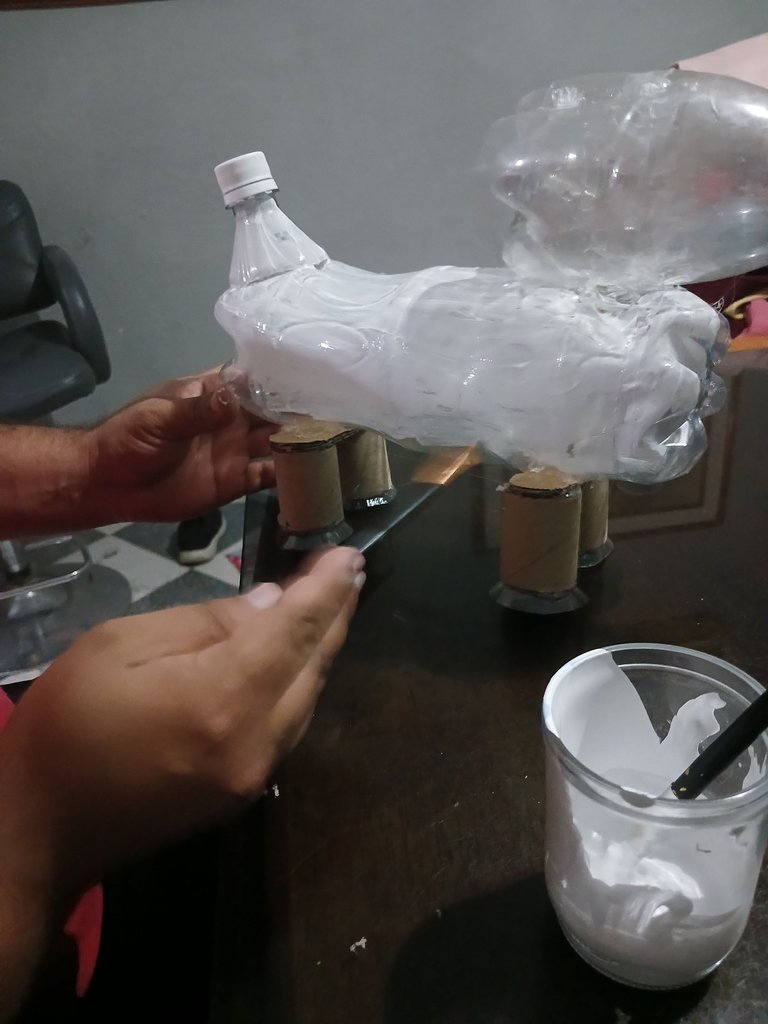
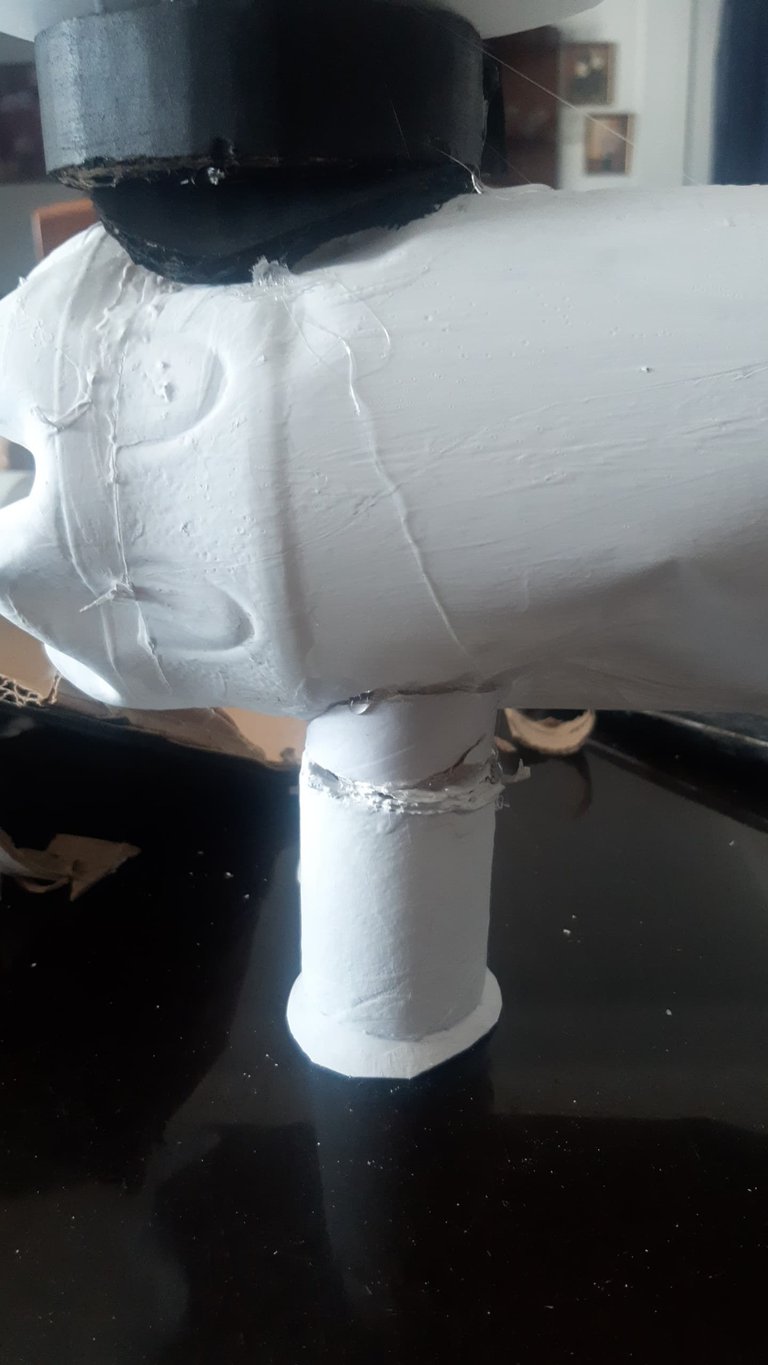
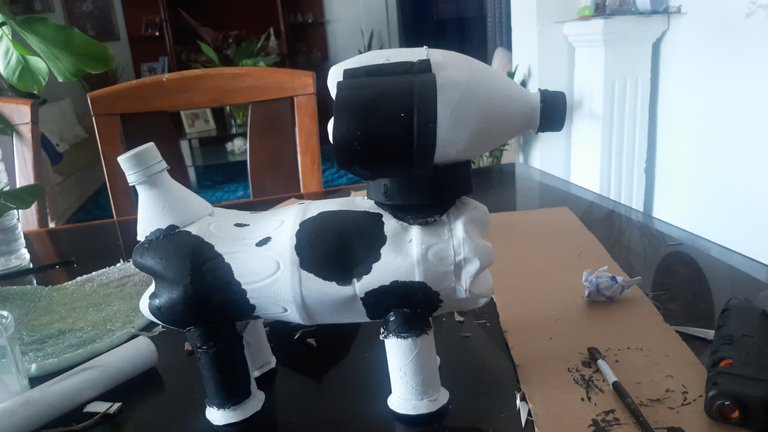
Painting with rubber paint this beautiful dog was not easy because it was a bad paint, but it was the only thing we had white at the time to paint our dog, and we did not have to buy, so we used things we had at home, this paint took us to dry, and we used several coats of it to be able to cover the whole dog and that it was with a good finish, it was also put on the neck to hide a small defect that had between the body and the head by the heat of the silicone and additional give a final touch to make it beautiful and after having the white ready we put the black spots.
Seguidamente, le pegamos la cabeza. Luego colocamos lo que sería la cola, que la hacemos con el pico de la botella de un litro. Al tenerlo listo, colocamos por último las orejas de este hermoso perro, para ya solo dedicarnos a lo que es pintar.
Pintar con pintura de caucho este hermoso perro no fue fácil porque era una pintura mala, pero era lo único que teníamos de blanco en el momento para pintar nuestro perro, y no teníamos para comprar, por lo que utilizamos cosas que tuviéramos en la casa, esta pintura nos demoró en secar, y se utilizaron varias manos de la misma para poder cubrir todo el perro y que quedara con un buen acabado, también se puso en el cuello para disimular un pequeño defecto que tenía entre el cuerpo y la cabeza por el calor de la silicona y adicional darle un toque final para que quedara hermoso y luego de tener el blanco listo se le colocó lo las manchas negras.
 |  |  |
|---|
 |  |  |
|---|
 |  |  |
|---|
 |  |  |  |
|---|
 |  |  |  |
|---|

THANKS TO SEPARATOR AND BANNER/GRACIAS A SEPARADOR Y PANCARTAS
https://peakd.com/hive-148441/@ikasumanera/eng-es-i-made-hive-free-use-art-of-for-all-of-you-part-1-dividers-and-banners-or-hice-arte-de-libre-uso-para-todos-parte-1
Esas maestras nos obligan a ponernos creativos jeje, lo bueno es que es un proyecto en familia y dentro de todo divertido.
Les quedó genial el perrito
Si amiga, y aún me falta compartir otras maquetas qué nos a puesto hacer la maestra jajaja... ni en semana santa nos dejo descansar.
How creative you are... i will definitely show this to my niece as she loves doing Art & Craft, hopefully she will definitely gonna try it 👍🏻
Yes, it's easy to do and all the materials are easy to get at home hahaha... it's the best thing to save a lot of money !
hahah.. Thanks for sharing your Idea...
Quedó muy genial el trabajo, y supiste reutilizar muy bien el material que tenías disponible. Esos maestros siempre poniendo a trabajar a los padres, mi hija está en la universidad estudia arquitectura y todavía no me salvo de eso jajaja
!discovery 30
Jajaja... pues si los maestro pone a estudiar de nuevo a los padres también jajaja.. ni en la universidad nos podemos liberar de esas tareas jajsja...
This post was shared and voted inside the discord by the curators team of discovery-it
Join our Community and follow our Curation Trail
Discovery-it is also a Witness, vote for us here
Delegate to us for passive income. Check our 80% fee-back Program
Excellent recycling work and the collaboration you provide your son with in his schoolwork is very valuable.The project turned out very well.
selected by @dayadam
¡Felicidades! Esta publicación obtuvo upvote y fue compartido por @la-colmena, un proyecto de Curación Manual para la comunidad hispana de Hive que cuenta con el respaldo de @curie.
Si te gusta el trabajo que hacemos, te invitamos a darle tu voto a este comentario y a votar como testigo por La Colmena.
Si quieres saber más sobre nuestro proyecto, te invitamos a acompañarnos en nuestro servidor de Discord.
Juguetes creados a partir de materiales desechables. Una opción económica y ecologista a la vez. Excelente
Así mismo es 🤗 materiales que todos podemos conseguir en nuestro hogar.
WOW! This is amazing and wonderfully made, from the beginning to the end you totally nailed it and you really did a great job. Well done and kudos to you
Super cool and creative!!!❤️
Thank you very much 😊
Me encantó
Gracias ❤️