Mobile Photography Tips for Beginners
"Where nature speaks, my camera listen"
Now I will share some of my experience with you. Photography requires not only a good camera, but also intelligence. There are several accessories you need before taking a photo. Photography can be of a person, an object, or any scene. But to make any kind of photo you want, you need some basic skills.
Camera:
You need a good camera or a phone with a best camera. You can take a good picture with a cheap phone, but the quality won't be as good. That's why the good camera quality requires. I'm sharing a photo that quality is not good but angles are very accurate:

Tripod:
Use a tripod when photographing anything stable. So that the picture you took can be even better. A person's hand trembles slightly while taking a picture. Which makes the picture not look good and the picture is out of focus. That's why you should use a tripod or gimbal to take pictures.
Grid Lines:
There is a Grid Line in every camera settings. Always Always keep this option turned on when taking a picture. The advantage of this is that the image is not distorted. I'm uploading a picture that will give you an idea of how useful the grid line is:

The above picture showing that the grid lines are useful to take a picture of a object. This also shows whether the image we are creating is crooked or not moving forward or backward from the frame.

The above picture is clicked without grid lines and as you can see that the object is not perfect to the frame.
Hdr:
Every camera has a option of "hdr". This will help you to click a very detailed and enhanced picture. You have to turn on the option hdr in camera settings. The "hdr" is very usefule because it automatically color grades the image while taking it. I will show you some results by using hdr or without hdr
Without hdr

With hdr

Exposure
Don't even take a picture from the opposite side of where the light is coming from. If the light is coming from the same direction as the person you are taking a picture of, the picture won't turn out well. This picture will explain this what i'm talking about

Now I'll show you how the image will appear if the object is placed on the other side of the light.

This is the effect of the light when taking a picture.
Brightness control:
You can adjust the brightness while taking a picture of any person or object.For this, you have to focus on the product and adjust the light.
This task is very important in photography because these things can either improve or worsen the quality of the image. Now i will share some images with you to show you what the image looks like if the brightness is not controlled.


Frame Ratio:
Always choose a required frame ratio.


The above images show the frame rates. The best and accurate frames ratio is 4:3.
If you use a larger frame than this, the picture quality will be poor, and if you use a smaller frame, the picture will be small.
Color Combination:
You also have to take care of the color combination when taking a picture.
For example, if you want to make something stand out, its background will also according to the color of the object.For example, if you are taking a picture of something that has a dull color, you should use a dark color for its background.


From these pictures, you must have realized how important it is to have a good background color when creating any image.
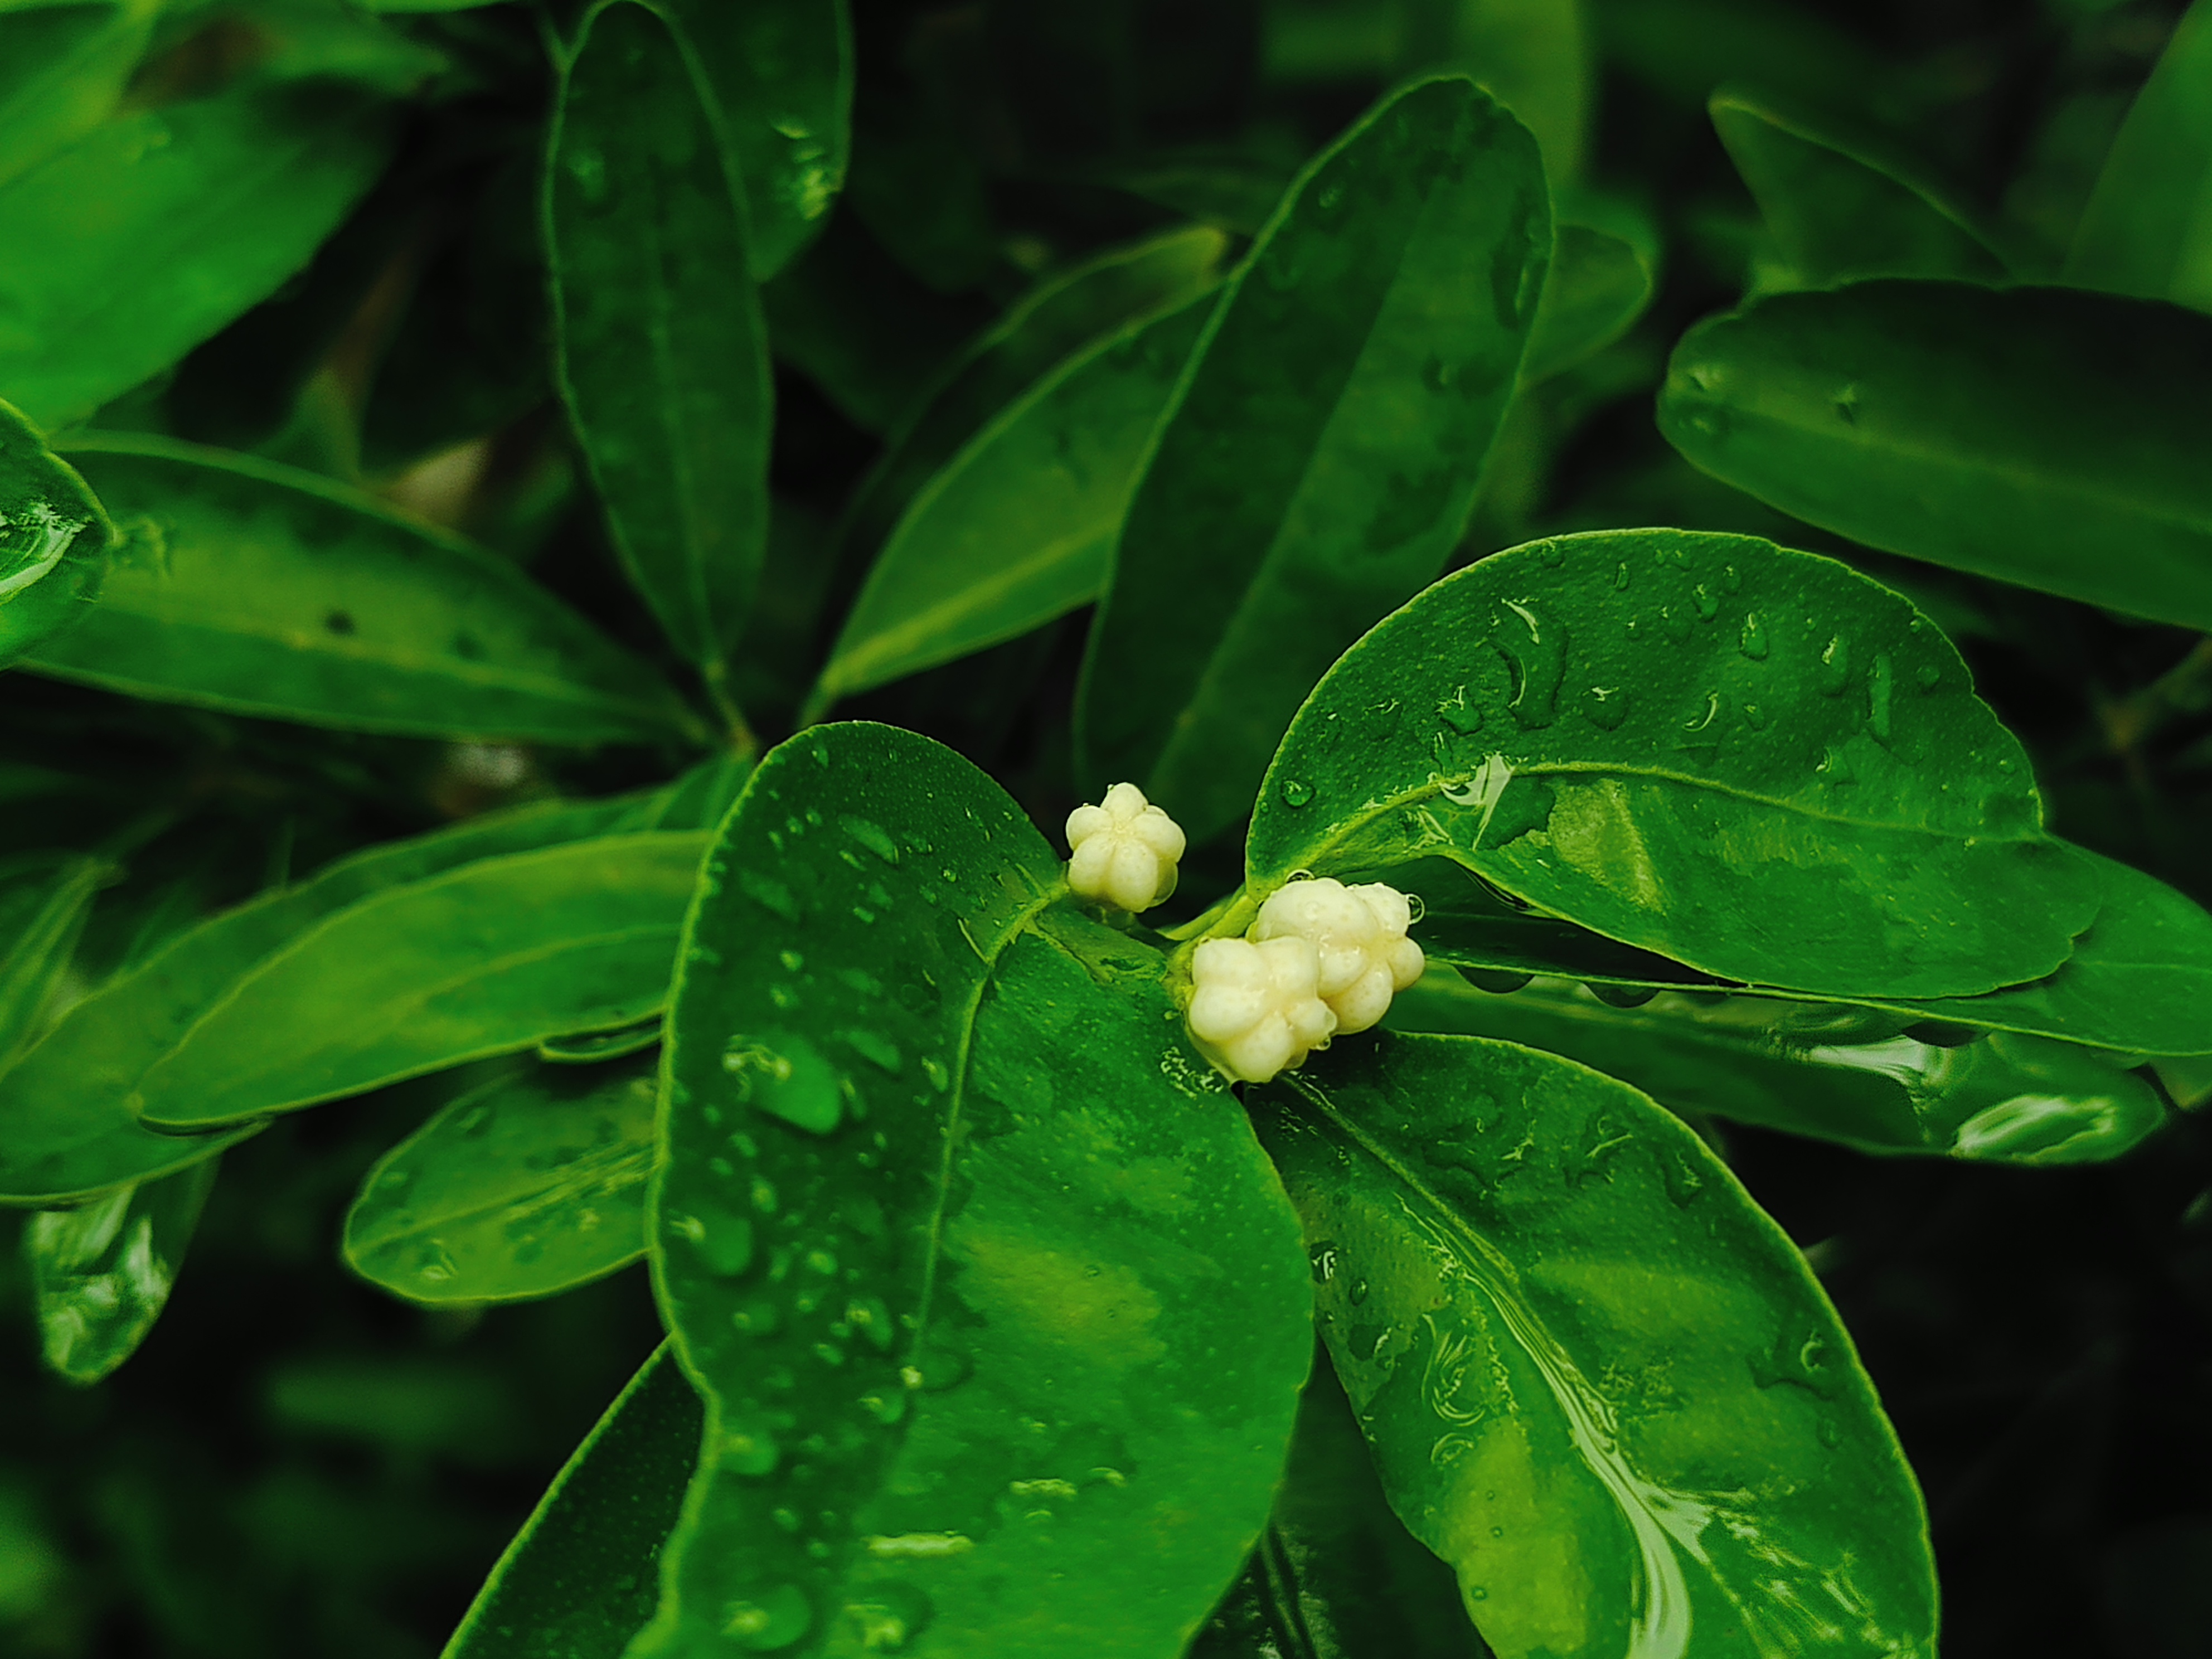
Color Grading:
Sometimes when you take a picture of something, the colors come out very faded. There is a solution to this too. You can make any picture more beautiful through color grading. Color grading may require using additional apps, but today every phone has its own color grading function. If we use another platform for grading, the picture quality can be poor.
Therefore, it is better to use the phone's own color grading function and do very little color grading, neither too much nor too little. I will share some images with you that will help you understand the benefits of color grading.


Here are some pictures I took a few days ago.