Pottery playtime
I'm so excited to show you my newest creations. It takes too long to finish the items because I am depending on the firing schedule of my teacher which is annoyingly irregular. It will be so much easier when I will get my own kiln.
I glazed them last week and was able to pick them up on Saturday. I was not sure how they would turn out because some of my items are quite large and I couldn't dip them in the buckets as there was not enough glaze. This is another issue that will be eliminated as soon as I get my own kiln and set up a home studio where I will be able to do everything from start to finish.
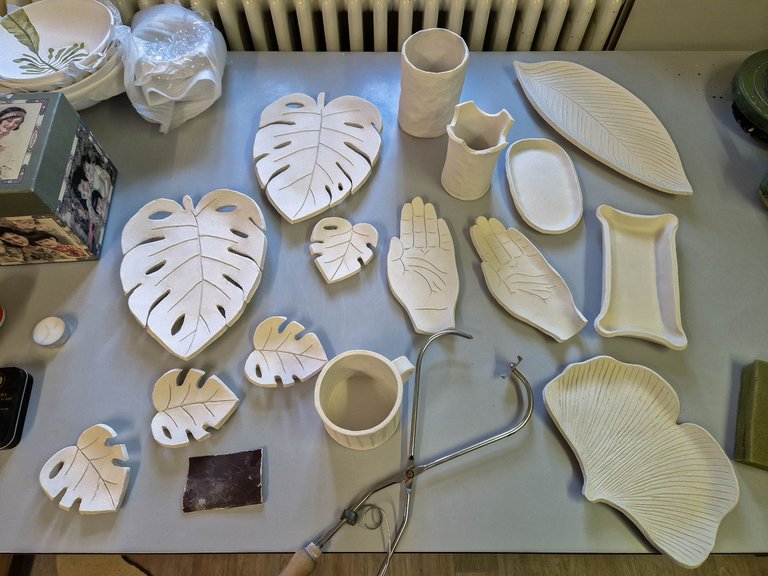
When I came to the studio I found all my bisque fired items placed on the table waiting for glazing. I was sharing the studio with a class, so I was not able to get all glazes and had to work with a few that were available.
Let's see how they turn out!
Initially, I planned to take photos of the entire process and share it in multiple posts. However, when I start working I get consumed in my thoughts and let the creative process take over. I usually realize that I forgot to take photos again once the item is drying already. Well, it's not too bad as I should not sell out my work in progress secrets 😊
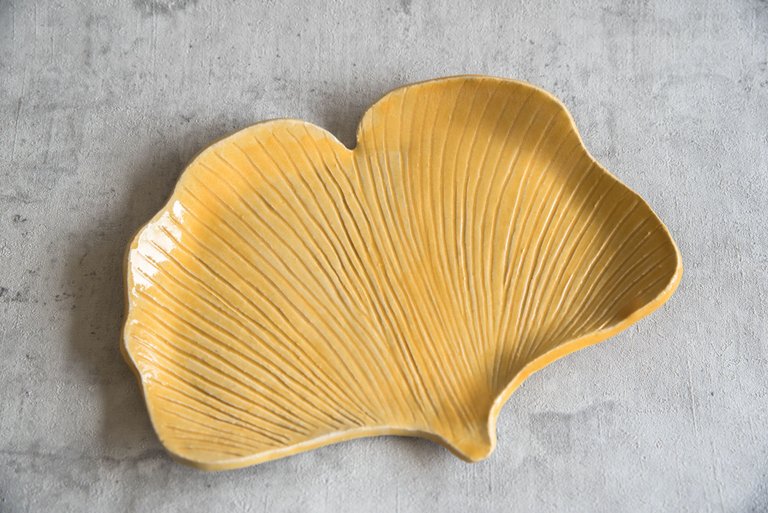
I have always admired ginkgo trees and took tons of ginkgo supplements during my studies. I'm not sure if it helped, but I graduated, so I guess it wasn't too bad for me.
The leaves are bright green in summer and turn yellow in autumn. Last year, I was standing under a ginkgo tree in autumn and I fell inspired by it, so I wanted to turn it into a ceramic piece.
It's 22 cm/16 cm and it's perfect for serving appetizers.
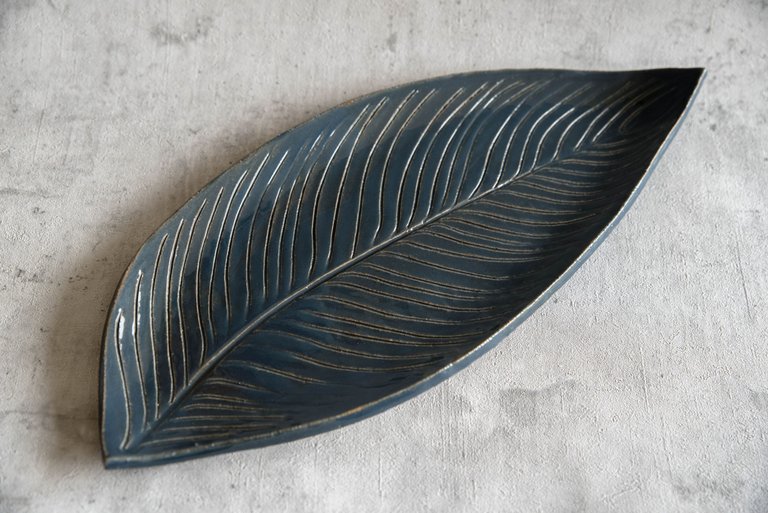
This serving plate is about 33 cm long, and it is inspired by my Peace Lili plants. I took the largest leave that I could find and used it as a stencil. It didn't work the way I imagined, so I had to do a lot of manual adjustments. My Peace Lilies are more than 13 years old, and I hope that I will be using this serving place for at least that long.
I used a blue glaze that I poured a few times over the dish.
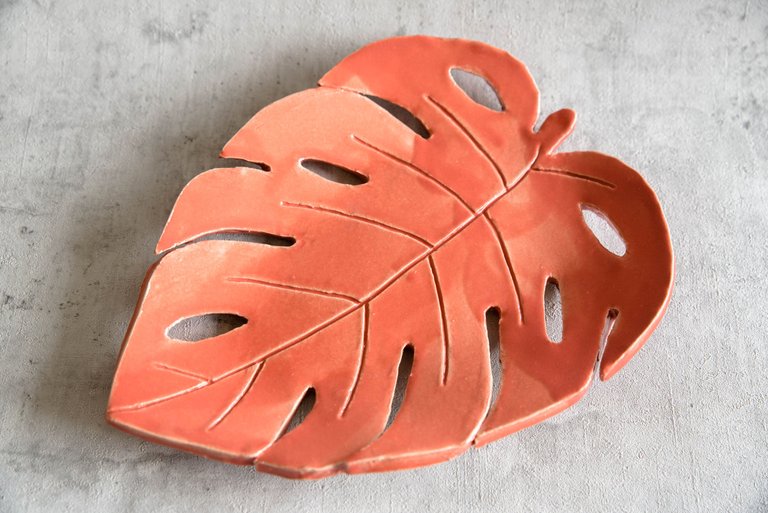
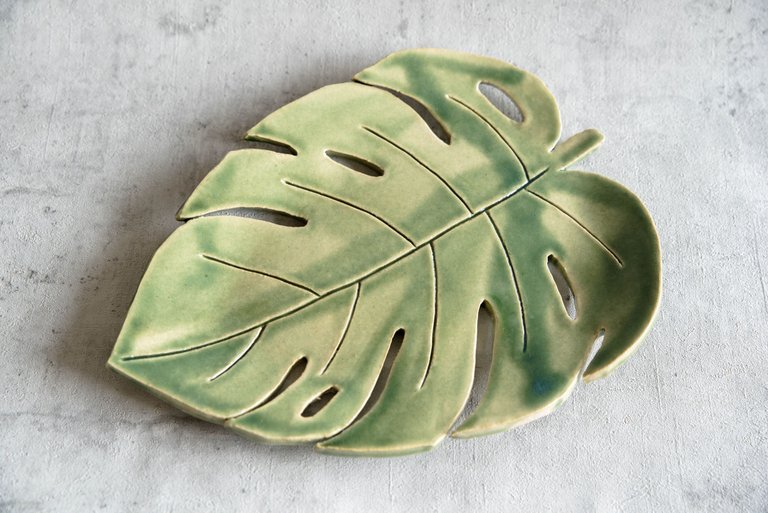
The monstera dishes were the first ones that I created at home using the slab technique. I spent half a day creating the stencils, and I'm so happy with the way they turned out. I have described the process in one of my former posts.
I wanted to use some natural colours, so I choose red and green. They are contrasting, but they also compliment each other. The glaze was poured over them, and this is why the dark patterns were created.
The dishes are about 24 cm/18 cm.
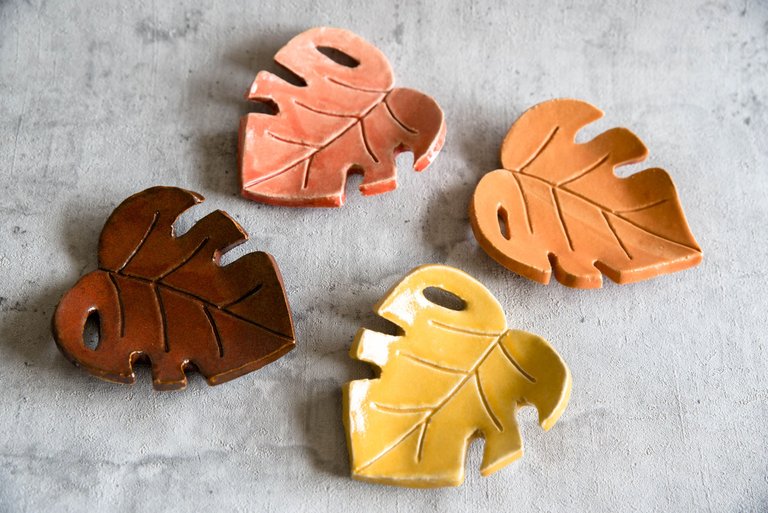
And baby monsteras! They are perfect for serving tiny appetizers such as one falafel 😊 I find them great for dinner parties.
I was able to dip them in the buckets using the dipping tool. The colours are brown, red, orange and yellow with transparent glaze on top.
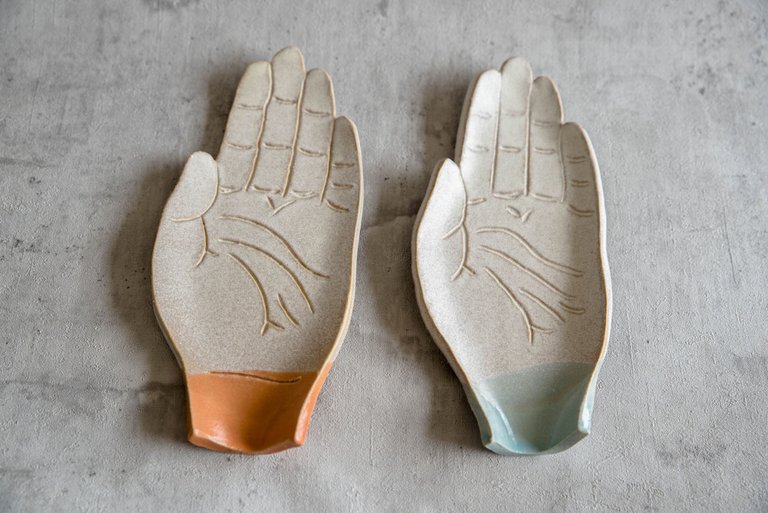
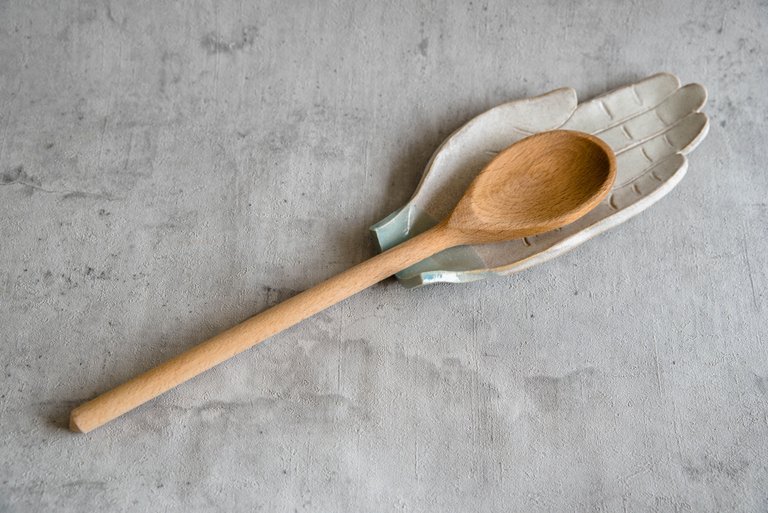
I wanted to create spoon holders, but there are so many of them already that it took me some time to come with an original design. They are very personal as I used my husband's hand as a stencil. I didn't realize both of them are left, so now I will have to create right ones too.
I will gift the orange one to my mother-in-law and keep the blue one at home.
The colour that I used is called eggshells. It creates and interesting pattern. Next time I will try to cover it with the transparent glaze to make it shiny.
Works perfectly!
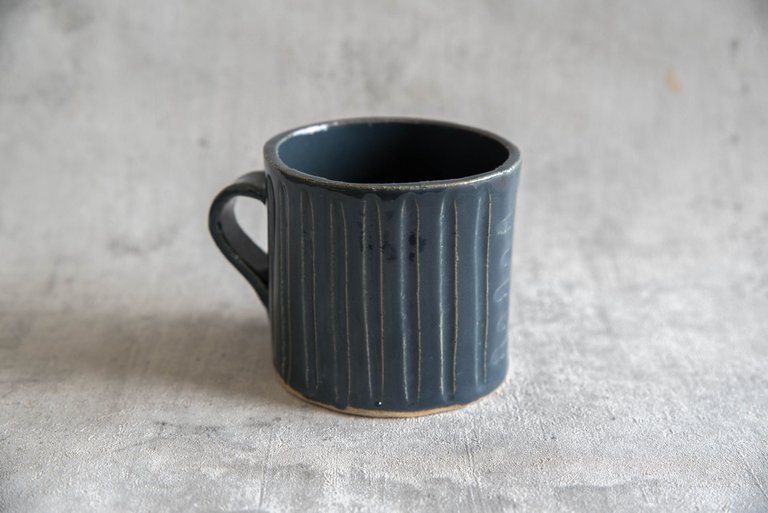
I had no idea how difficult it is to build a mug from a slab. This is my first attempt and I like how it turned out. I made mistakes with connecting the slabs because I forgot to use a slip, and I was convinced that it would break in the kiln, but I was lucky and this is what was waiting for me on Saturday.
I carved some lines using a carving tool and dipped it in blue. It's a perfect size for my matcha latte.
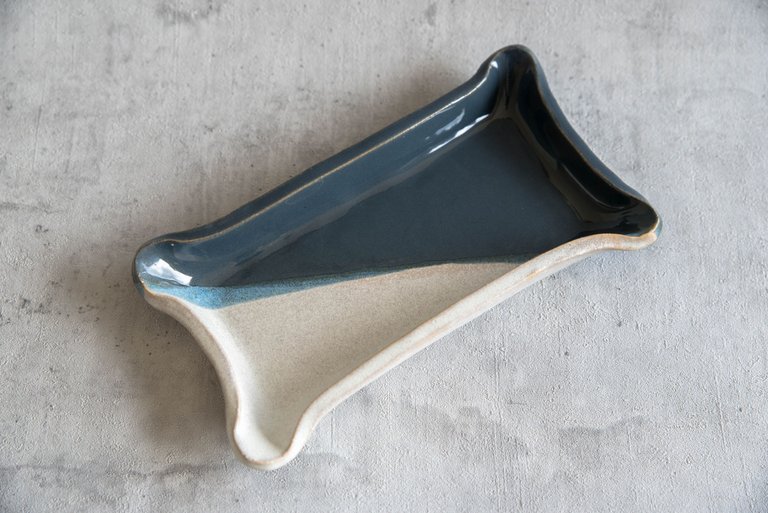
My husband asked for a dish for a Frikandel, but I had a curry wurst in mind, so this is what he ended up with. Well, I don't eat this kind of snacks, so a Frikandel and/or a curry wurst look the same in my mind. He is still happy with it, but I have to create another one with the right size for the Frikandel
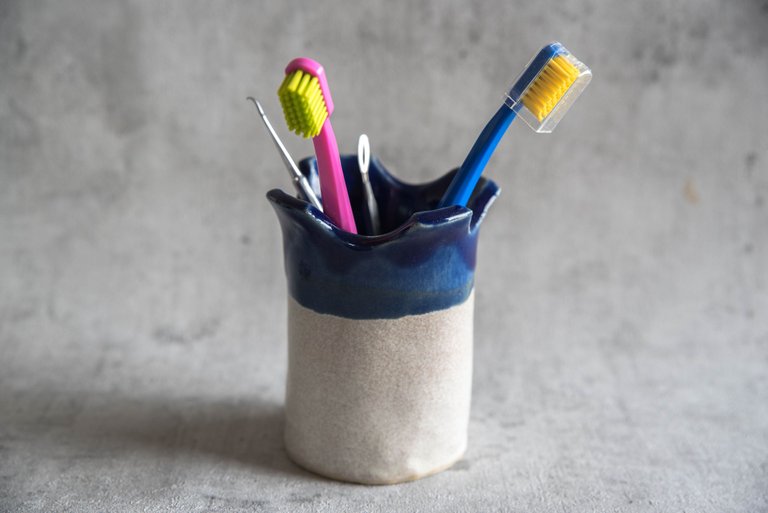
We have never had a special holder for tooth brushes, so we always used a normal drinking glass. It drives me crazy to clean it so often because of the limescale stains, and I thought that maybe there is a better way. And this is what I created 😊 It goes nicely with our bathroom decoration, and it looks much better than a glass.
The first thing that I do when I come home is removing my jewelery. I always place them in a random place and can't find them when I need them again. This tiny dish should help me to keep them in one place as it's cute and I want to use it. I hope I will keep this excitement as my husband refuses to help me looking for my jewelery 😊

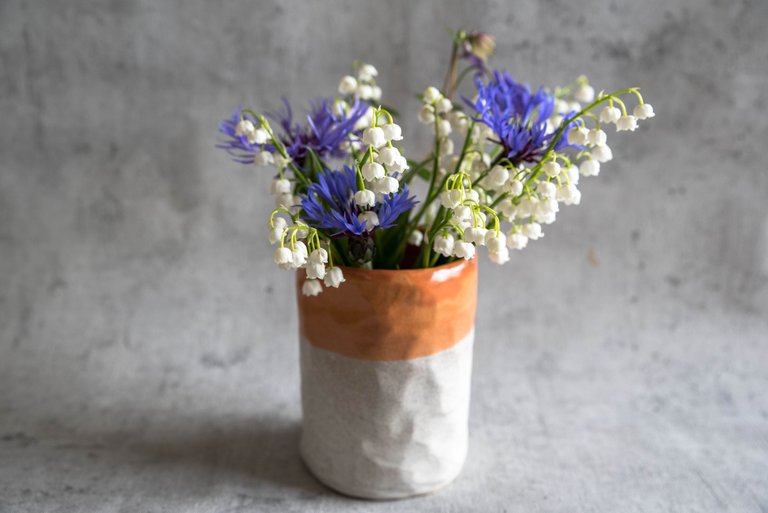
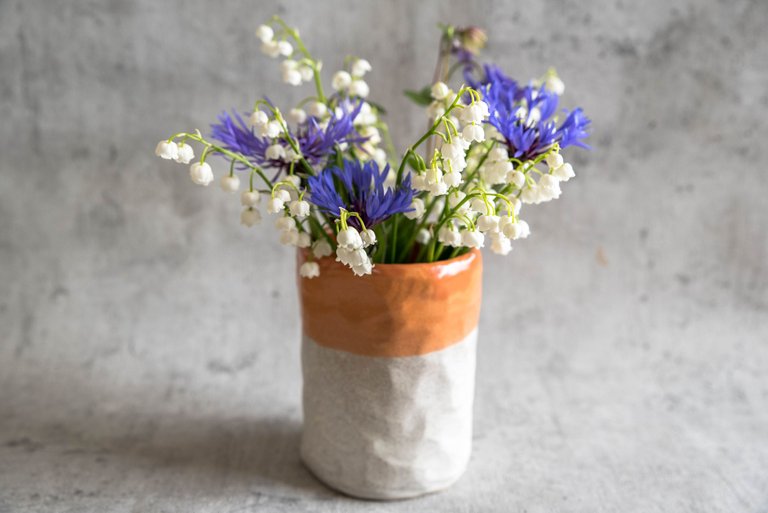
I made this textured vase from a slab as well. I used a big spoon to create the texture and it was so much fun to slap it. I wanted to give it a bright colour, but nothing crazy, so that it goes with our garden flowers. I picked some flowers from the garden to show you how it looks like 'in action'.
I've been working on other pieces and I will show them to you soon.
Keep creating!
See you next time...
Wow, you are getting really good at this! I love them all :)
And buying your own kiln? You will soon be a pro!
Thank you! Yes, that's the plan! I hate being depending on somebody else and when I have a kiln at home I can progress much faster 😊
Son todos hermosos, estas piezas de cerámicas que nos presentas.
Thank you! 😊
It is a collection worth admiring, I adore every single piece and the paint finish looks so elegant.
Thank you for your kind words! I'm happy that you like them 😊