MAKING A SHIRT WITH CHEST POCKETS USING CHECKED MATERIAL
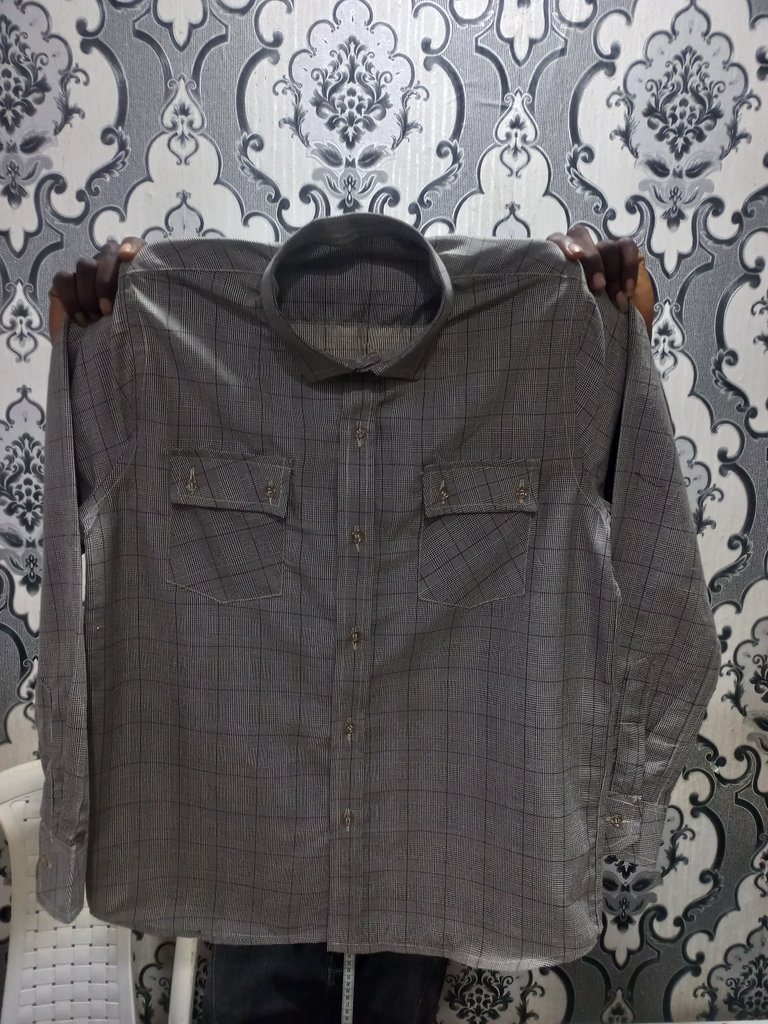
Morning everyone, here is my latest design, a beautiful shirt I made using a checked material. It's a bespoke design anyways, just as the client wants it.
So I'll be sharing with you guys step by step on how I made this beautiful shirt.
MATERIALS USED
- Checked Material
- Paper stay
- Collar stay
- Thread
- Buttons
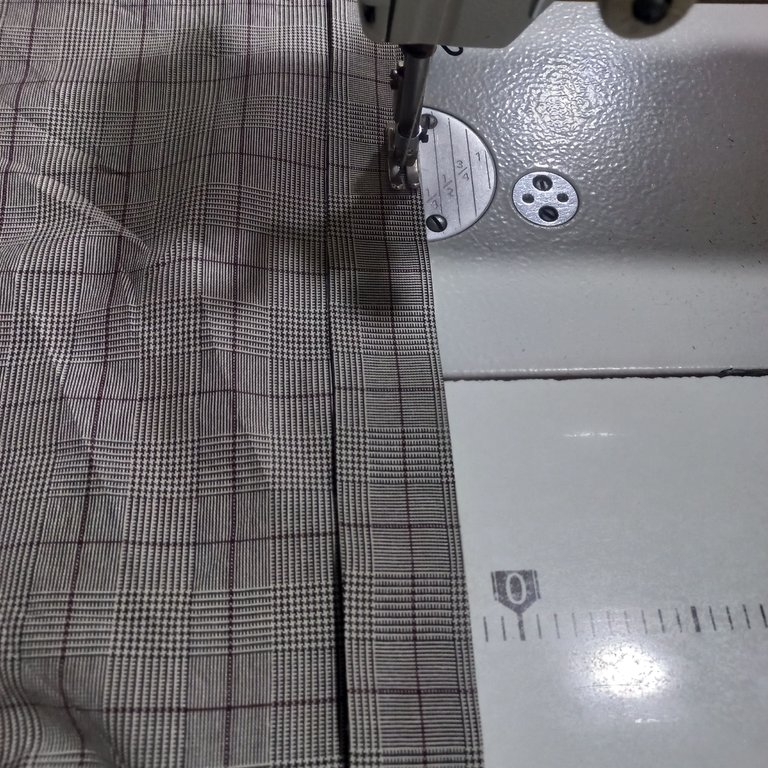
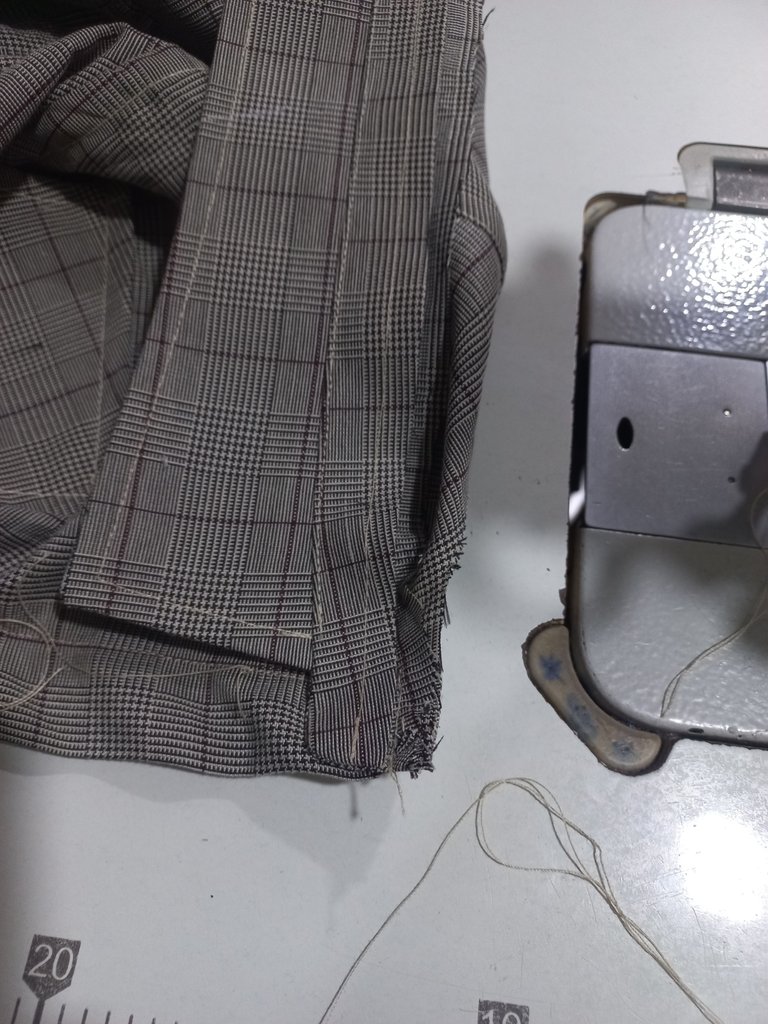
After getting all my materials ready, I proceed to cutting of the fabric.
Cutting a shirt like I've always explained in my post, requires attention and the measurements needed are:
The shoulder
The Chest
The sleeve
The neck
The length
After gotten all these , then you can proceed to the cutting of the fabric.
So you start by putting the tip of the fabric together then fold in by 2 inches for button allowance, then you measure your shoulder, and that's the shoulder divided by 2 plus half (0.5) which is the sewing allowances and from that point you measure your shoulder rest downward which is always 2 inches for a matured guy, then the arm hole and this is determined according to the body size but I always use 7.5 inches for chest 40. And at that point you measure your chest which is total chest divided by 4 plus 0.5 sewing allowances and 0.75 button allowances then u chalk downward and measure the length then joined the dotted lines. Don't forget, 2.5 by 3 inches is a standard measurements for neck of an adult.
After that you fold the fabric and place the front you cut on it taking off the button allowances and adding to the shoulder tips, 3 and 2.5 inches respectively and cut out. Then you cut the sleeve, and the back landing.
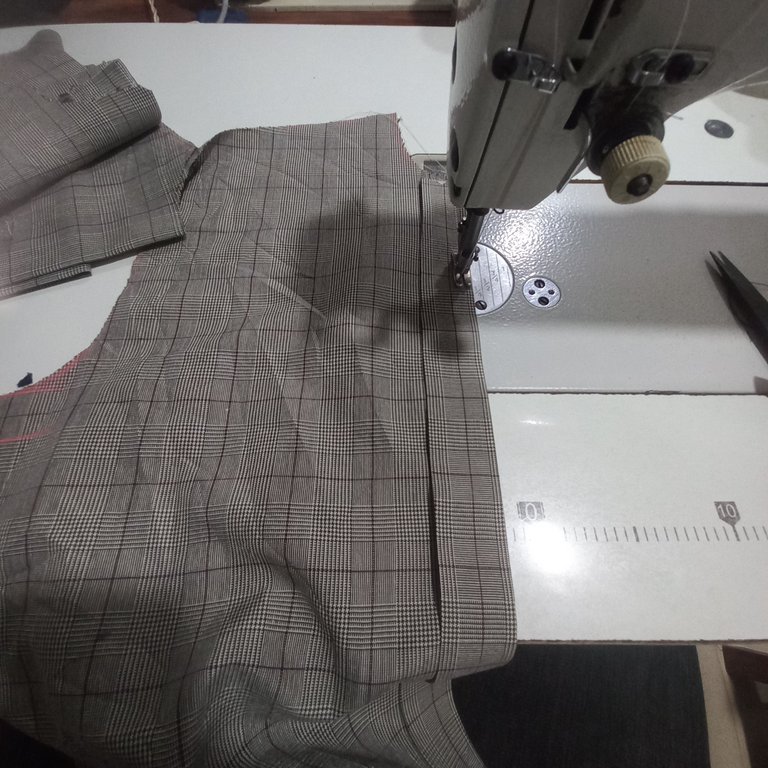
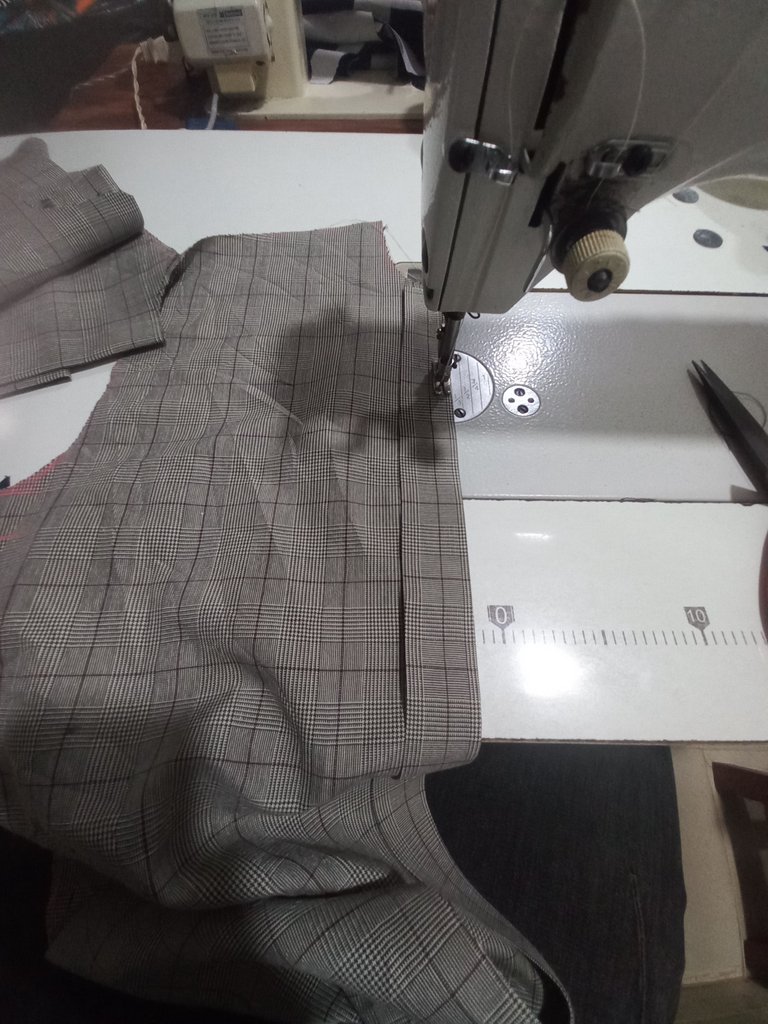
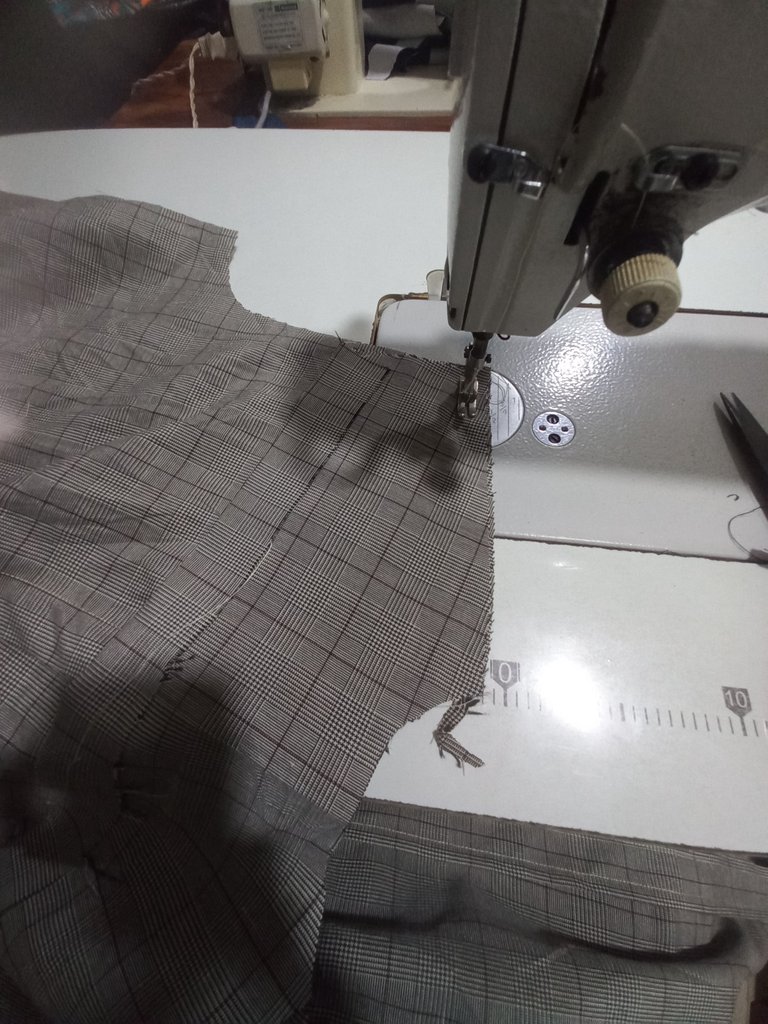
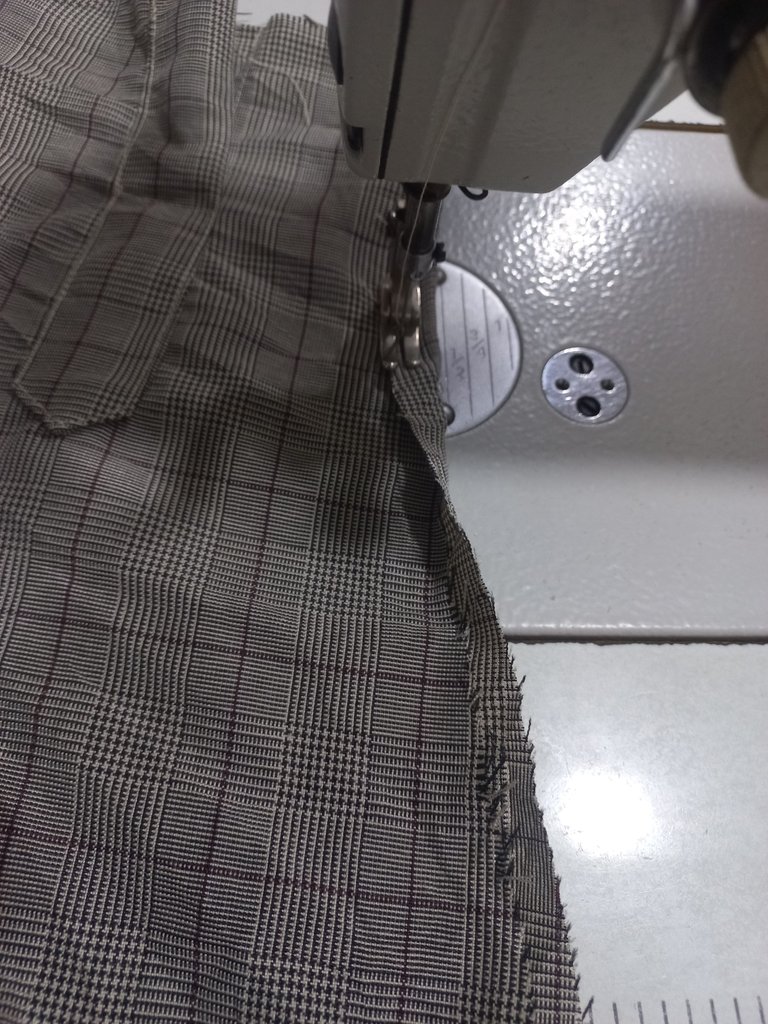
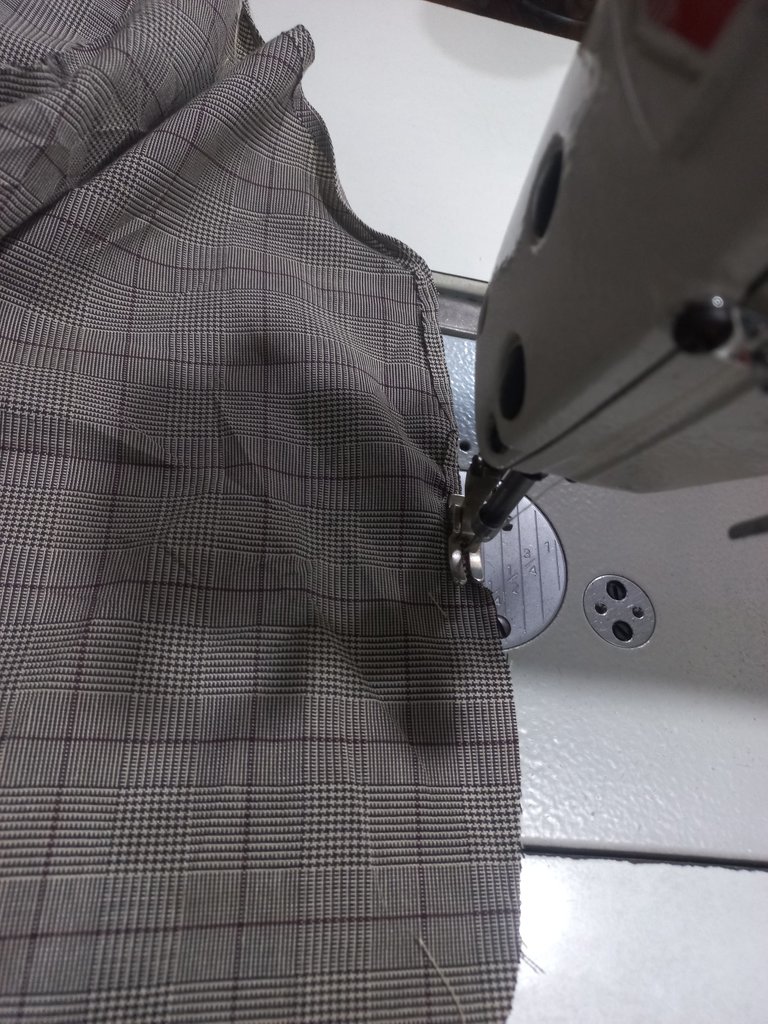
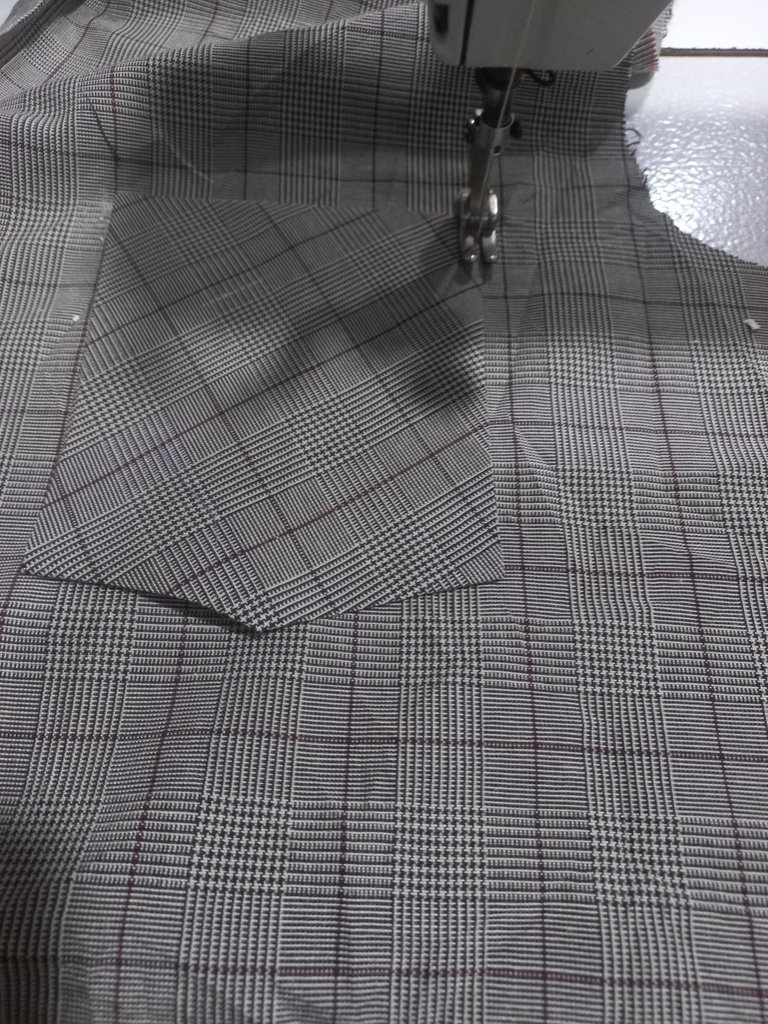
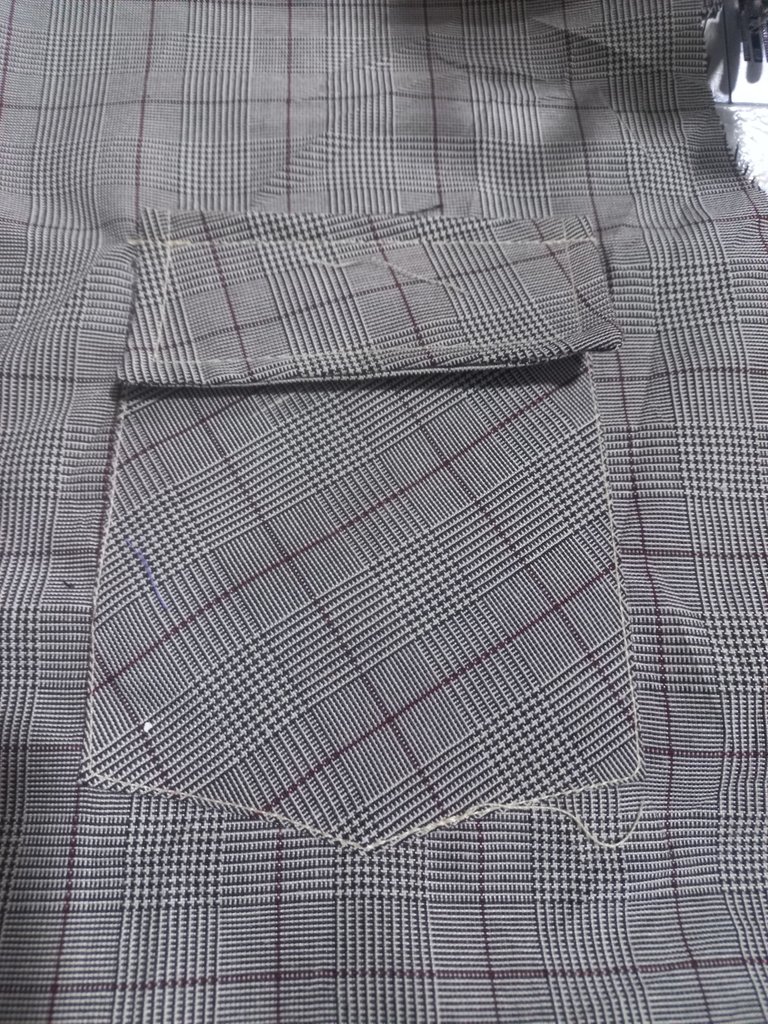
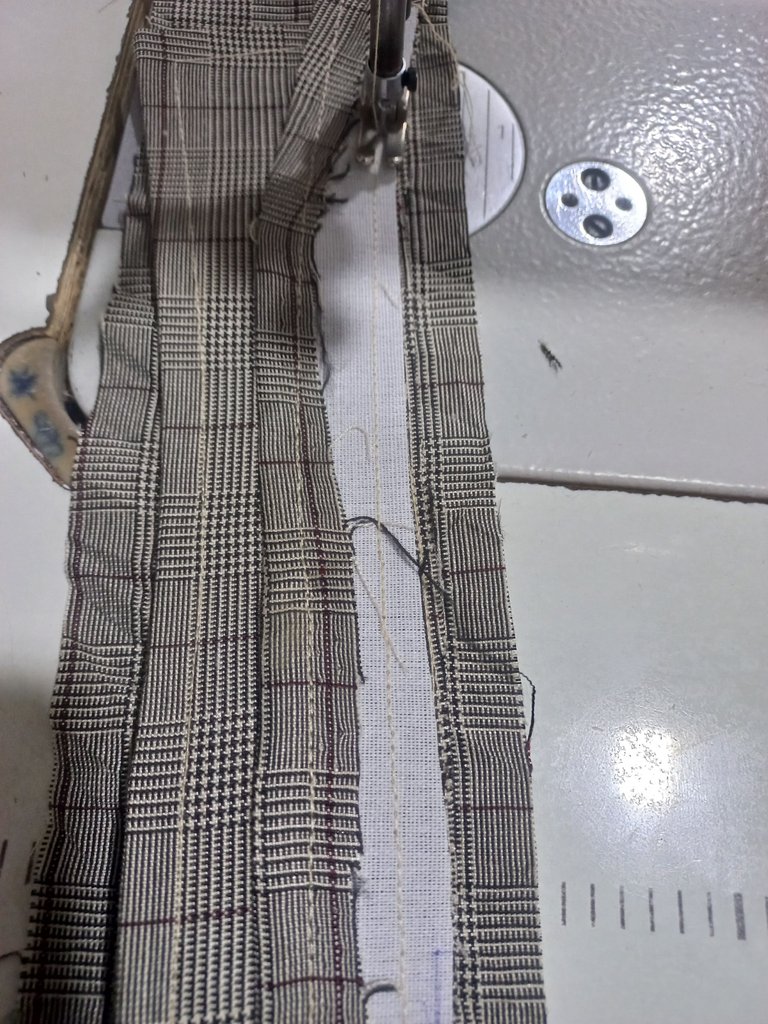
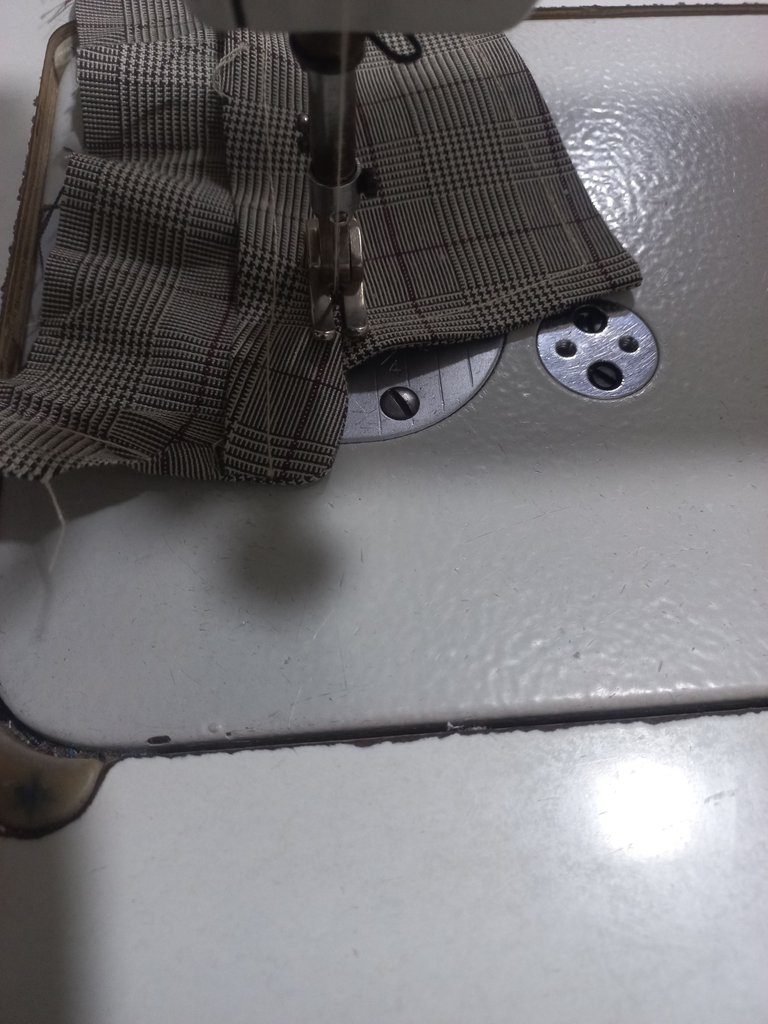
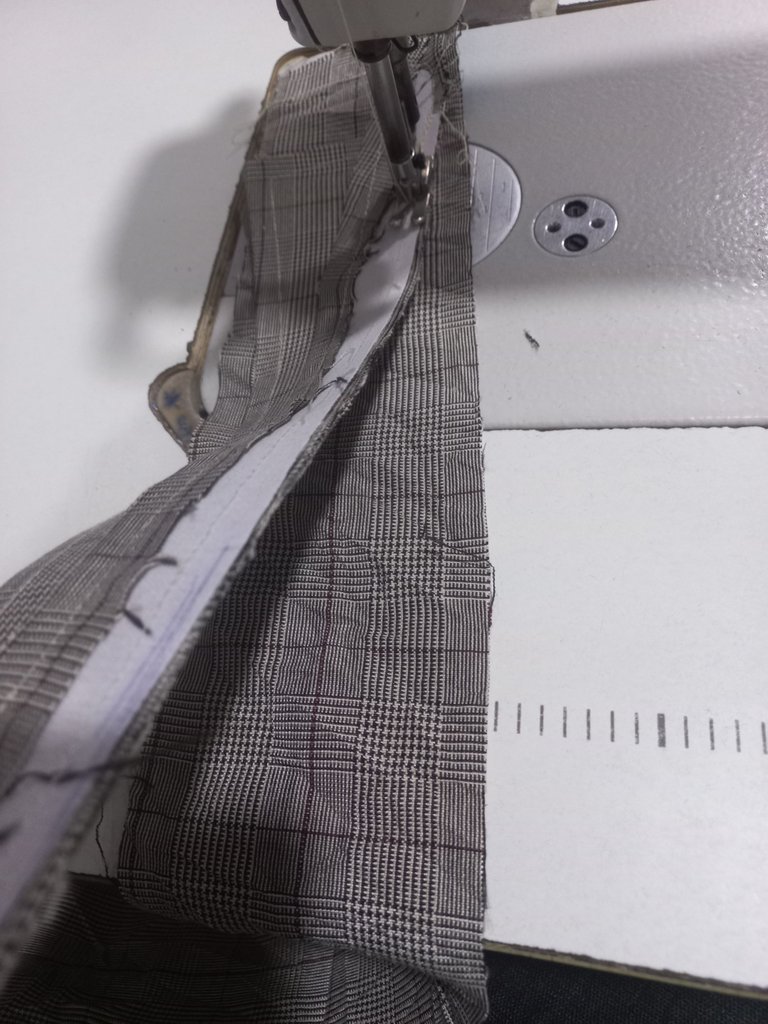
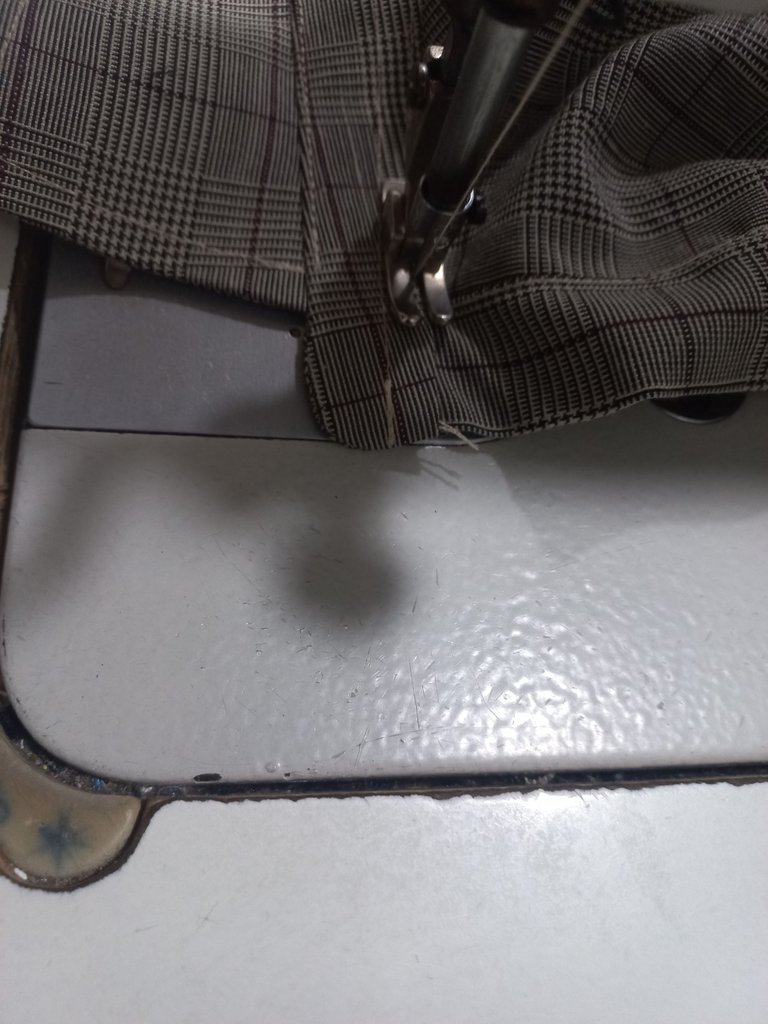
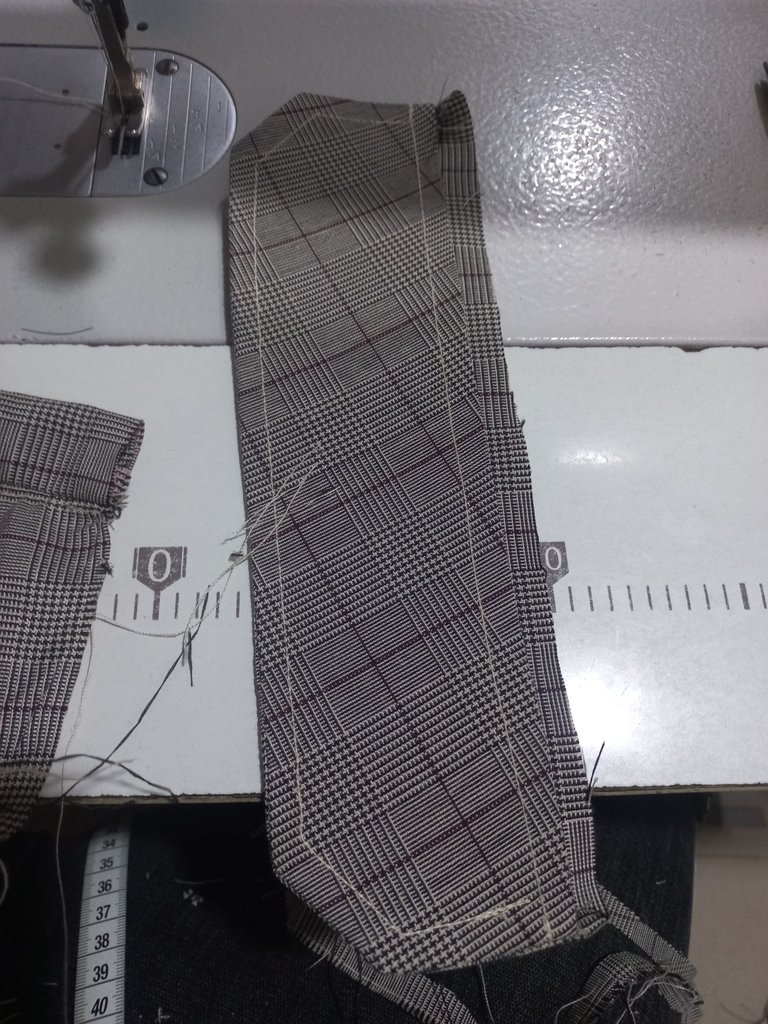
SEWING PROCESS
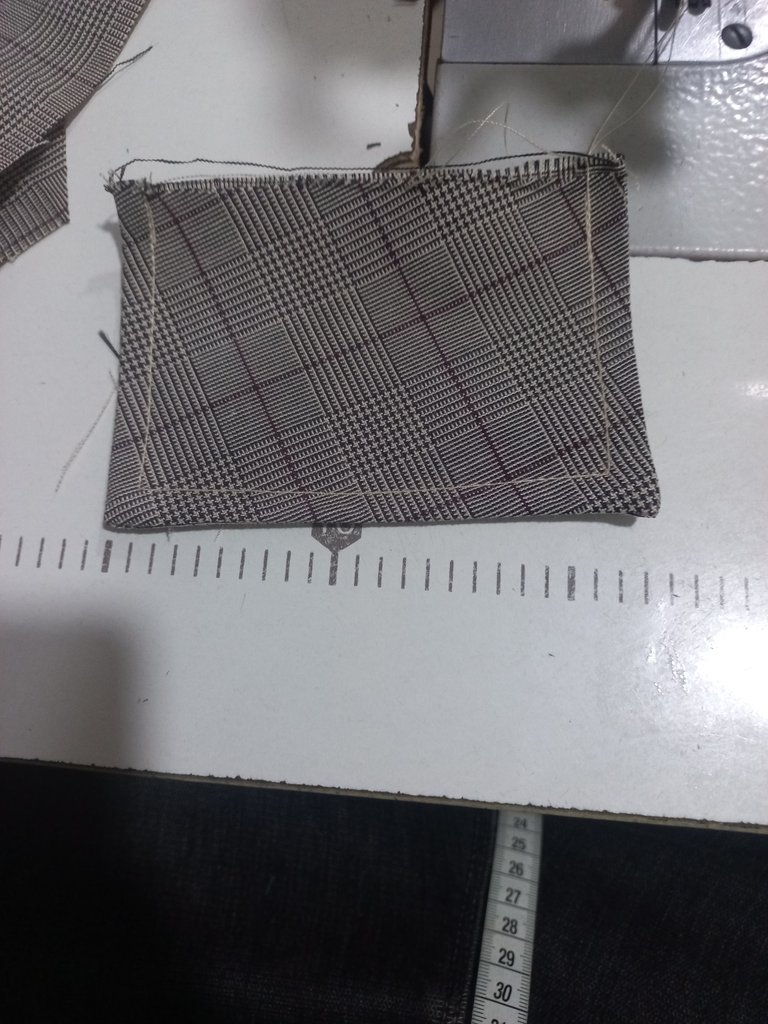
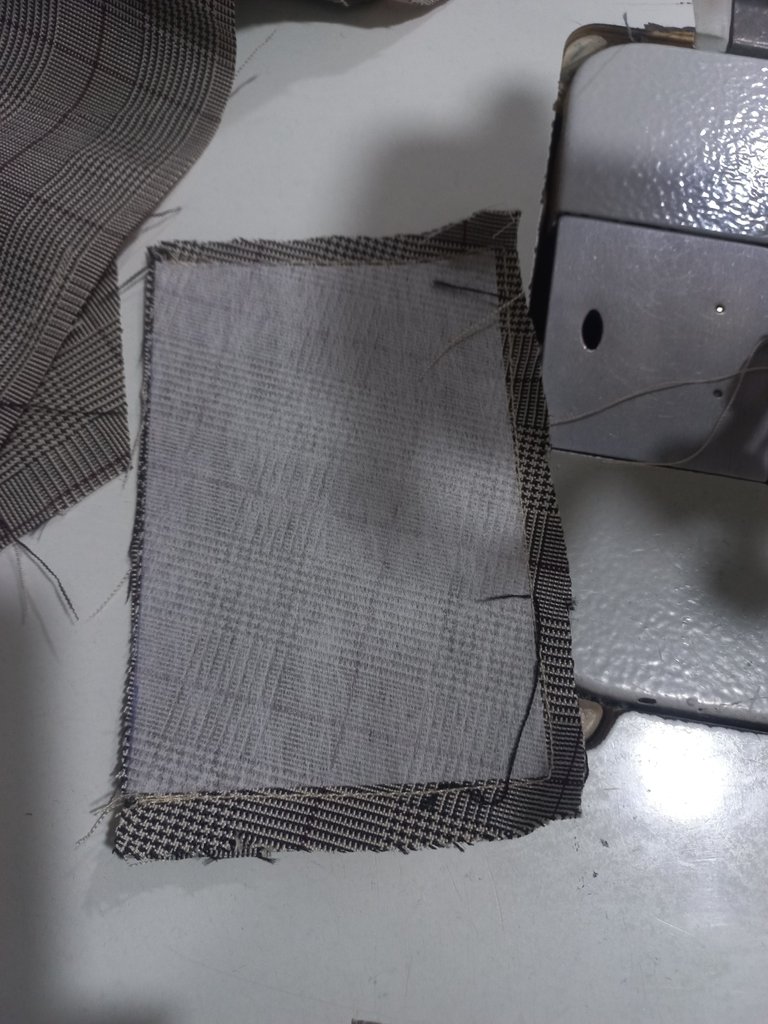
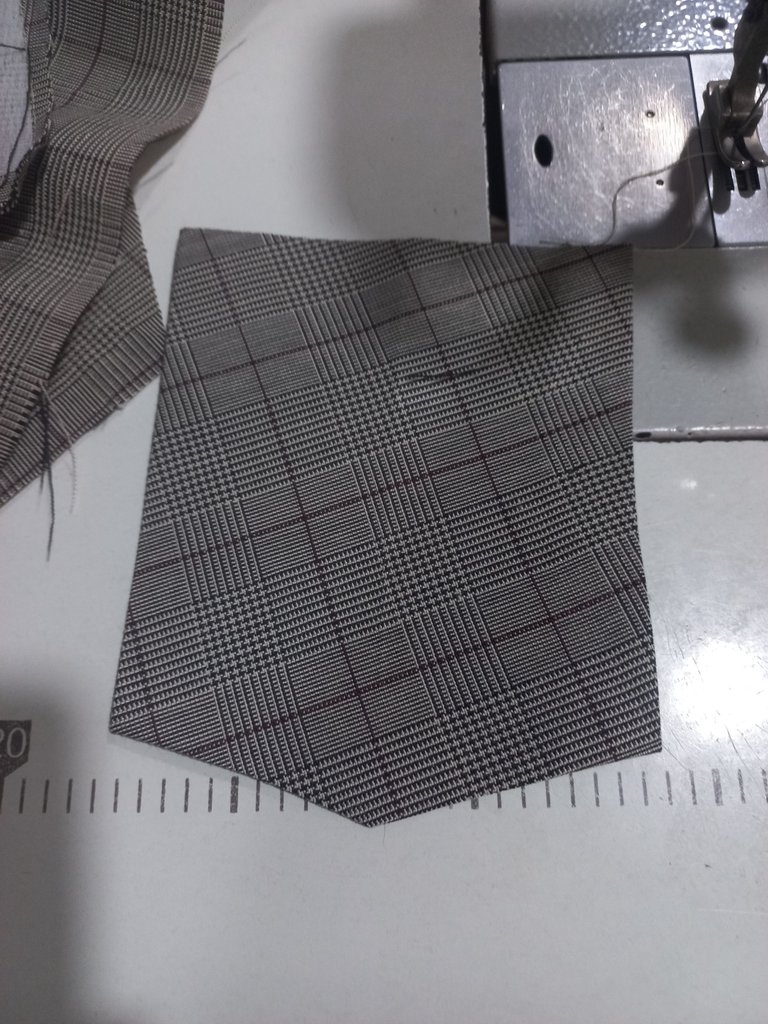
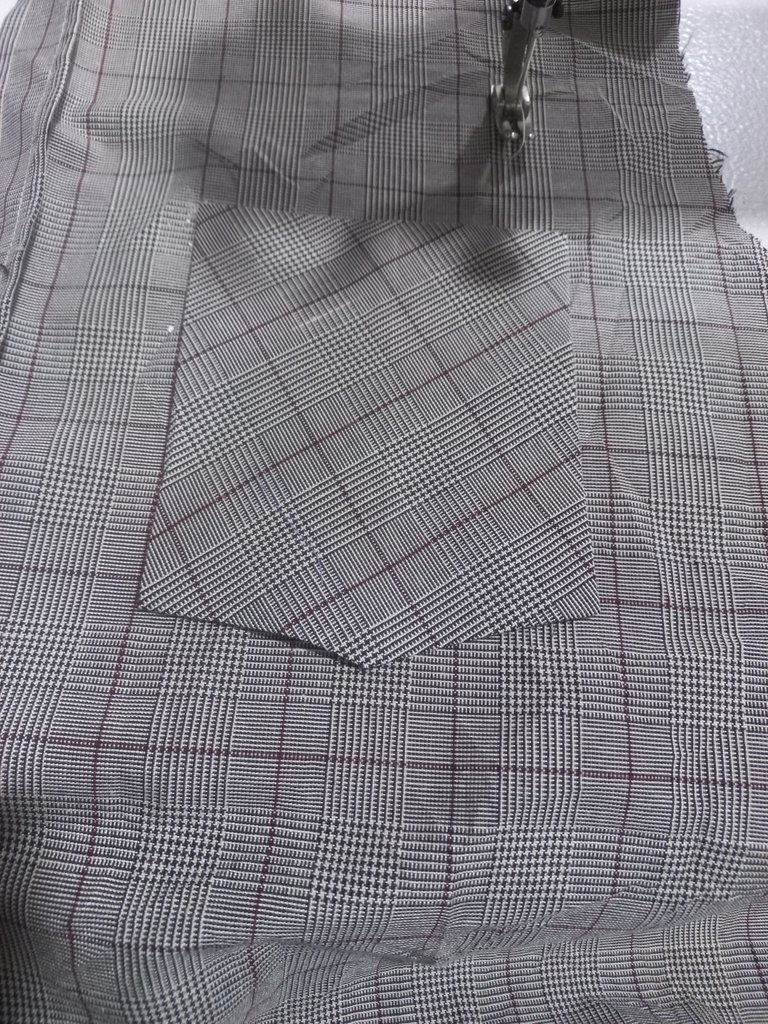
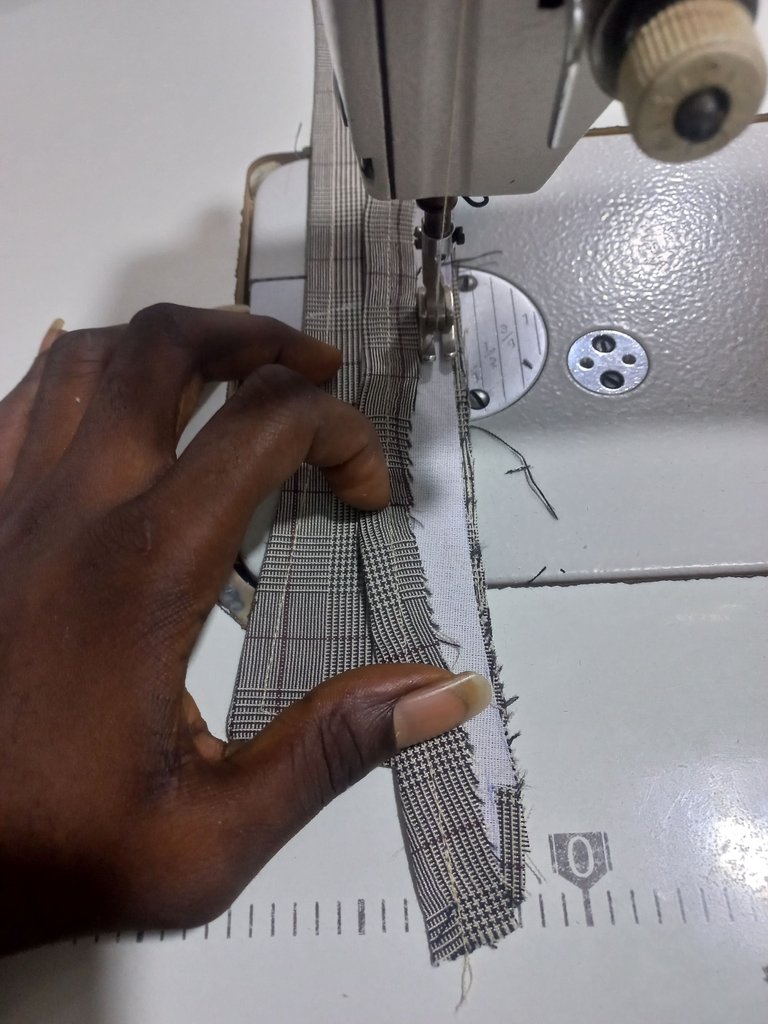
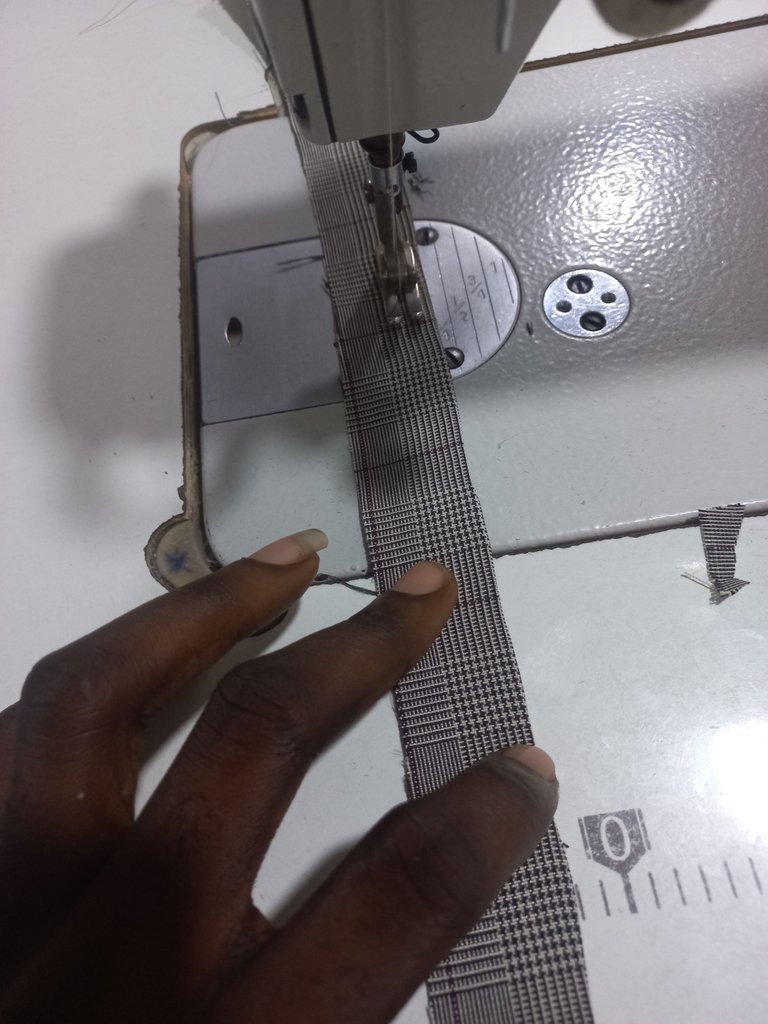
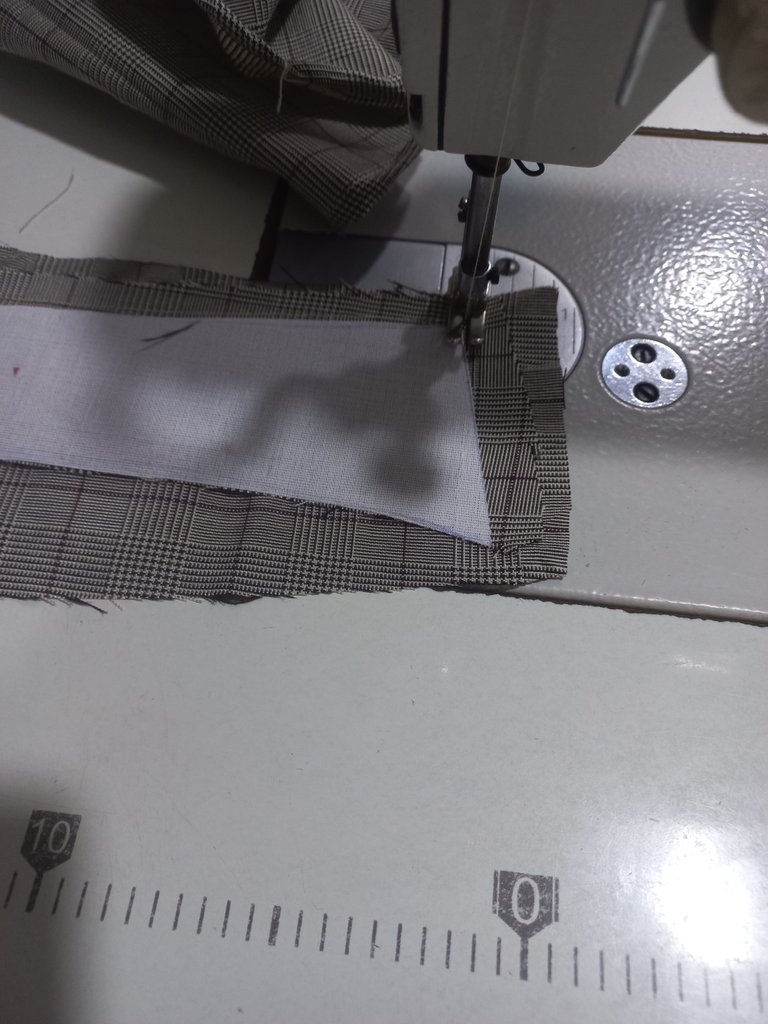
What you do first is apply chest gum at the provided place for button allowances then sew, after then you joined the shoulders together, create the sleeve placket and joined the sleeve to the arm hole and after that you fixed the pockets and I closed the body using piping method.

Then I created the collar, trimmed the neck to it size and fixed the collar.
It's always advisable to make the neck small and trim later to the collar size.
FINAL LOOK
Thank you for stopping by, kindly drop your comment.
Amazing boss i hope you show us the cutting step next time
Thanks boss, I'm so sorry about that, will that in my subsequent post
Well done boss @olubato, ina no kuku wan teach me work
Lol
Thanks dear
Na u no wan come o
Tor.... Moti gbe bodi nisin...
😆 🤣 you know how to reach me
You can't be hard to find nah, trust me I will surprise you
Lol
Bro this is looks very creative and well arranged thanks for sharing tho, it's been long we haven't seen, hope you're fine
Thanks boss
Thank you for sharing this post on HIVE!
Your content got selected by our fellow curator rezoanulvibes & you received a little thank you upvote from our non-profit curation initiative. Your post will be featured in one of our recurring curation compilations which is aiming to offer you a stage to widen your audience within the DIY scene of Hive.
Next time make sure to post / cross-post your creation within the DIYHub community on HIVE and you will receive a higher upvote!
Stay creative & hive on!
This looks amazing. Great work🥰🥰
Thanks dear