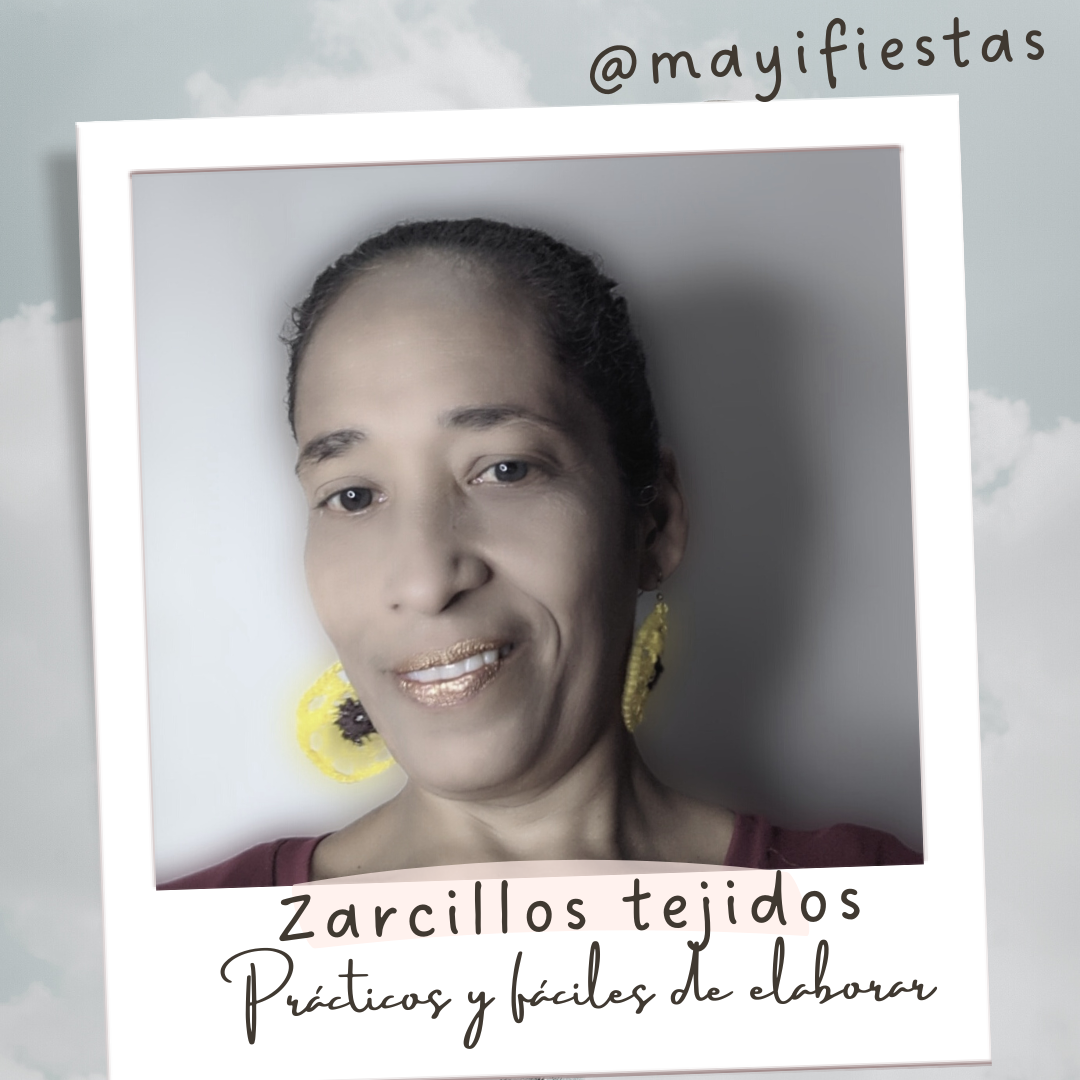
Saludos a todas las abejitas que continúan llenando al ecosistema con sus hermosas e ingeniosas creaciones, el día de hoy les traigo un pequeño tutorial con el que vamos a elaborar unos zarcillos tejidos, bien rápido, fácil y muy divertido.
Voy a tratar de hacerlo de la manera más fácil para que todos los que lo lean puedan entender, trataré en lo posible de no usar tantos términos, para facilitar la explicación, los materiales que vamos a usar también son fáciles de conseguir lo que nos va a permitir a todos poder tenerlos para trabajar, estos se pueden conseguir en cualquier mercería o en mi caso, aquí cerca en dónde vivo los venden en pequeños rollitos, y en diferentes colores y grueso.
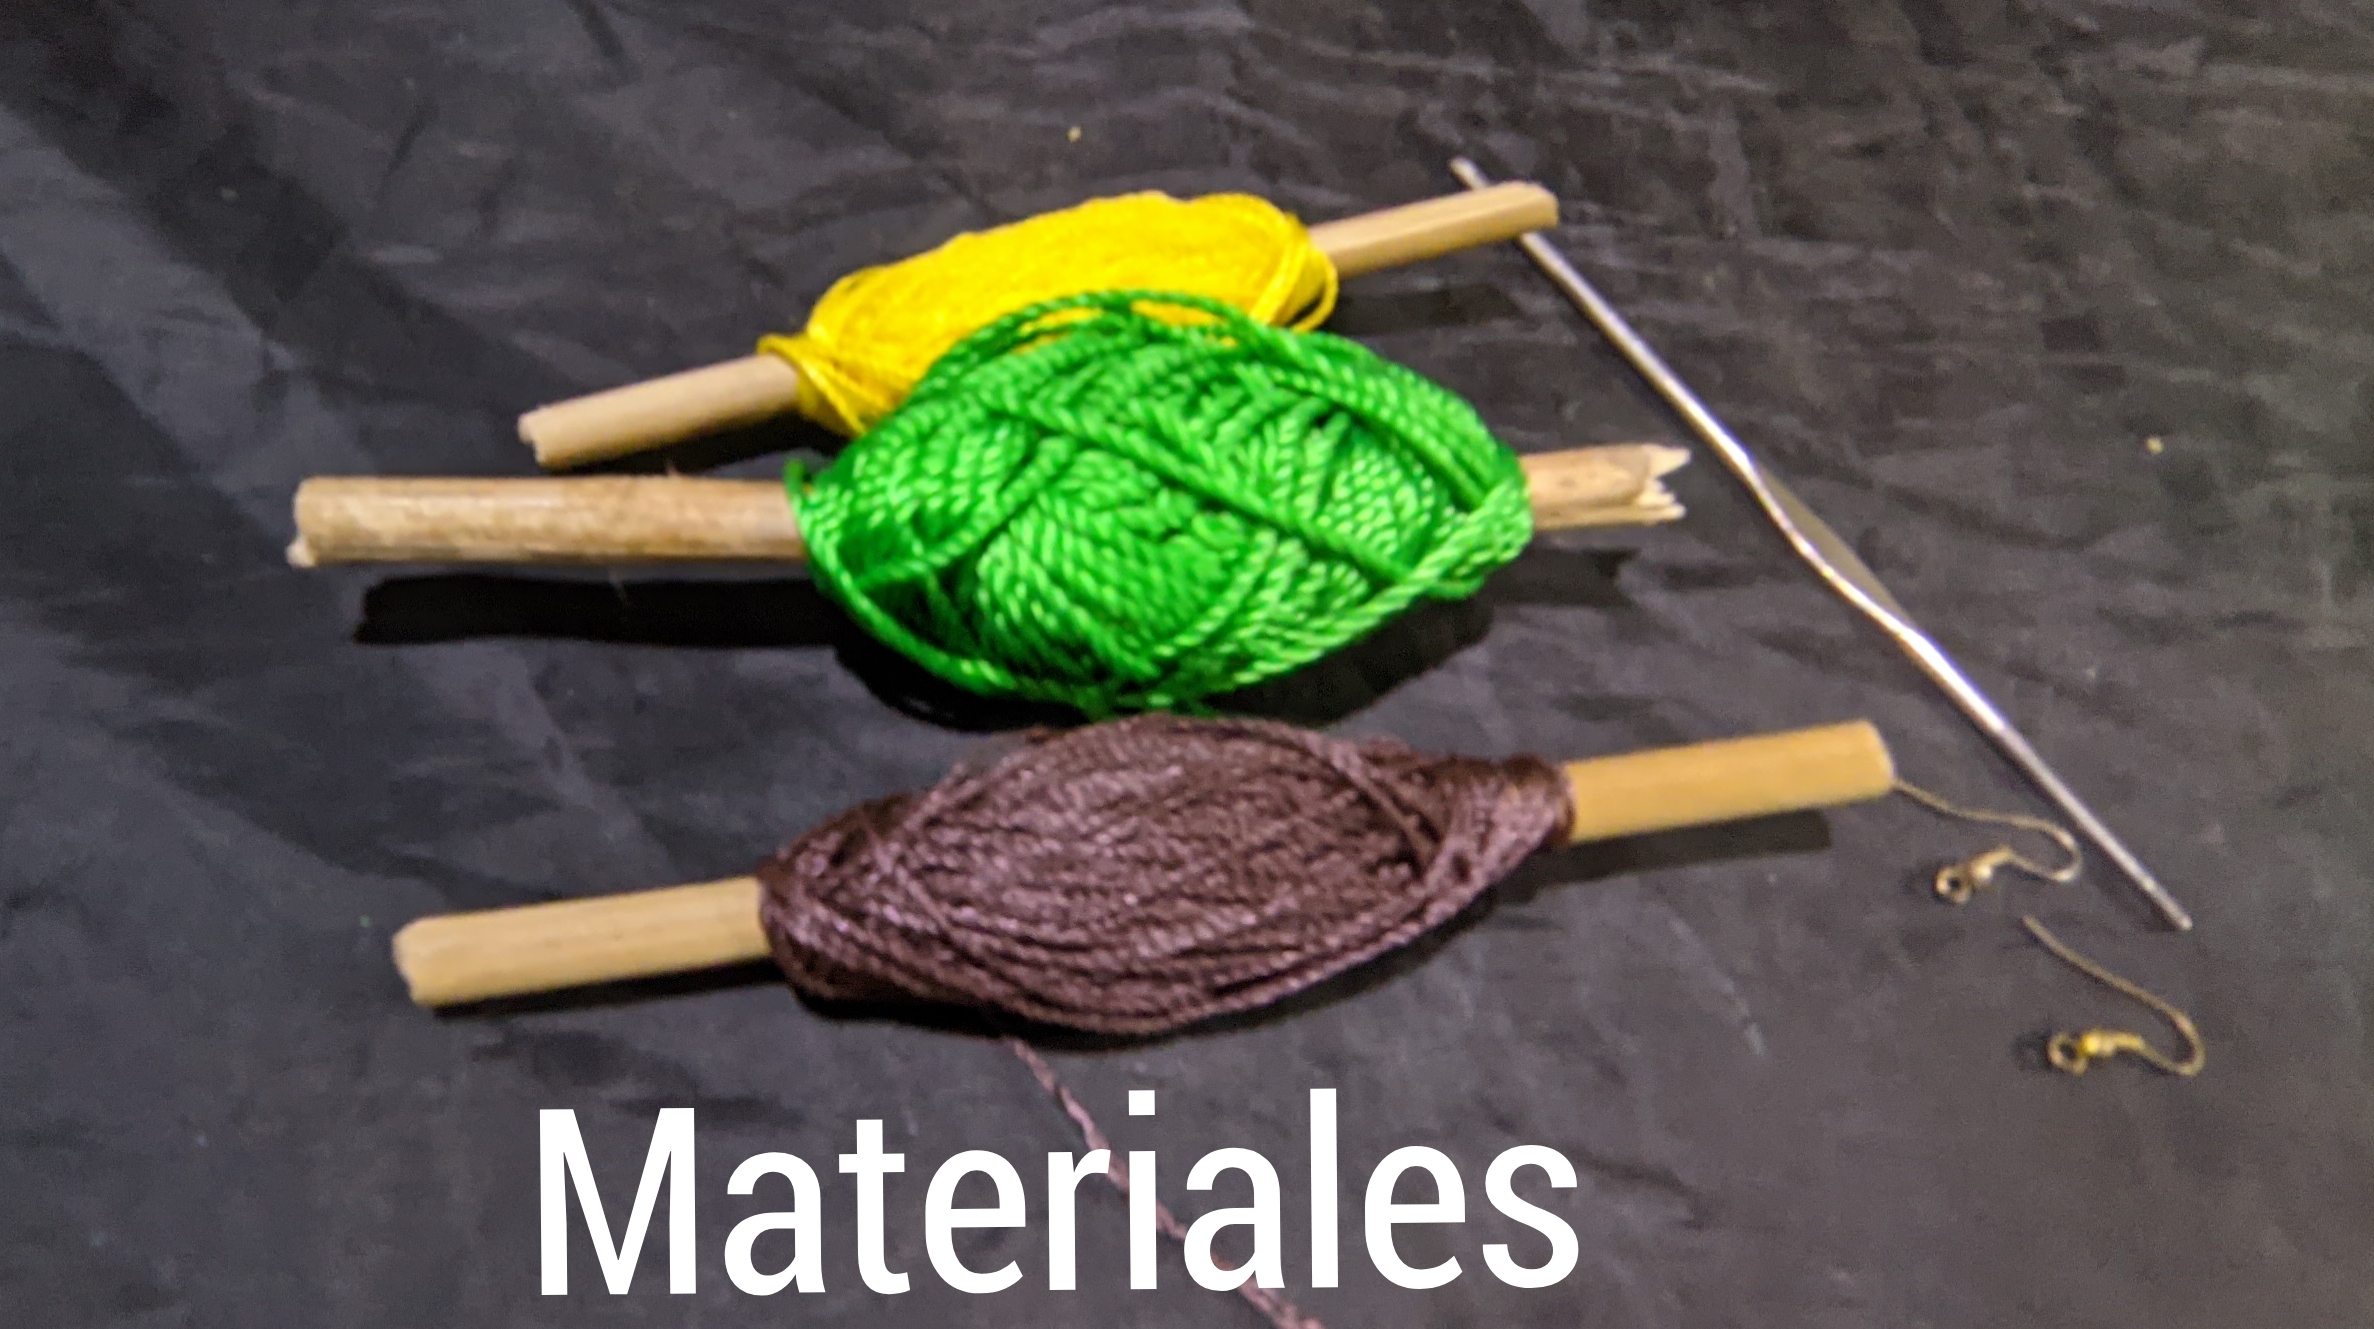
🌻MATERIALES🌻
🌻hilo de nylon de color amarillo y marrón número 18.
🌻 Gancho para zarcillos.
🌻 Aguja de tejer.
🌻Primero vamos a iniciar con el hilo de color marrón, enlazamos en la aguja y procedí a realizar una cadeneta de seis (6) como se observa en la fotografía.
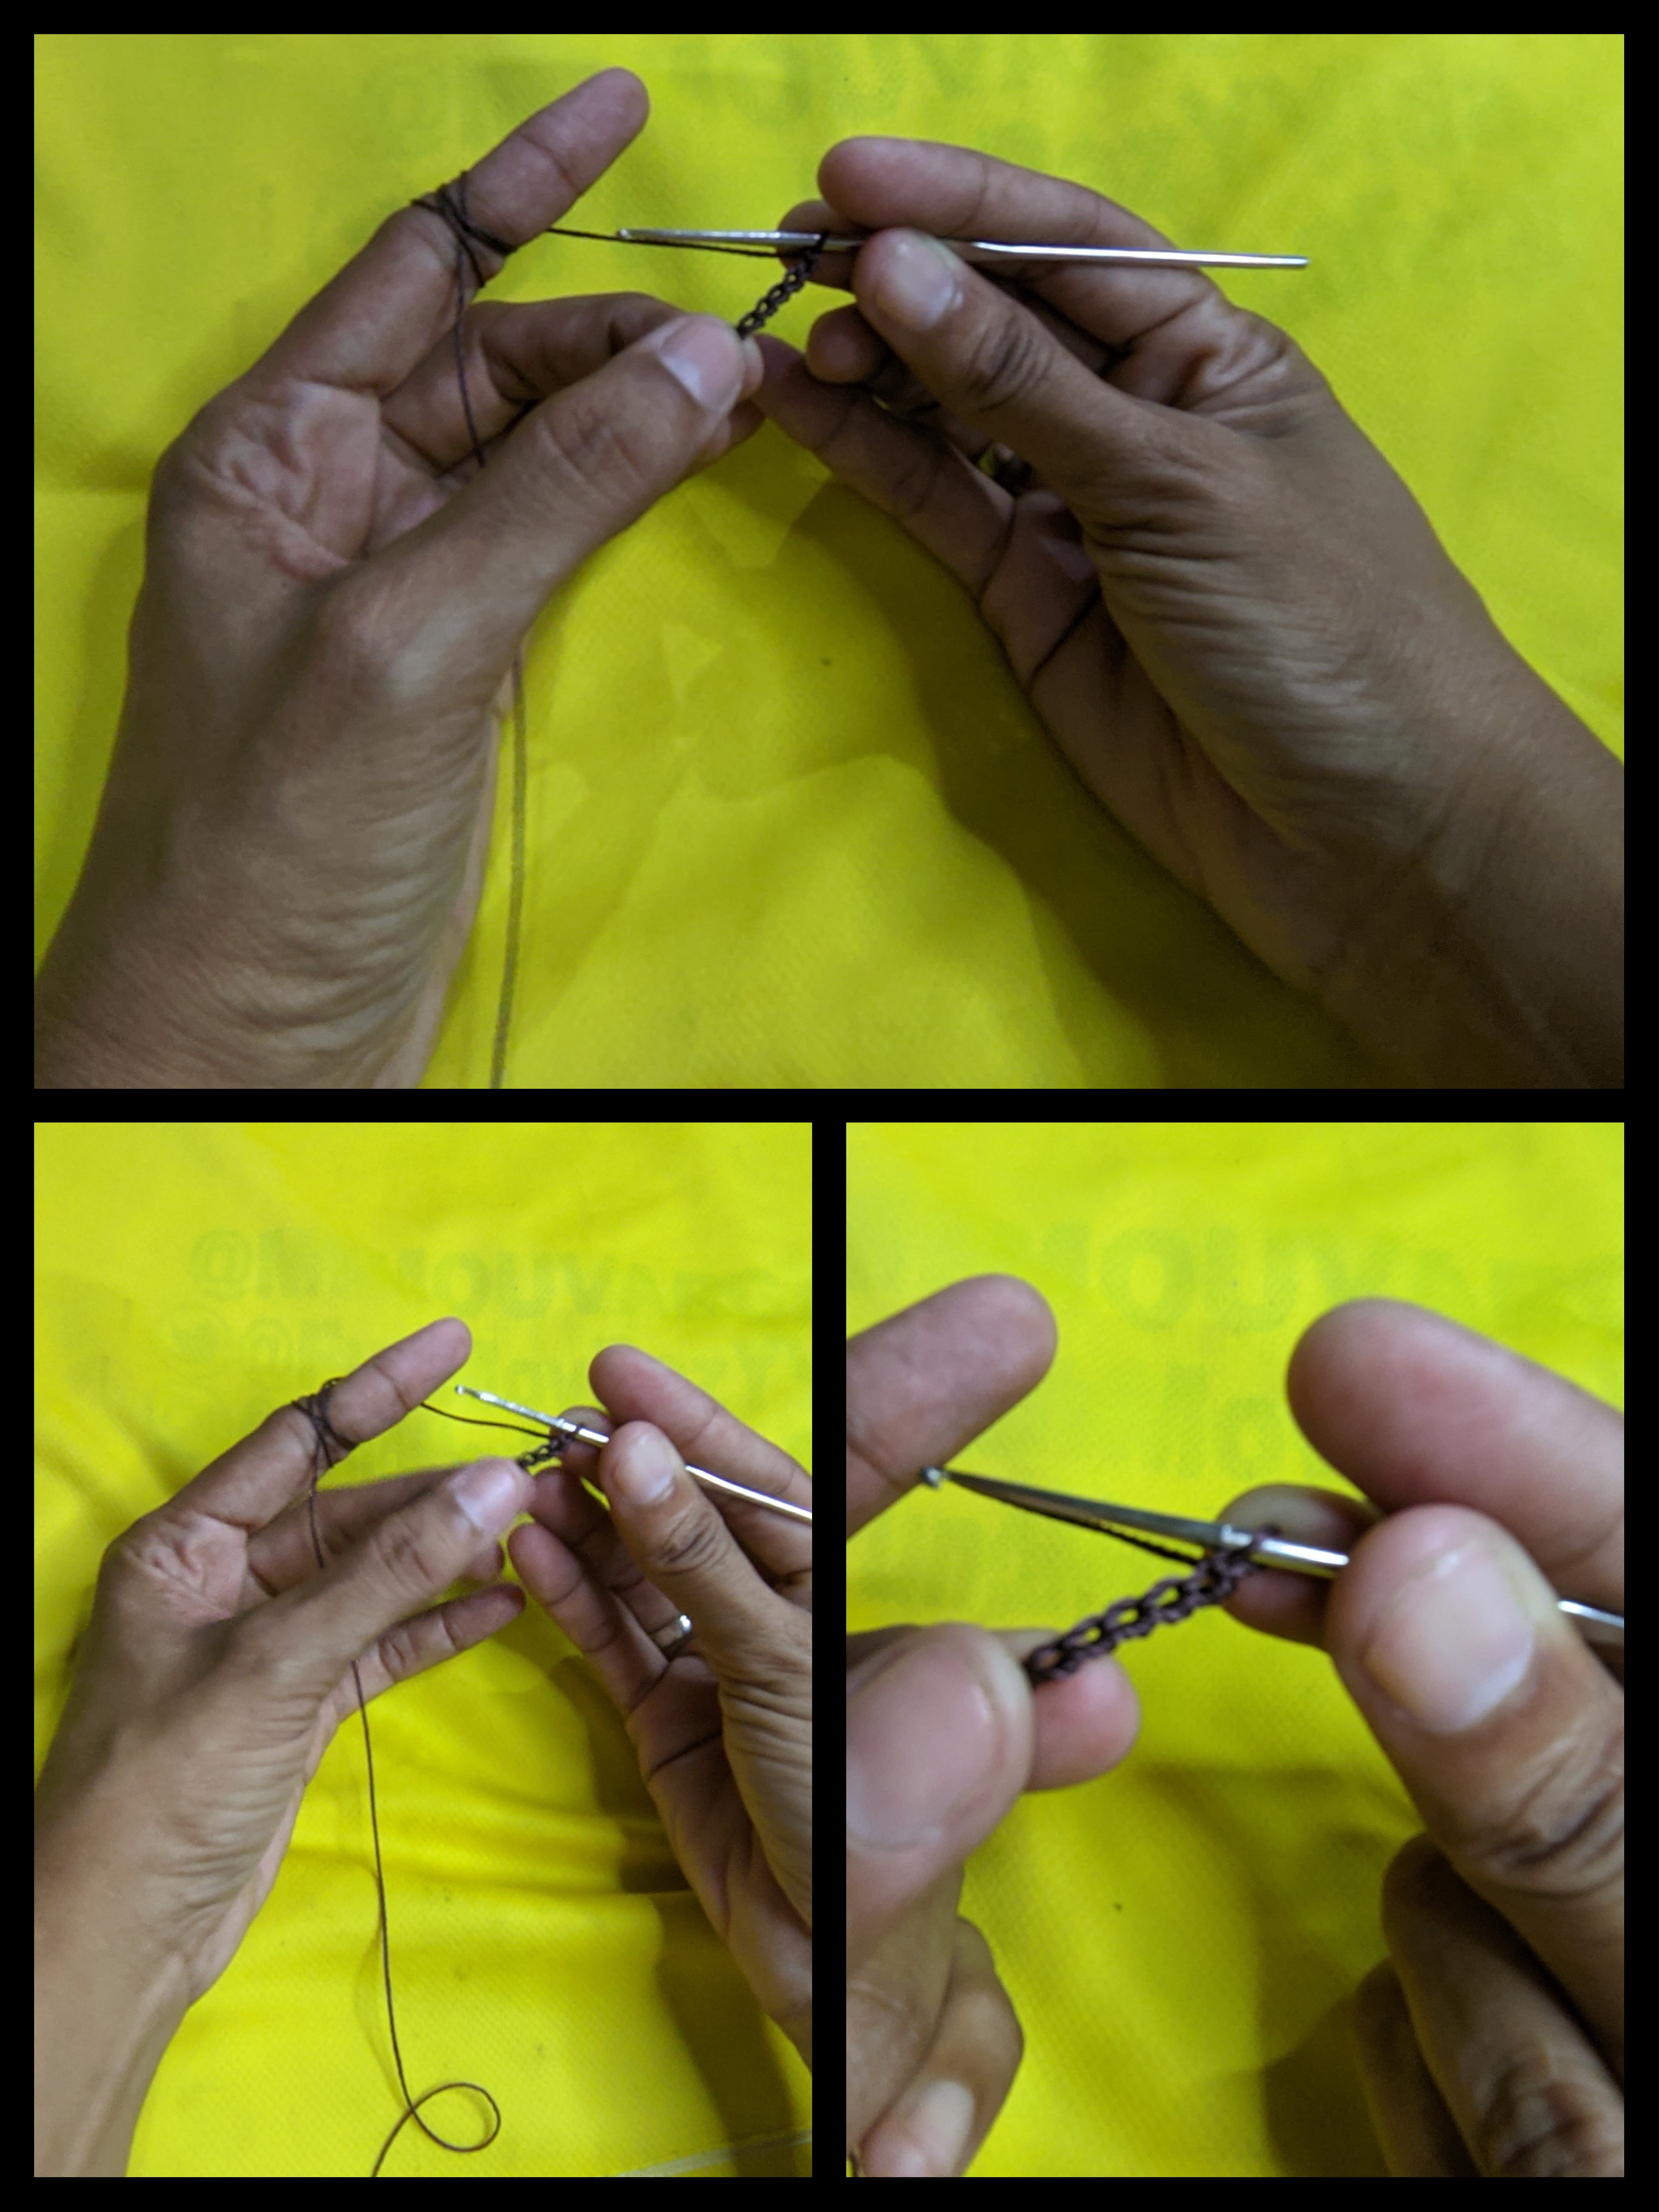
🌻 luego procedí a unir los dos extremos formando un pequeño círculo, después realice unos puntos altos, logrando cubrir todo el círculo y luego lo sellé con un punto raso y listo, de esta forma ya está elaborado el centro de mi zarcillo.
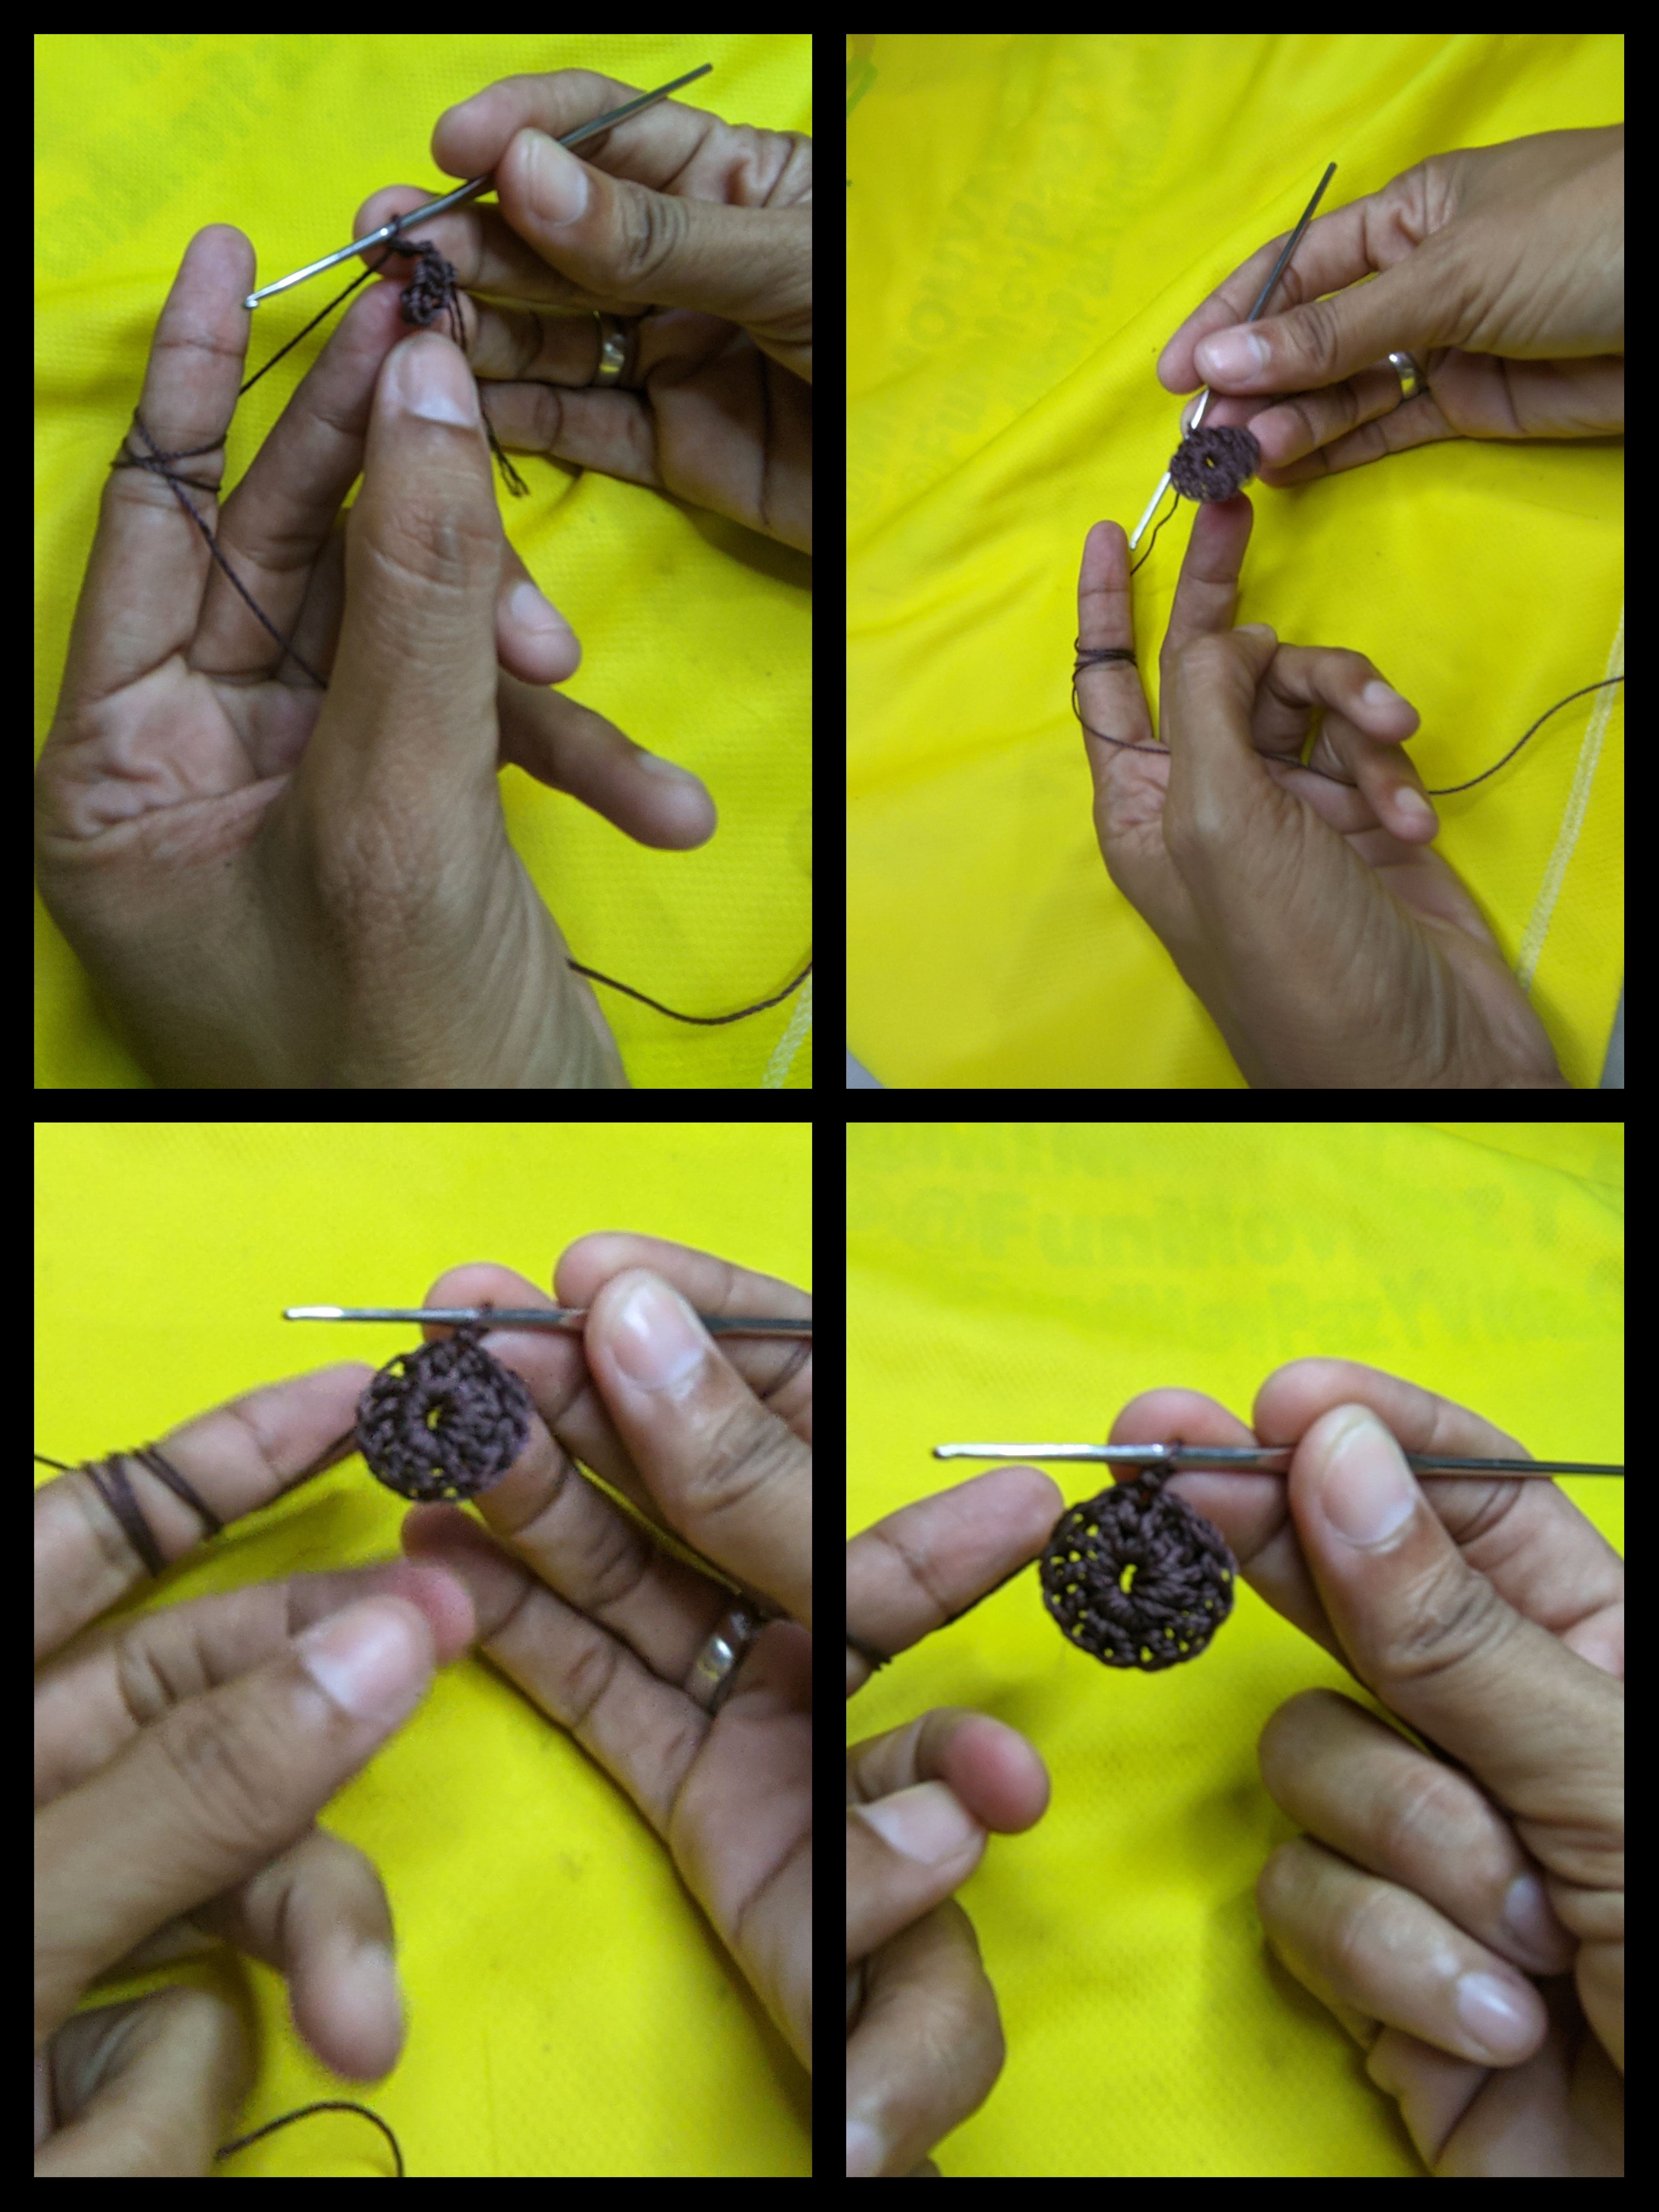
🌻 ahora vamos a proceder a anudar el hilo de color amarillo en nuestro círculo de color marrón, y para esto lo hacemos con otro punto raso, después procedí a realizar los puntos medio altos al rededor del círculo de hilo marrón, tantos hasta que logremos cubrir el círculo y finalizó con un punto raso.
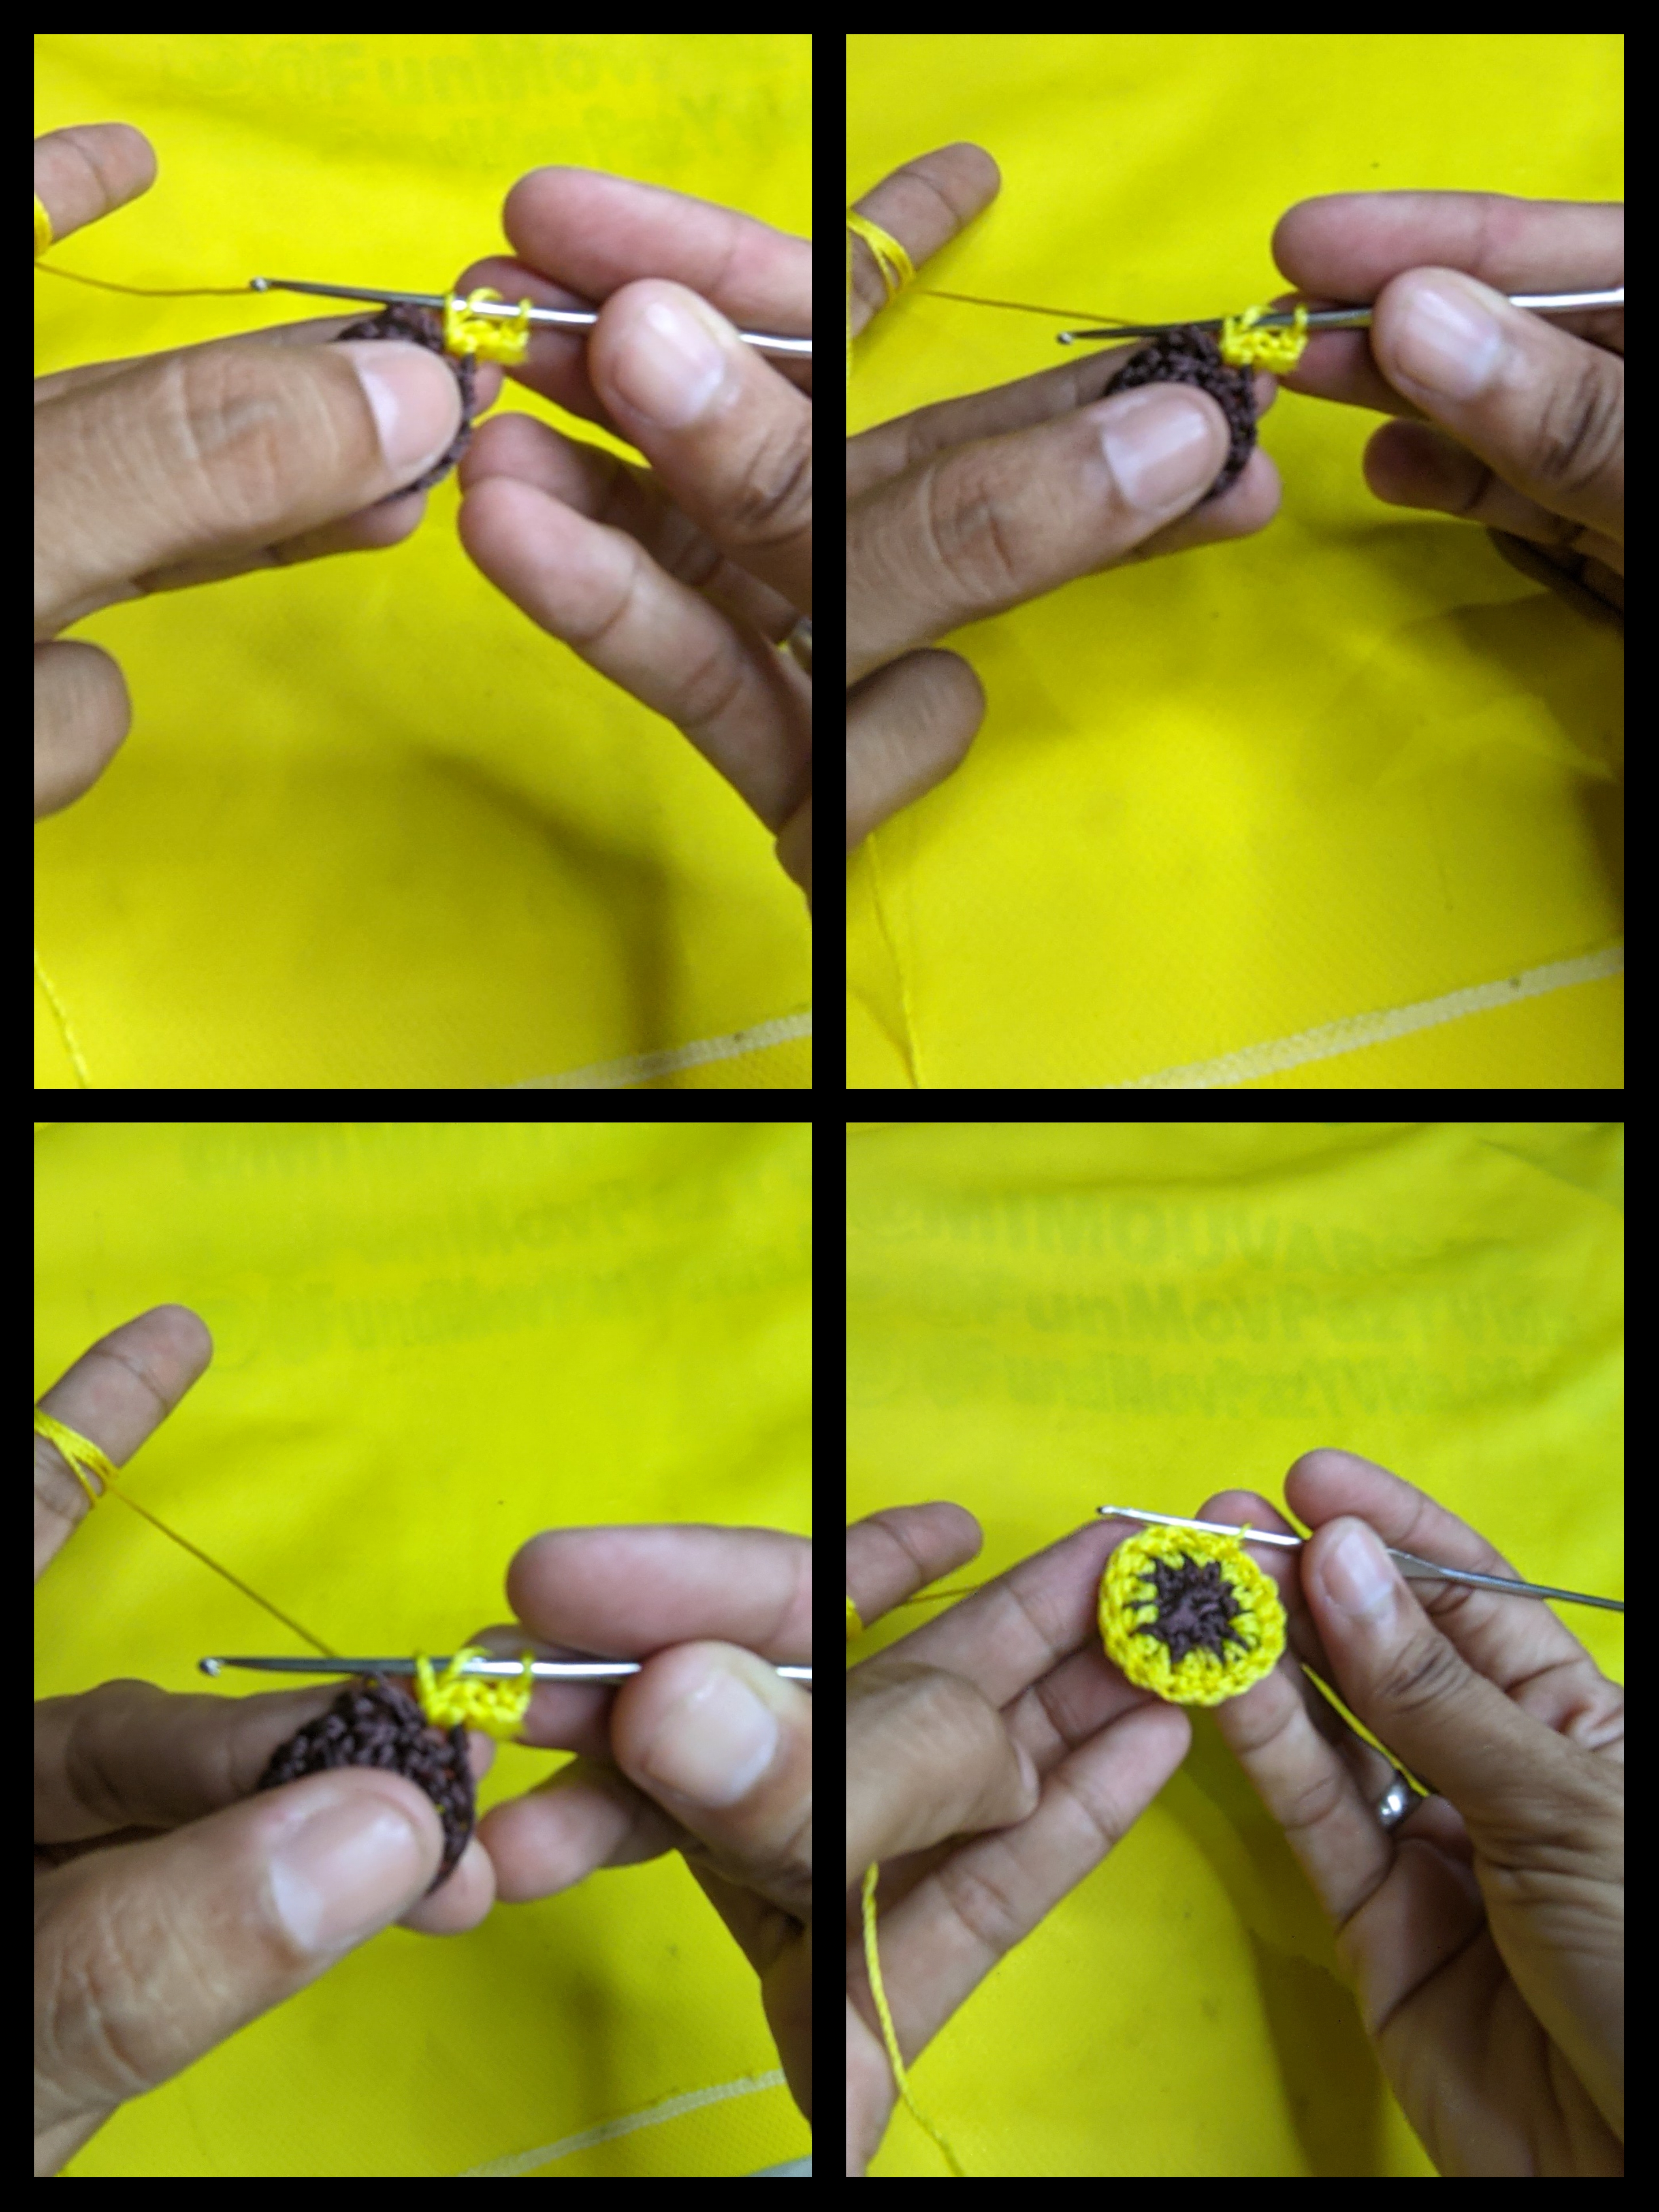
🌻 En la siguiente vuelta realice tres puntos altos, los cuales metí en un mismo agujero, y luego realicé una pequeña cadeneta de tres, y nuevamente realice tres puntos altos y tres cadenetas, repetimos los paso hasta lograr dar la vuelta completa, y finalizamos con un punto raso, y listo hemos terminado.

🌻 cuando ya está listo la parte tejida de los zarcillos, procedí a pegar el gancho para zarcillo, estos se colocan de manera bien fácil, solo abrimos la argolla, metemos en el tejido, cerramos y ajustamos bien y listo tenemos unos zarcillos diferentes.
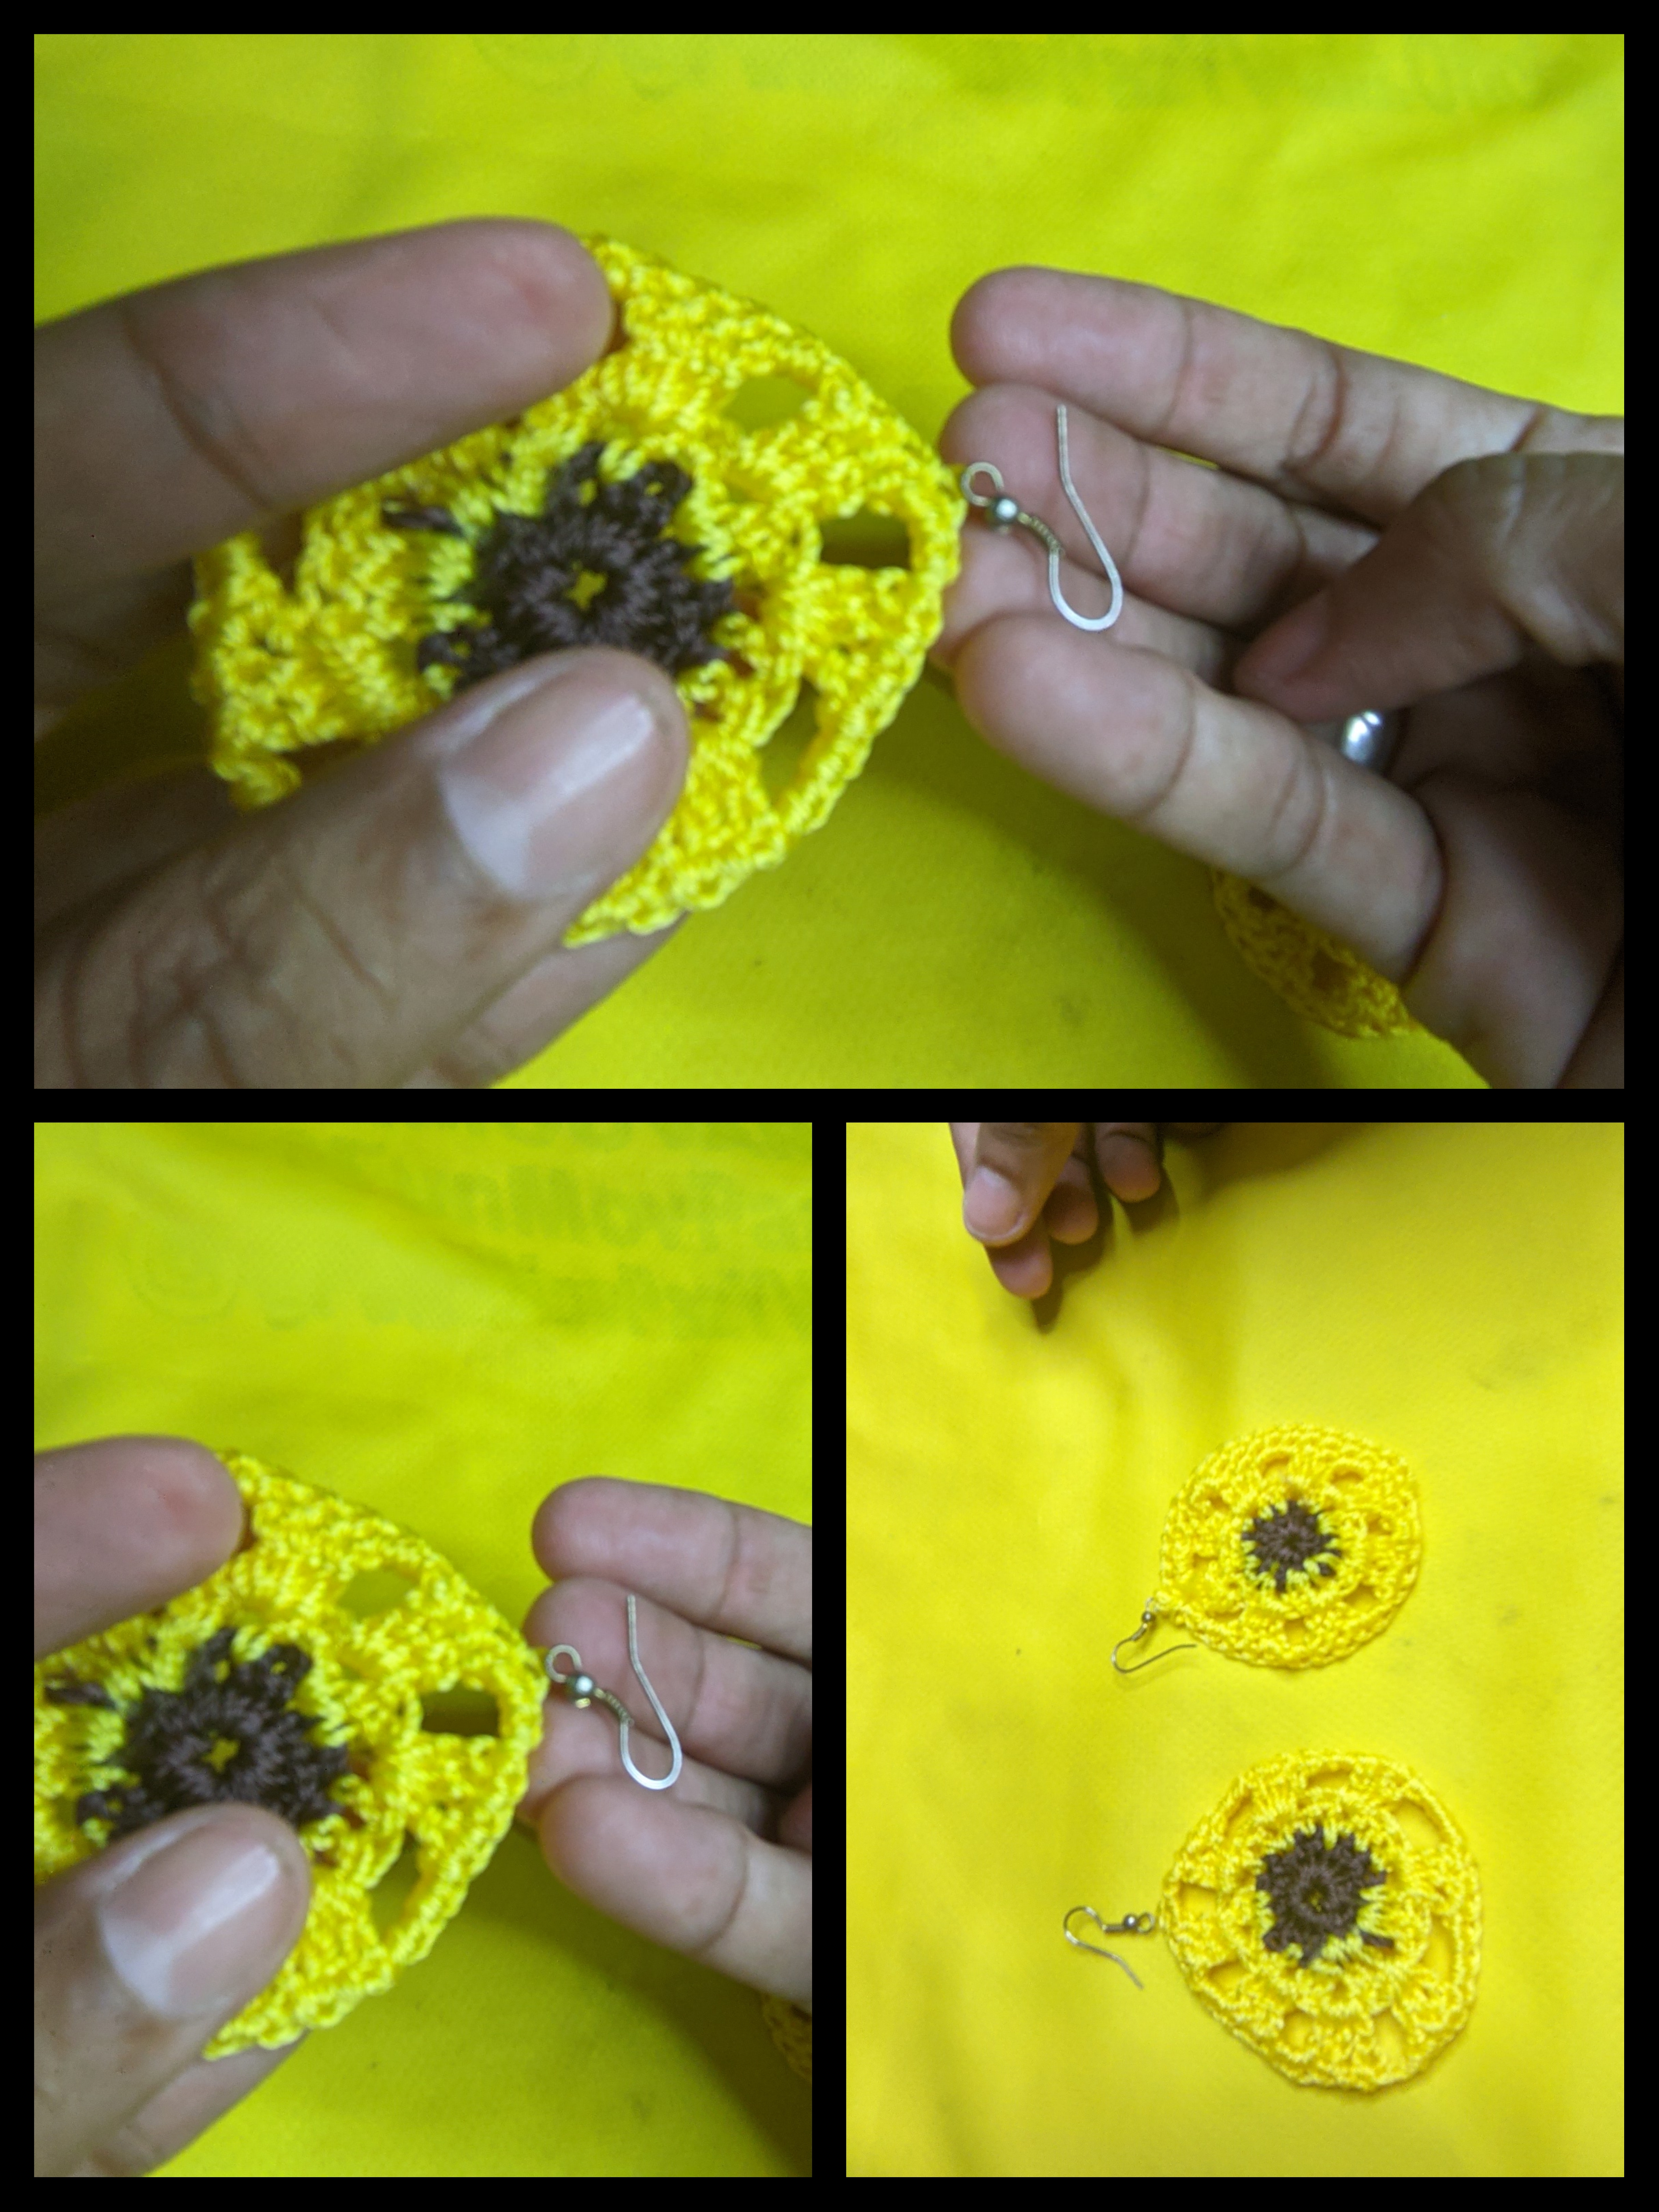
Y listo hemos terminado, como pueden ver, son muy fáciles de elaborar, se hacen muy rápidos y saben que es lo mejor, podemos realizarlos de los colores que deseemos, jugando siempre con la combinación de colores, en esta oportunidad, los hice en amarillo y marrón simulando los colores de los girasoles que tanto me gustan, pronto les realizamos uno de girasol.


Por ahora solo me resta despedirme esperando que les haya gustado el trabajo de hoy, será hasta la próxima
🌻CRÉDITOS
🌻Las fotografías fueron tomadas con mi teléfono Xiaomi redmi 9T.
🌻utilicé el programa polish y canvas.
🌻utilicé el traductor Deepl.

Greetings to all the little bees that continue to fill the ecosystem with their beautiful and ingenious creations, today I bring you a small tutorial with which we will elaborate some woven tendrils, very fast, easy and fun.
I will try to do it in the easiest way so that everyone who reads it can understand, I will try as much as possible not to use so many terms, to facilitate the explanation, the materials that we will use are also easy to get what will allow us all to have them to work, these can be obtained in any haberdashery or in my case, here near where I live they sell them in small rolls, and in different colors and thickness.
🌻MATERIALS🌻
🌻yellow and brown nylon thread number 18.
🌻 Hook for earrings.
🌻 Knitting needle.
🌻First let's start with the brown colored yarn, loop it on the needle and proceed to make a chain of six (6) as seen in the picture.
🌻 then I proceeded to join the two ends forming a small circle, then I made a few high stitches, managing to cover the entire circle and then I sealed it with a satin stitch and ready in this way the center of my tendril is already elaborated.
🌻 now let's proceed to knot the yellow thread in our brown circle, and for this we do it with another satin stitch, then I proceeded to make the half high stitches around the circle of brown thread, so many until we cover the circle and finished with a satin stitch.
🌻 In the next round I made three double crochet stitches which I put in the same hole, and then I made a small chain of three, and again I made three double crochet stitches and three chain stitches, we repeat the steps until we make the complete round, and we finish with a single crochet, and we are done.
🌻 when the woven part of the tendrils is ready I proceeded to glue the hook for tendrils, these are placed in a very easy way, just open the ring, put it in the fabric, close and adjust well and ready we have a different tendrils.
And ready we have finished, as you can see, they are very easy to make, they are made very fast and you know what is the best, we can make them in the colors we want, always playing with the combination of colors, this time, I made them in yellow and brown simulating the colors of the sunflowers that I like so much, soon we will make one of sunflower.
For now I can only say goodbye hoping you liked today's work, see you next time
🌻CREDITS🌻
🌻The pictures were taken with my Xiaomi redmi 9T phone.
🌻I used polish and canvas.
🌻 use the Deepl translator.

Admiro mucho el trabajo manual.
Un resultado muy bonito, es sencillo de realizarlo es cuestiòn de disponerse a ello.
Saludos
Que lindo amiga y quedan muy coquetos puestos 😍 yo no se tejer pero quien sepa de seguro les quedara igual de bonitos jeje
Gracias amiga estoy retomando el tejido, pero la vista no me ayuda.
Que esperas para unirte a nuestro trail de curación y formar parte del "proyecto CAPYBARAEXCHANGE", tu casa de cambio, rapida, confiable y segura