Lighting Study with Eggs – A Photography Exercise
This project started as an exercise to study lighting setups. I had the sketch below in my notebook for some time and wanted to bring it to life. I finally managed to set up the scene, and now I’d like to share the process with you.
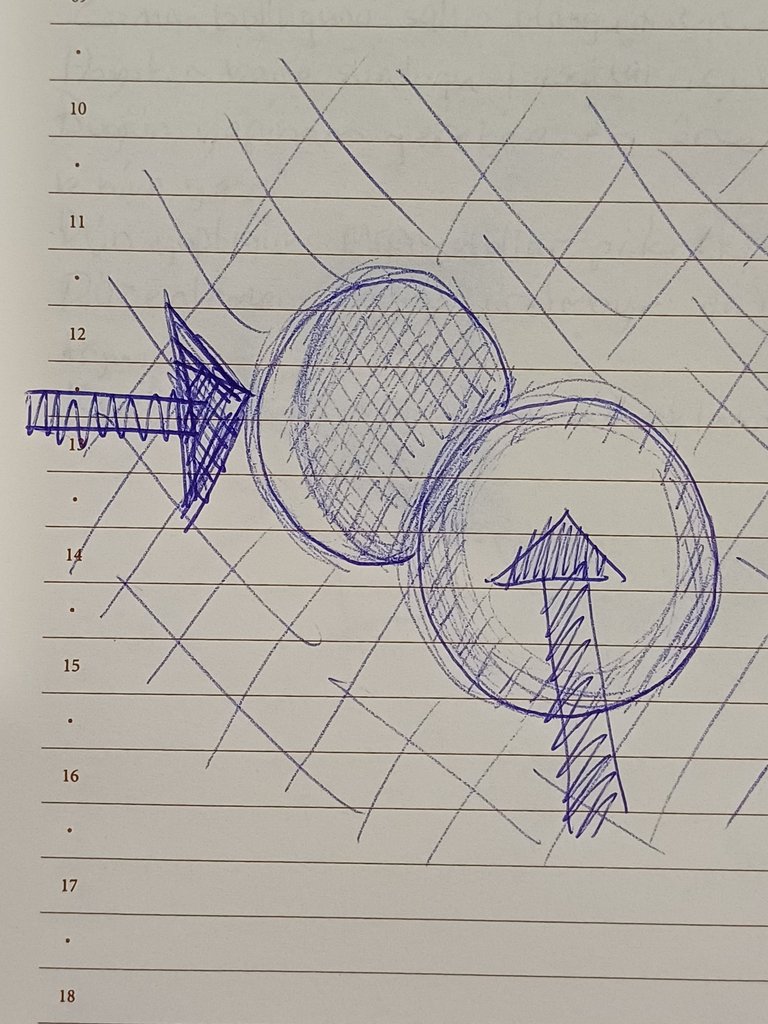
As it can be seen on the sketch, I have two objects, preferably rounded shape. And despite the fact that lighting directions are different, there is no interference between particular lighting regardless of objects proximity to each other.
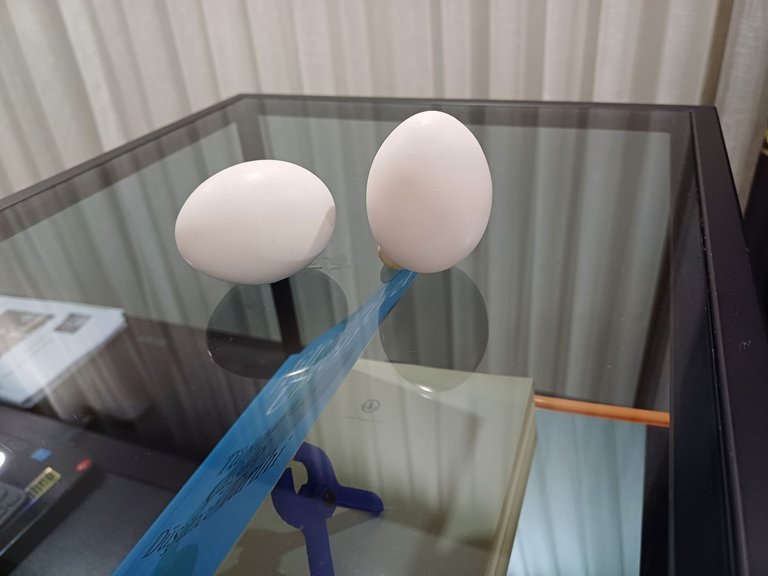
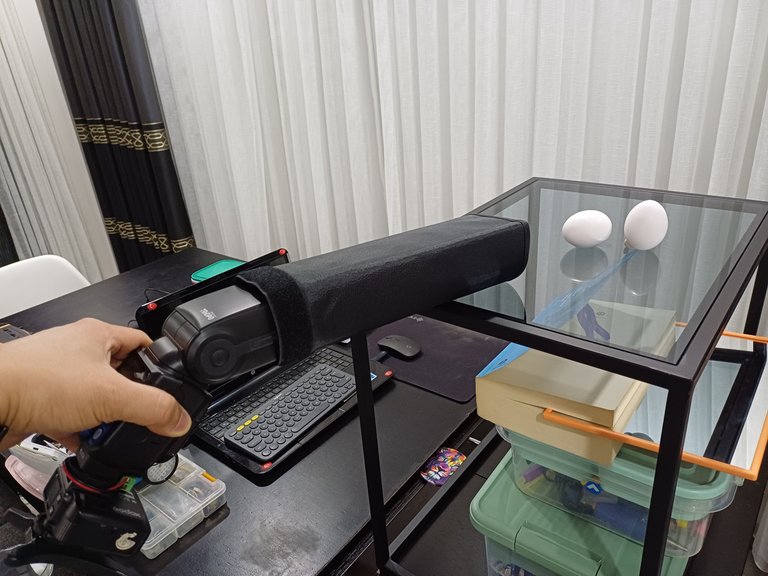
My first step was to find round, white objects. Without thinking too much, I grabbed two eggs from the kitchen and washed them roughly with dishwashing detergent. Since we get our eggs from the village, they are usually full of dirt :) And I used some kind of fixing dough to keep them stationary in place. After placing them I noticed the door window at the back, I had to cover it with a dark blanket.
 |
 |
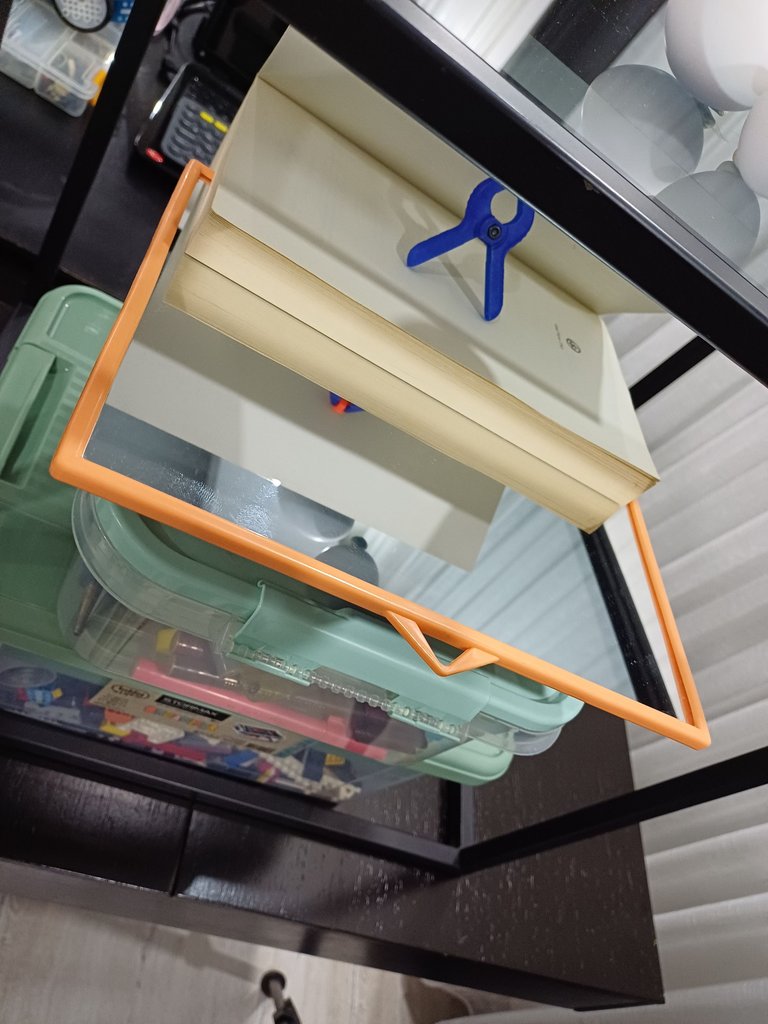
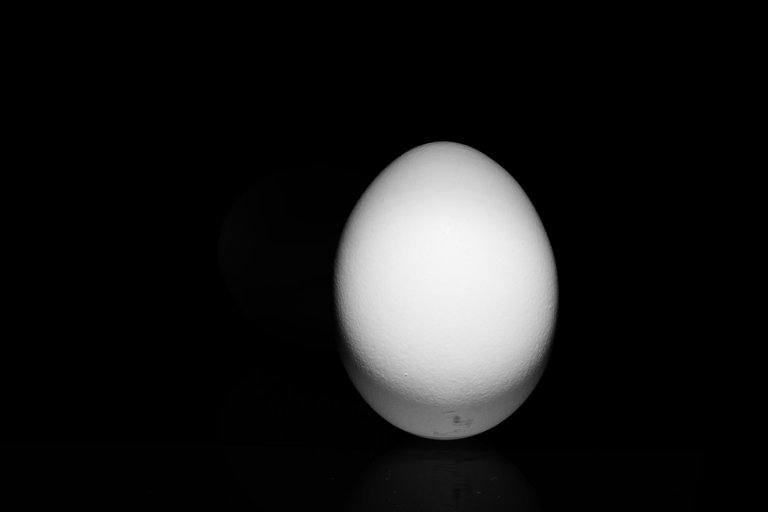
The egg on the front was easy. A speedligth directly above the camera did the job. I used the built-in white reflector card to block any unwanted light from spilling onto the egg in the back. To brighten the lower part of the egg, I placed a mirror underneath. As you can see in the photos, my platform is the dark glass surface of a small table. It helped me achieve both a dark background and a transparent platform.
 |
 |
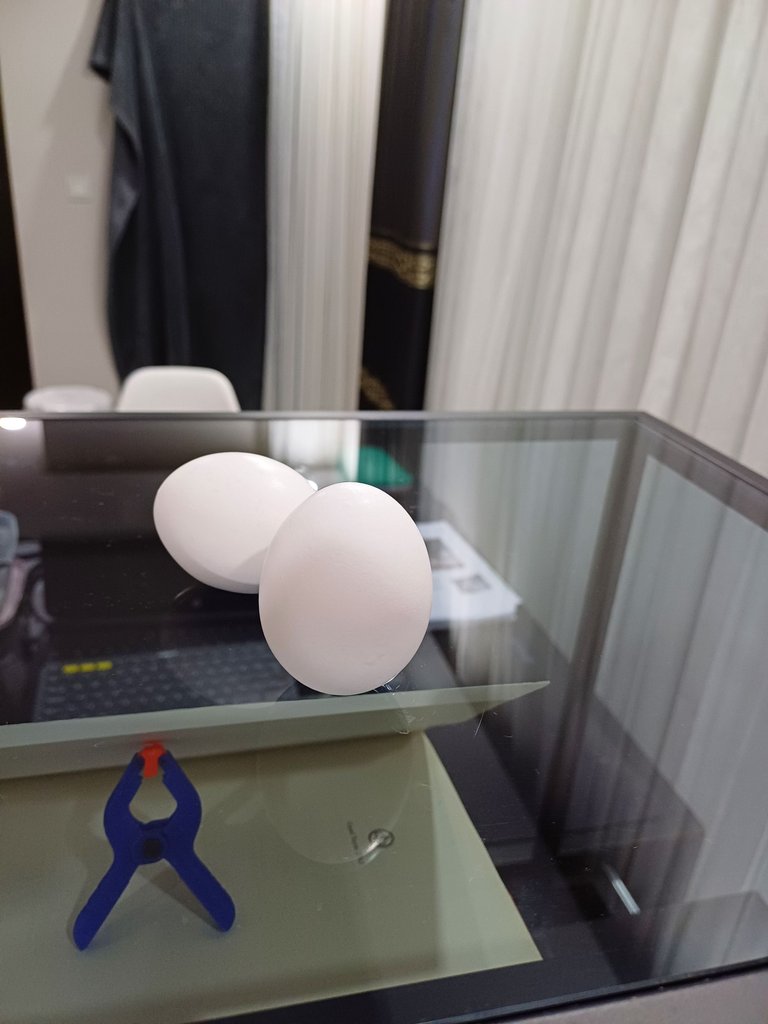
Mirror at the bottom:
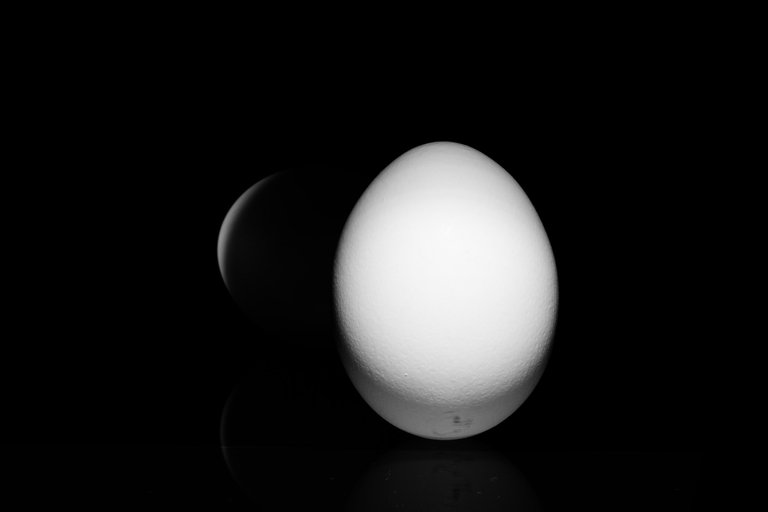
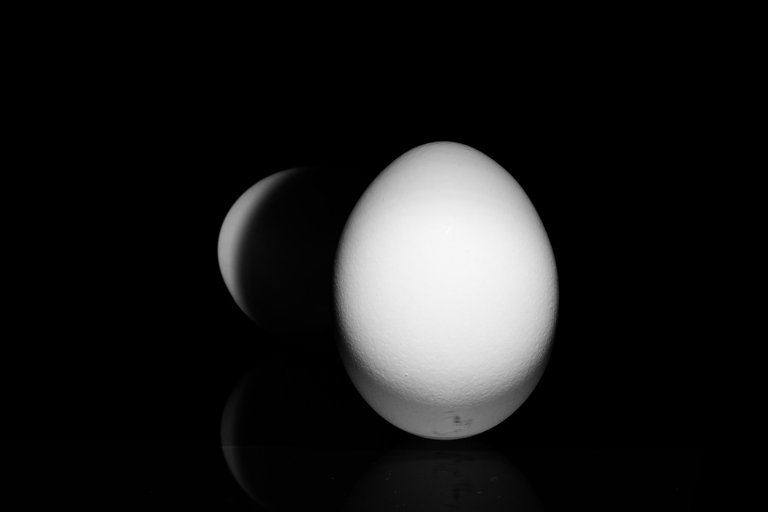
For the egg in the back, I used another speedlight. In the first few attempts, I noticed harsh highlights on the egg's white surface. No matter how much I reduced the flash power or changed the diffuser material, I couldn’t eliminate them. Eventually, I used a snoot and aimed it slightly away from the surface. This gave me a soft reflection without any excessive highlights.
Excessive highlight over the egg at the back:
 |
 |
 |
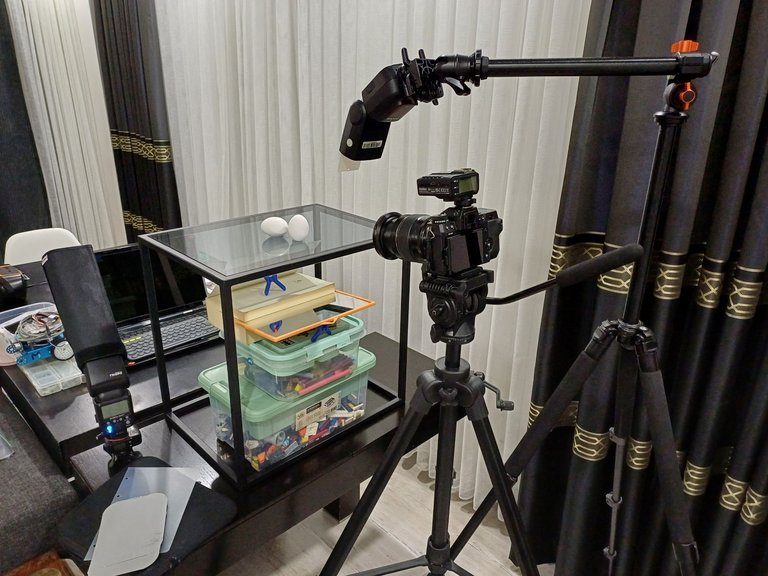
Using snoot and aiming to the side:
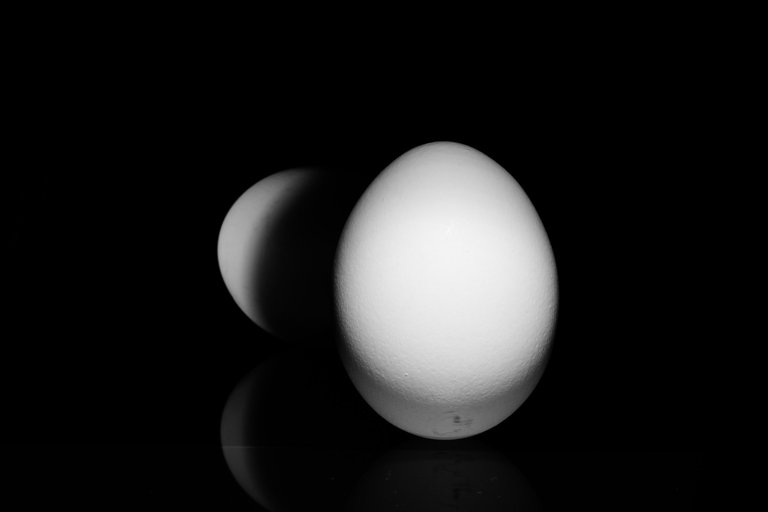
I kept the ISO at 200, shutter speed at 1/250s, and aperture at f/16 throughout the shoot, adjusting only the flash power. In post-processing, I converted the image to black and white and boosted the contrast. I didn’t bother much with removing dirt spots, as this was just a practice session. Also I am aware that there are other imperfections like the layer line of the glass table being faintly visible. Besides, I think a bit of dust and imperfection isn’t a bad thing—unless you're working on something professional.
This was fun! I found it very educational and imagination-provoking.
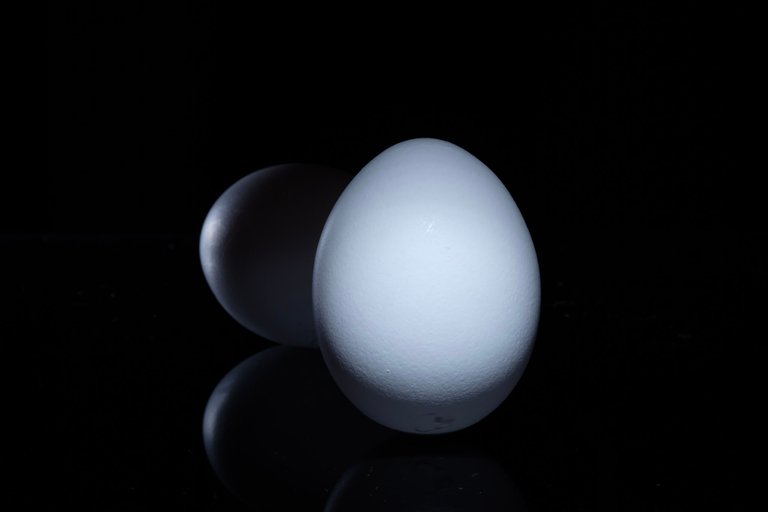
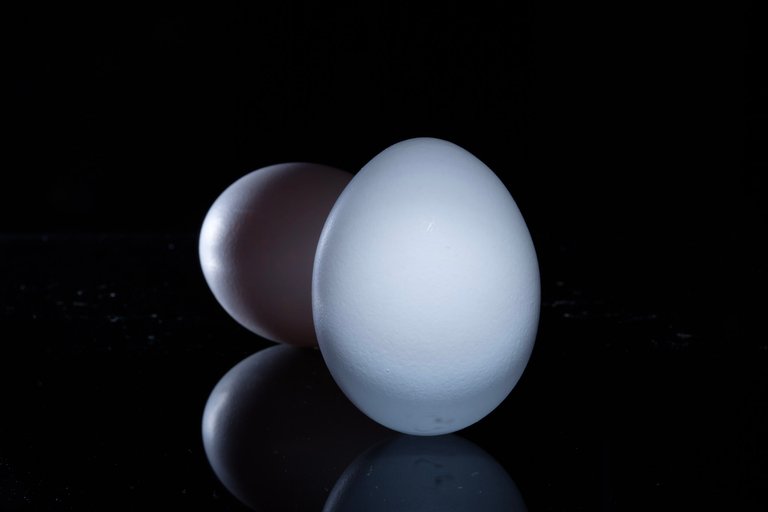
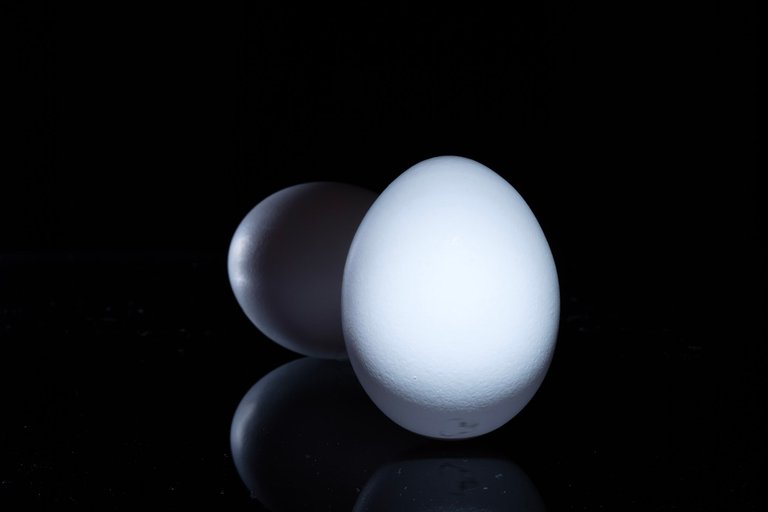
And here are the results, all the best...
 |
 |
 |
 |
Still not in HIVE? Join this strong community.
Are you looking for a visual to use in your Hive post? By setting m1alsan as 2% beneficiary for your post, just pick any image on my LIL (aka LMAC Image Library).
For more info: LIL Home
Interested in NFTs?
Here is my gallery on Hive:
My social media links:,