A CROSS-PROCESSING DAWN - PHOTOGRAPHY SERIES || ENG-ESP || (09 pics)
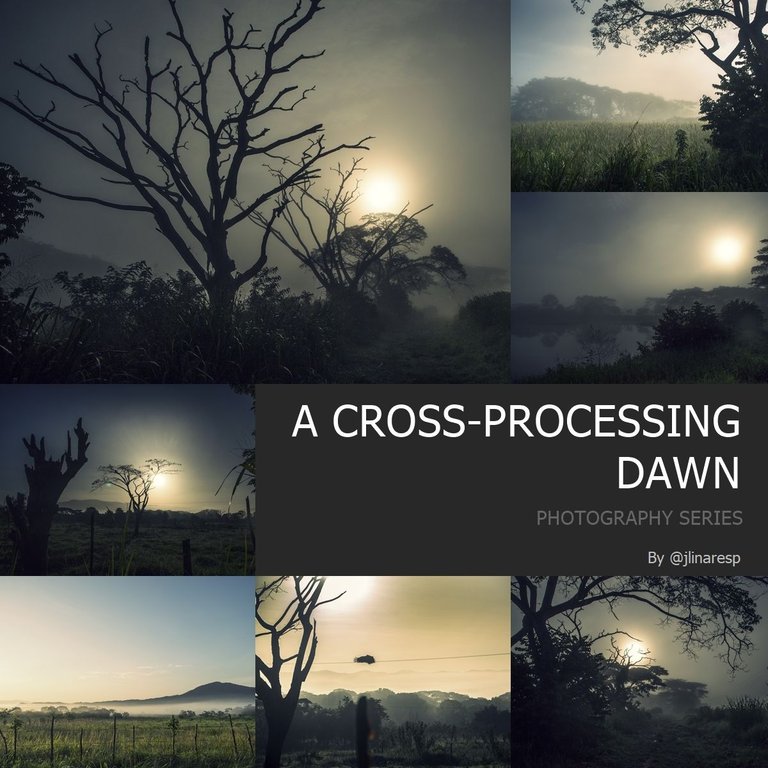
A few days ago I was reading a lot of things about analog photography and chemical processing and among those things which I read, the term "Cross-Processing" caught my attention, since it basically involved developing photographic films using chemical reagents other than those recommended for them, resulting in photographic development results with unexpected contrasts and colorations, things which apparently delighted photographers willing to experiment and take their creativity beyond the conventional. So, full of curiosity, I ended up investigating how to do something similar to "cross-processing" but starting from a digital photograph and processing it with Photoshop or another similar software... And boy, did I get some very interesting techniques to do this!... Please, go ahead and see these photos with which I experimented with this technique, I'm sure you'll like seeing them...
En días pasados estuve leyendo un montón de cosas sobre fotografía analógica y revelado químico y entre esas cosa las cuales leí, el termino "procesamiento cruzado" llamó mucho mi atención, pues se trataba básicamente de revelar películas fotográficas utilizando reactivos químicos distintos a los recomendados para estas, teniendo como consecuencia un resultado de revelado con inesperados contrastes y coloración, cosas las cuales al parecer hacían las delicias de los fotógrafos dispuestos a experimentar y llevar su creatividad más allá de lo convencional. Así que, repleto de curiosidad, terminé por investigar como hacer algo similar al "procesamiento cruzado" pero partiendo de una fotografía digital y procesando esta con Photoshop u otro software similar... ¡Y vaya que conseguí algunas técnicas muy interesantes para hacer esto!... Por favor, pasen adelante y vean estas fotos con las cuales experimenté con esta técnica, estoy seguro de que les gustará ver esto... 😉
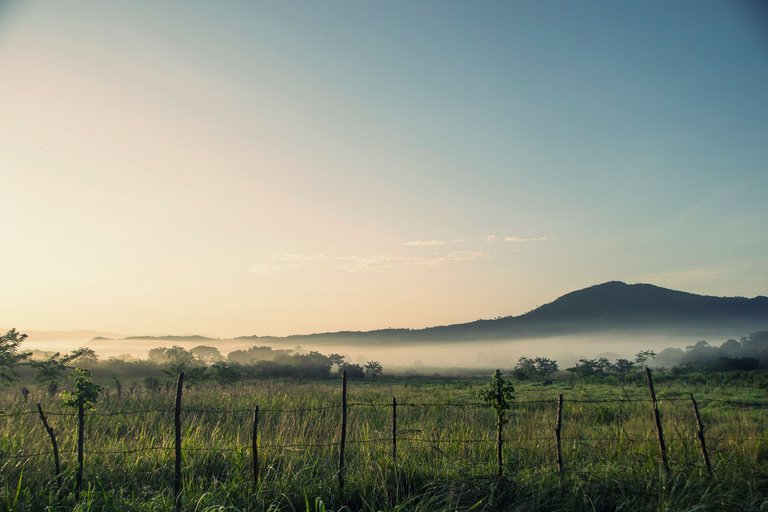
FIVE PHOTOS ON THE LAGOON ROAD (SOUTHEAST OF THE TOWN)
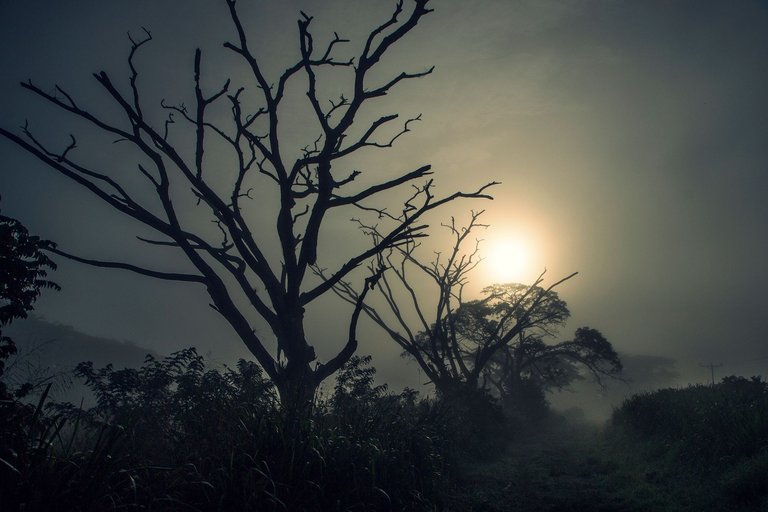
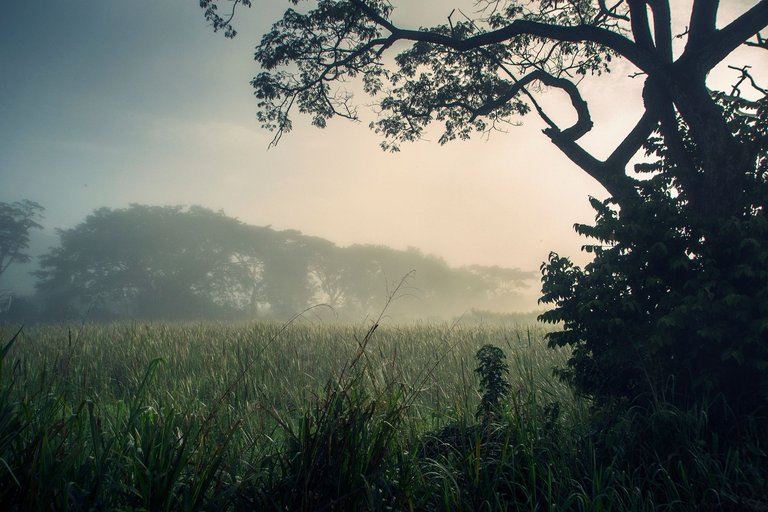
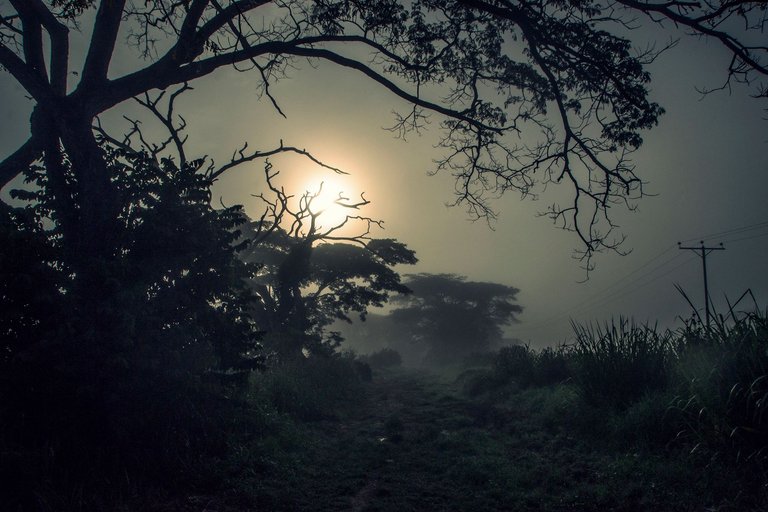
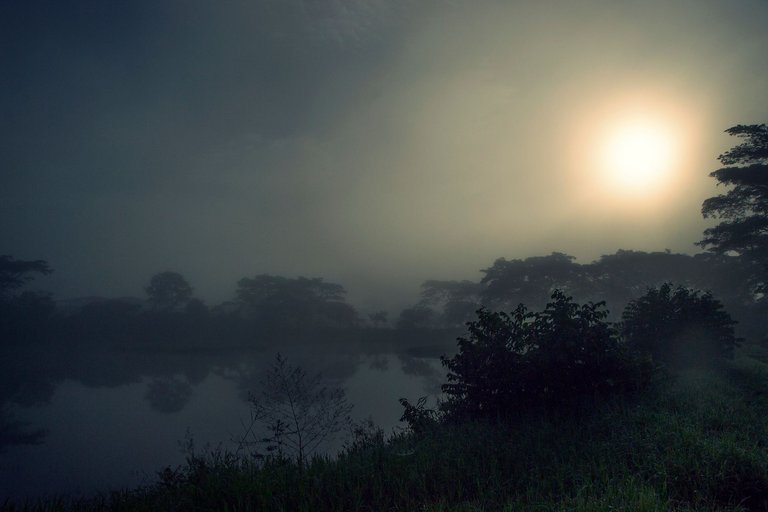
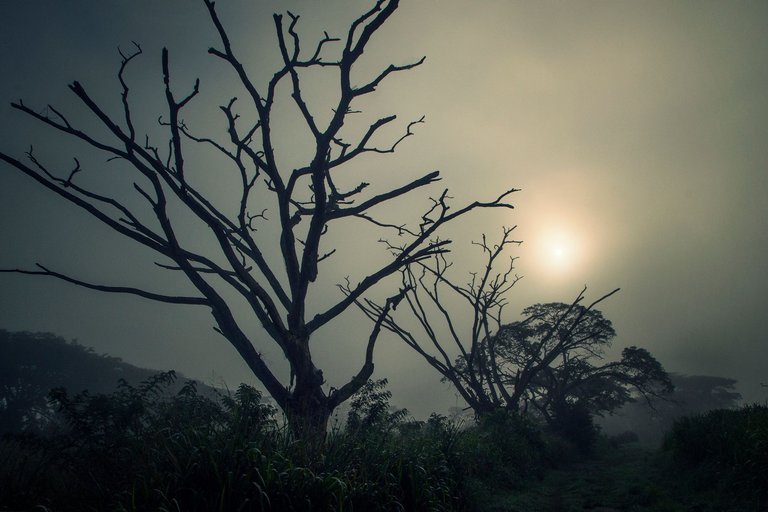
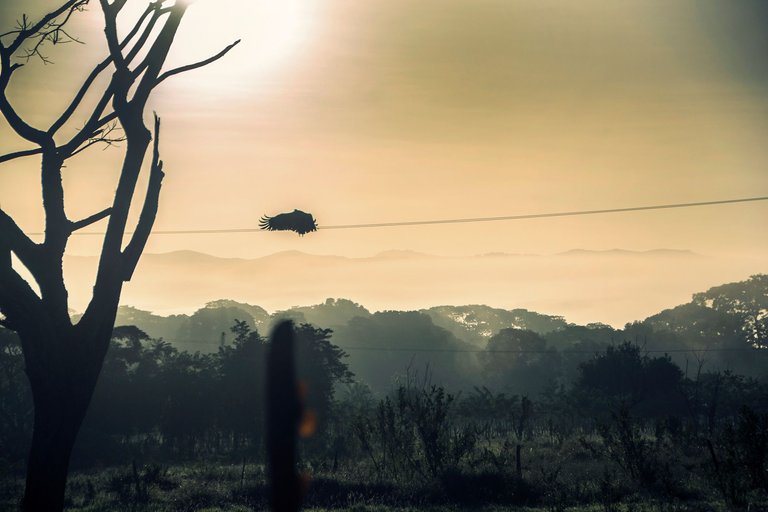
What do you think? Did you like it? Well, I have even more for you in this post! But first, I want to tell you that, to apply this technique, I decided to use photos with strong backlighting, quite dramatic, and corresponding to a foggy sunrise on the outskirts of my town. So, I literally ended up "sprinting" on my old bike to be able to take photos at opportune times in these two places separated from each other by perhaps a mile... The fact that I wanted to use precisely this type of photos was perhaps purely intuitive, but I think the results are good, considering that I have little practice with this type of processing on my photos...
¿Qué tal les parece?, ¿Les ha gustado?... ¡Bueno, tengo aún más para ustedes esta publicación!... Pero antes, quiero comentarles que, para aplicar esta técnica, decidí utilizar fotos con fuertes contraluces, bastante drama y correspondientes a un amanecer con un niebla a las afueras de mi pueblo. Así fue como terminé literalmente "haciendo sprint" sobre mi vieja bicicleta para poder tomar fotos en horas propicias en estos dos lugares separados entre sí por quizás una milla de distancia... El hecho de querer usar precisamente este tipo de fotos, fue quizás algo puramente intuitivo, pero me parece que los resultados son buenos, considerando que tengo poca práctica con este tipo de procesamiento en mis fotos...
FOUR PHOTOS FROM THE "AGUA DE OBISPO" ROAD (SOUTH OF THE TOWN)
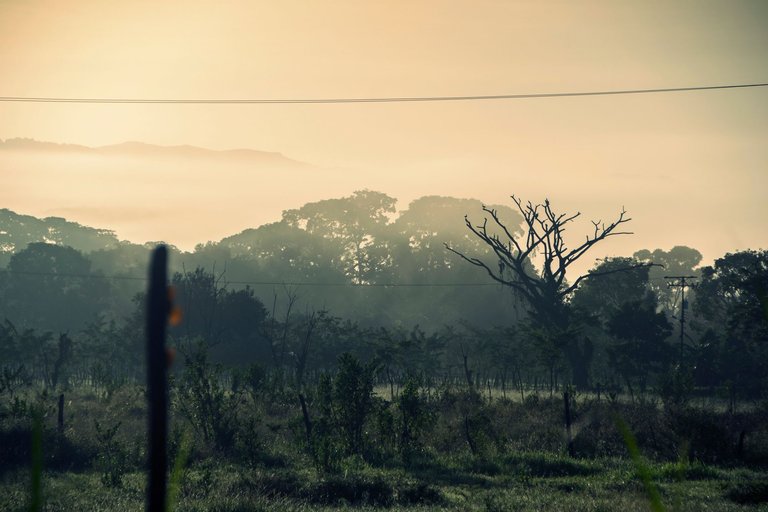
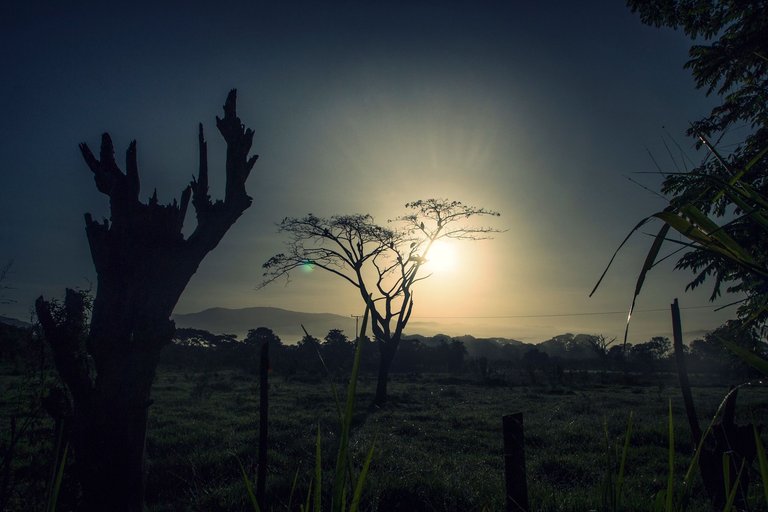
AND LOOK A LITTLE ABOUT HOW THIS CAN BE DONE WITH PHOTOSHOP
There are tons of pages that pop up when you Google to learn the basics of how to do this type of processing with a digital photo. But I've decided to share some visual tips on how I did it, so maybe some of you will be inspired to try processing your photos in a similar way... 😃
Hay un montón de paginas que aparecen cuando se googlea para saber acerca de los fundamentos básicos de como hacer este tipo de procesamiento con una foto digital. Pero he decidido dejarles algunos tips visuales de como lo hice yo, así quizás alguno de ustedes se anime a trabajar de manera similar sus fotos... 😃
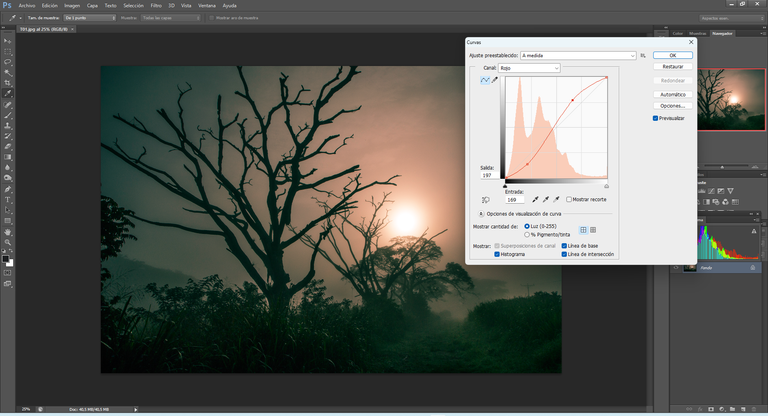
I decided to start with a RAW image and process it with Adobe Camera RAW the way I normally would for a normal landscape photo. Then, after exporting the photo to JPG, I worked on it to try and transform it by adjusting the color curves. You will find very good information about this by CLICKING ON THIS LINK.
Yo decidí partir de una imagen RAW y procesarla con Adobe Camera RAW de la manera como usualmente lo haría para lograr una foto de paisaje normal. Luego, habiendo exportado dicha foto a JPG, la trabajé para procurar transformarla mediante los ajustes de las curvas de color. De esto encontrarás información muy buena HACIENDO CLICK EN ESTE ENLACE.
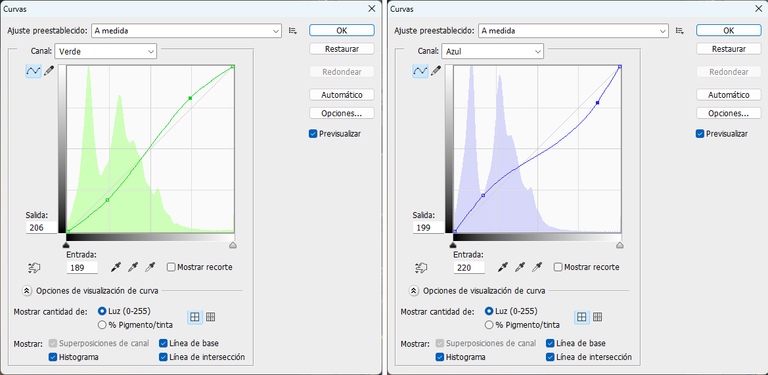
To put it bluntly: It's basically working on the channel curves separately. We make normal "S" adjustments for the RED and GREEN channels, and in reverse "S" adjustments for the BLUE channel (I'm trying to be as colloquial as I can. Also, I'm not very good with the terminology 😉)... Having the image in front of me made me feel a bit like I was "hand-painting my photograph"... And boy do I love that feeling!
Hablando más claro: Básicamente se trata de trabajar sobre las curvas de canal separadamente. Con el canal ROJO y el canal VERDE hacemos ajustes en "S" normal y con el AZUL en "S" inversa (estoy intentando ser lo más "coloquial" que puedo. Además, no soy muy bueno con la terminología de todo esto 😉)... El hecho de tener a la vista la imagen me hizo sentir que estaba un poco como "pintando a mano mi fotografía"... ¡Y vaya que amo esa sensación!...
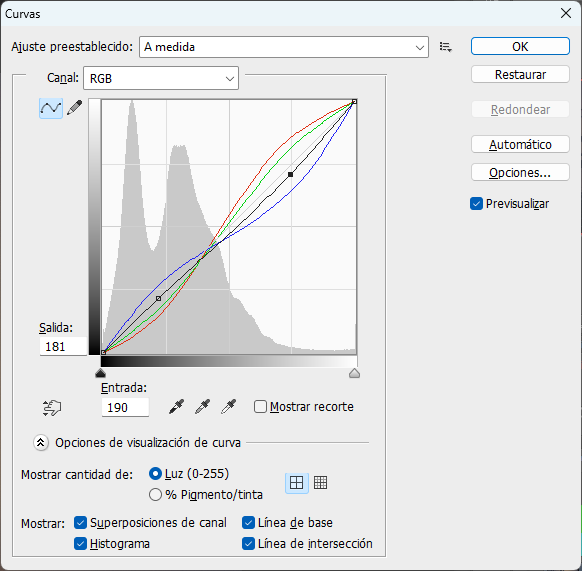
Finally, you also have to adjust the "S" RGB curve for inverse... In my case, the curves ended up looking like the previous image ☝️ forming a kind of fairly symmetrical "loop"... This way I was able to achieve that "cross-processing" with my particular preferences, aiming for a "versus" of predominant blues and oranges in the photographic plane. Obviously, there must be a lot of variations to do this, but my intention was to experiment and start from some references found on the internet and, from there, expand by making some adjustments of my own initiative...
Finalmente, también se ha de ajustar la curva RGB en "S" inversa... En mi caso, las curvas terminaron viéndose así como es la imagen previa ☝️ formando una especie de "lazo" bastante simétrico... Así pude logar ese "procesamiento cruzado" con mis preferencias particulares apuntando a un "versus" de azules y naranjas predominantes en el plano fotográfico. Obviamente, han de existir un montón de variantes para hacer esto, pero mi intención era experimentar y partiendo de alguna referencia encontrada en internet y, de allí en más, extenderme haciendo algunos ajustes de iniciativa propia...
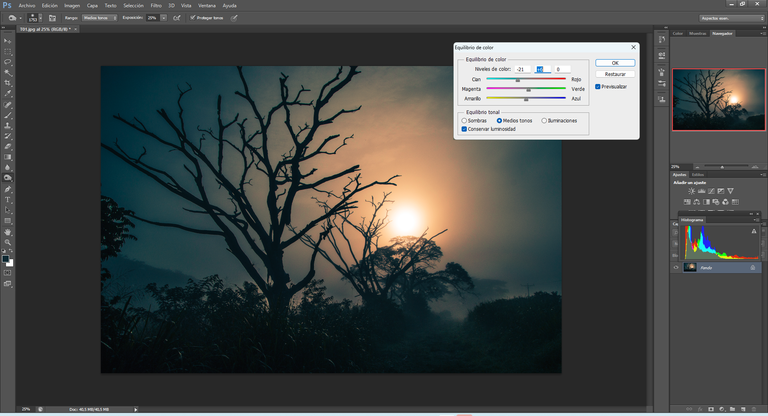
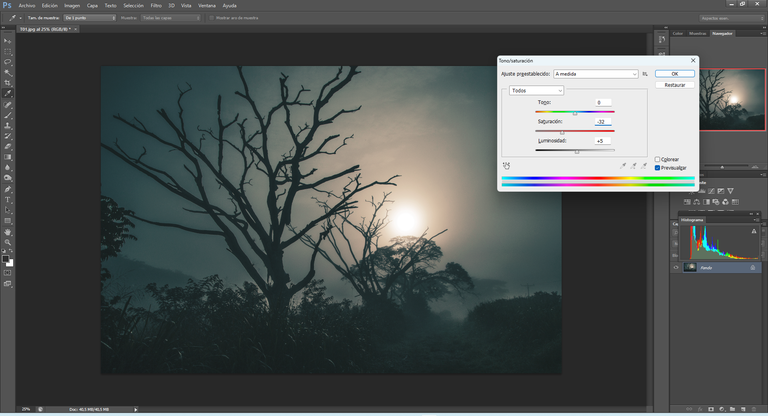
I continued to enjoy this a lot, so I decided to add a little "elegance" to my photos and make adjustments to the color balance, hue, and saturation of the entire photo plane. This is how I got the final results you saw earlier in this post...
Continué disfrutando un montón haciendo esto, así que decidí agregar un poco de "elegancia" a mis fotos y hacer ajustes en el equilibrio de los colores y en el tonos y saturación del plano fotográfico completo, así fue como obtuve los resultados finales que vieron previamente en esta publicación...
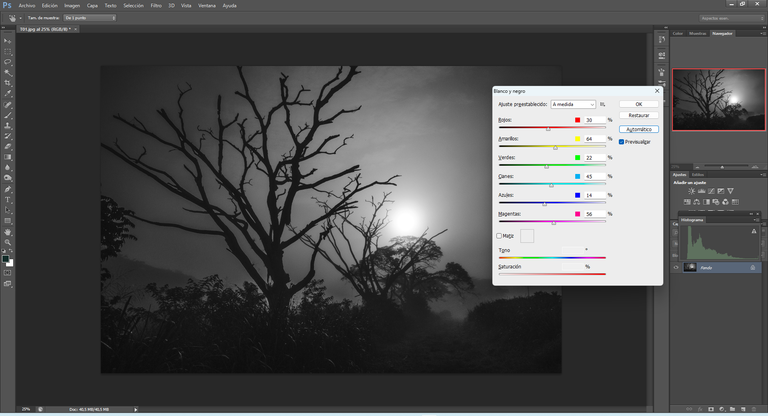
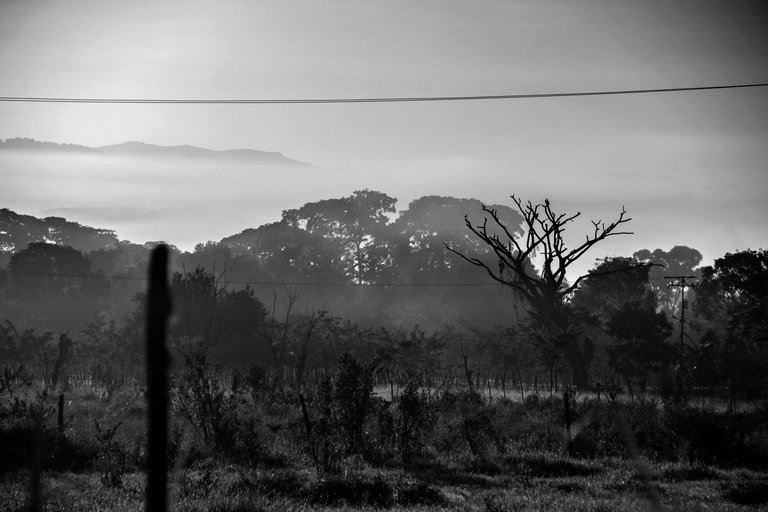
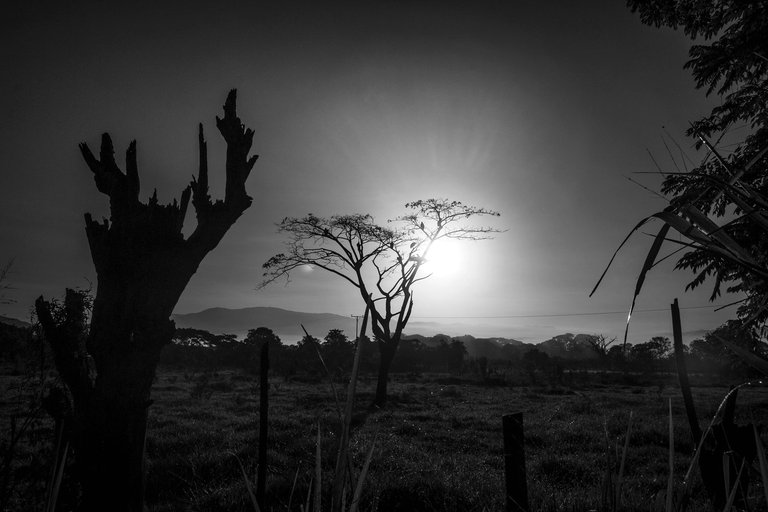
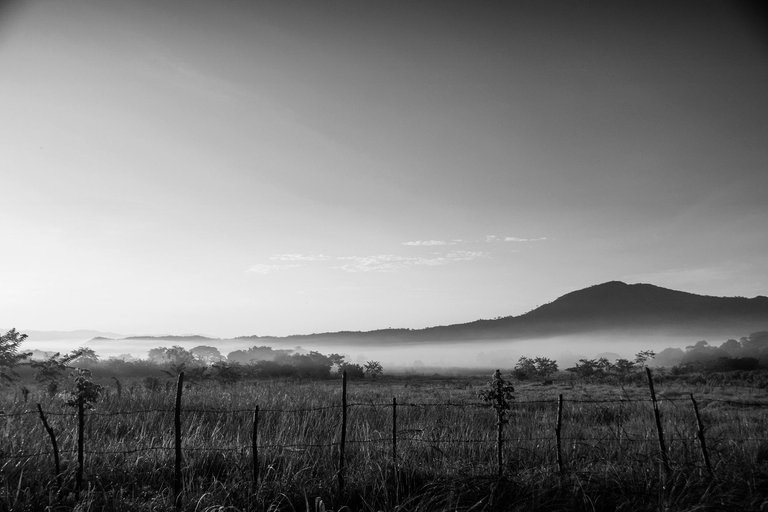
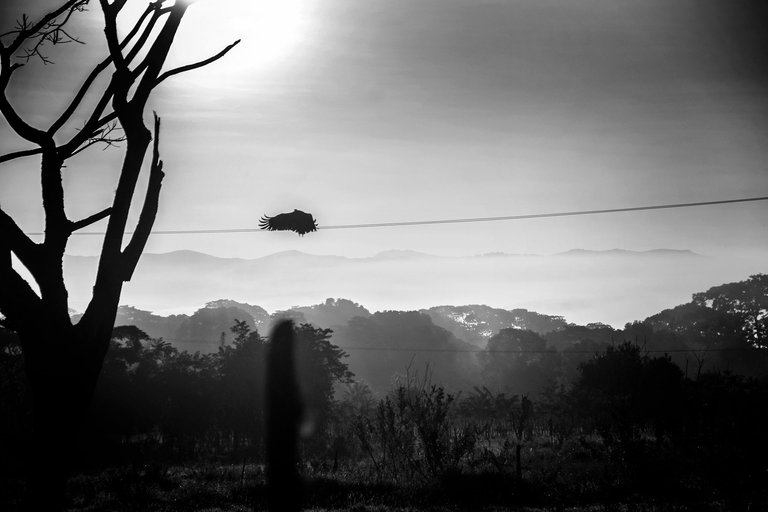
And why not see this in black and white too? 🤓... Well yes, I got really curious and spent some more time using Photoshop's black and white toning tool on each of these photos... Good heavens, that was certainly a good idea!... And the thing is, with the image already "cross-processed", the tones and colors still remain relatively defined in the photos, so it's quite easy to adjust the luminosity of each color tone individually... So, once again, please continue forward with this post and appreciate this final addendum with these black and white photos... 😉
¿Y porqué no ver esto en blanco y negro también? 🤓... Pues sí, sentí un montón de curiosidad y dediqué algo más de tiempo a usar la herramienta de virado al blanco y negro de Photoshop sobre cada una de estas fotos... ¡Cielos santos, esa fue una buena idea ciertamente!... Y es que, con la imagen ya pasada por el "procesamiento cruzado" aún persisten los tonos y colores relativamente definidos en la fotos, entonces es bastante fácil ajustar la luminosidad de cada tono de color individualmente... Entonces, una vez más, por favor continúen adelante en esta publicación y aprecies este anexo final con estas fotos en blanco y negro...😉
LOOK AT THESE PHOTOS, TURNED INTO BLACK AND WHITE!
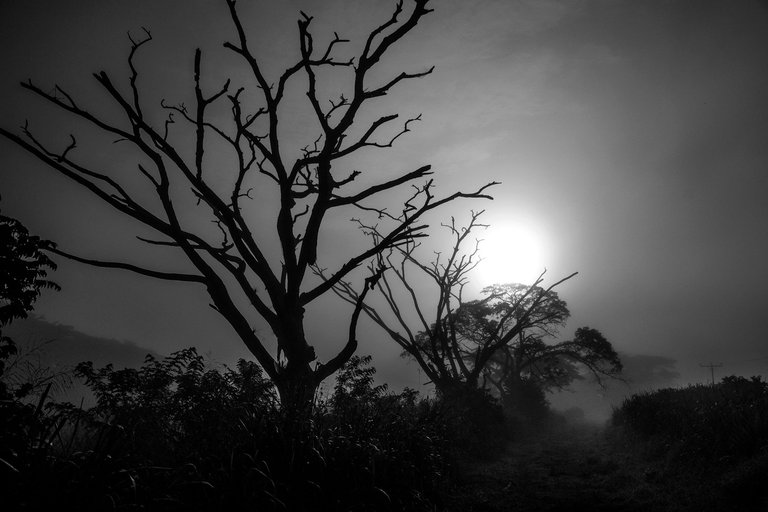
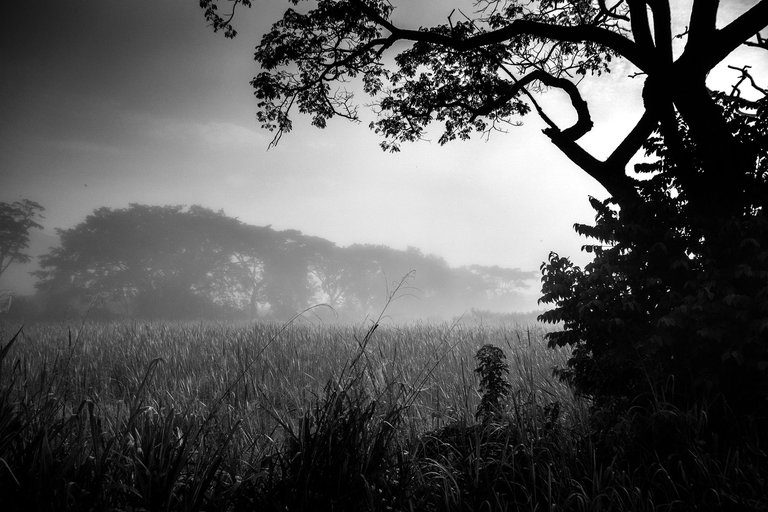
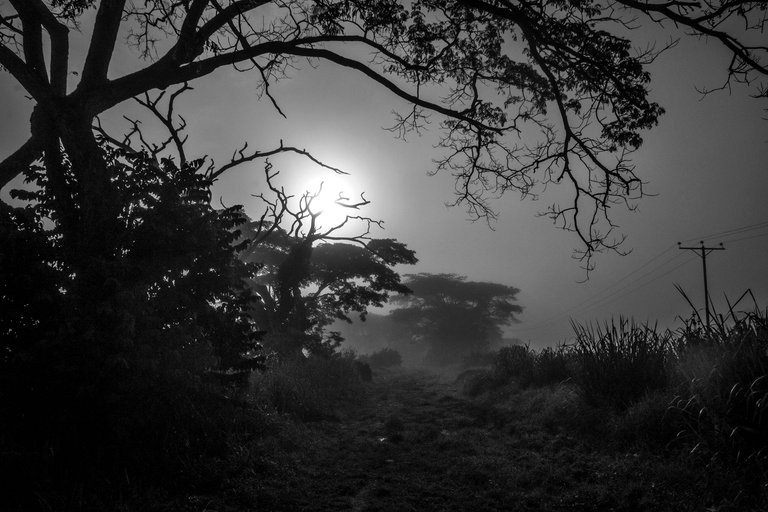
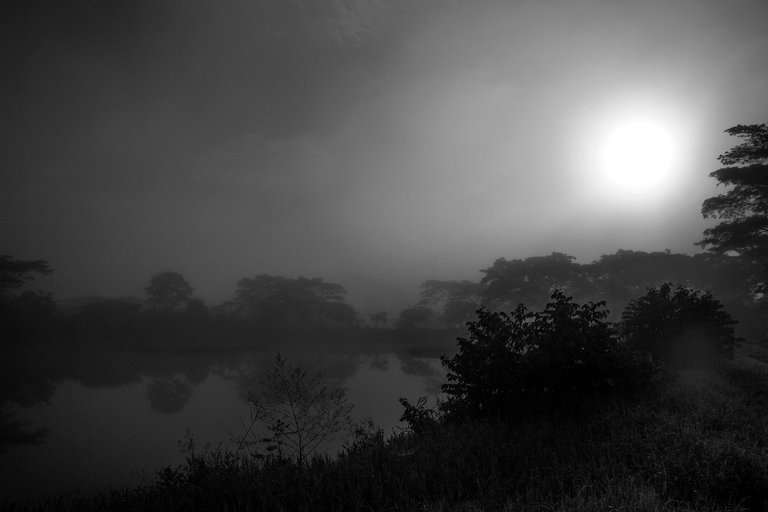
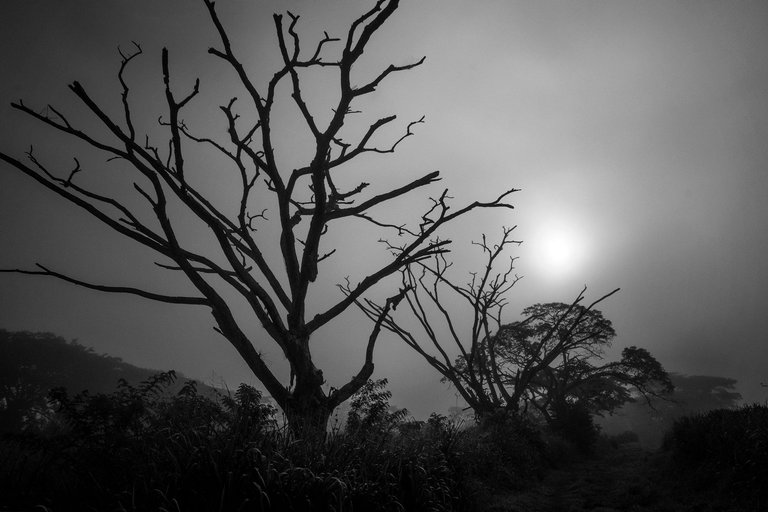
The black and white result is quite good even without starting from the RAW photo directly (the way I usually process my photos for a monochrome scheme regularly)... It seems to me that the fact that the photos here are already in JPG format, ends up making them suitable for a subsequent conversion to black and white using the basic Photoshop tool, although I personally perceived a noticeable loss of control over details, especially in the shadows, but that is to be expected when working like this from the JPG.
El resultado en blanco y negro es bastante bueno aún sin partir de la foto en RAW directamente (manera en la cual suelo procesar mis fotos para esquema monocromático regularmente)... Me parece que el hecho de que aquí las fotos ya en JPG tienen un procesamiento previo, eso mismo termina haciéndolas propicias para un posterior virado al blanco y negro usando la herramienta básica de Photoshop, aunque yo particularmente noté una sensible perdida de control sobre detalles especialmente en las sombras, pero eso es de esperarse trabajando así desde el JPG.

ADDITIONAL TECHNICAL NOTE: Photographs captured with my Nikon D7000 DSLR camera in RAW format, then processed in Adobe Camera RAW for adjustments regarding light, sharpening, contrast and depth... They were then exported to JGP format on which minor modifications such as straightening and adding watermarks were carried out using PhotoScape v3.7
NOTA TÉCNICA ADICIONAL: Fotografias capturadas con mi cámara DSLR Nikon D7000 en formato RAW, procesadas posteriormente en Adobe Camera RAW para ajustes relativos a luz, afilado, contraste y profundidad... Luego fueron exportadas a formato JGP sobre el cual se llevaron a cabo modificaciones menores como enderezado y agregado de marcas de agua usando PhotoScape v3.7

Thank you very much for your visit and appreciation!
¡Muchas gracias por pasar y apreciar!
"We make photographs to understand what our lives mean to ourselves." - Ralph Hattersley.
"Hacemos fotografías para comprender lo que nuestras vidas significan para nosotros mismos." - Ralph Hattersley.

Lens: Sigma 18-200mm f3.5-6.3 II DC OS HSM
Lente: Sigma 18-200mm f3.5-6.3 II DC OS HSM
Una vez que se empieza por ese camino las posibilidades son infinitas, con las herramientas modernas de edición el único límite es la creatividad. Me gustaría intentar algo así en el futuro pero la verdad mi entendimiento de esas herramientas es bien rudimentario.
Como pintar en un lienzo ya iniciado amigo @cumanauta!... En realidad se puede uno poner muy creativo procesando digitalmente hoy por hoy. Pero lo que yo hago ya no es precisamente "moderno", pues lamentablemente es muy seguro que las IA van a terminar quitando lo "artesanal" que aún puede tener este proceso. Pero bien, es así como funciona la tecnología 🤷♂... Ya yo soy prácticamente un "dinosaurio fotográfico" 😂 haciendo fotos en RAW con mi vieja cámara de más de 12 años, mis lentes achacosos, algunos incluso con hongos, y viniendo luego a mi PC pasar un montón de tiempo procesando cada RAW con paciencia... ¡Imagínate ahora con lo que se puede hacer con IA!... ¡Me sentiré entonces un "fósil fotográfico" 😂😂😂... Pero hacer esto así es sin duda encantador... Muchas gracias por pasar y apreciar este trabajo estimado amigo, ten una feliz jornada...
Thank you so much for sharing this informative tips.As someone who enjoys taking pictures of dawn and sunset, this is something that I am going to apply 😄to elevate those moments hehe.
I'm glad you like this post and that you can experiment later transforming your sunset and sunrise photos! Thank you for appreciating and supporting my content @macchiata friend!
Ohh amigo @jlinaresp estoy encantada con todas las fotos! qué creatividad divina tienes! Mis preferidas son las de la primera serie, aunque las de B/N se ven geniales. Saludos 🤗
😀 GRacias por tu aprecio y apoyo @mayramalu!!!
Saludos y feliz día.
Quedó excelente los ajustes de luz en las imágenes, de hecho invitas a que uno se ponga a investigar con el RAW, el trabajo de sus tomas.
Mis mejores deseos.
Este post fue votado desde Ecency.
!HUESO
!LUV
Definitivamente tu eres un maestro, que técnica más extraordinaria, jugar con las líneas y los colores hicieron un maravilloso resultado 🤗❤️🔥 está más que claro que lo tuyo es la fotografía @jlinaresp un gran abrazo, me encantó tu post.
Gracias por este motivador comentario amiga @karelysk89!!!! 😀🙏
Wow, these shots turned out mystical, their tones and contrast give a perfect harmony.
!discovery 30
I'm glad you like it dear @wilfredocav friend!!!... Thnaks a lot for appreciating and supporting!!!! 😀👍
This post was shared and voted inside the discord by the curators team of discovery-it
Join our Community and follow our Curation Trail
Discovery-it is also a Witness, vote for us here
Delegate to us for passive income. Check our 80% fee-back Program
Hello & thanks dear @discovery-it team!!!! 😀🙏