DIY// I designed a Kimono jumpsuit
Hello creative and lovely hivers, hope you are doing great wherever you are, it's always a pleasure to have you stop by my blog, wishing everyone a wonderful day and week ahead.
 Image edited using canva
Today I will be sharing with us the making process of a kimono jumpsuit I made using an African print, as some of you may know or if you are new to my blog, jumpsuits are one of my favorite pieces of clothing as they bring more style and sophistication to how a lady looks, also can be rocked to almost any kind of occasion. my beautiful teenage friend admired one of the jumpsuit I made recently and wanted me to make it for her as well, I didn't hesitate to because this is what I love doing, you can see her beautiful smile of satisfaction and happiness when she finally fitted her stylish jumpsuit.
I hope you follow and enjoy the process with me, as I also did while making the jumpsuit.
Materials/ Tools used
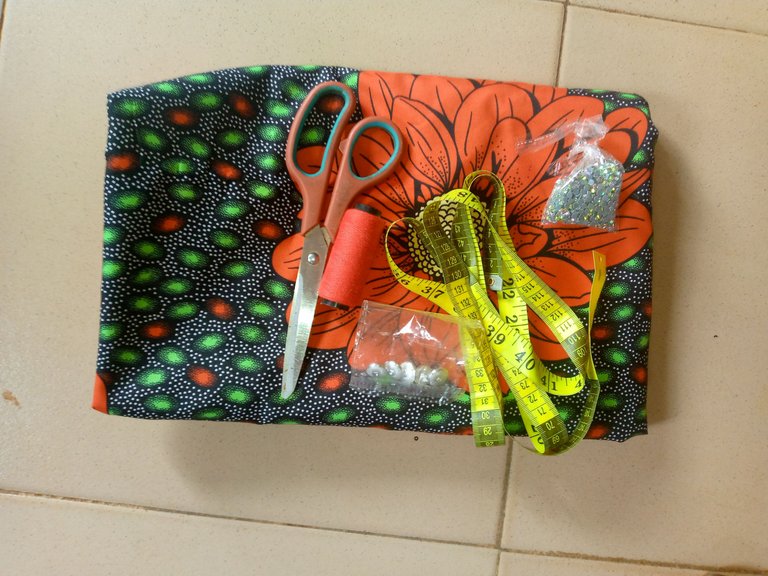
- Ankara fabric
- crepe fabric
- Matching thread
- Buttons
- Soft Stay
Scissors, tape rule, and sewing machine
Cutting and sewing Process
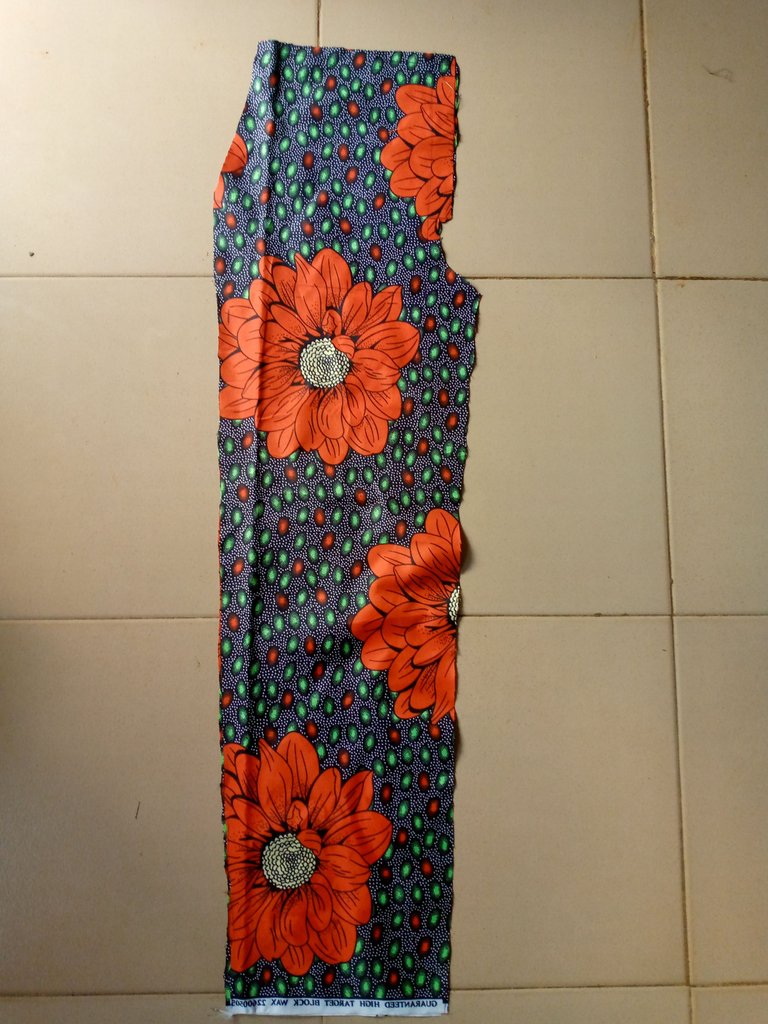
Step 1
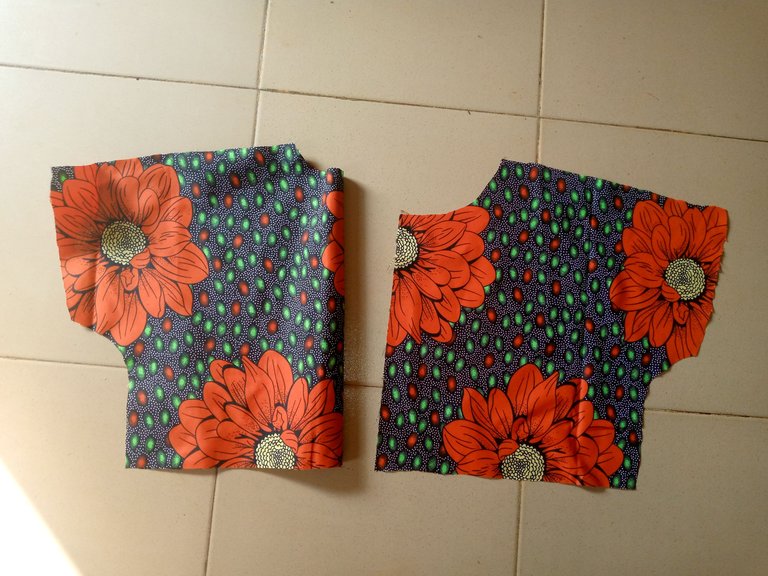
I started by drafting the upper part of the jumpsuit, using a Kimono pattern, meaning the body and sleeves are cut together, the front has two pieces while the back is cut on a fold.
Step 2
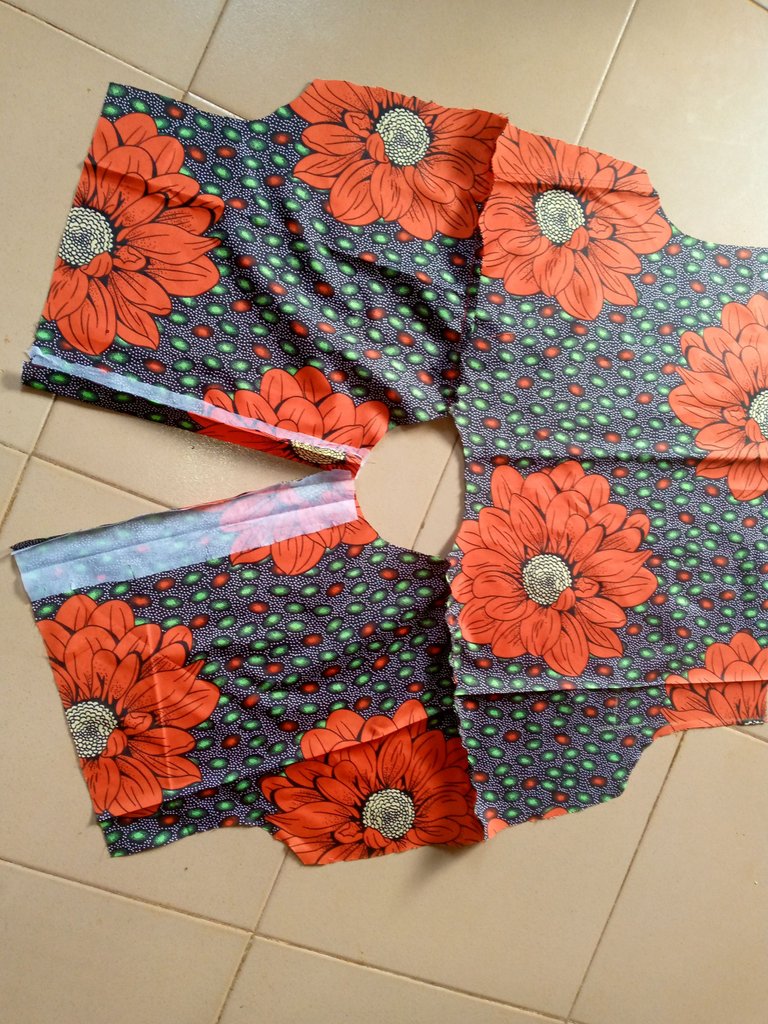
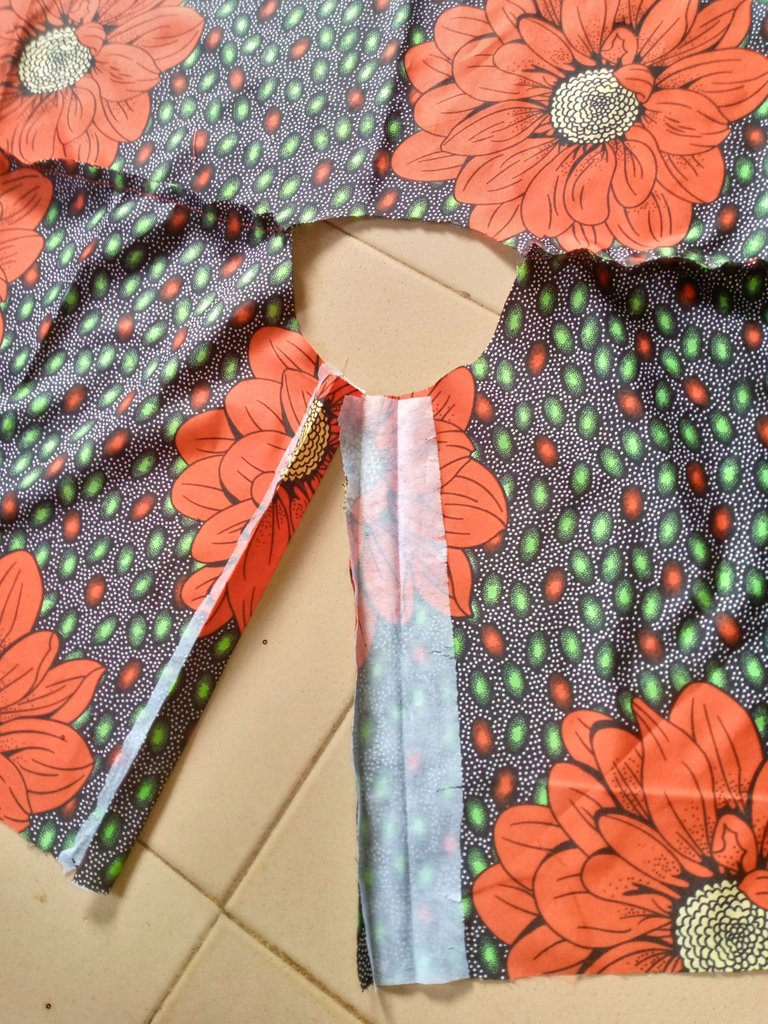
I joined the cut-out pattern by the shoulders, ironing interfacing on the button area of the front pattern, since it's going to take a shirt form.
Step 3
I cut out my collar pattern, joined them together, and attached it to the neckline area
Step 4
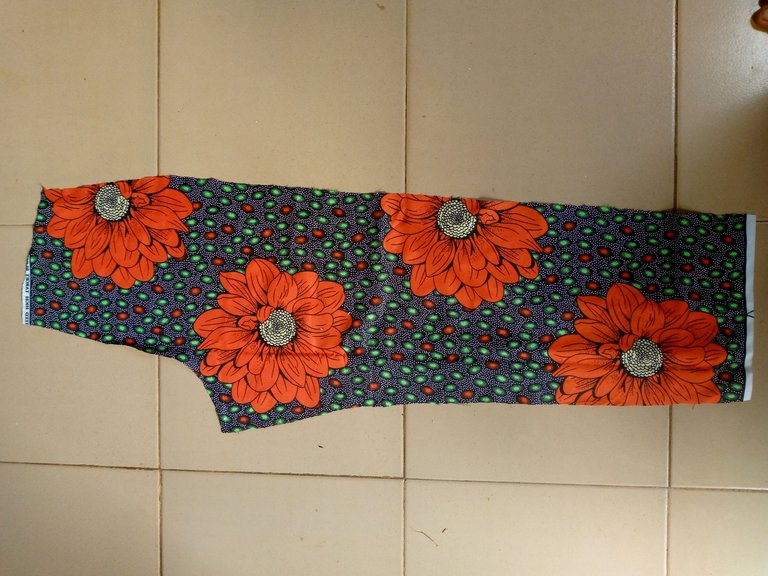
Next, I drafted and cut out the lower part of the jumpsuit, which is a trouser pattern for both front and back.
Step 5
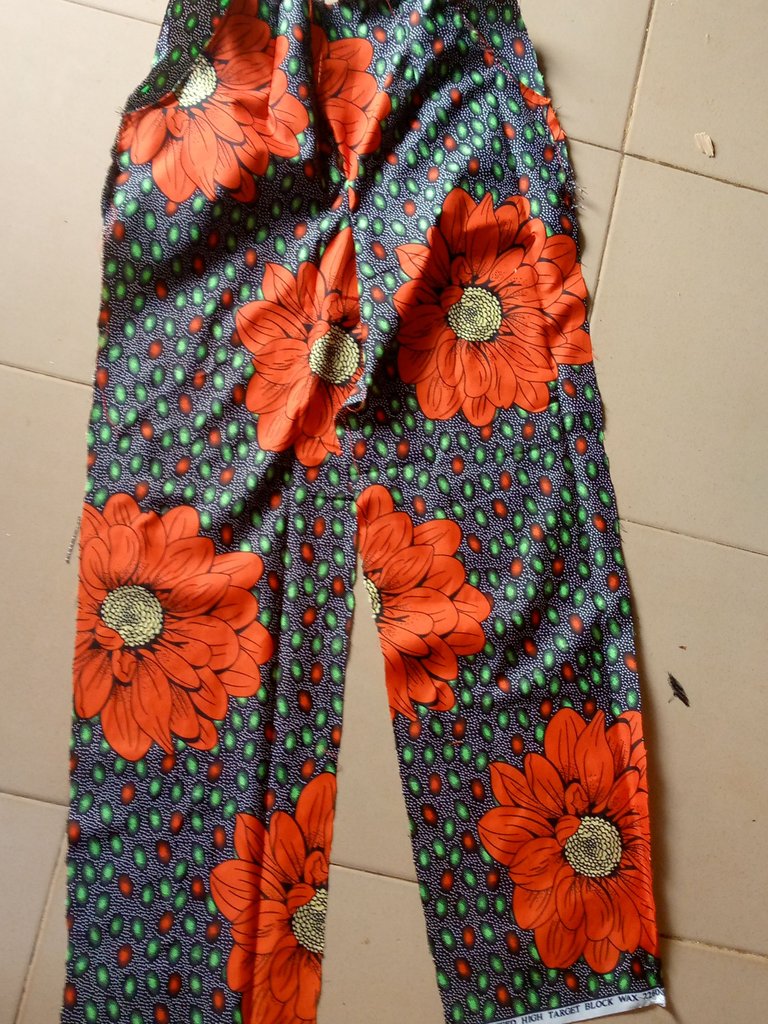
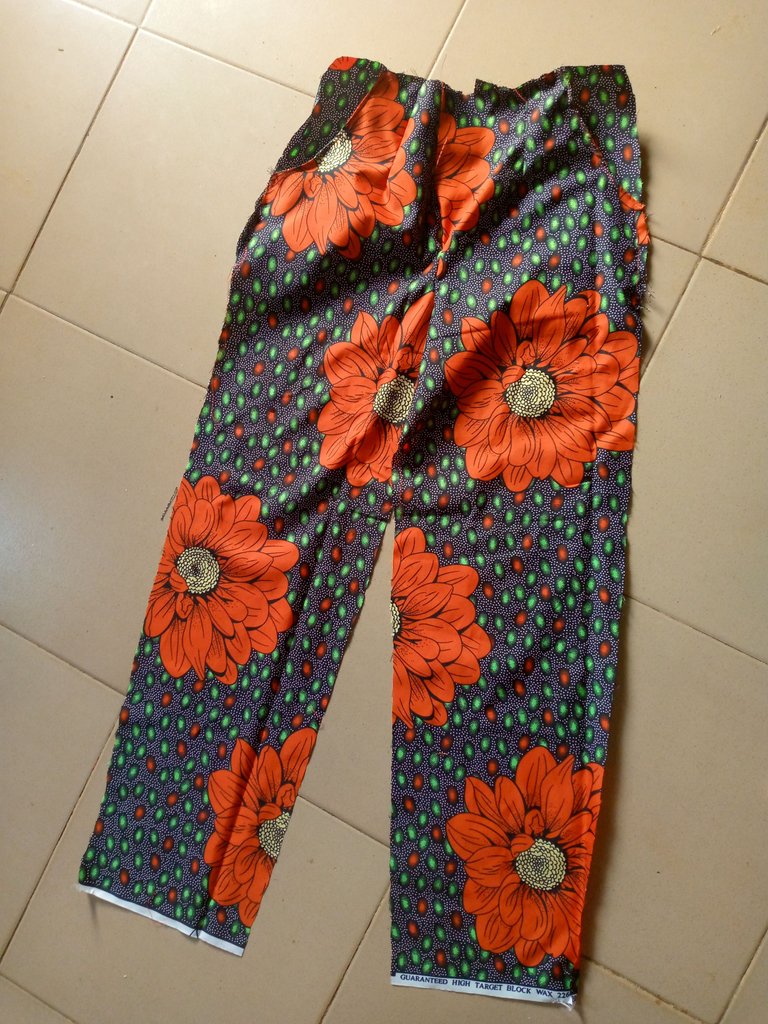
I joined them by the crotch area and added pockets to the front part
Step 6
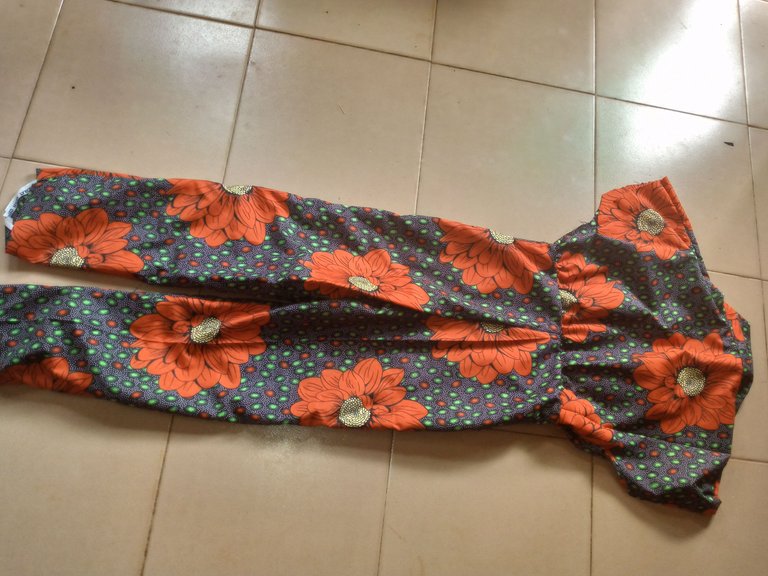
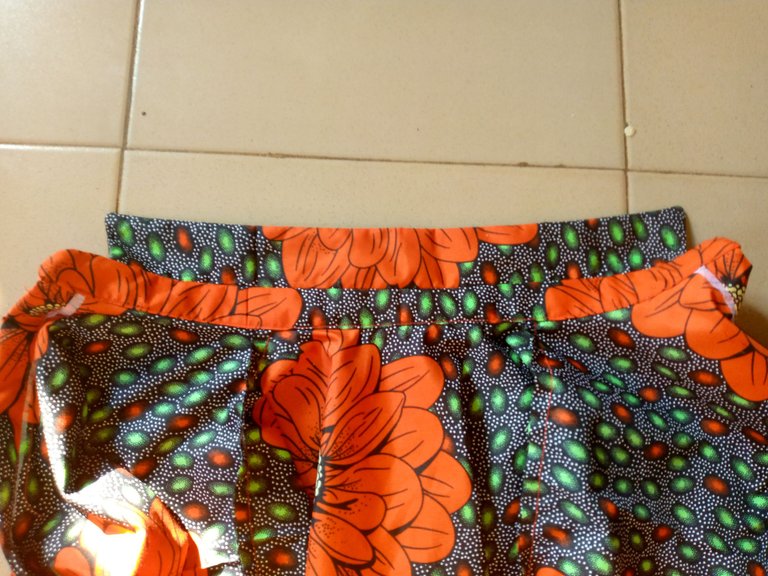
I joined the upper and lower parts together, front to front and back to back, also joining them by the sides and hemmed them.
Step 7
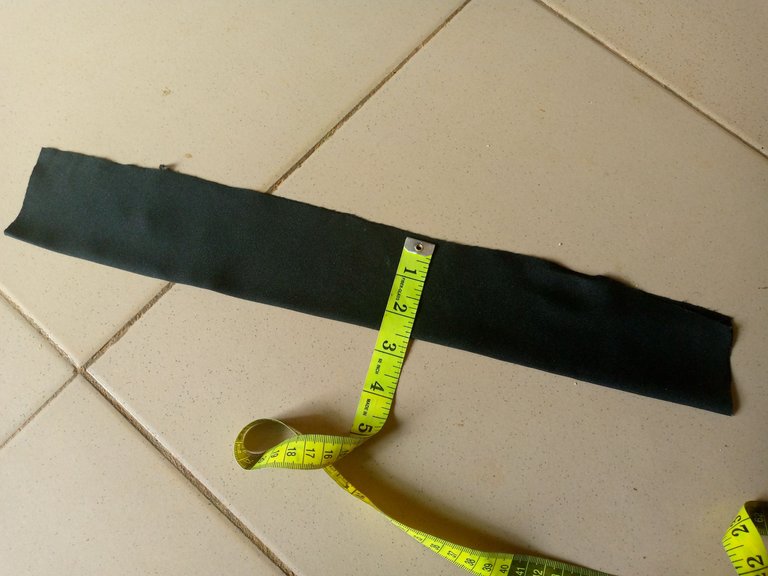
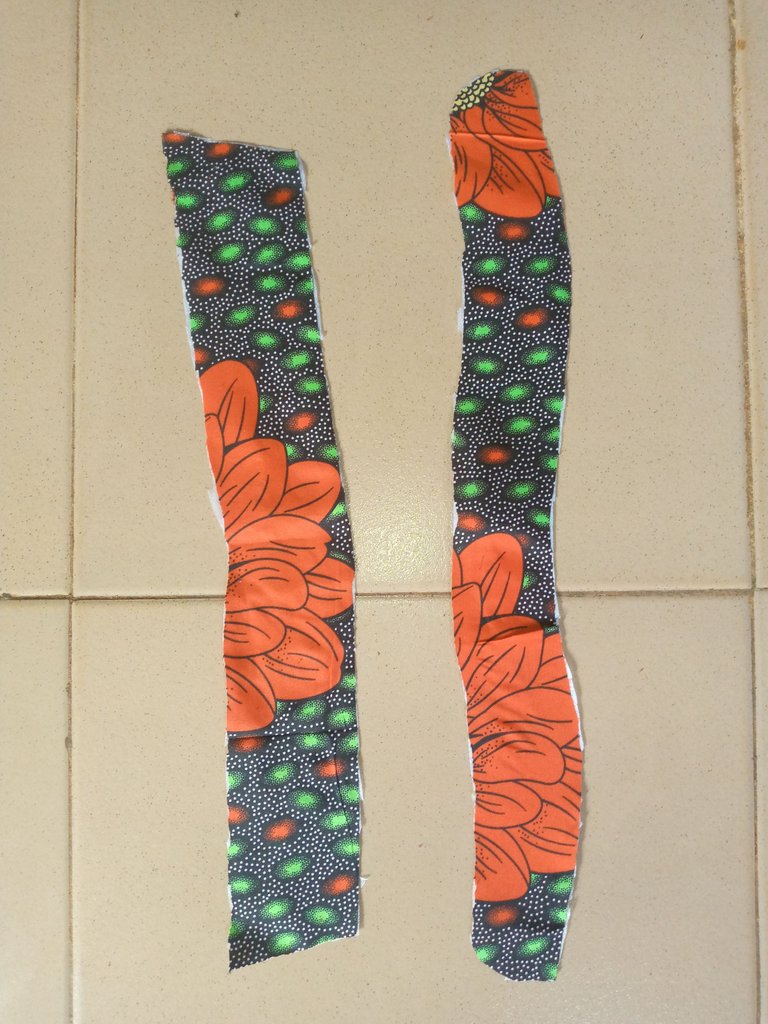
I elongated the sleeves area by adding a cut-out plain coloured crepe material on a fold of 2.5 inches.
Step 8
Finally, I sew the buttons and created buttonholes in the placket area, and my beautifully designed jumpsuit is ready.
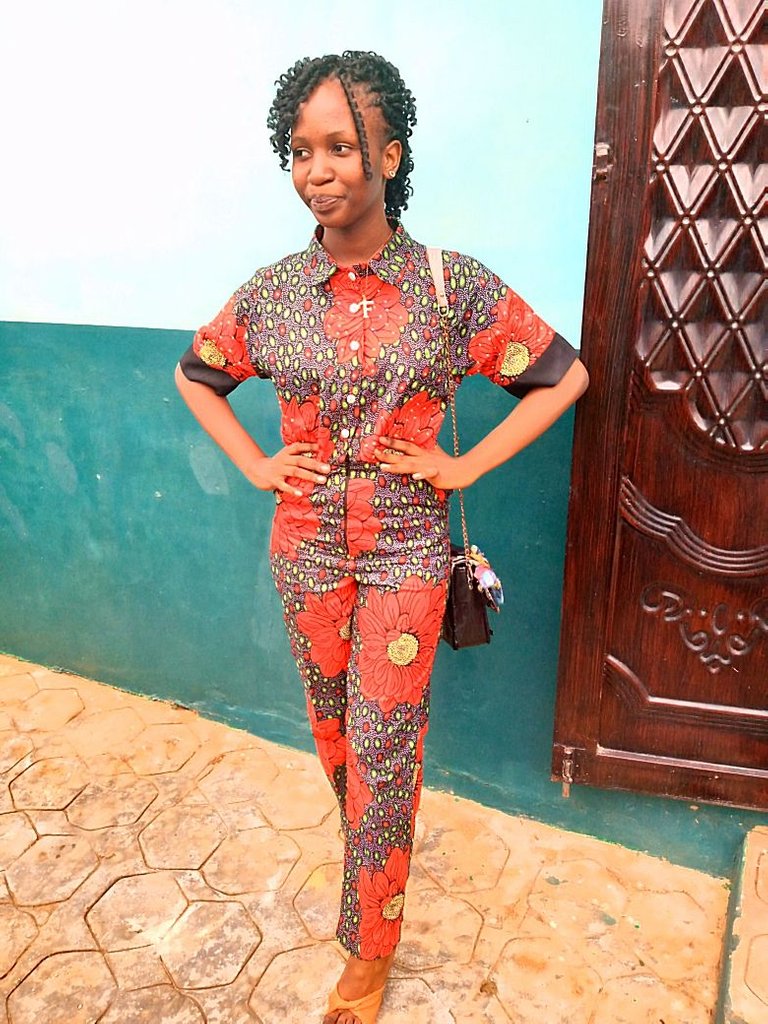
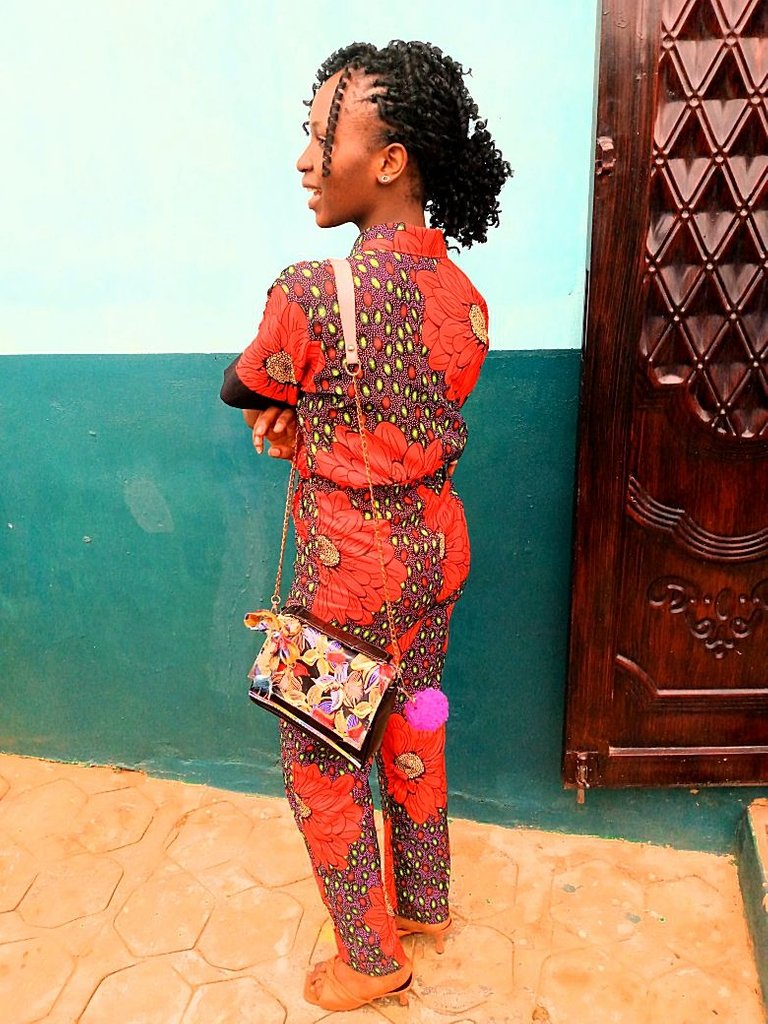
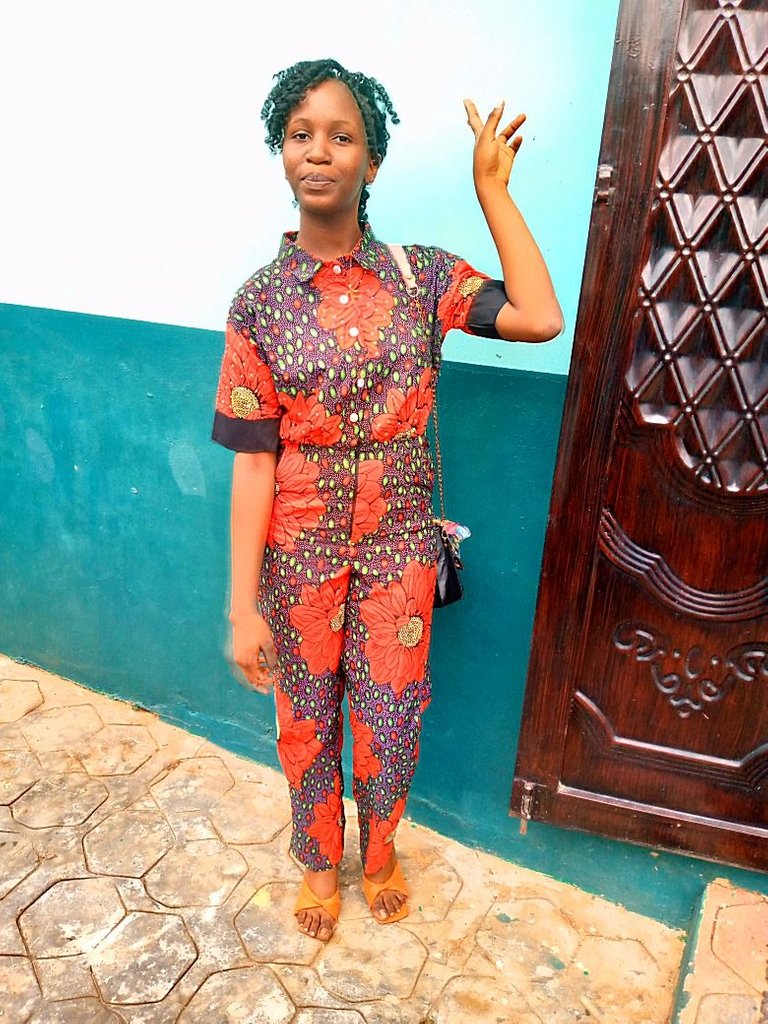
See how beautiful and elegant she looks. Would you rock this jumpsuit? Hope you found this DIY process easy to follow, if you need more clarification, I will be more than happy to explain further.
Please note, all images used in this post are mine.
The jumpsuit looks really good and nicely made.
Thank you very much🤗
At one time in my life I wore these overalls, here we call them panties because they are together in one piece the pants and the jumper. I am a fan of these prints. I hope to get some fabrics soon 😊 because I want day to day robes. Cheers.
Oh really, that's another interesting name, I hope you can get these type of prints around you, they are very beautiful.
I appreciate you stopping by.🤗
Wow this over all is so beautiful, i love the way you break down your step it make it easy for me to understand. Keep it up to good work