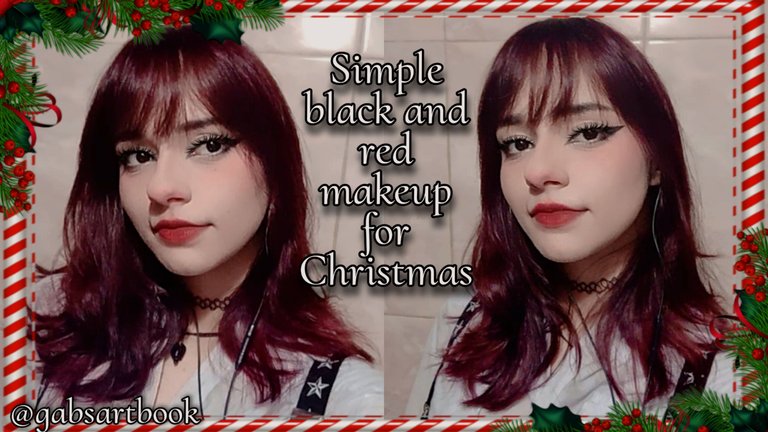
Maquillaje sencillo negro con rojo para Navidad | Simple black and red makeup for Christmas [ESP-ENG]

Hola a todos en la bonita comunidad de #Makeuppower ! Antes de comenzar el paso a paso del maquillaje quiero desearles una feliz navidad y espero que la hayan pasado increíble con los que más quieren, llegó diciembre y se pasó volando y aunque estuve bastante ocupada por un tiempo decidí volver a hacerme un maquillaje para el 24 de diciembre, no quería nada muy cargado pero si quería que llevará mi color favorito y el de la época, el rojo. Así que sin mas que decirles, espero que les guste tanto como a mi y los invito a leerme ❤️🎄✨
Hello to everyone in the beautiful community of #Makeuppower ! Before I start the makeup step by step I want to wish you all a Merry Christmas and I hope you had an amazing time with the ones you love the most, December came and it flew by and although I was quite busy for a while I decided to go back to do my makeup for December 24, I didn't want anything too heavy but I did want it to wear my favorite color and the color of the season, red. So without more to tell you, I hope you like it as much as I do and I invite you to read me ❤️🎄✨

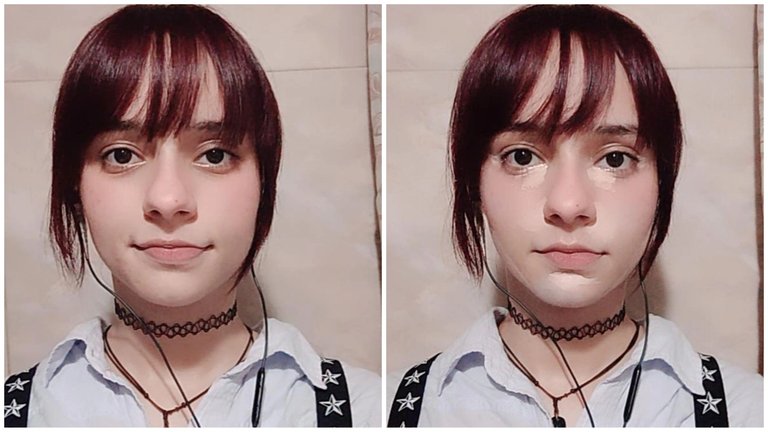
Para comenzar a realizarme el maquillaje lo que hice fue lavar mi rostro y aplicar un primer por toda la zona de mi nariz debajo de mis ojos, en el puente de mi nariz, entre mis cejas y en mi mentón para tapar cualquier poro de mi piel y que ésta al agregar la base quedará completamente lisa. Luego comencé a usar el corrector de ojeras y de manchas, para las manchas de acné use un corrector en tono verde y para agregar luz en mi rostro use uno más claro al tono de la base de mi maquillaje.
To begin to apply my makeup I washed my face and applied a primer all over my nose, under my eyes, on the bridge of my nose, between my eyebrows and on my chin to cover any pores in my skin so that when I added the foundation it would be completely smooth. Then I started to use the concealer for dark circles and blemishes, for the acne blemishes I used a green tone concealer and to add light to my face I used a lighter shade to the tone of my foundation.
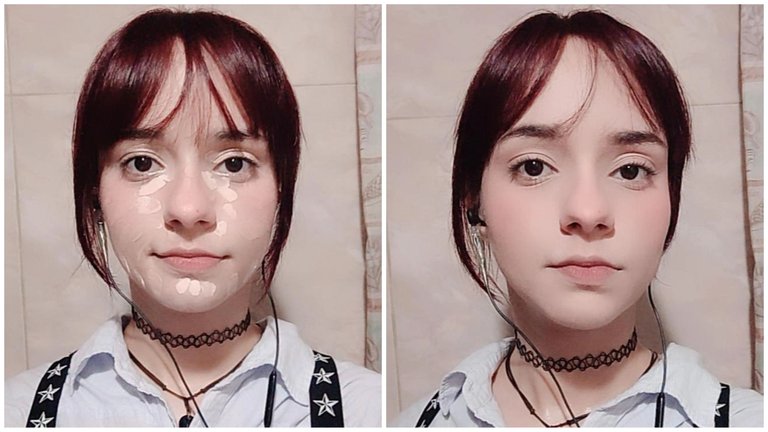
Continue dejando secar el corrector para que se viera mejor el efecto y luego lo difumine con una esponja de maquillaje. Al tener bien difuminado todo el corrector comencé a usar la base, en este maquillaje use dos tipos de base, una más clara a mi tono de piel y otra que es casi del mismo tono de mi piel, el objetivo de la base más clara es dar iluminación en zonas centrales como a los lados de mi nariz y en el mentón. Agregué éstas bases en puntos para que fuera más fácil el difuminar y para no agregar demasiada base, luego comencé a difuminarla y al terminar use un poco de polvo compacto en las zonas de las ojeras, mi nariz, mentón y para definir mi rostro, luego con una brocha use muy poco polvo para sellar las demás partes de mi rostro.
I continued to let the concealer dry so that the effect could be seen better and then I blended it with a makeup sponge. Once the concealer was well blended I started to use the foundation, in this makeup I used two types of foundation, one lighter to my skin tone and another one that is almost the same tone of my skin, the purpose of the lighter foundation is to give illumination in central areas such as the sides of my nose and chin. I added these foundations in points to make it easier to blend and not to add too much foundation, then I started to blend it and when I finished I used a little bit of pressed powder in the areas of the dark circles, my nose, chin and to define my face, then with a brush I used very little powder to seal the other parts of my face.
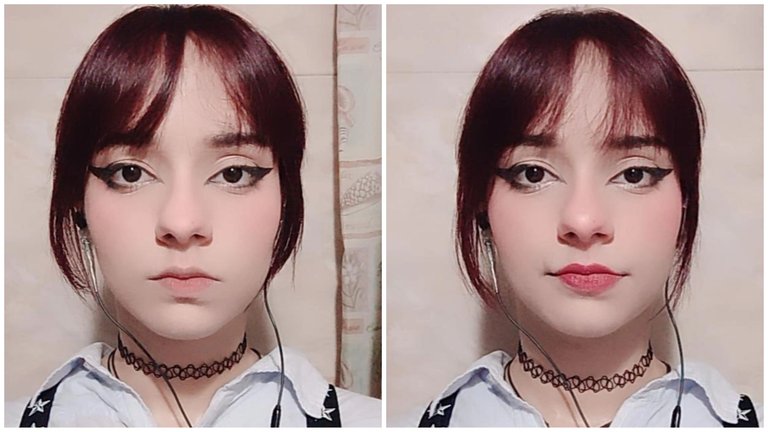
Al tener lista toda la preparación de la piel comencé a delinear mis ojos con un delineador negro en lápiz, para hacer que el color negro fuera más oscuro y tuviera más duración agregué con una brocha pequeña de maquillaje un poco de sombra negra. En la parte inferior de mis ojos al final de estos hice un poco de sombreado con la misma sombra para darle a mis ojos una forma más de almendra y también para ayudar a que ésta forma quedará mejor hice unos picos en el inicio de mis ojos para alargarlos más. Ya satisfecha con el delineado comencé a agregar un tono rosa de rubor en la parte superior de mis mejillas y lo fui difuminando hacía arriba, para terminar pinte mis labios con un labial en barra de tono rojo cereza.
Once I had all the skin preparation ready I started to line my eyes with a black pencil eyeliner, to make the black color darker and longer lasting I added with a small makeup brush a little bit of black shadow. At the bottom of my eyes at the end of my eyes I did some shading with the same shadow to give my eyes a more almond shape and also to help this shape look better I made some peaks at the beginning of my eyes to make them longer. Once I was satisfied with the eyeliner I started to add a pink blush on the upper part of my cheeks and I blended it upwards, to finish I painted my lips with a cherry red lipstick.


Este es el resultado del maquillaje, agregué unos detallitos para terminarlo y darle un poco de brillo, con una paleta de iluminadores agregué iluminador en el puente de mi nariz y en el inicio de mis ojos. No quería hacerme nada cargado porque ando un poco enferma entonces quise hacerme un maquillaje bastante fácil y rápido y me gustó mucho el resultado, pase un lindo 24 de diciembre a pesar de tener gripe, estuve con mi familia y pudimos ver algunos fuegos artificiales y algunas películas además de comer algunas de las comidas típicas de navidad, pase luego la noche viendo otras películas junto a mi gata. Espero les haya gustado el proceso de este maquillaje el cual fue bastante fácil de hacer, también espero que hayan pasado un lindo día de navidad y que hayan estado con los que más quieren viendo como llegaba la Navidad. Gracias por llegar hasta aquí y por leerme, nos vemos pronto ❤️🎄✨
This is the result of the makeup, I added some details to finish it and give it a little shine, with a highlighter palette I added highlighter on the bridge of my nose and at the beginning of my eyes. I didn't want to do anything heavy because I'm a little sick so I wanted to do a pretty easy and quick makeup and I really liked the result, I had a nice December 24th despite having the flu, I was with my family and we could see some fireworks and some movies and also eat some of the typical Christmas food, then I spent the night watching other movies with my cat. I hope you liked the process of this makeover which was quite easy to do, I also hope you had a nice Christmas day and that you were with the ones you love the most watching how Christmas was coming. Thanks for making it this far and for reading me, see you soon ❤️🎄✨

Realicé la traducción en:
https://www.deepl.com/es/translator
Todas las imágenes son de mi autoría. | All the photos are my property.
Imágenes editadas con PicsArt y Polarr. | Images edited by PicsArt and Polarr.

Hola , con maquillaje y sin maquillaje se ve bonita, el maquillaje les ayuda a por supuesto.
!LOL
Posted using Hive Images
lolztoken.com
He doesn’t want to be spotted.
Credit: reddit
@gabsartbook, I sent you an $LOLZ on behalf of hivephoto
(2/10)
NEW: Join LOLZ's Daily Earn and Burn Contest and win $LOLZ
Me topé con esta publicación y viendo la primera imagen del paso a paso, me hice la idea de que sin maquillaje (con la cara lavada) se me hizo parecida o me recordara kobeni de chainsaw man (Una serie anime) aunque puede que a otro personaje femenino de algún otro anime pero por ahora esa es la que se me vino a la mente. 😅
Que se mejore de la enfermedad y feliz navidad. 🎄
Jajaja pues gracias, no he visto el anime pero si conozco a ese personaje y si me encuentro un parecido. Gracias por pasar y leerme y feliz navidad para ti también ^^ ❤️🎄
This is a very beautiful makeup look! I think you look really cute with or without makeup but I like what you did for Christmas with the black and red colors, great work! :)
Thank you very much! ❤️🎄