Diy: Portal lápices con materiales reciclables//DIY: Pencil holder with recyclable materials
Hola corazones 💕
Hello hearts 💕
Hoy quiero compartir con ustedes una linda manualidad hecha con materiales reciclables. Usé una botella de refresco, cartón de un libro viejo y una cajita de juguete para crear este hermoso porta lápices. Les muestro el paso a paso con imágenes para que vean cómo lo logré y se animen a hacerlo también.
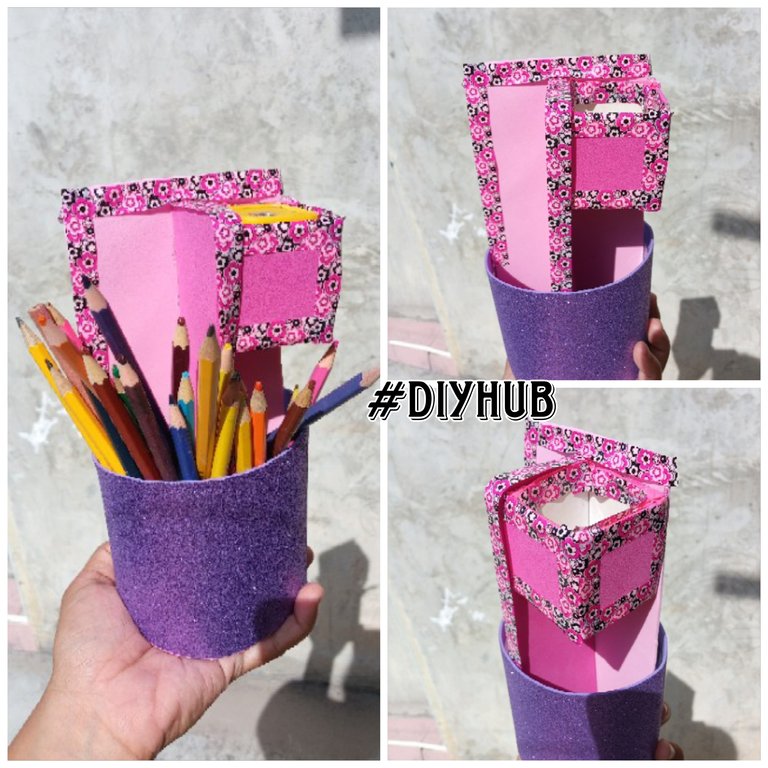
Today I want to share with you a lovely craft made with recycled materials. I used a soda bottle, cardboard from an old book, and a toy box to create this beautiful pencil holder. I'll show you the step-by-step instructions with pictures so you can see how I made it and be inspired to try it too.
Materiales que utilicé:
- Foami de colores (el que más les guste)
- Caja pequeña
- Cartón resistente
- Silicón, pega y tijeras
- Cinta decorativa
Materials I used:
- Colored foam (whichever you like best)
- Small box
- Sturdy cardboard
- Silicone, glue, and scissors
- Decorative tape
Paso a paso:
Step by step:
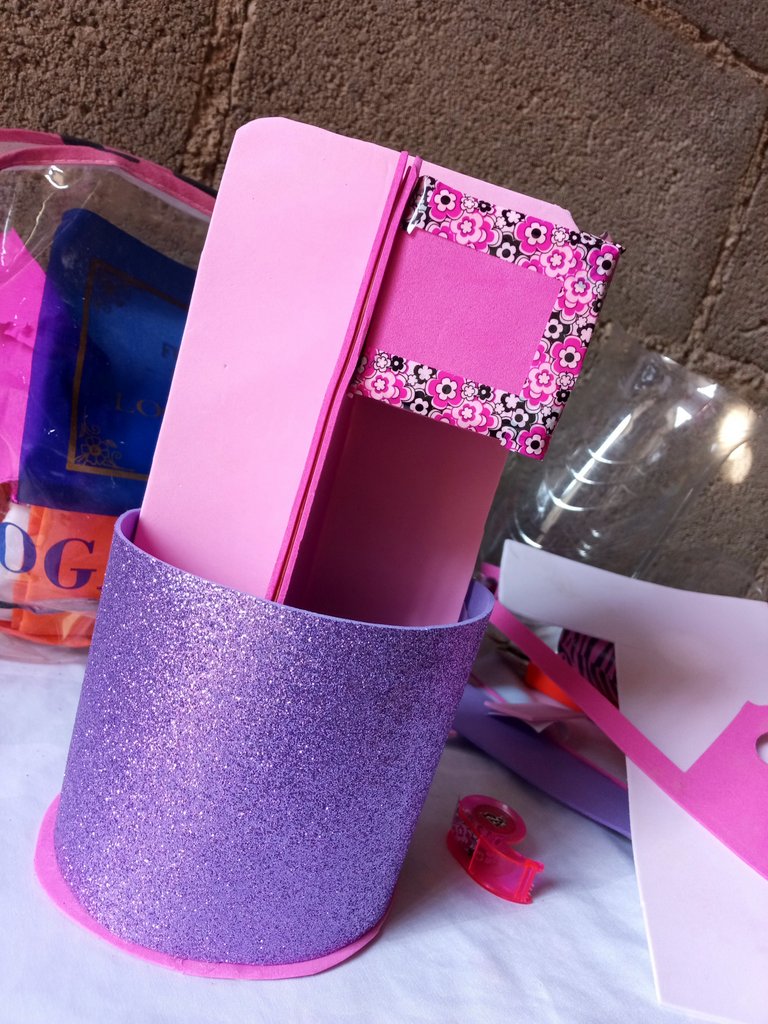
- Recorté la botella a la medida deseada, como pueden ver en las imágenes. Esta será la base principal del porta lápices.
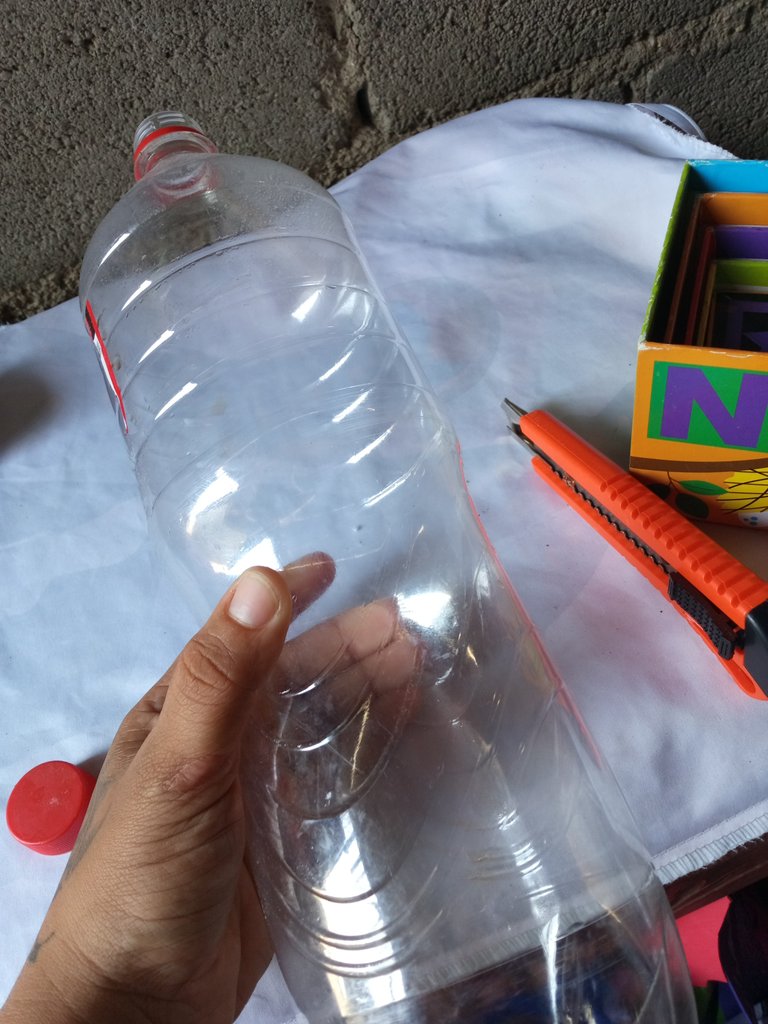
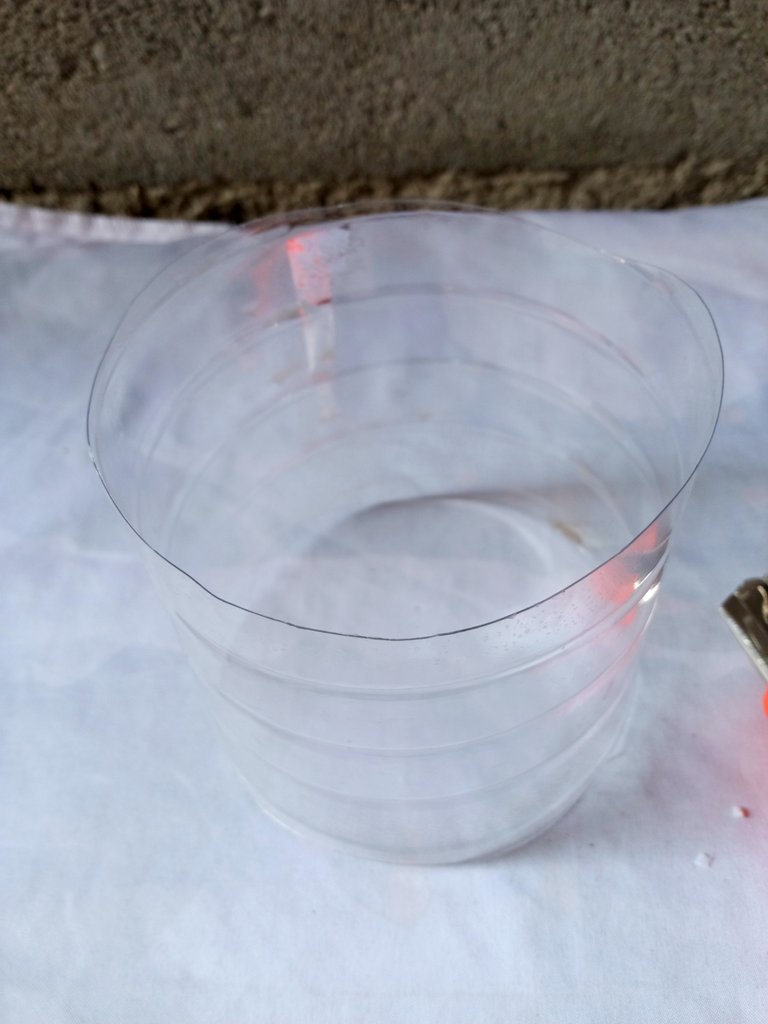

I cut the bottle to the desired size, as you can see in the pictures. This will be the main base of the pencil holder.
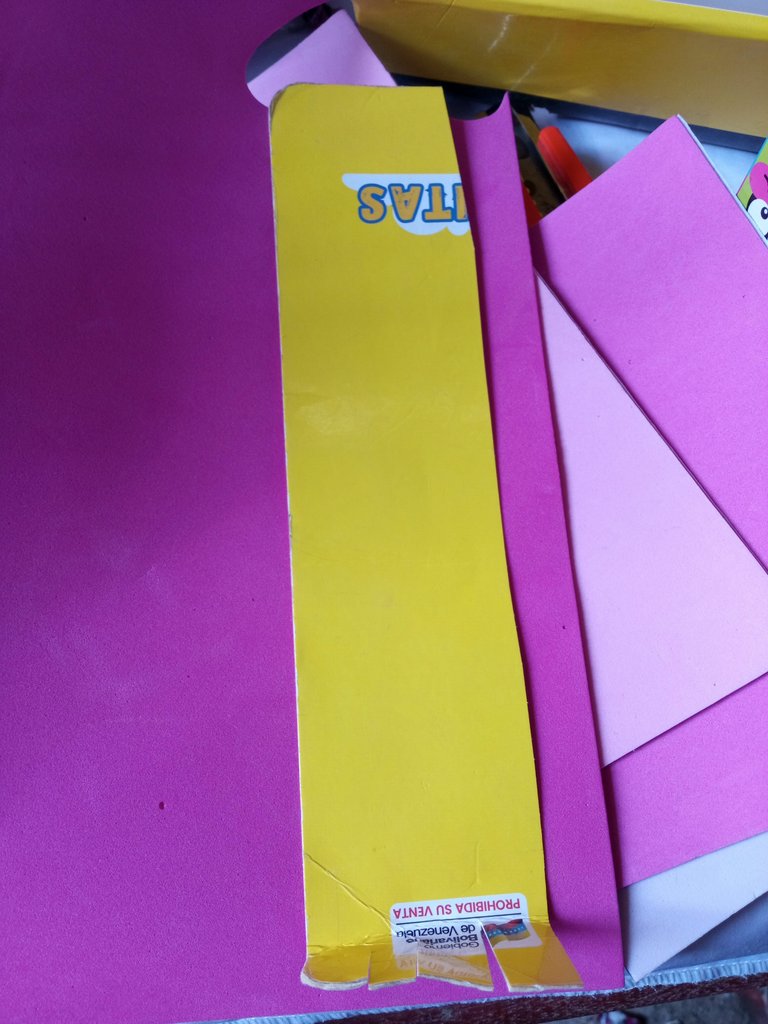
- Medí y pegué el foami alrededor de la botella. Me faltó un trozo, pero lo completé con un retazo que tenía a mano y usé cinta decorativa para cubrir las imperfecciones. ¡Todo tiene solución con un poco de creatividad!
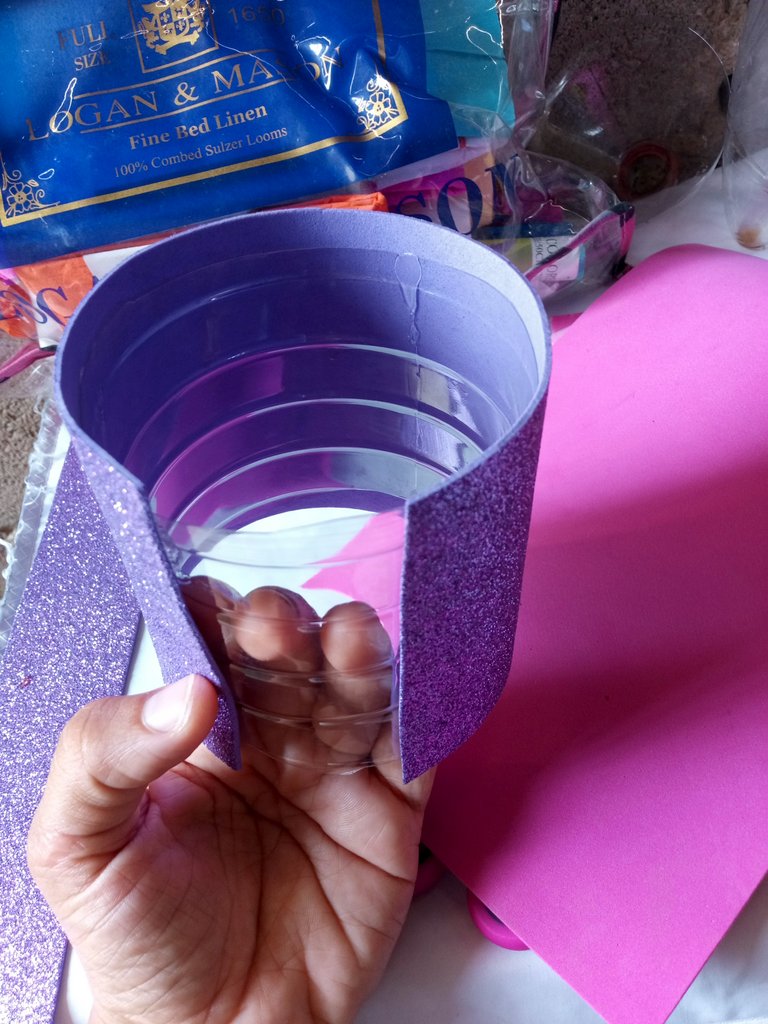
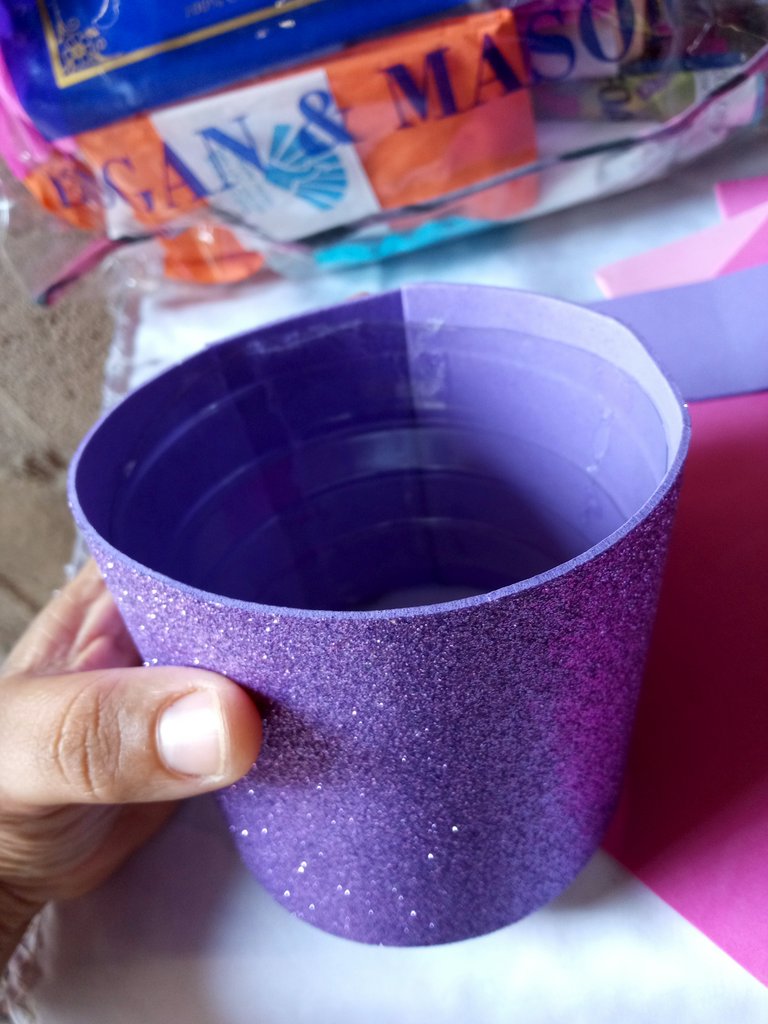
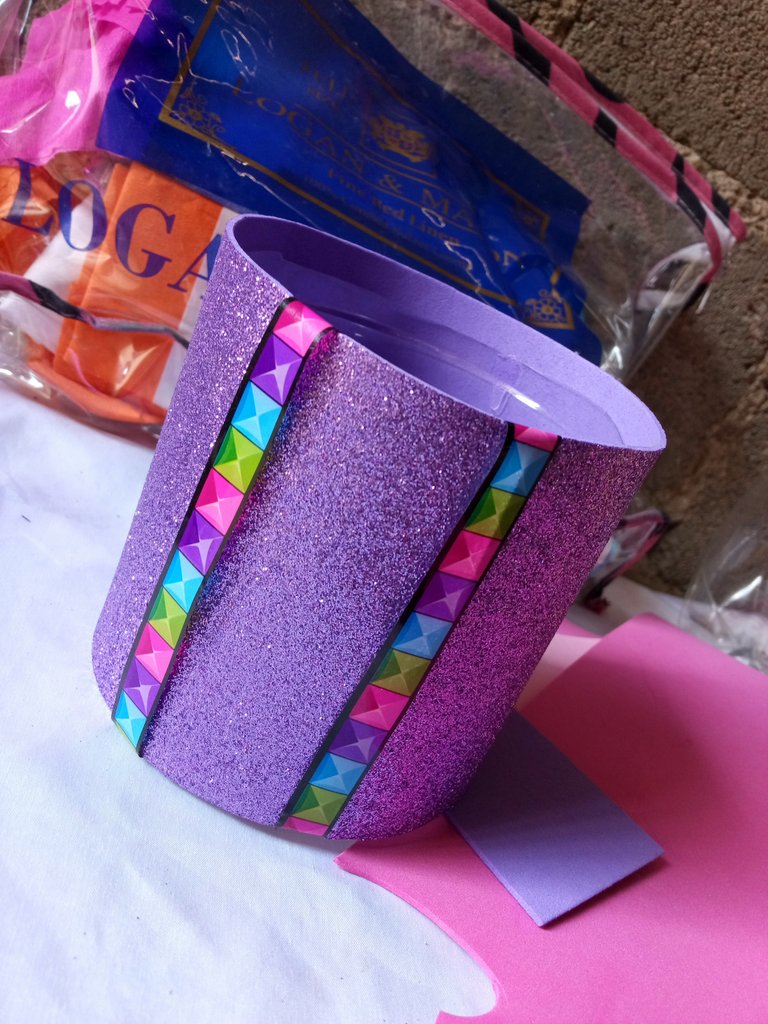
I measured and glued the foam around the bottle. I was missing a piece, but I filled it in with a scrap I had on hand and used decorative tape to cover the imperfections. Everything can be solved with a little creativity!
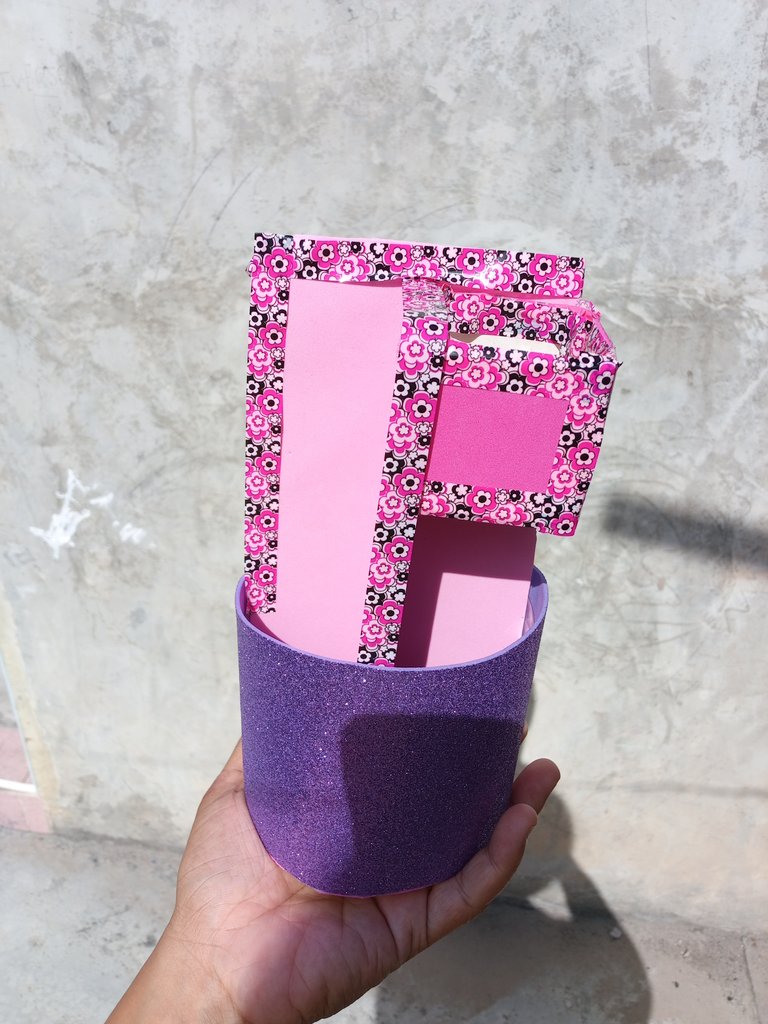
- Con el cartón del cuaderno, recorté dos piezas: una más larga y otra más corta. Coloqué la más pequeña en el centro para crear una división interna (espero explicarme bien 🤗).
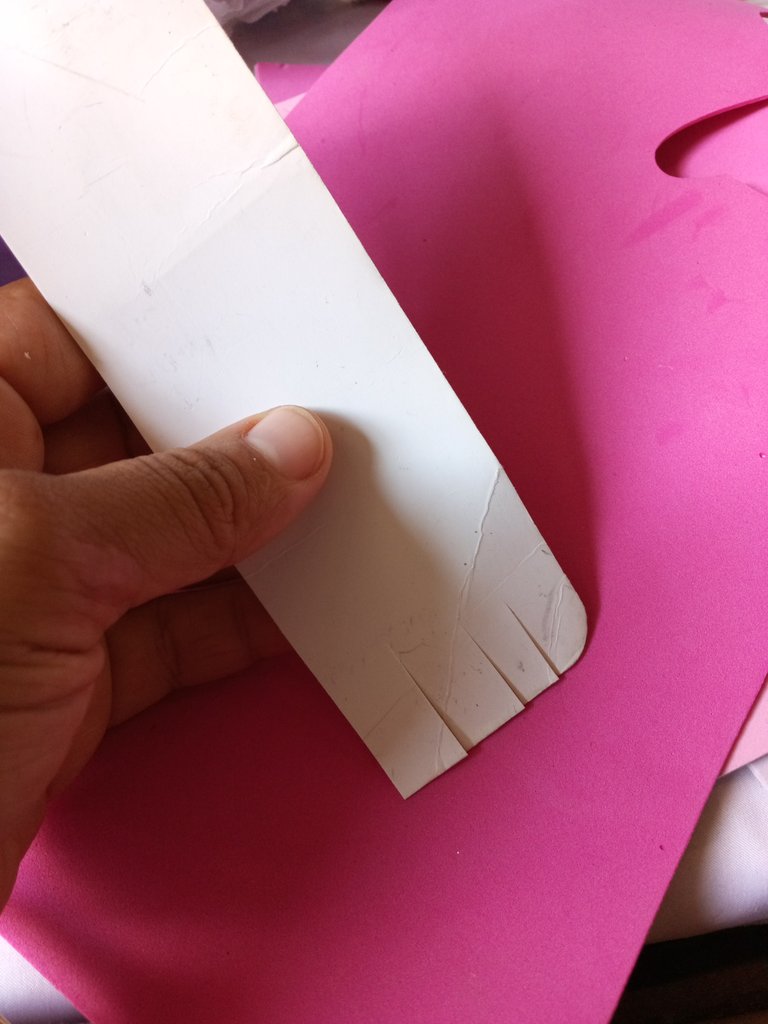
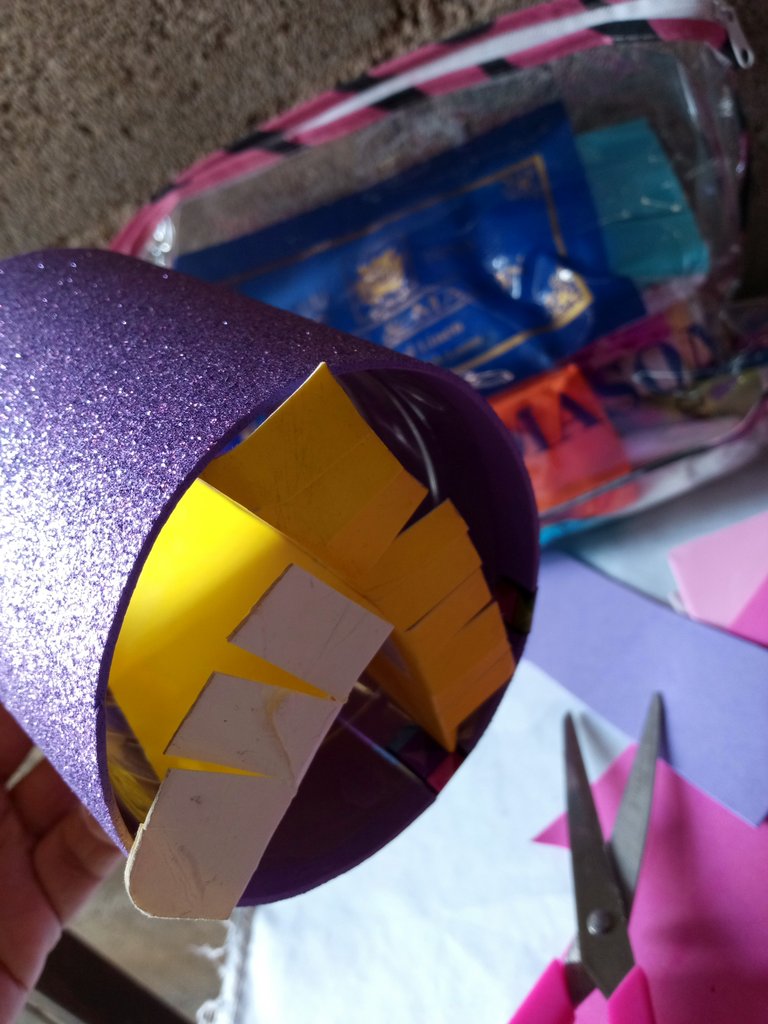
Using the cardboard from the notebook, I cut out two pieces: one longer and one shorter. I placed the smaller one in the center to create an internal divider (I hope I explained myself well 🤗).
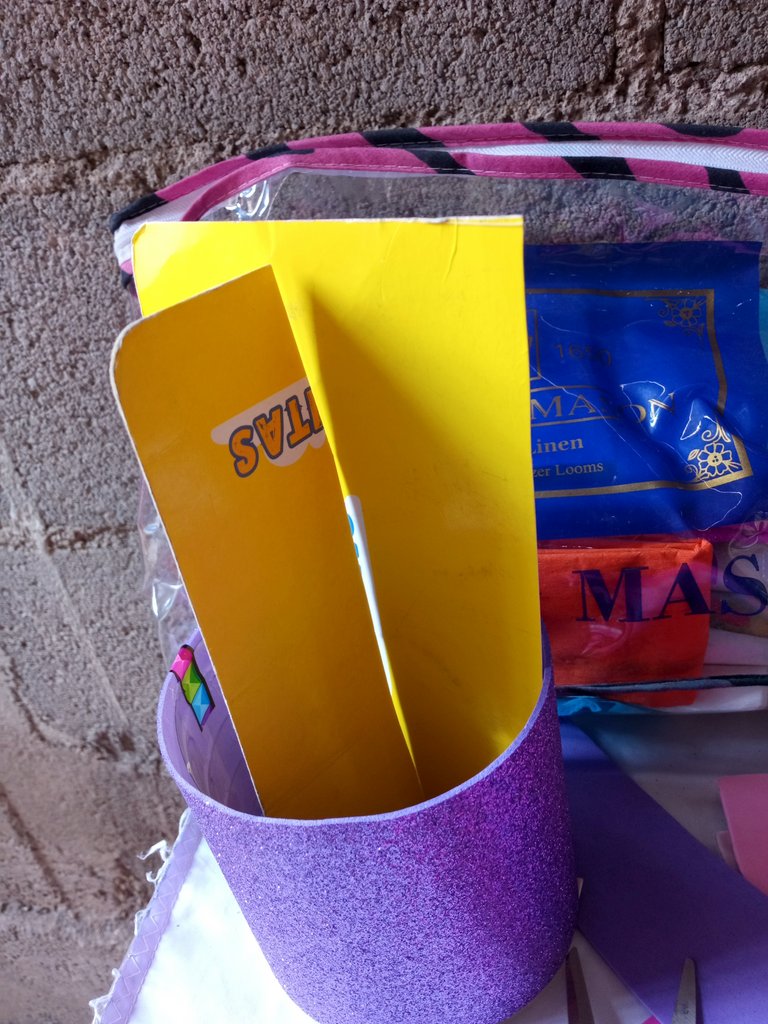
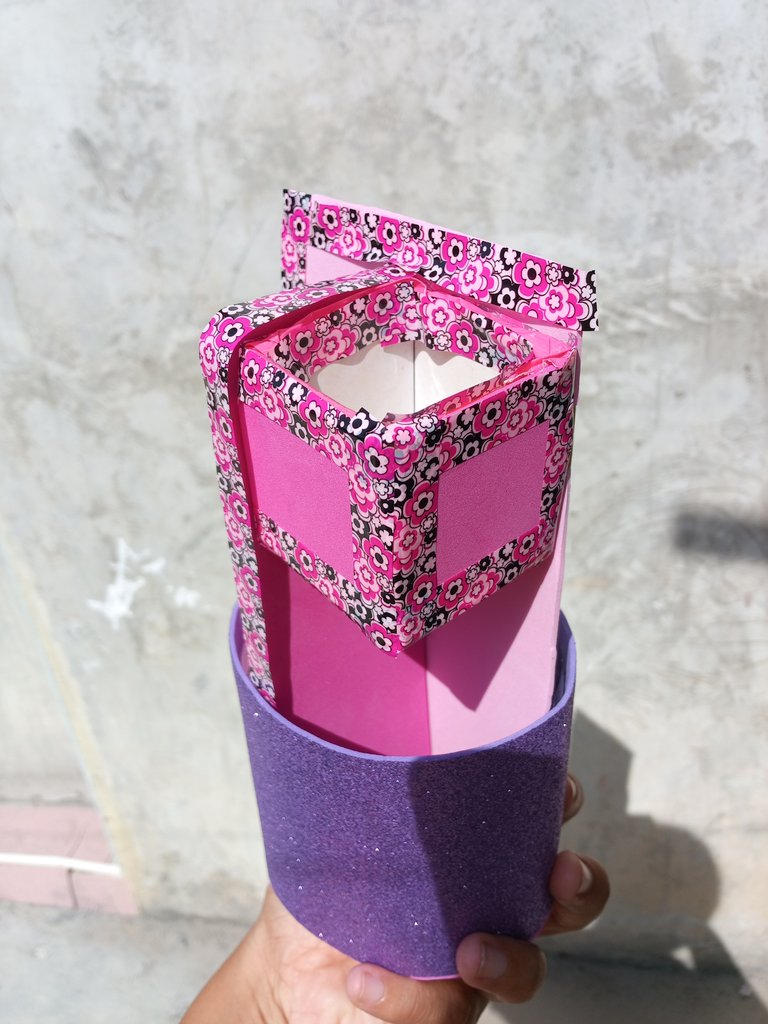
- La cajita la pegué a un lado para formar un compartimiento adicional. También la decoré con foami y cinta para que combinara con el resto del diseño.
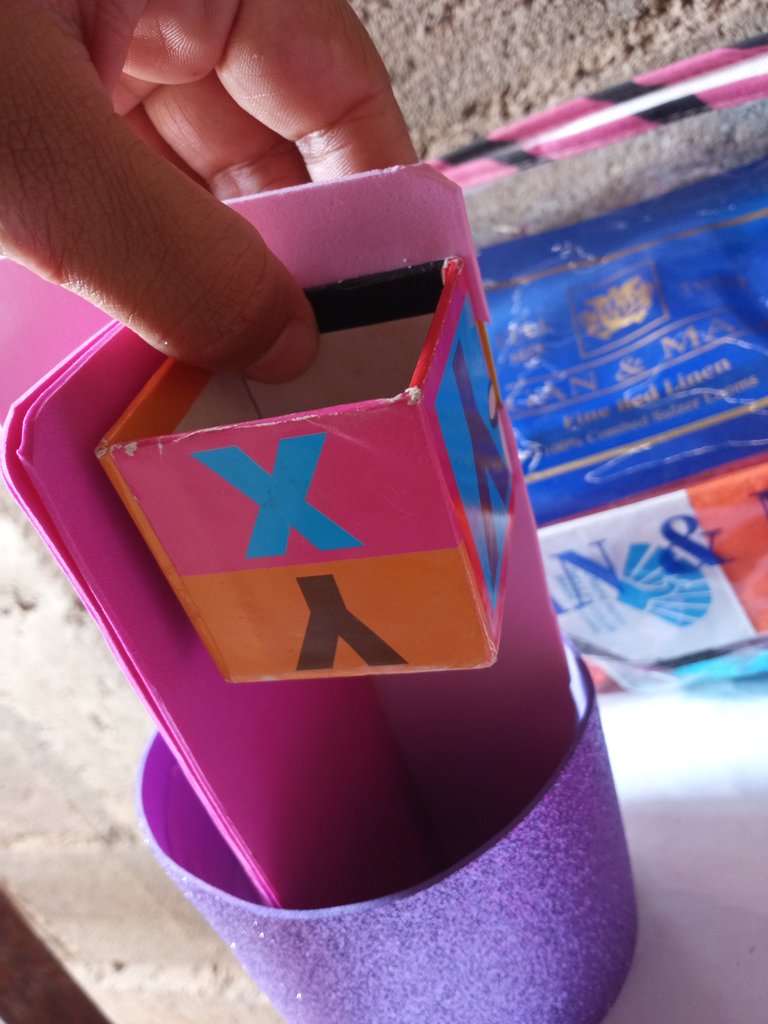
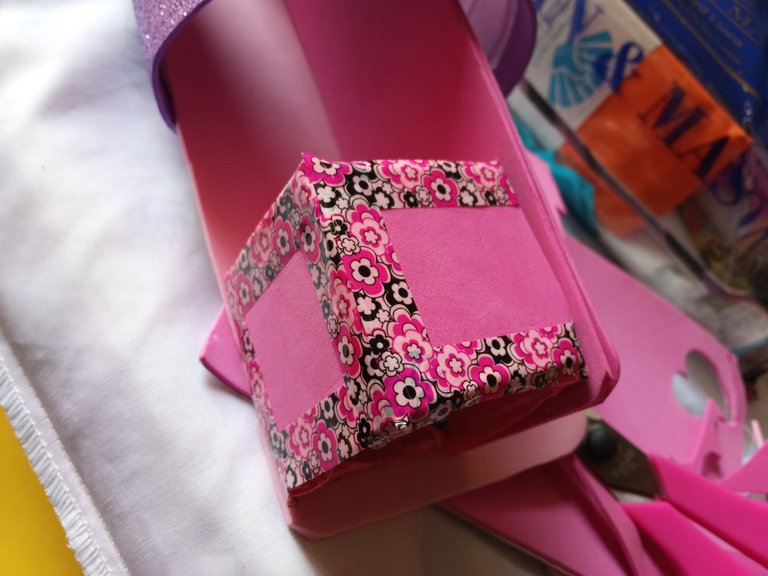
I glued the box to one side to create an additional compartment. I also decorated it with foam and ribbon to match the rest of the design.
- Finalmente, hice una base para darle más soporte y estabilidad. ¡Y listo!

Finally, I made a base to give it more support and stability. And that's it!
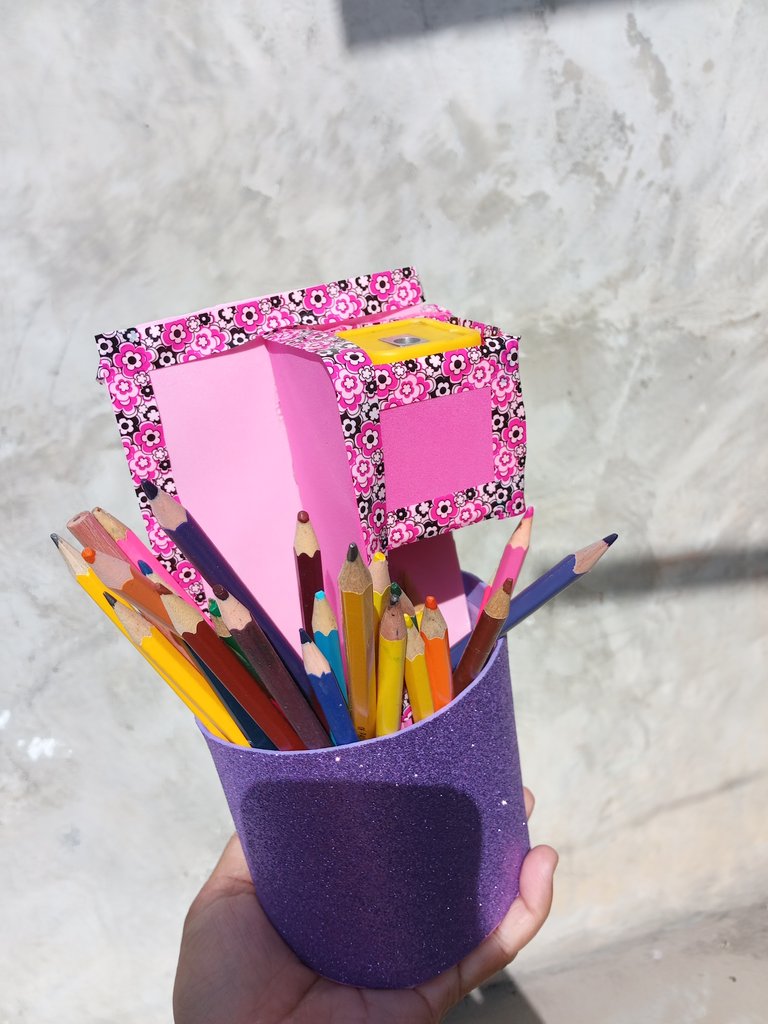
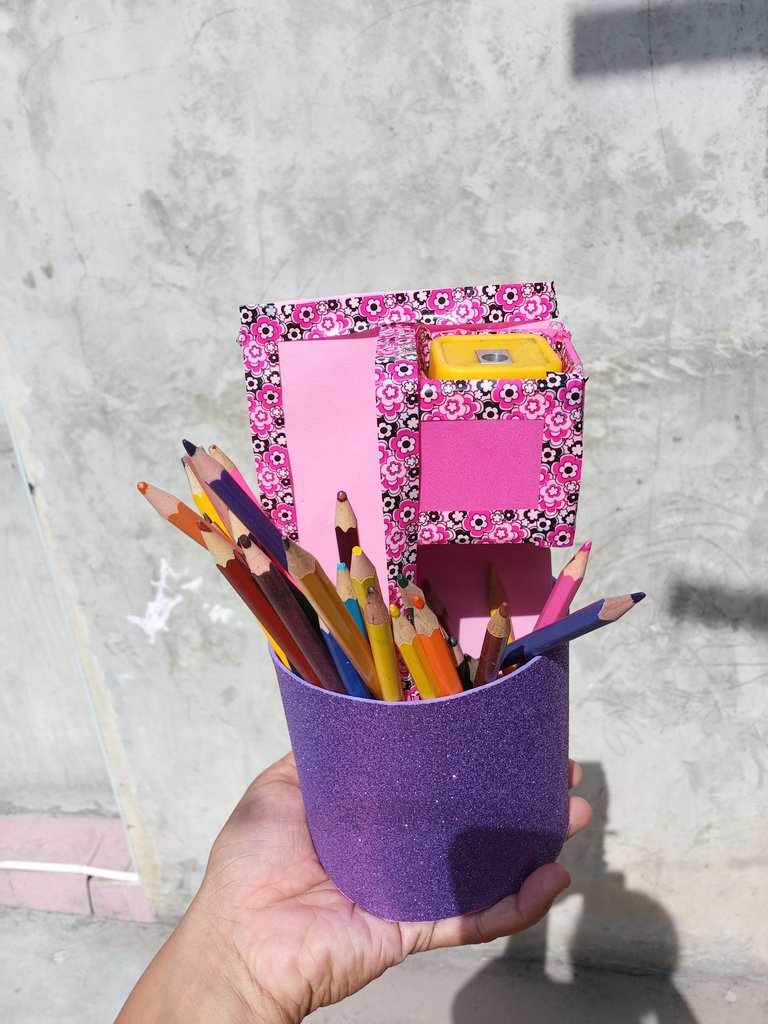
Aquí les muestro cómo quedó mi porta lápices: funcional, colorido y hecho con mucho amor ❤️
Here's how my pencil holder turned out: functional, colorful, and made with lots of love ❤️
Gracias por su apoyo siempre.
Thank you for your continued support.
Nice and creative work 💕
!discovery 30
This post was shared and voted inside the discord by the curators team of discovery-it
Join our Community and follow our Curation Trail
Discovery-it is also a Witness, vote for us here
Delegate to us for passive income. Check our 80% fee-back Program
The idea is very creative, excellent for taking advantage of the materials we have at home and making something that we will use a lot.Thank you for posting in our community.
selected by @dayadam
muy creativo, excelente te quedo
very creative, excellent look on you