🦷✨ DIY: Cajita dental decorativa — recicla con estilo y alegra tu baño//DIY: Decorative dental box — recycle in style and brighten up your bathroom[ESP-ENG]
¿Tienes cajitas guardadas que solo acumulan polvo? ¡Es momento de darles una nueva vida! En este tutorial te muestro cómo transformar una caja olvidada en un organizador adorable para cepillos dentales. Es una forma práctica de reciclar, decorar tu hogar y añadir un toque de ternura a tu rutina diaria.
Do you have boxes sitting around collecting dust? It's time to give them a new lease on life! In this tutorial, I show you how to transform a forgotten box into an adorable toothbrush organizer. It's a practical way to recycle, decorate your home, and add a touch of cuteness to your daily routine
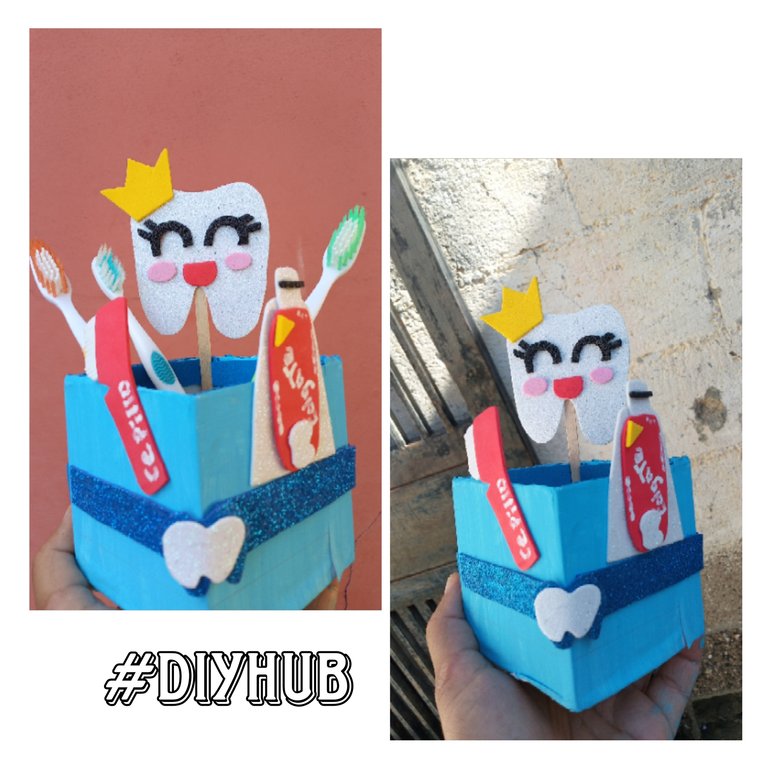
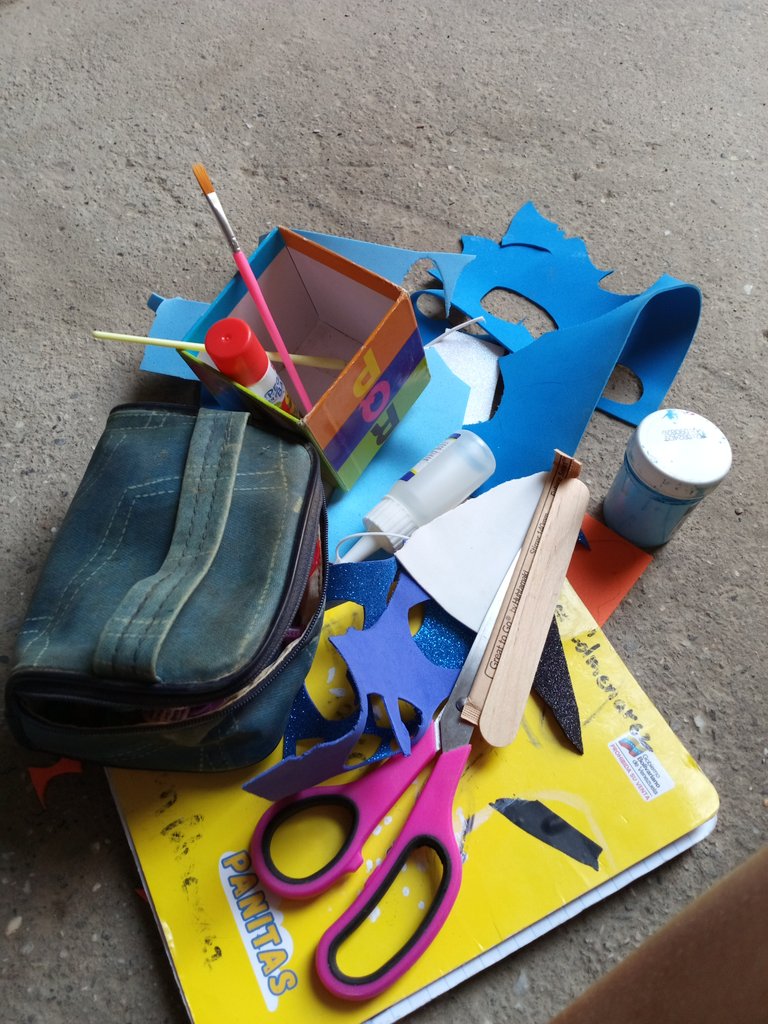
🛠️ Materiales que utilicé:
- Foami en colores: azul, blanco, rosado, amarillo, negro y rojo
- Pega en barra
- Paleta fina
- Pintura al frío azul
Materials I used:
- Foam in the following colors: blue, white, pink, yellow, black, and red
- Glue stick
- Fine-grain palette knife
- Blue cold-pressed paint
🎨 Paso a paso:
Step by step:
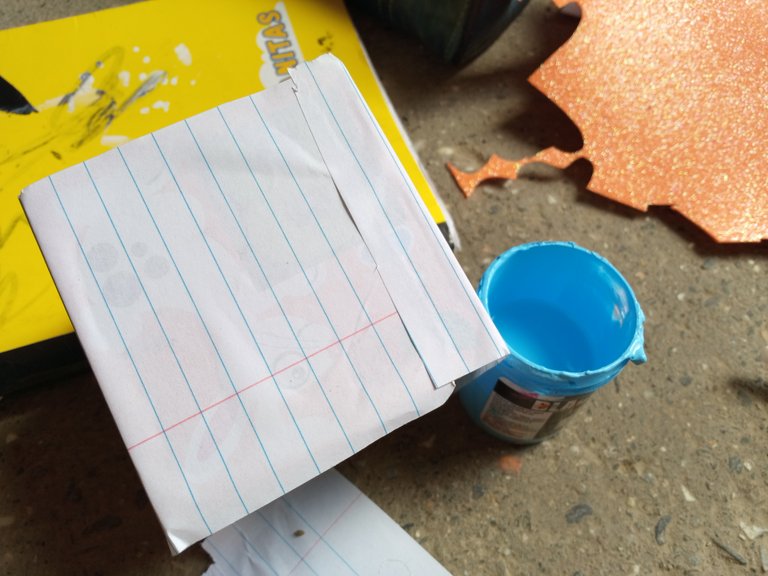
- Preparar la base
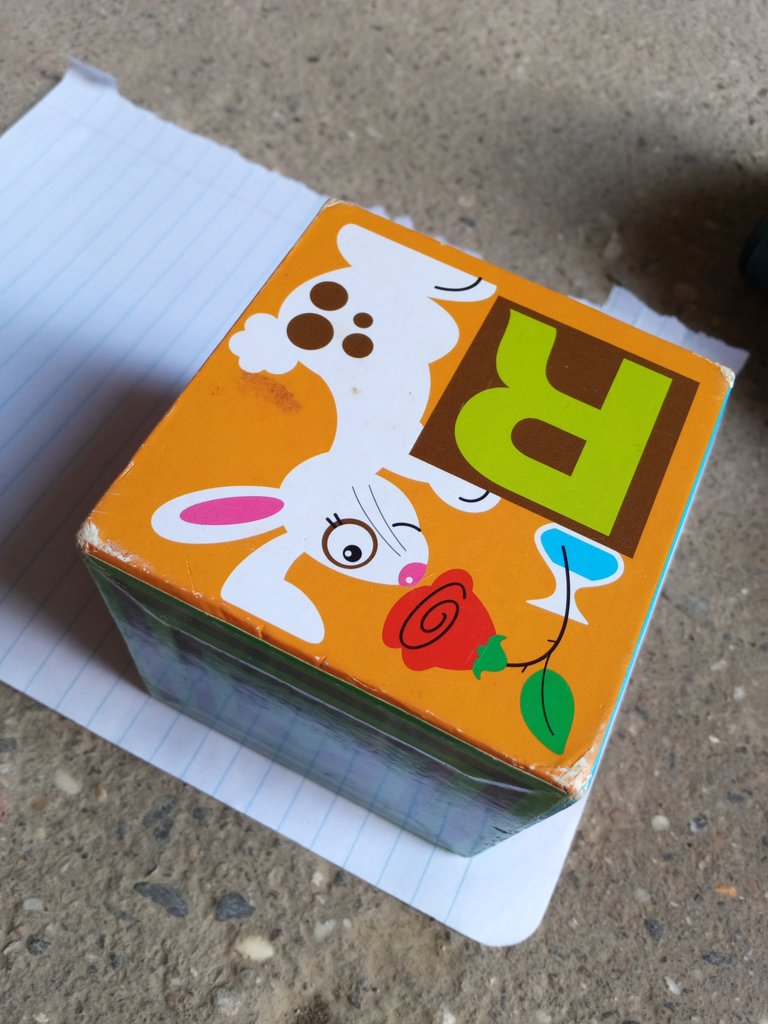
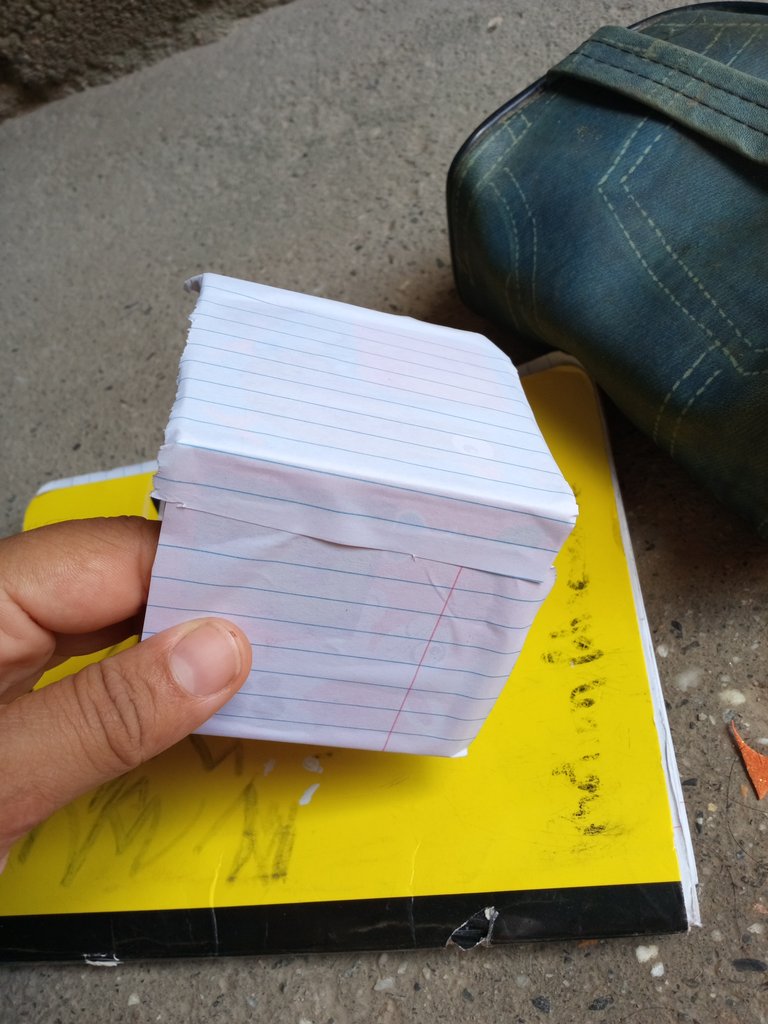
Comencé pegando trozos de papel sobre la caja. Esto ayuda a que la pintura agarre mejor y tenga una tonalidad más uniforme. ¡Un truco sencillo que marca la diferencia!
Prepare the base
I started by gluing pieces of paper onto the box. This helps the paint adhere better and give a more even tone. A simple trick that makes all the difference!
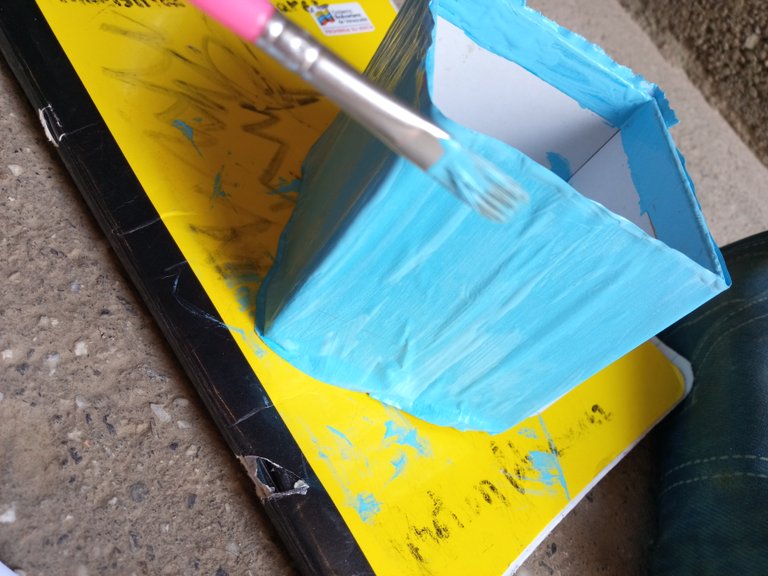
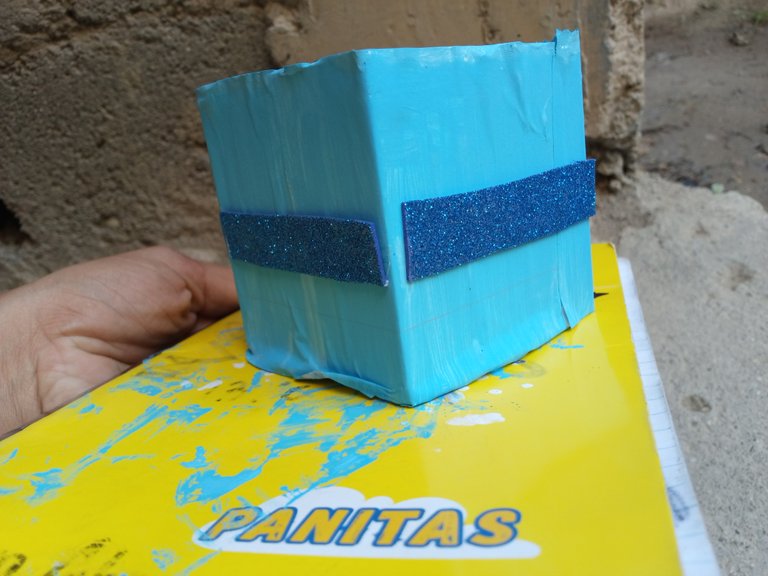
- Pintar y dar forma
Luego pinté la caja con pintura al frío azul y añadí tiras de foami azul en el centro. En este punto, la cajita aún no tenía mucha vida.
Painting and Shaping
Then I painted the box with cool blue paint and added strips of blue foam in the center. At this point, the box still didn't have much life left.
- Crear los personajes dentales
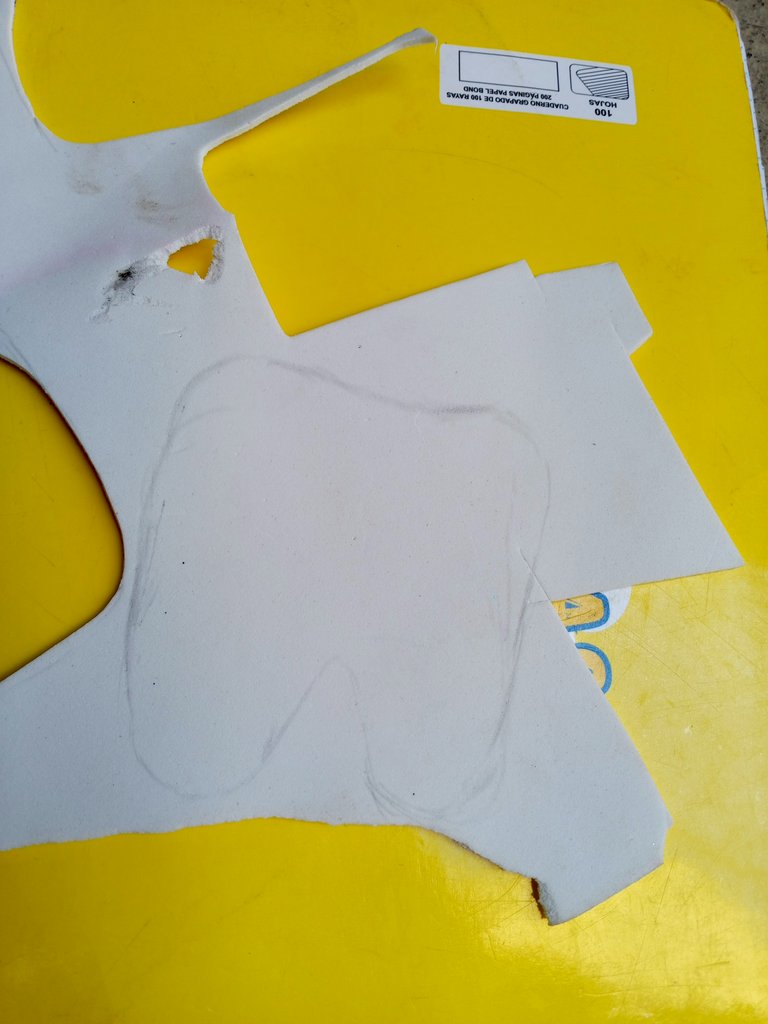
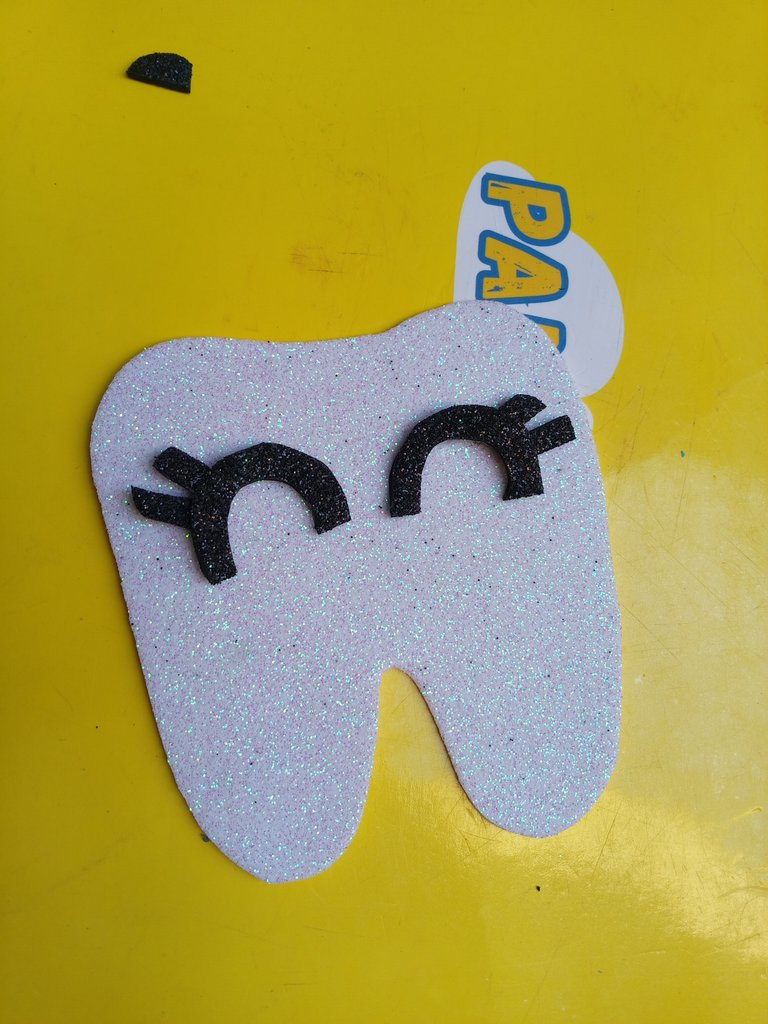
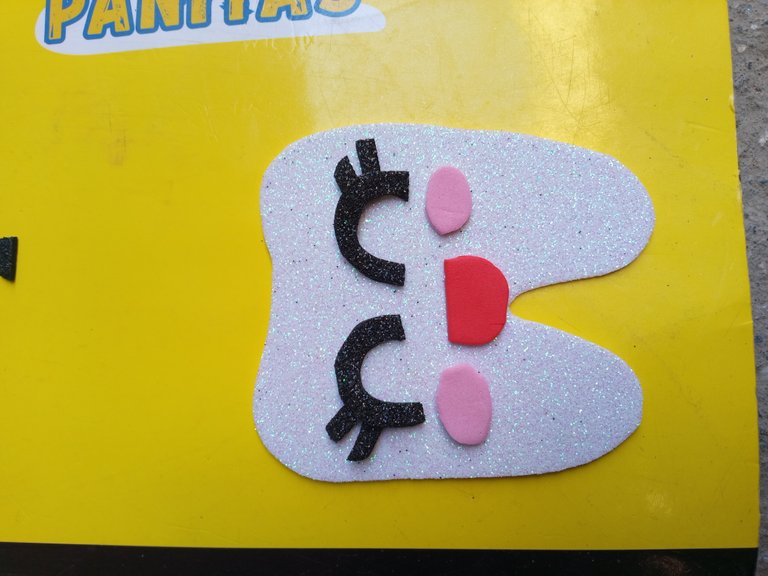
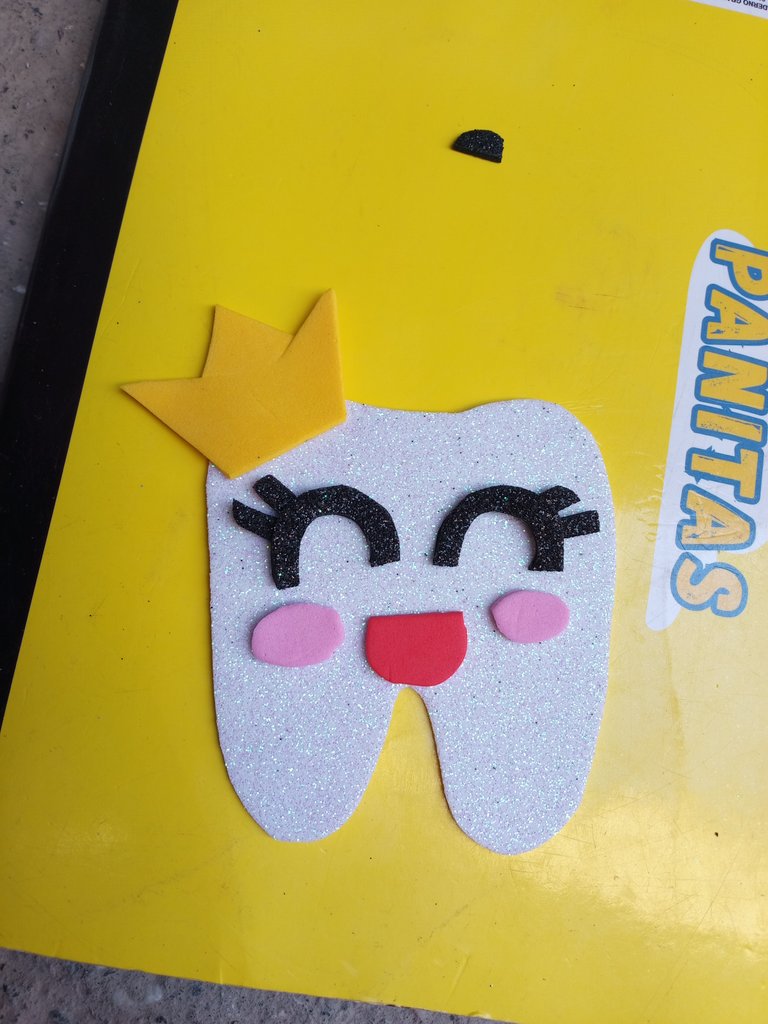
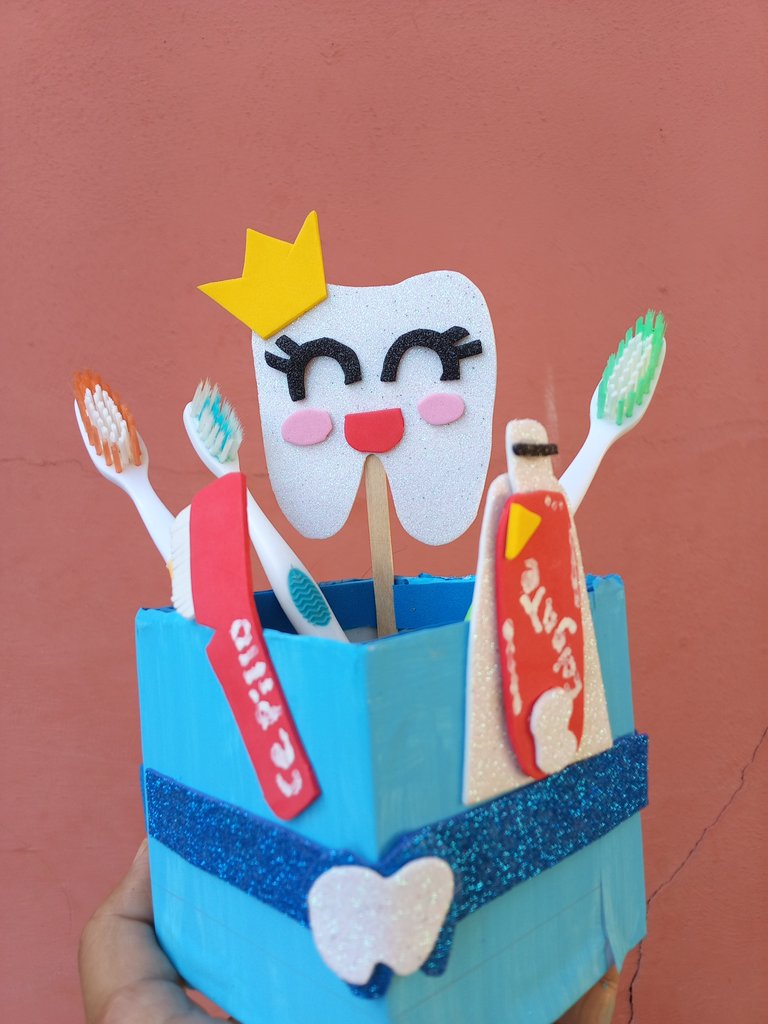
La decoración principal incluye una muelita sonriente, un cepillo de dientes y una pasta dental.- Para la muela, dibujé la figura en foami blanco y la recorté. Le añadí ojitos con foami negro, cachetitos rosados y una boquita roja. Como toque especial, le hice una coronita amarilla.
- El cepillo de dientes lo hice con una tira de foami y un pedacito blanco recortado en forma de cerdas.
- La pasta dental lleva su etiqueta y forma sencilla, ¡pero no puede faltar en esta escena!
Creating the Dental Characters
The main decorations include a smiling molar, a toothbrush, and toothpaste.
- For the molar, I drew the shape on white foam and cut it out. I added eyes with black foam, pink cheeks, and a red mouth. As a special touch, I made a yellow crown.
- I made the toothbrush with a strip of foam and a small white piece cut into bristles.
- The toothpaste has its label and simple shape, but it can't be missing from this scene!
- Dar altura y protagonismo
Usé una paleta fina para pegar la muelita en una posición más alta que los demás elementos. Así resalta y se convierte en el personaje principal de esta decoración.
Add height and prominence
I used a thin trowel to glue the small wheel higher than the other elements. This way, it stands out and becomes the main feature of this decoration.
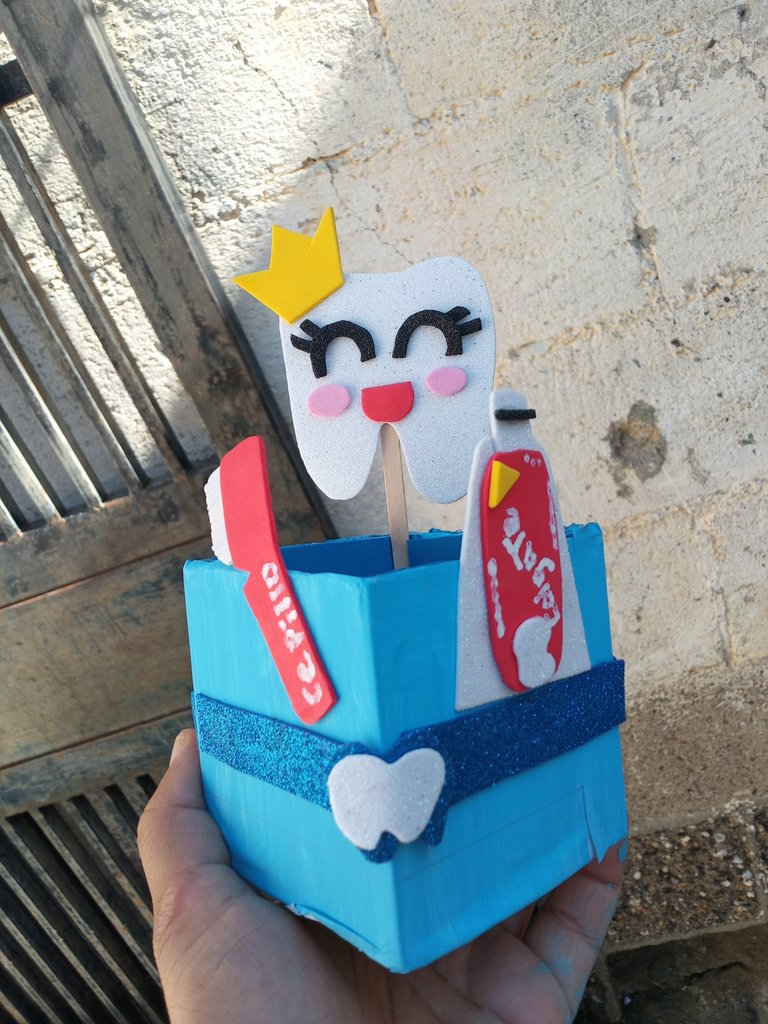
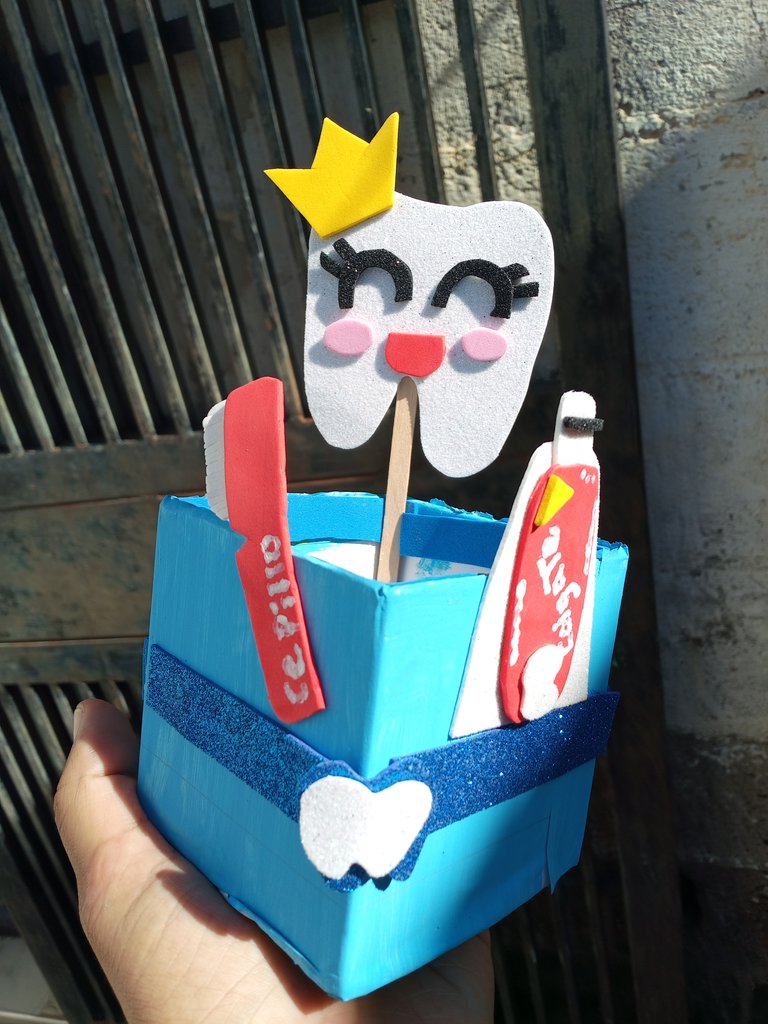
Y listo 💙. Una idea fácil, divertida y funcional para decorar tu baño, enseñar a los peques sobre higiene dental o simplemente alegrarte cada vez que veas tu creación.
And that's it 💙. An easy, fun, and functional idea to decorate your bathroom, teach your little ones about dental hygiene, or simply cheer you up every time you see your creation.
Ohhh yes you recycled in style and the result is breathtaking, bravo! Thank you so much for sharing this decorative dental box with us.
selected by @ibbtammy