[ESP-ENG] Contest: Spring Flowers - My Beautiful Petunia| Concurso: Flores de Primavera - Mi Hermosa Petunia
Hello friends of hive, what a privilege to participate in the contest so brilliant that you are promoting in this special community, really when I read about the contest I was very motivated because flowers are something wonderful created by God, and there is so much diversity of flowers, of all colors, so many forms, and it is rewarding to see how each person makes an effort to share each flower they have made, I am proud to be able to share with all of you my flower, I made it in felt and red, it is the petunia, known by many people, I wanted to make it and what better than in this wonderful contest, so let's see how the steps were to make my beautiful spring flower.

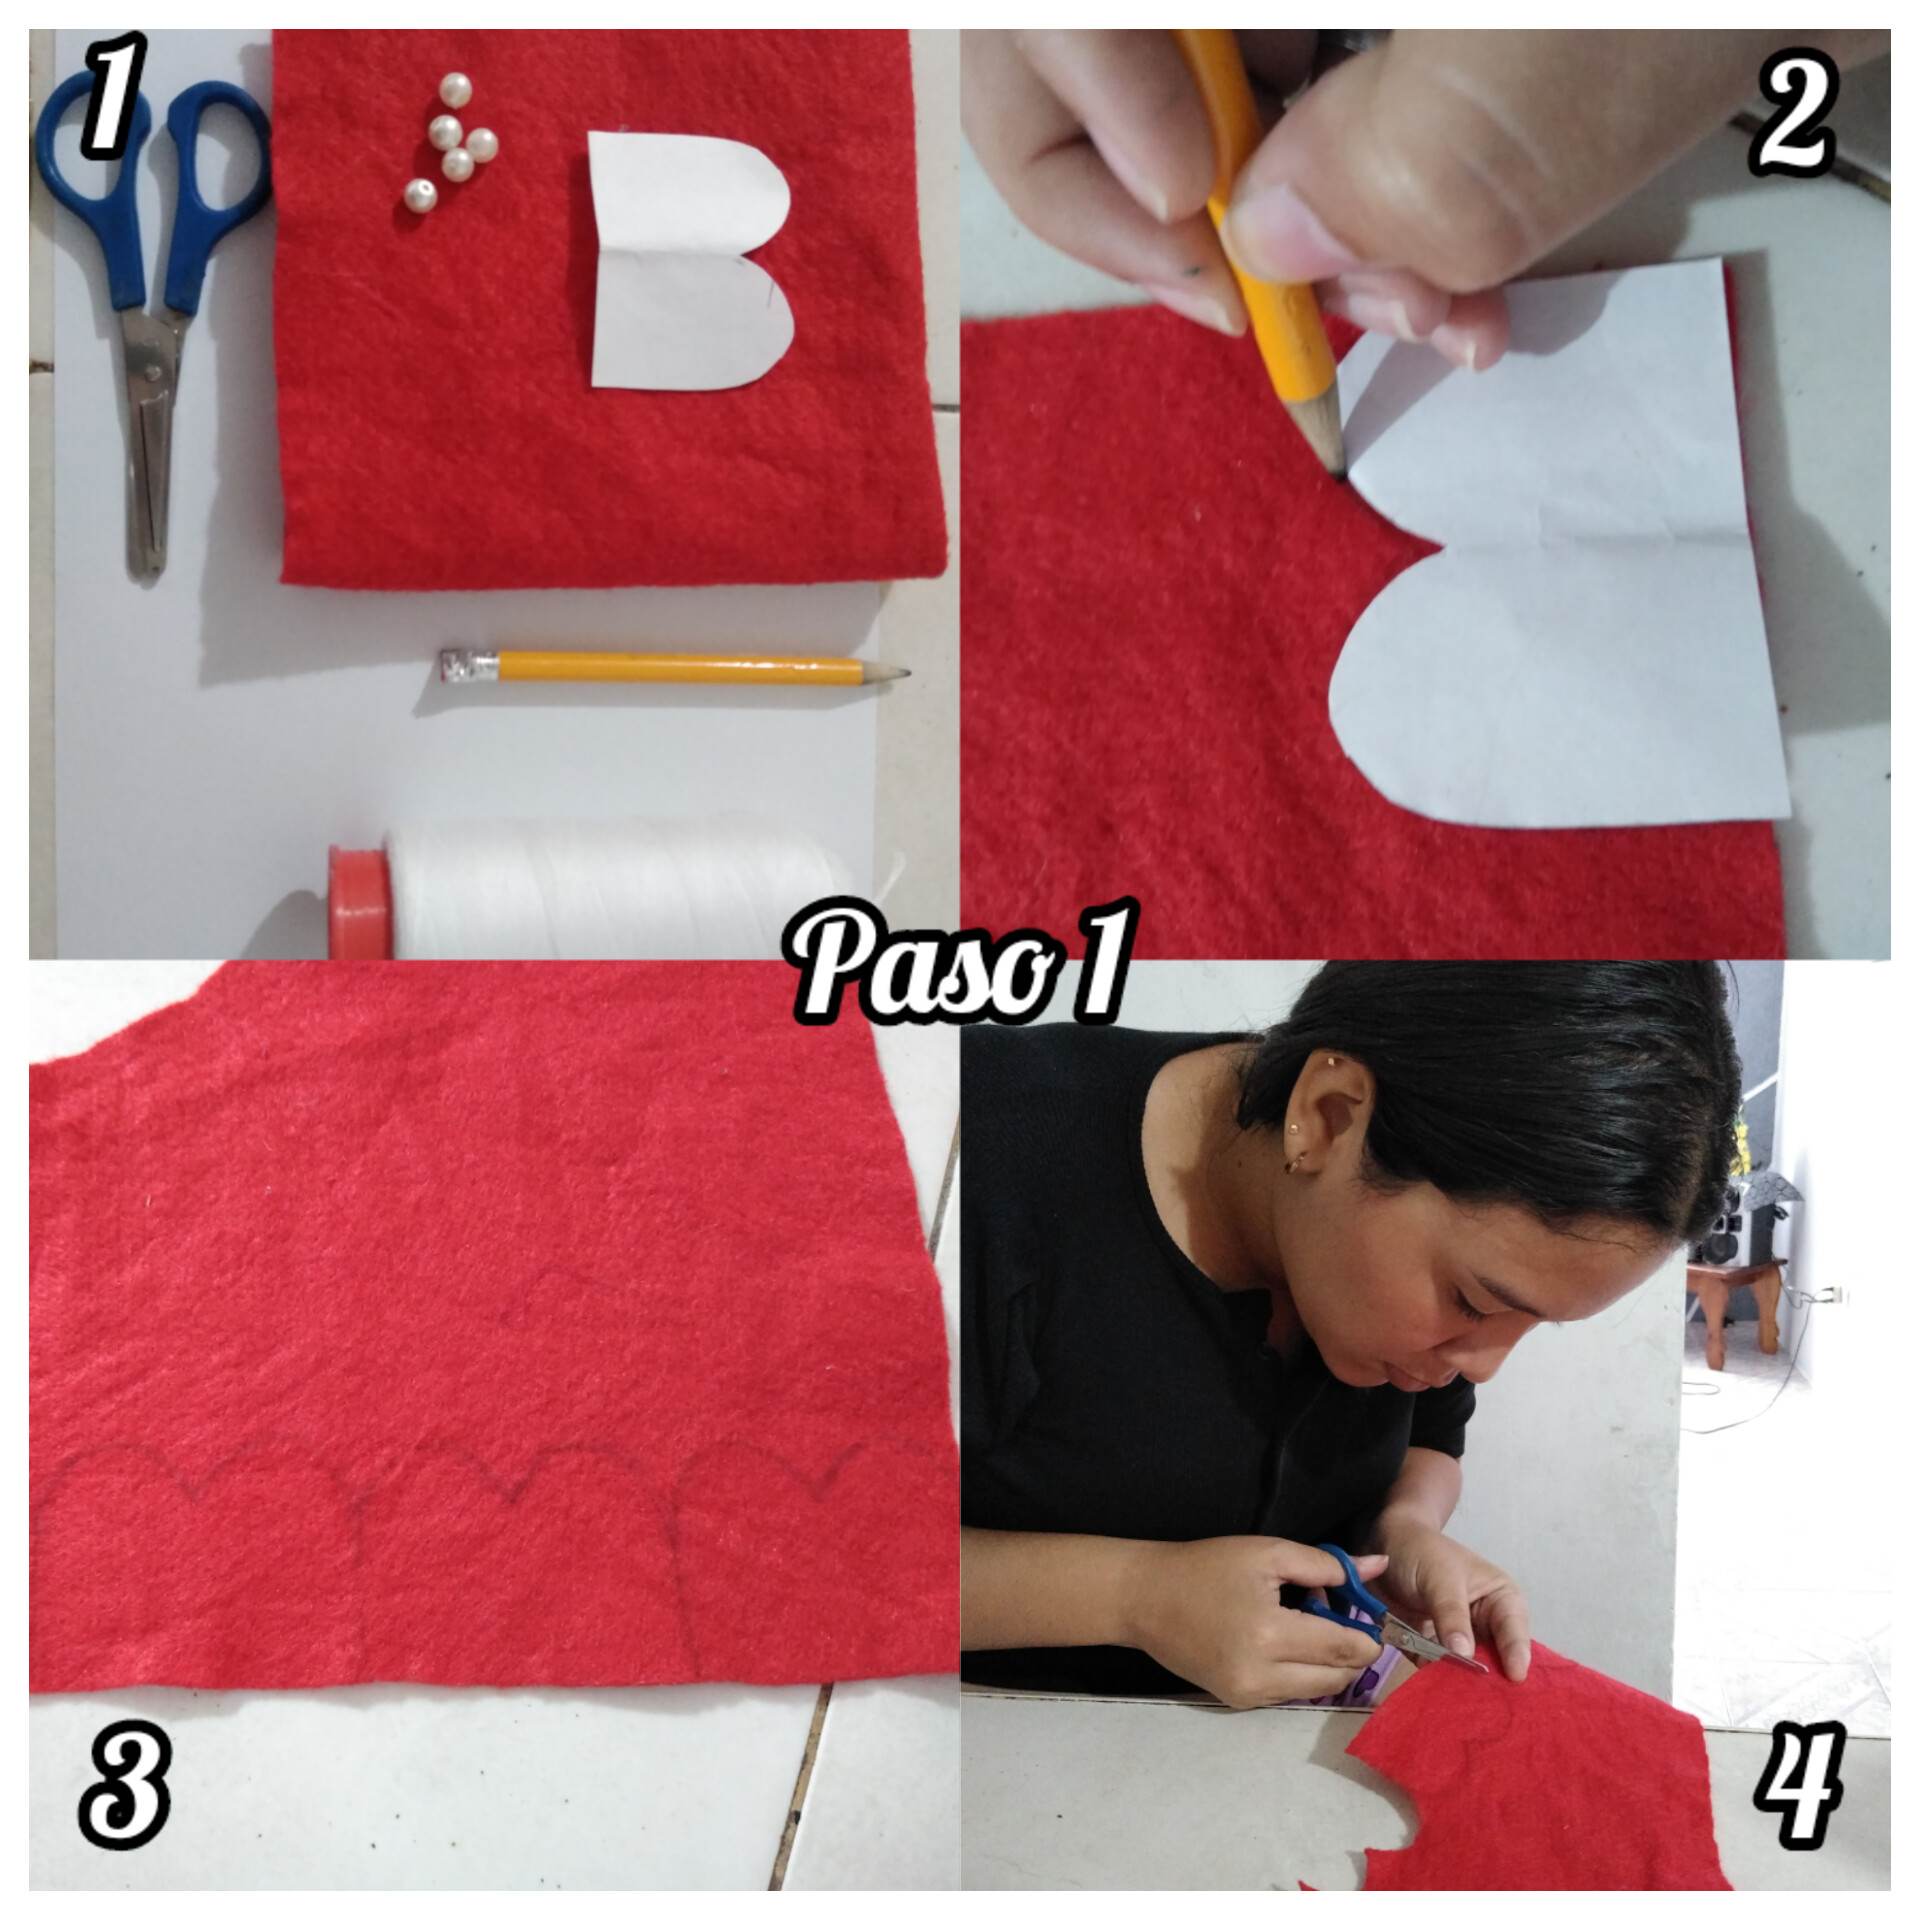
Paso 1: para realizar esta flor vamos a necesitar fieltro rojo, tijera, hilo, aguja, lápiz y el patrón de dos pétalos grandes y unidos. Lo primero que procedía hacer fue colocar el patrón encima del fieltro para marcar con el lápiz la forma de los pétalos, Cómo el patrón tiene 2 pétalos vamos a marcar cuatro veces el patrón, lo cual corresponde a 8 pétalos, procedemos a marcar con el lápiz muy bien la forma del petalo para el momento de cortarlo no tengamos problemas de visión.
Step 1: to make this flower we will need red felt, scissors, thread, needle, pencil and the pattern of two large petals joined together. The first thing we proceeded to do was to place the pattern on the felt to mark with the pencil the shape of the petals, how the pattern has 2 petals we will mark four times the pattern, which corresponds to 8 petals, we proceed to mark with the pencil very well the shape of the petal for the time to cut it we do not have vision problems.
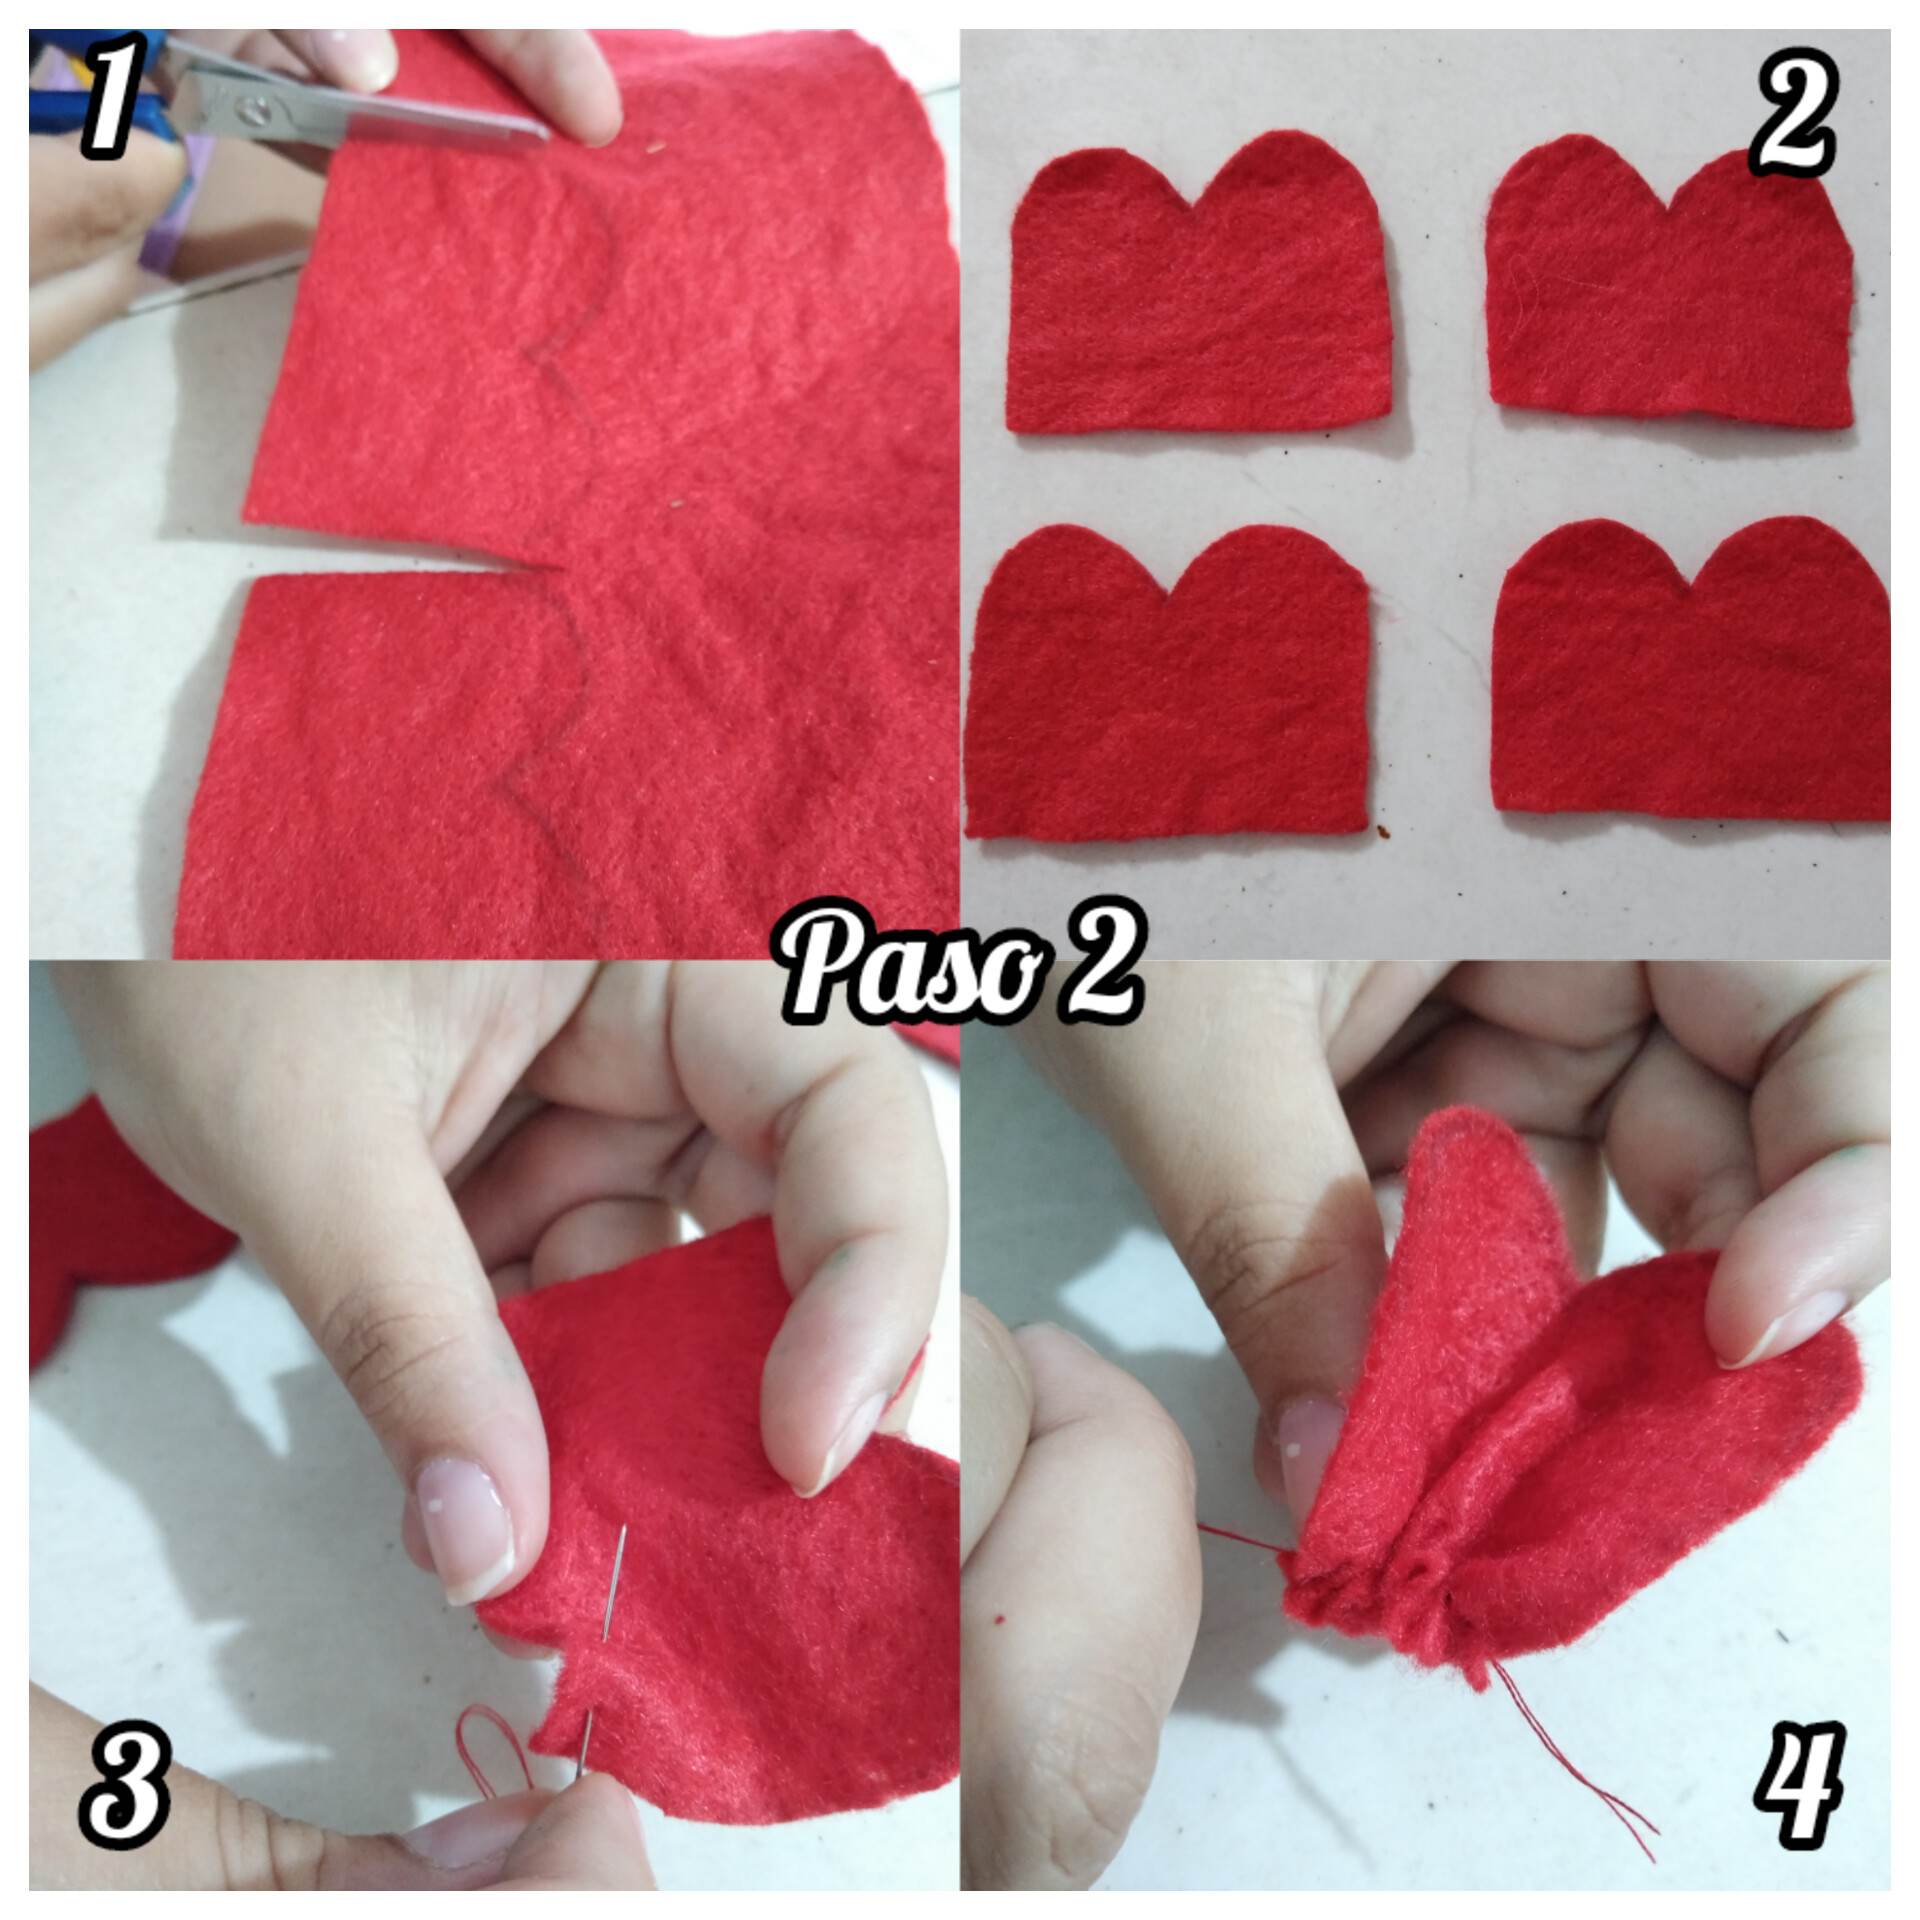
Paso 2: procederemos a cortar el patrón que ya marcamos encima del fieltro, cortaremos los 8 pétalos y quedaron de la siguiente manera, cada patrón tiene dos pétalos Unidos y lo primero que haremos será tomar una pieza y procederemos a arrollar la en la parte de abajo y quedará como en la imagen lo muestra, metemos la aguja con el hilo y jalamos para que quede arruchada.
Step 2: we will proceed to cut the pattern that we have already marked on the felt, we will cut the 8 petals and they will be as follows, each pattern has two petals together and the first thing we will do is to take a piece and proceed to roll it at the bottom and it will be as shown in the image, we put the needle with the thread and pull it so that it is wrinkled.
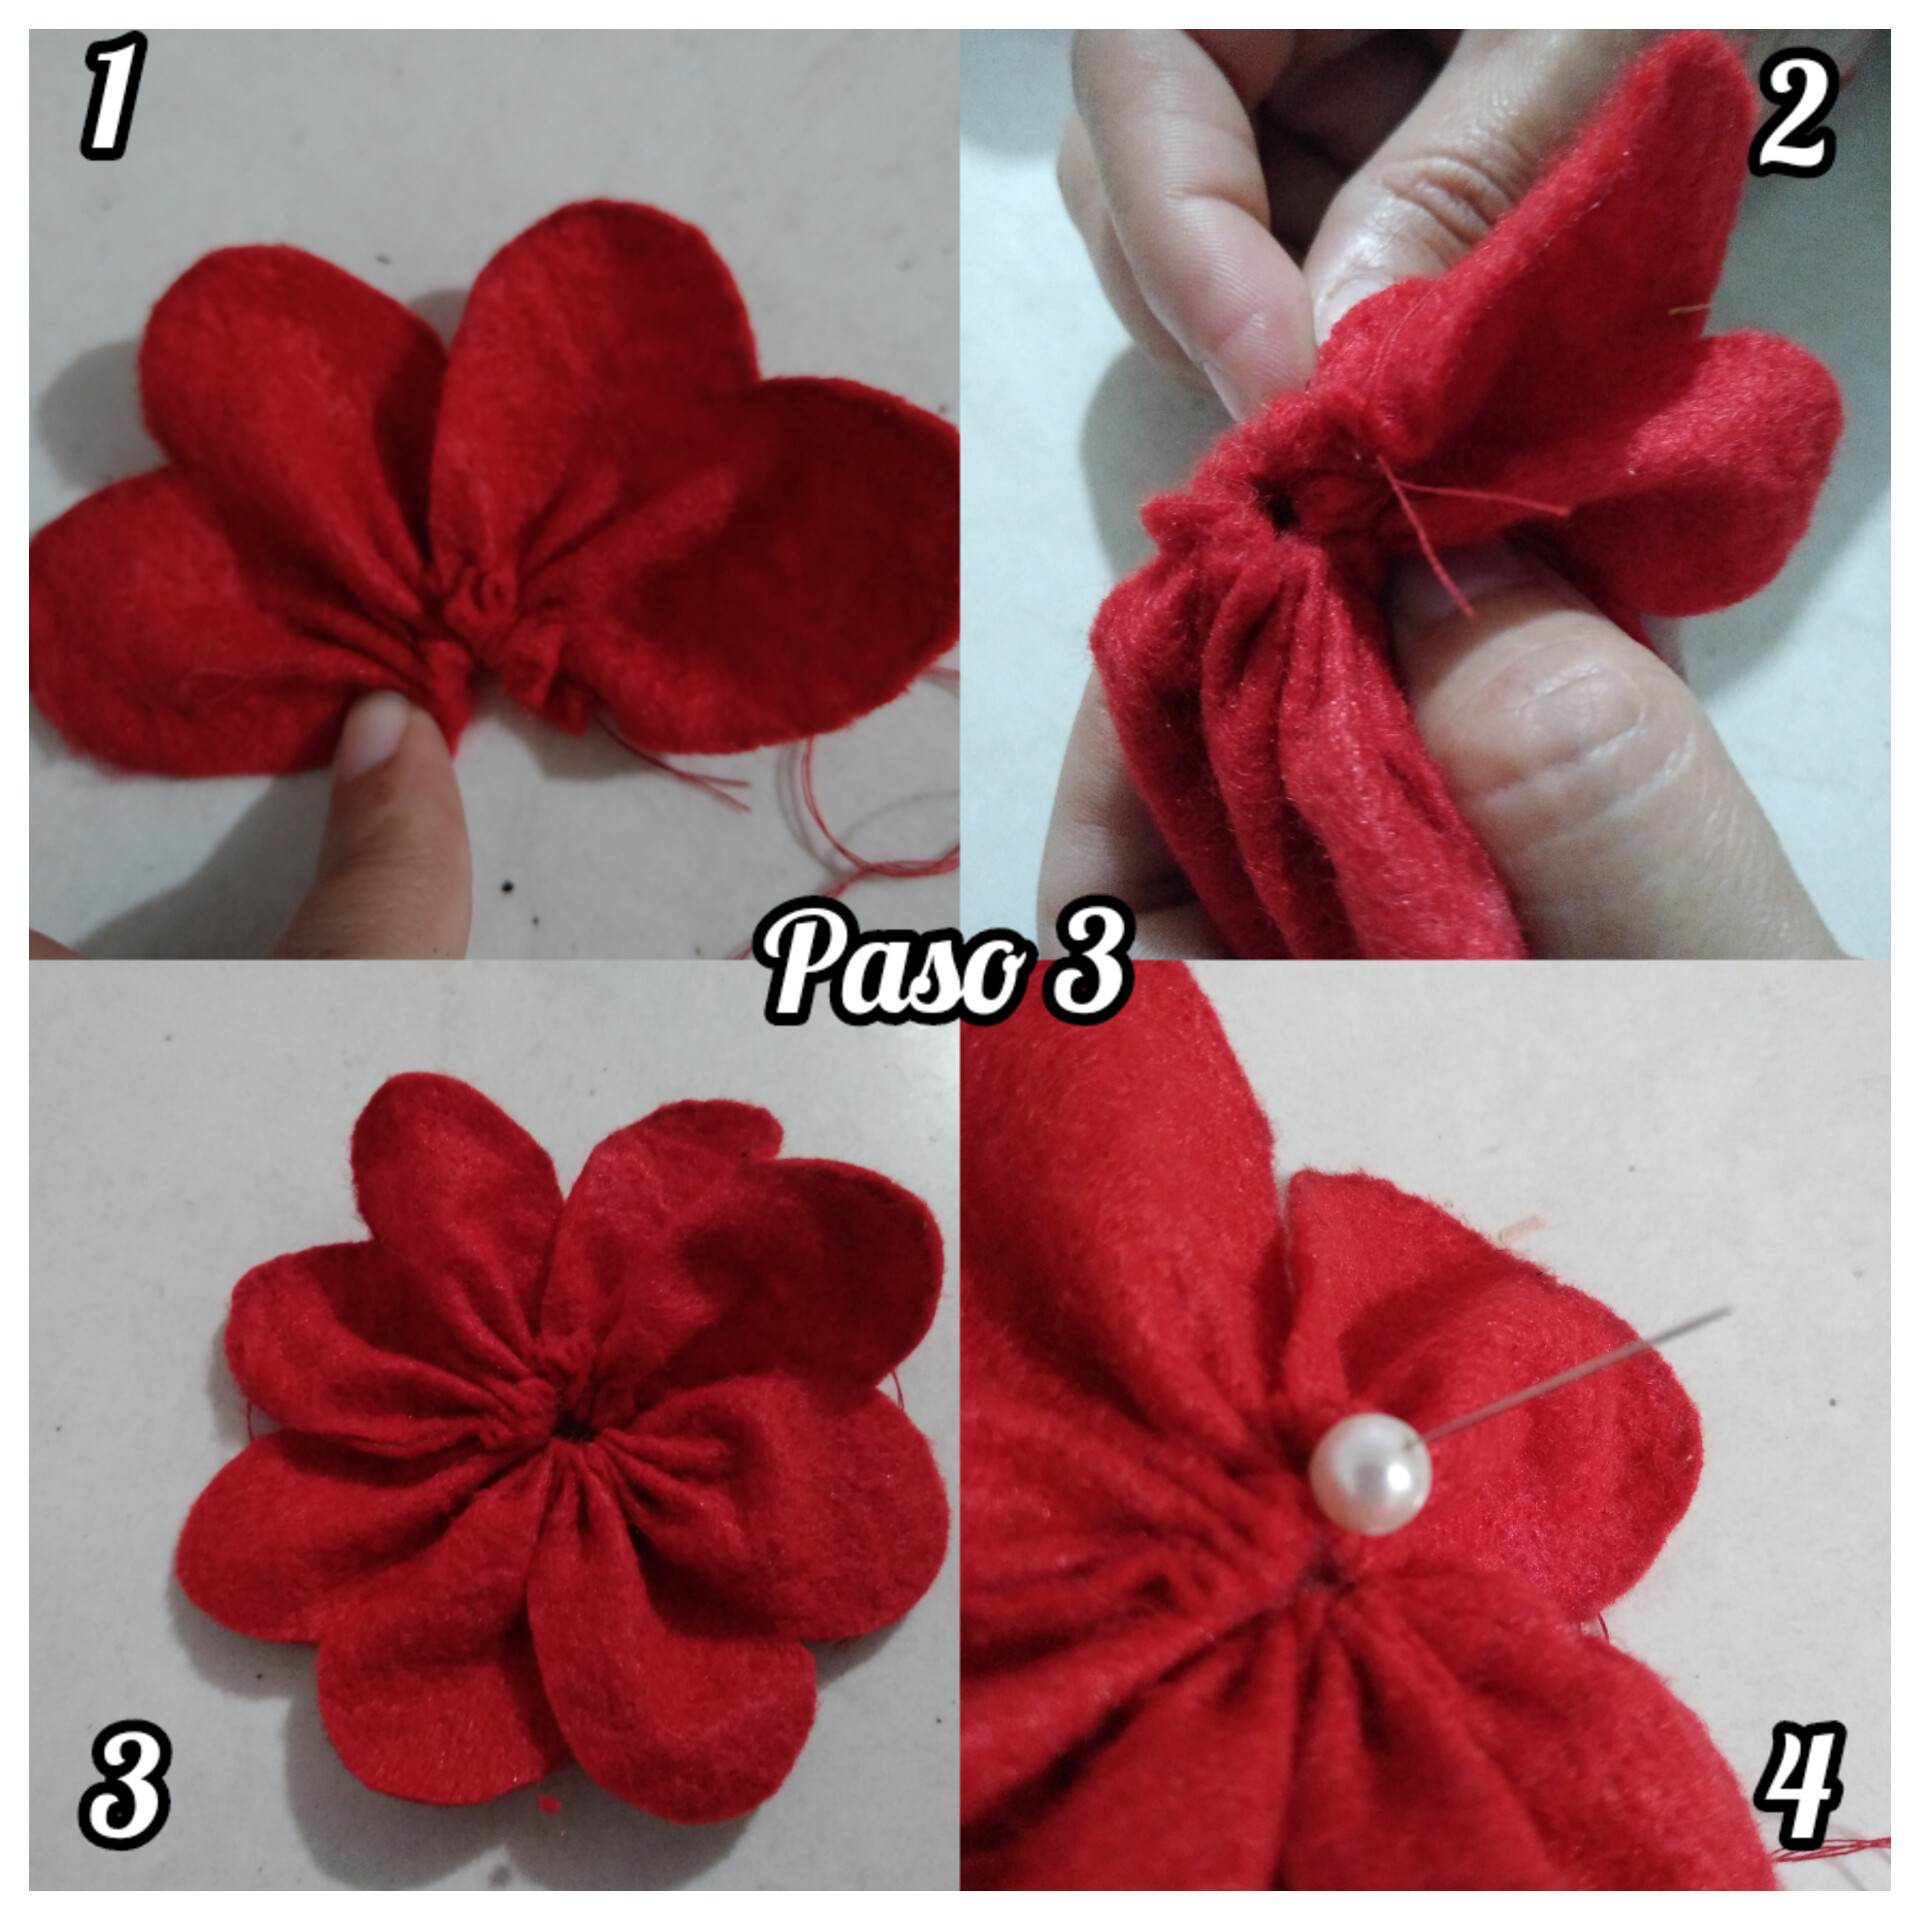
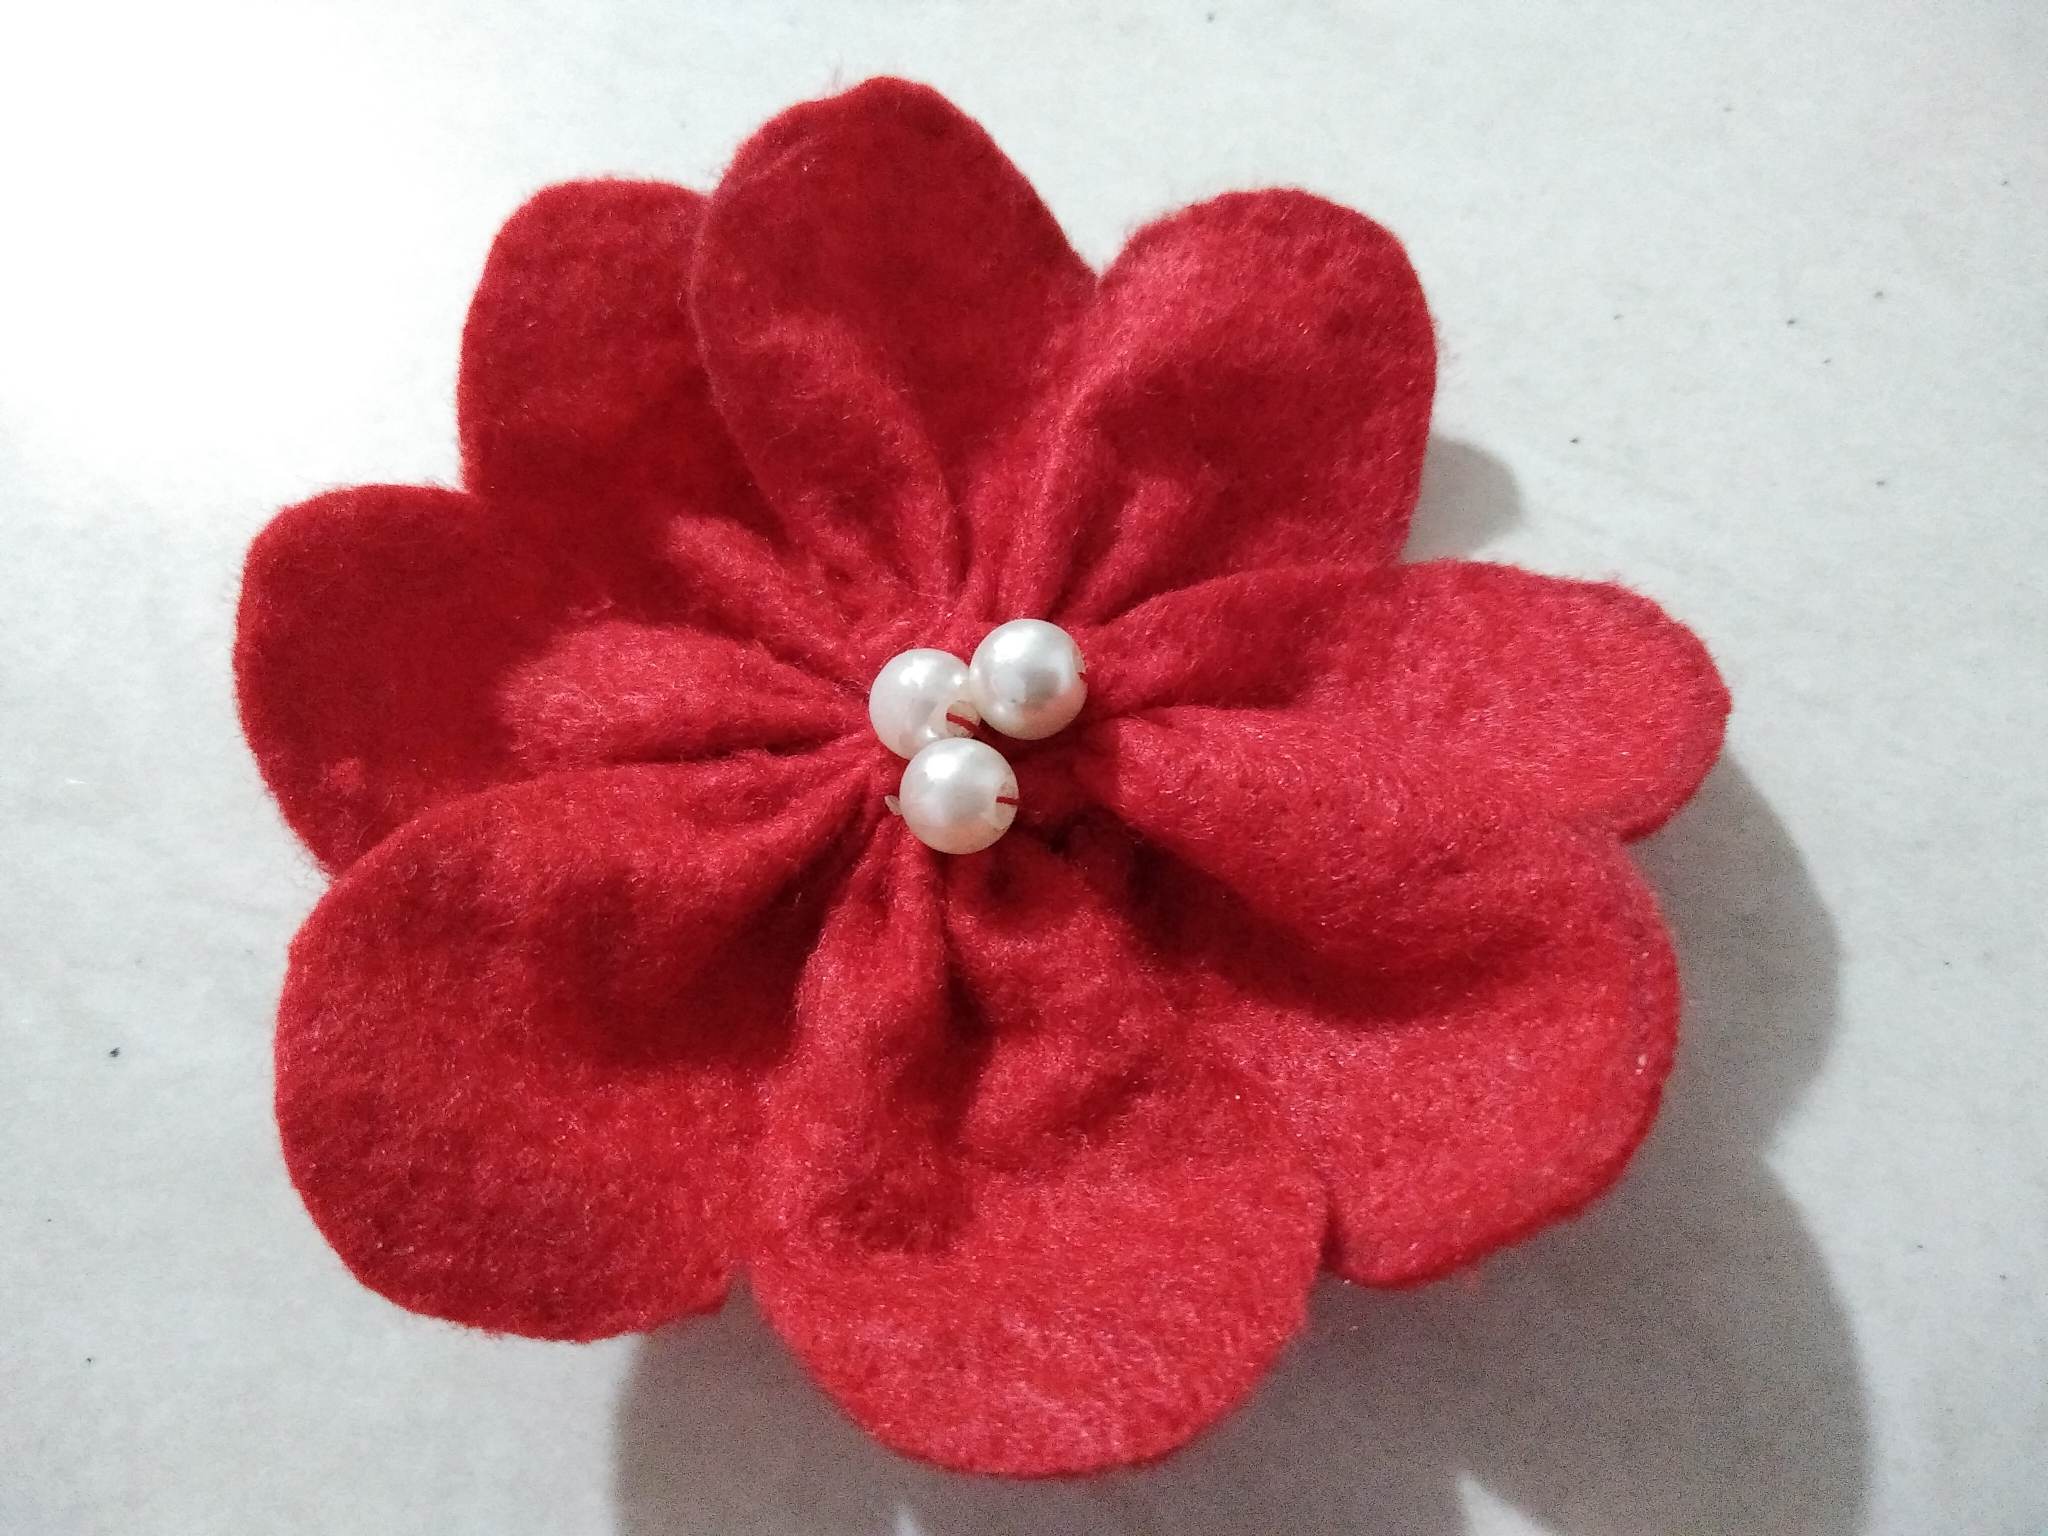
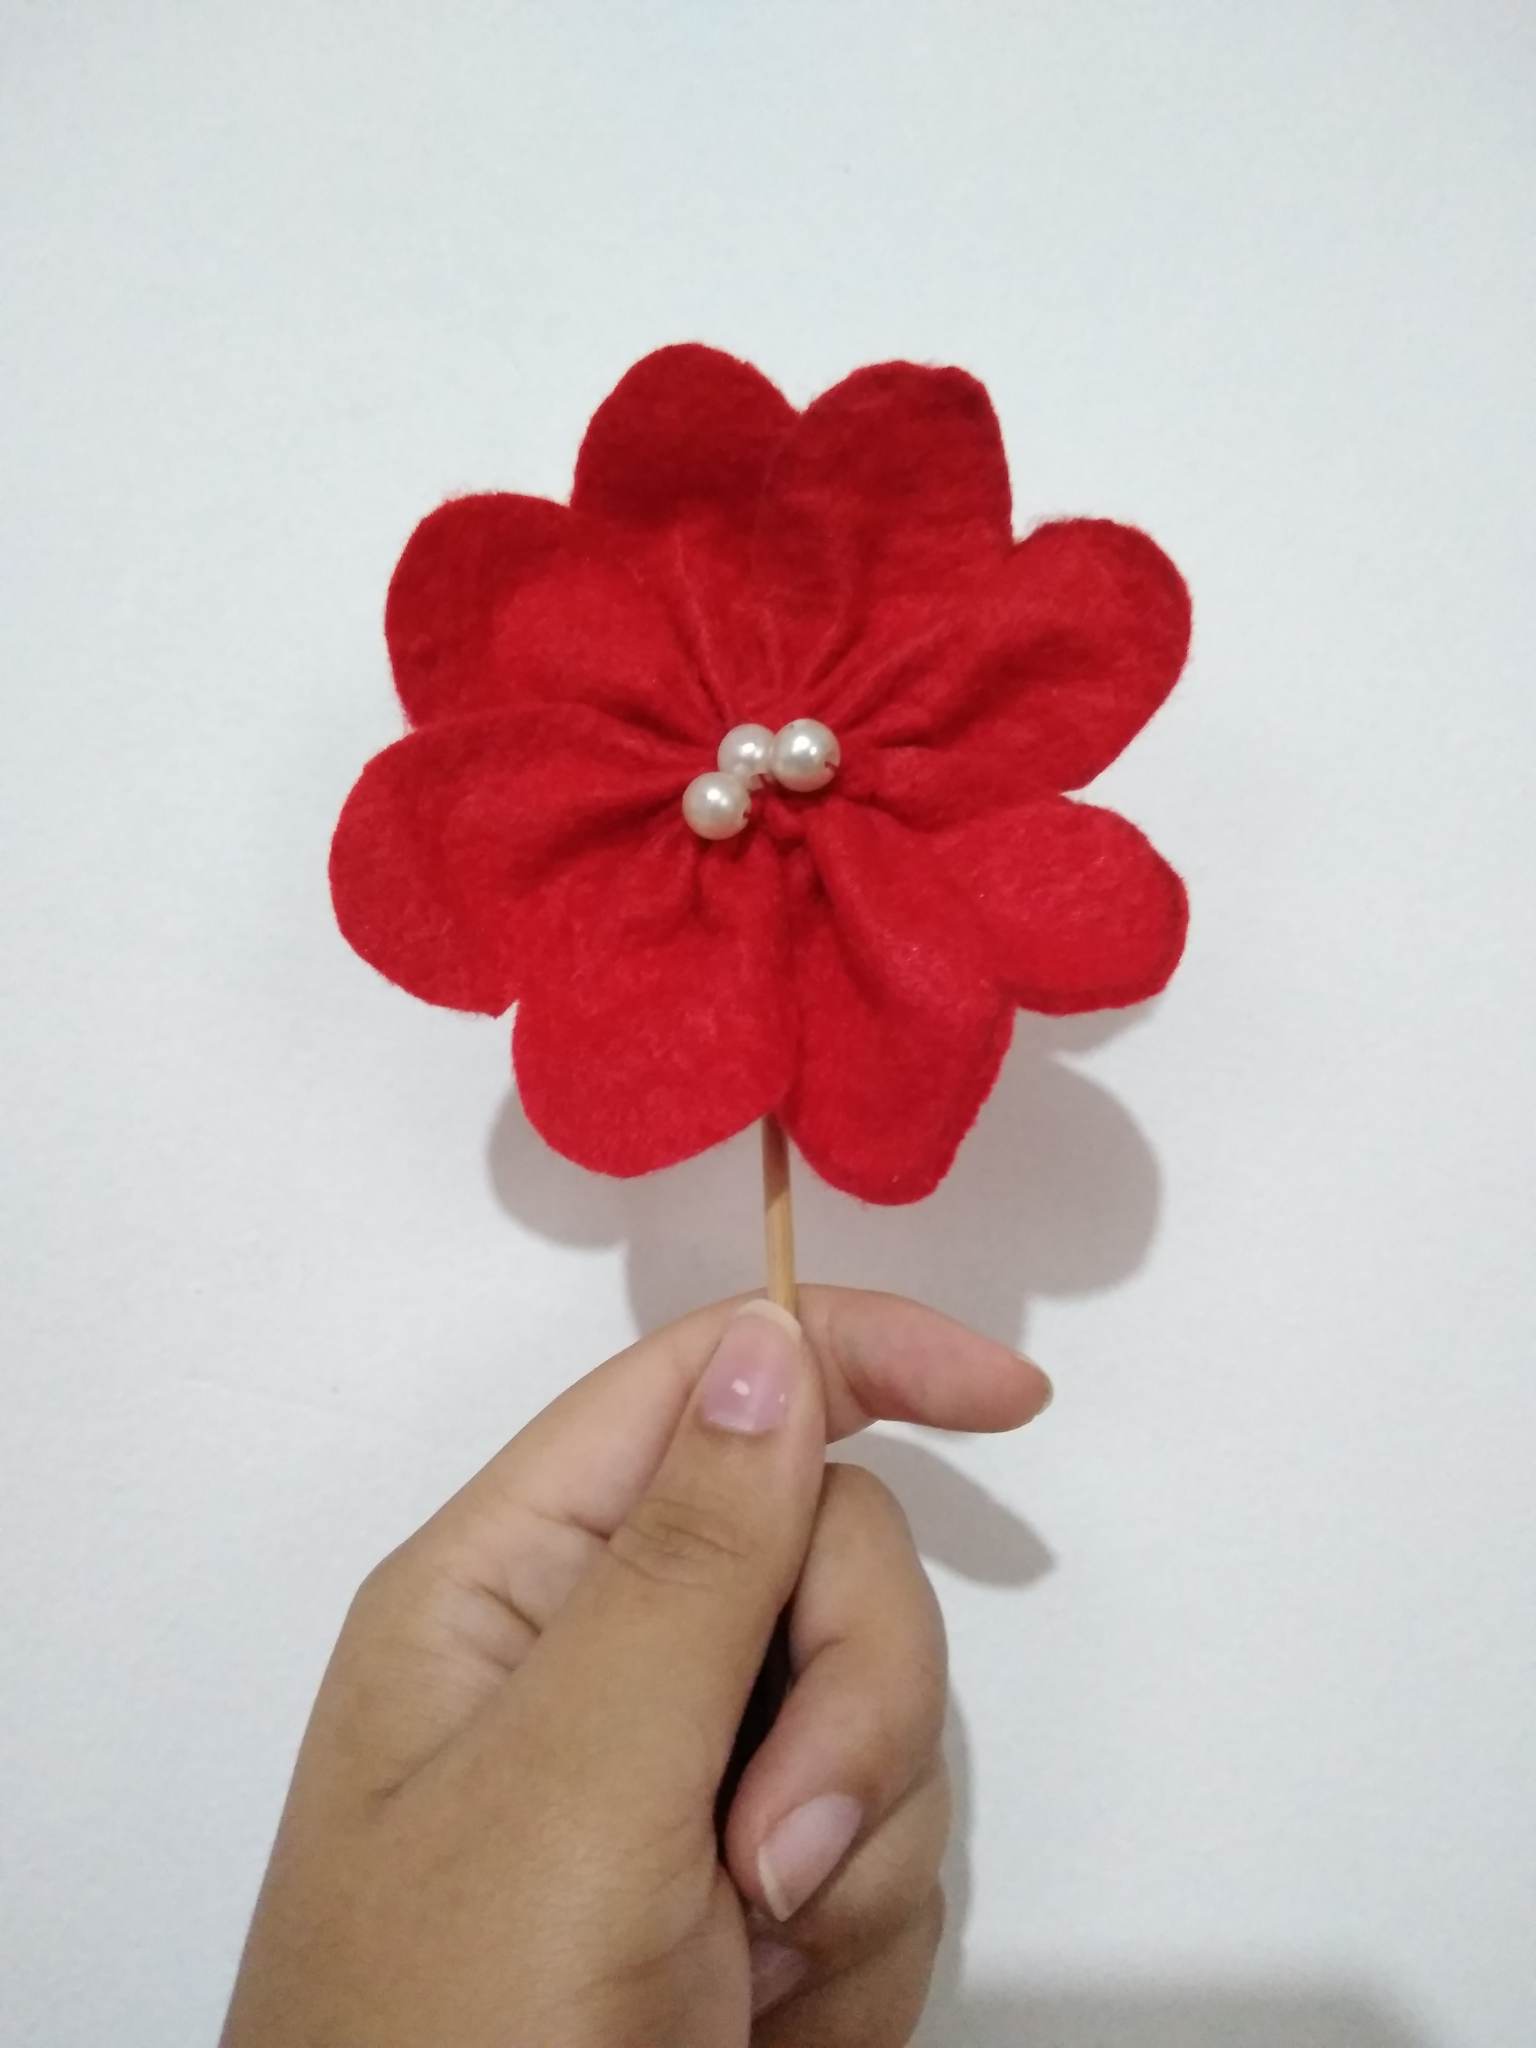
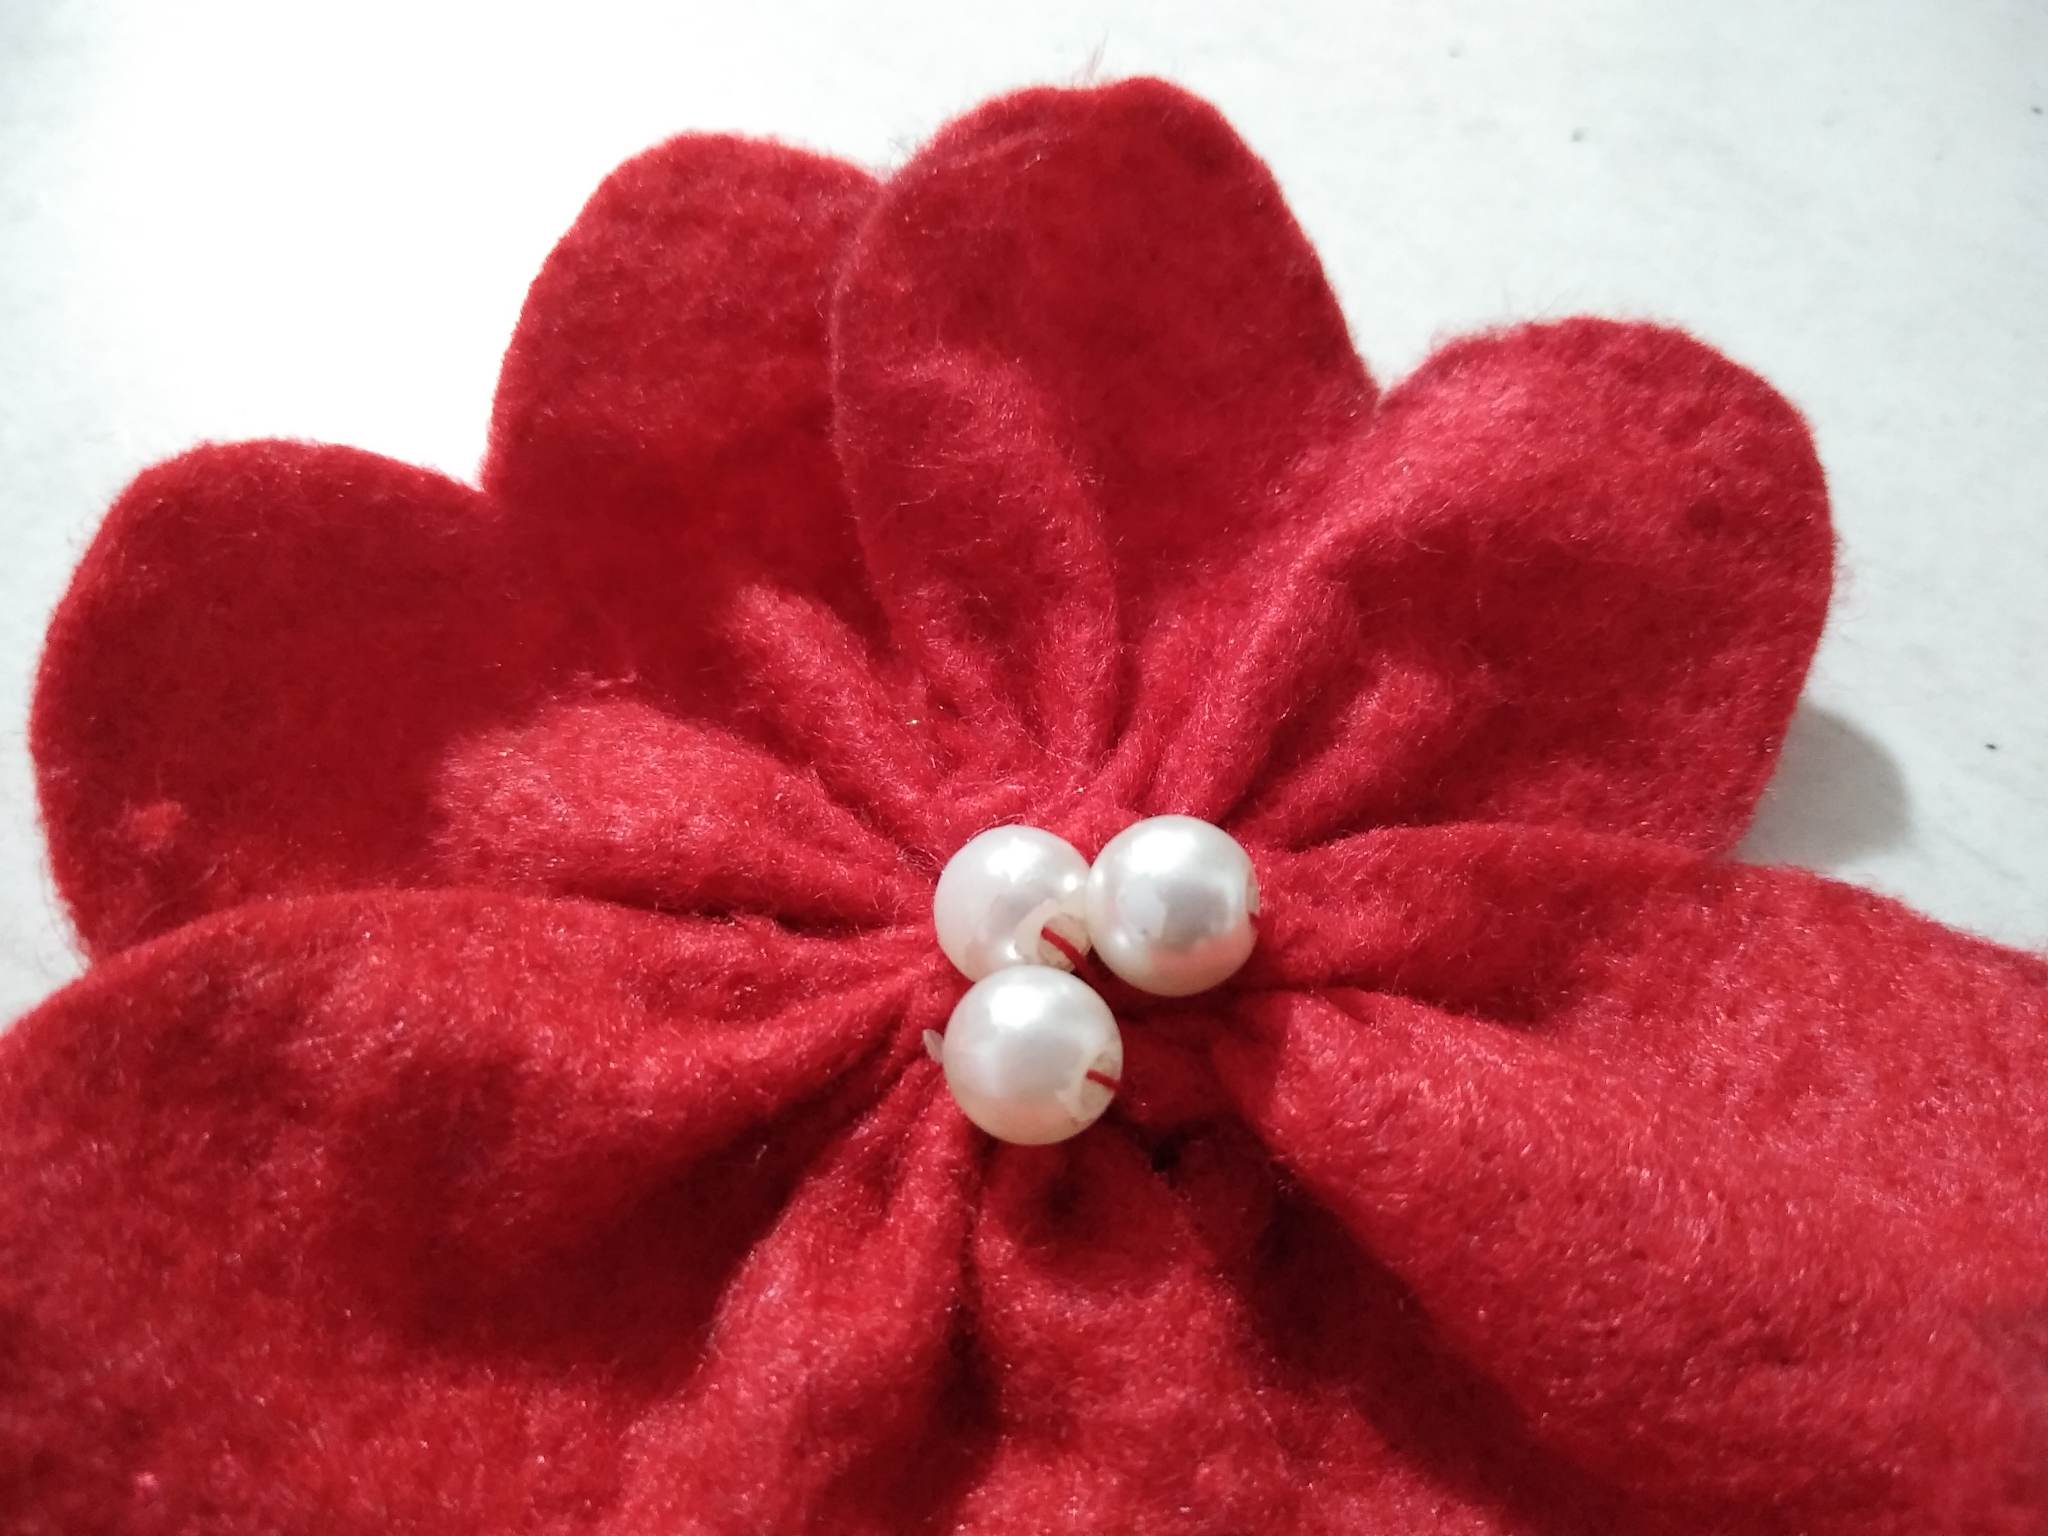
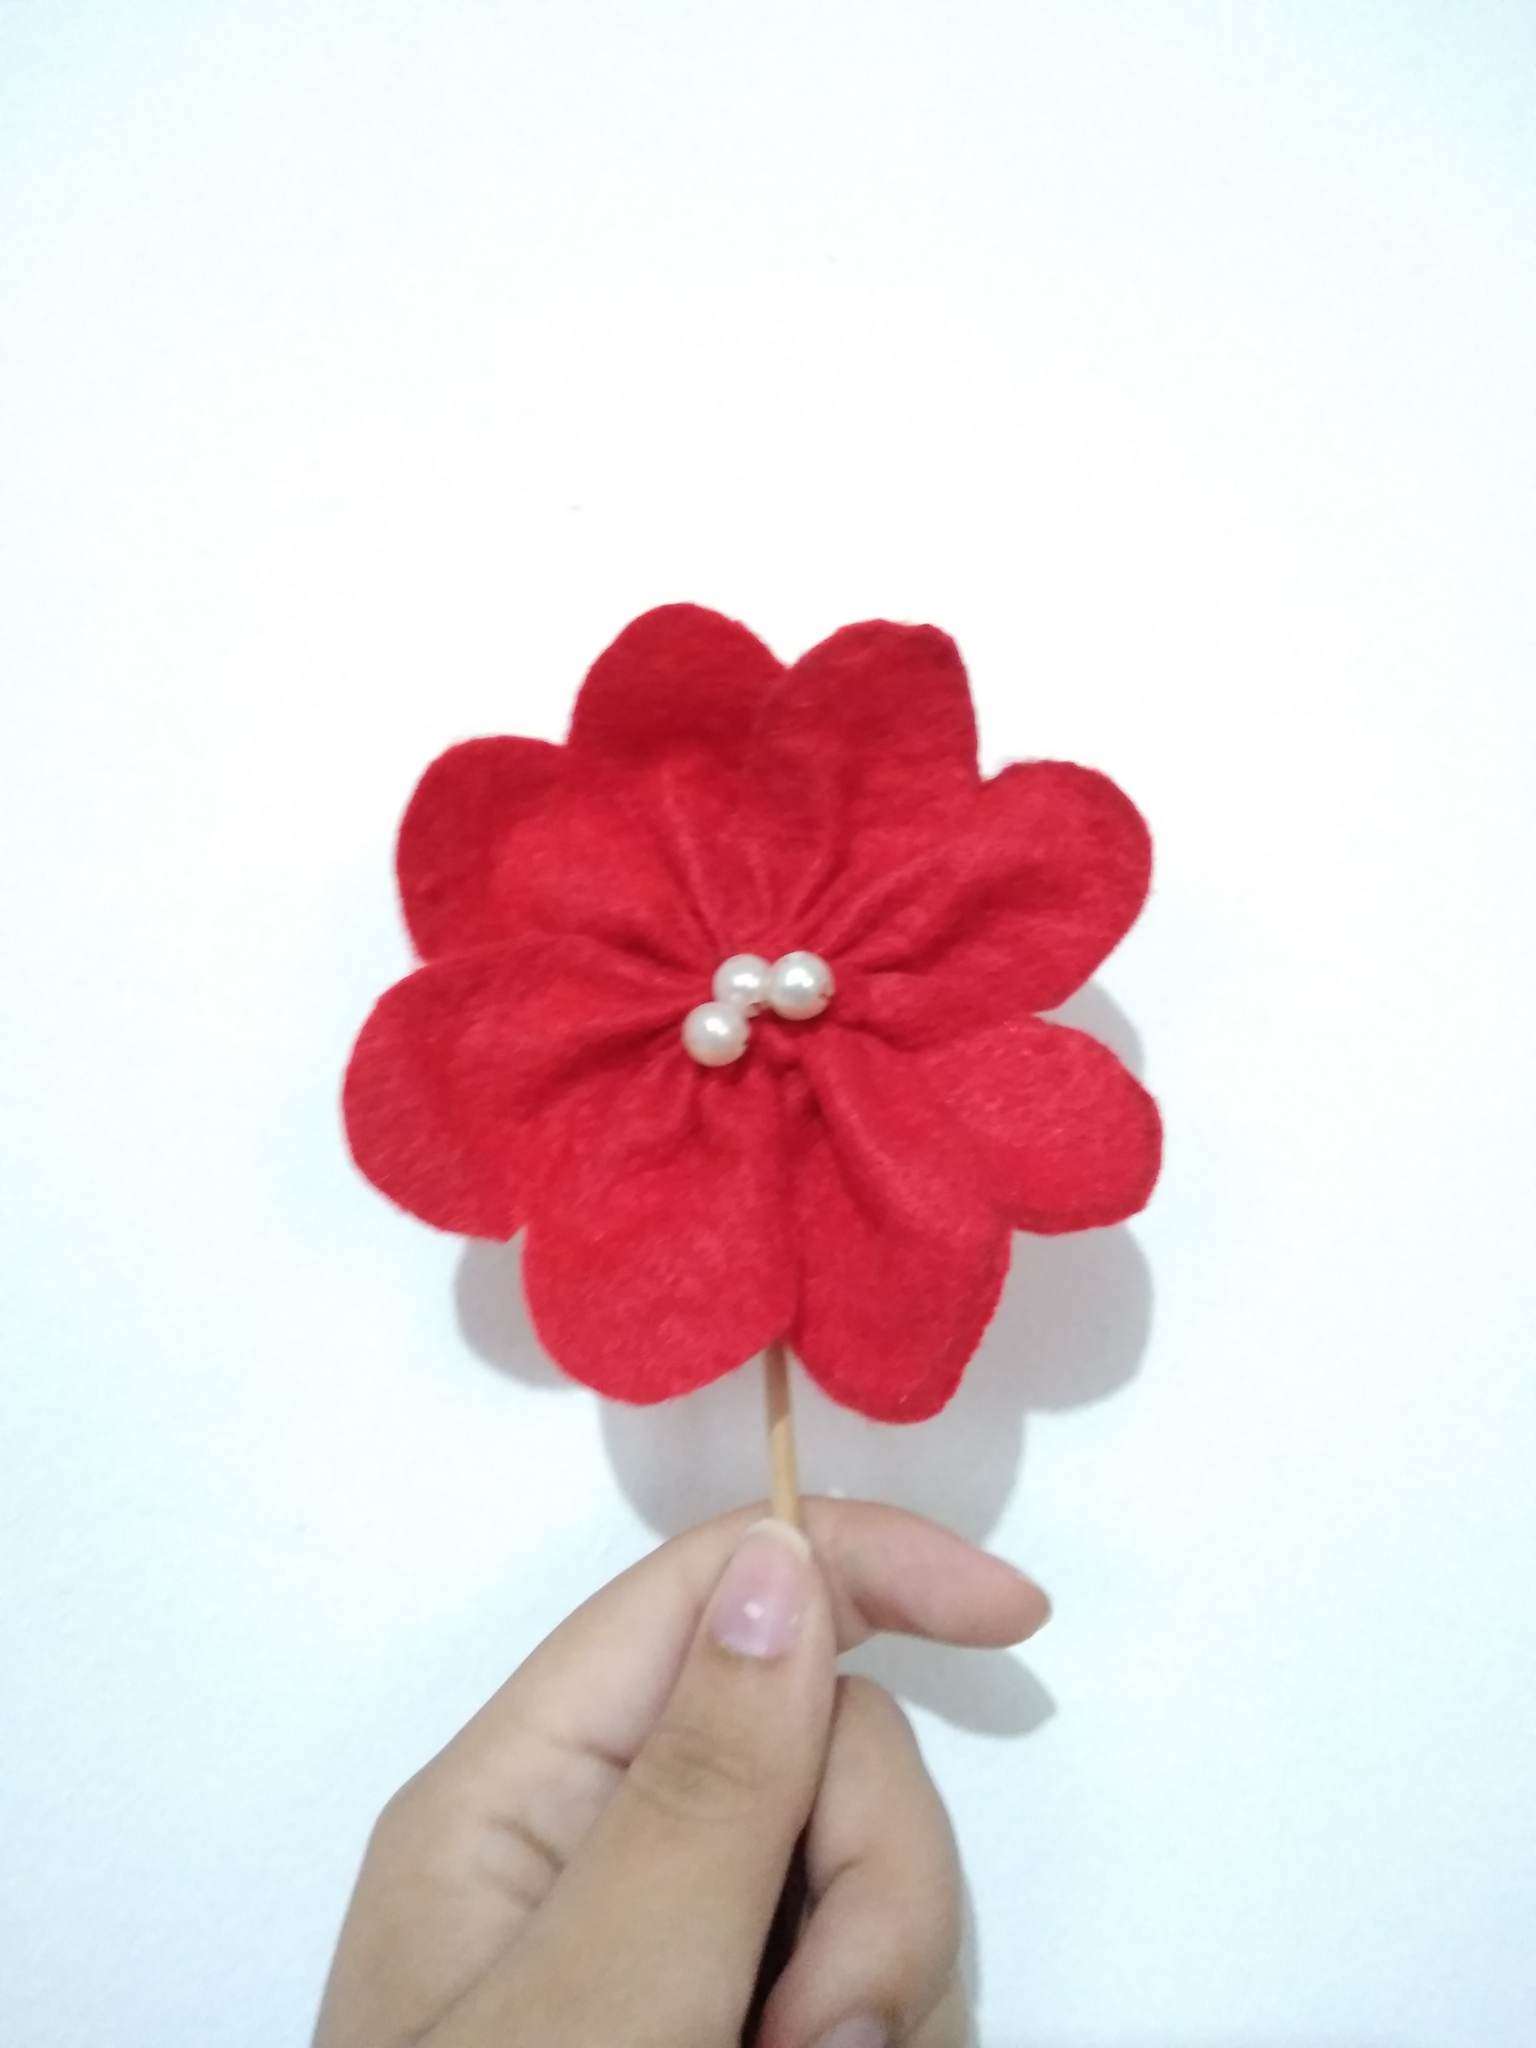
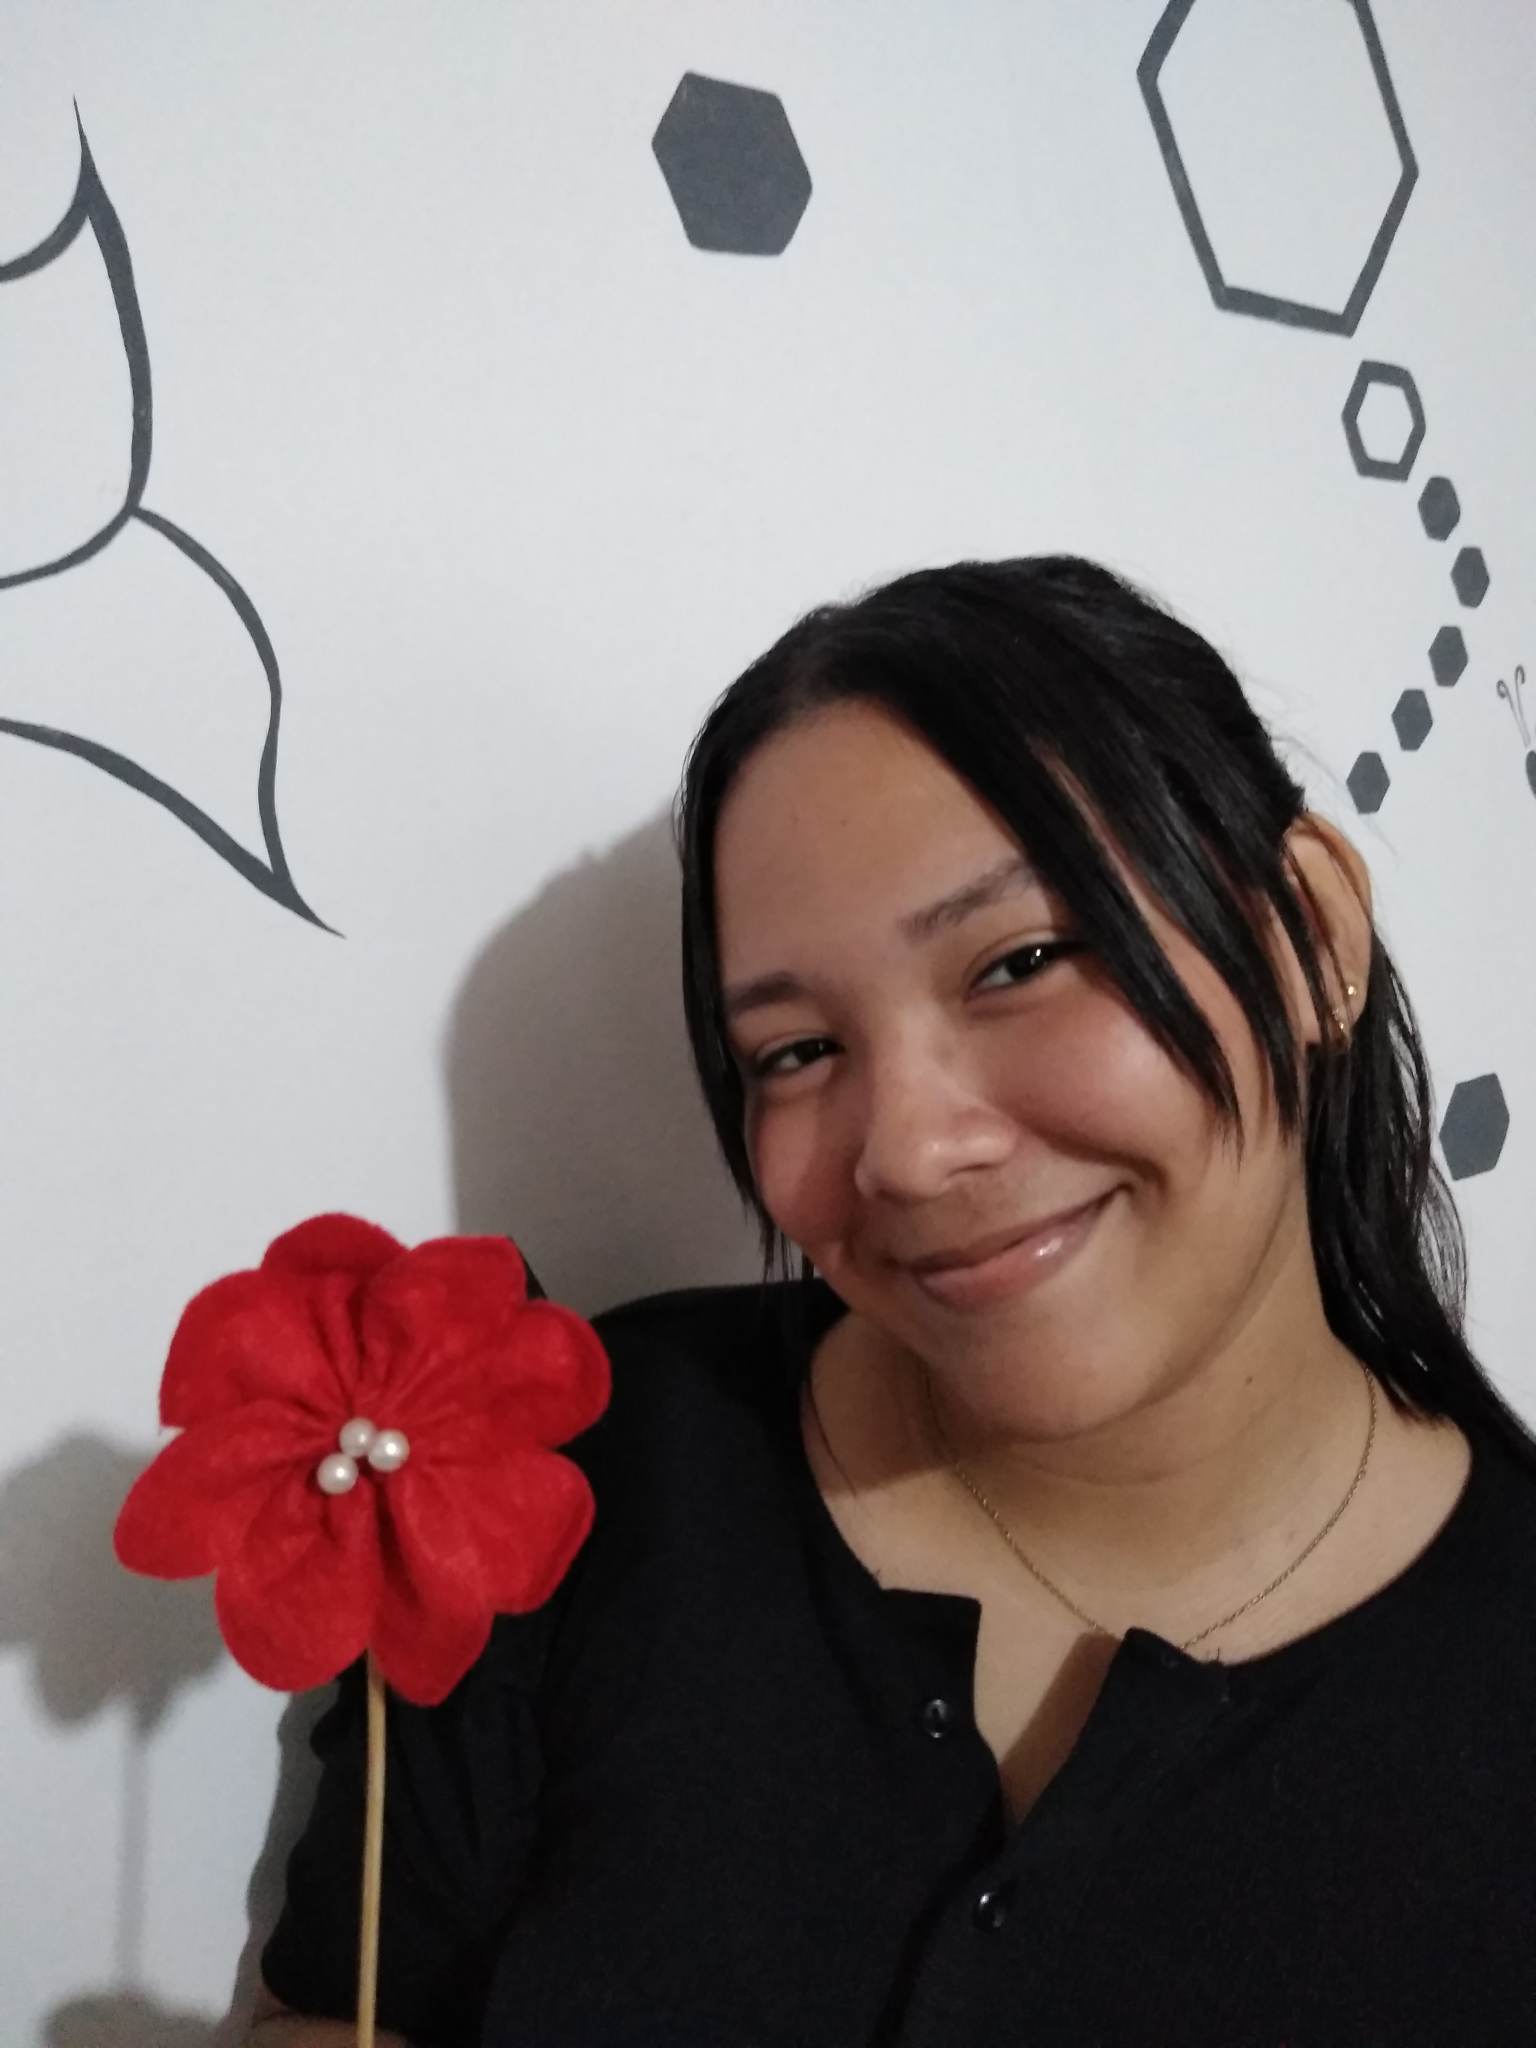
Paso 3: hacemos lo mismo con el resto de los pétalos Y a medida de que vamos a luchando los pétalos vamos uniendo uno con el otro y quedará como en la imagen muestra. Procuremos arrullar muy bien cada pieza ya que es importante el arrulle que le demos para que la forma de la flor quede muy bonita, mientras más arrugada esté, más bonita se verá la flor. Luego de tener la flor lista, procederemos a cocer las perlas en el centro de la flor, podemos cocer la cantidad de perlas que queramos, y también podemos colocar las no solo en el centro sino en los pétalos de la flor, pero en mi caso solo quise colocarla en el centro. De esta manera culmino mi creación, mi hermosa petunia está lista para participar en el concurso, espero que les guste mucho.
Step 3: do the same with the rest of the petals and as we are going to fight the petals we are going to join one with the other and it will look like the picture shows. Let's make sure to wrinkle each piece very well, since it is important the wrinkling that we give it so that the shape of the flower is very pretty, the more wrinkled it is, the prettier the flower will look. After having the flower ready, we will proceed to bake the pearls in the center of the flower, we can bake the amount of pearls we want, and we can also place them not only in the center but also in the petals of the flower, but in my case I only wanted to place them in the center. This way I finish my creation, my beautiful petunia is ready to participate in the contest, I hope you like it very much.
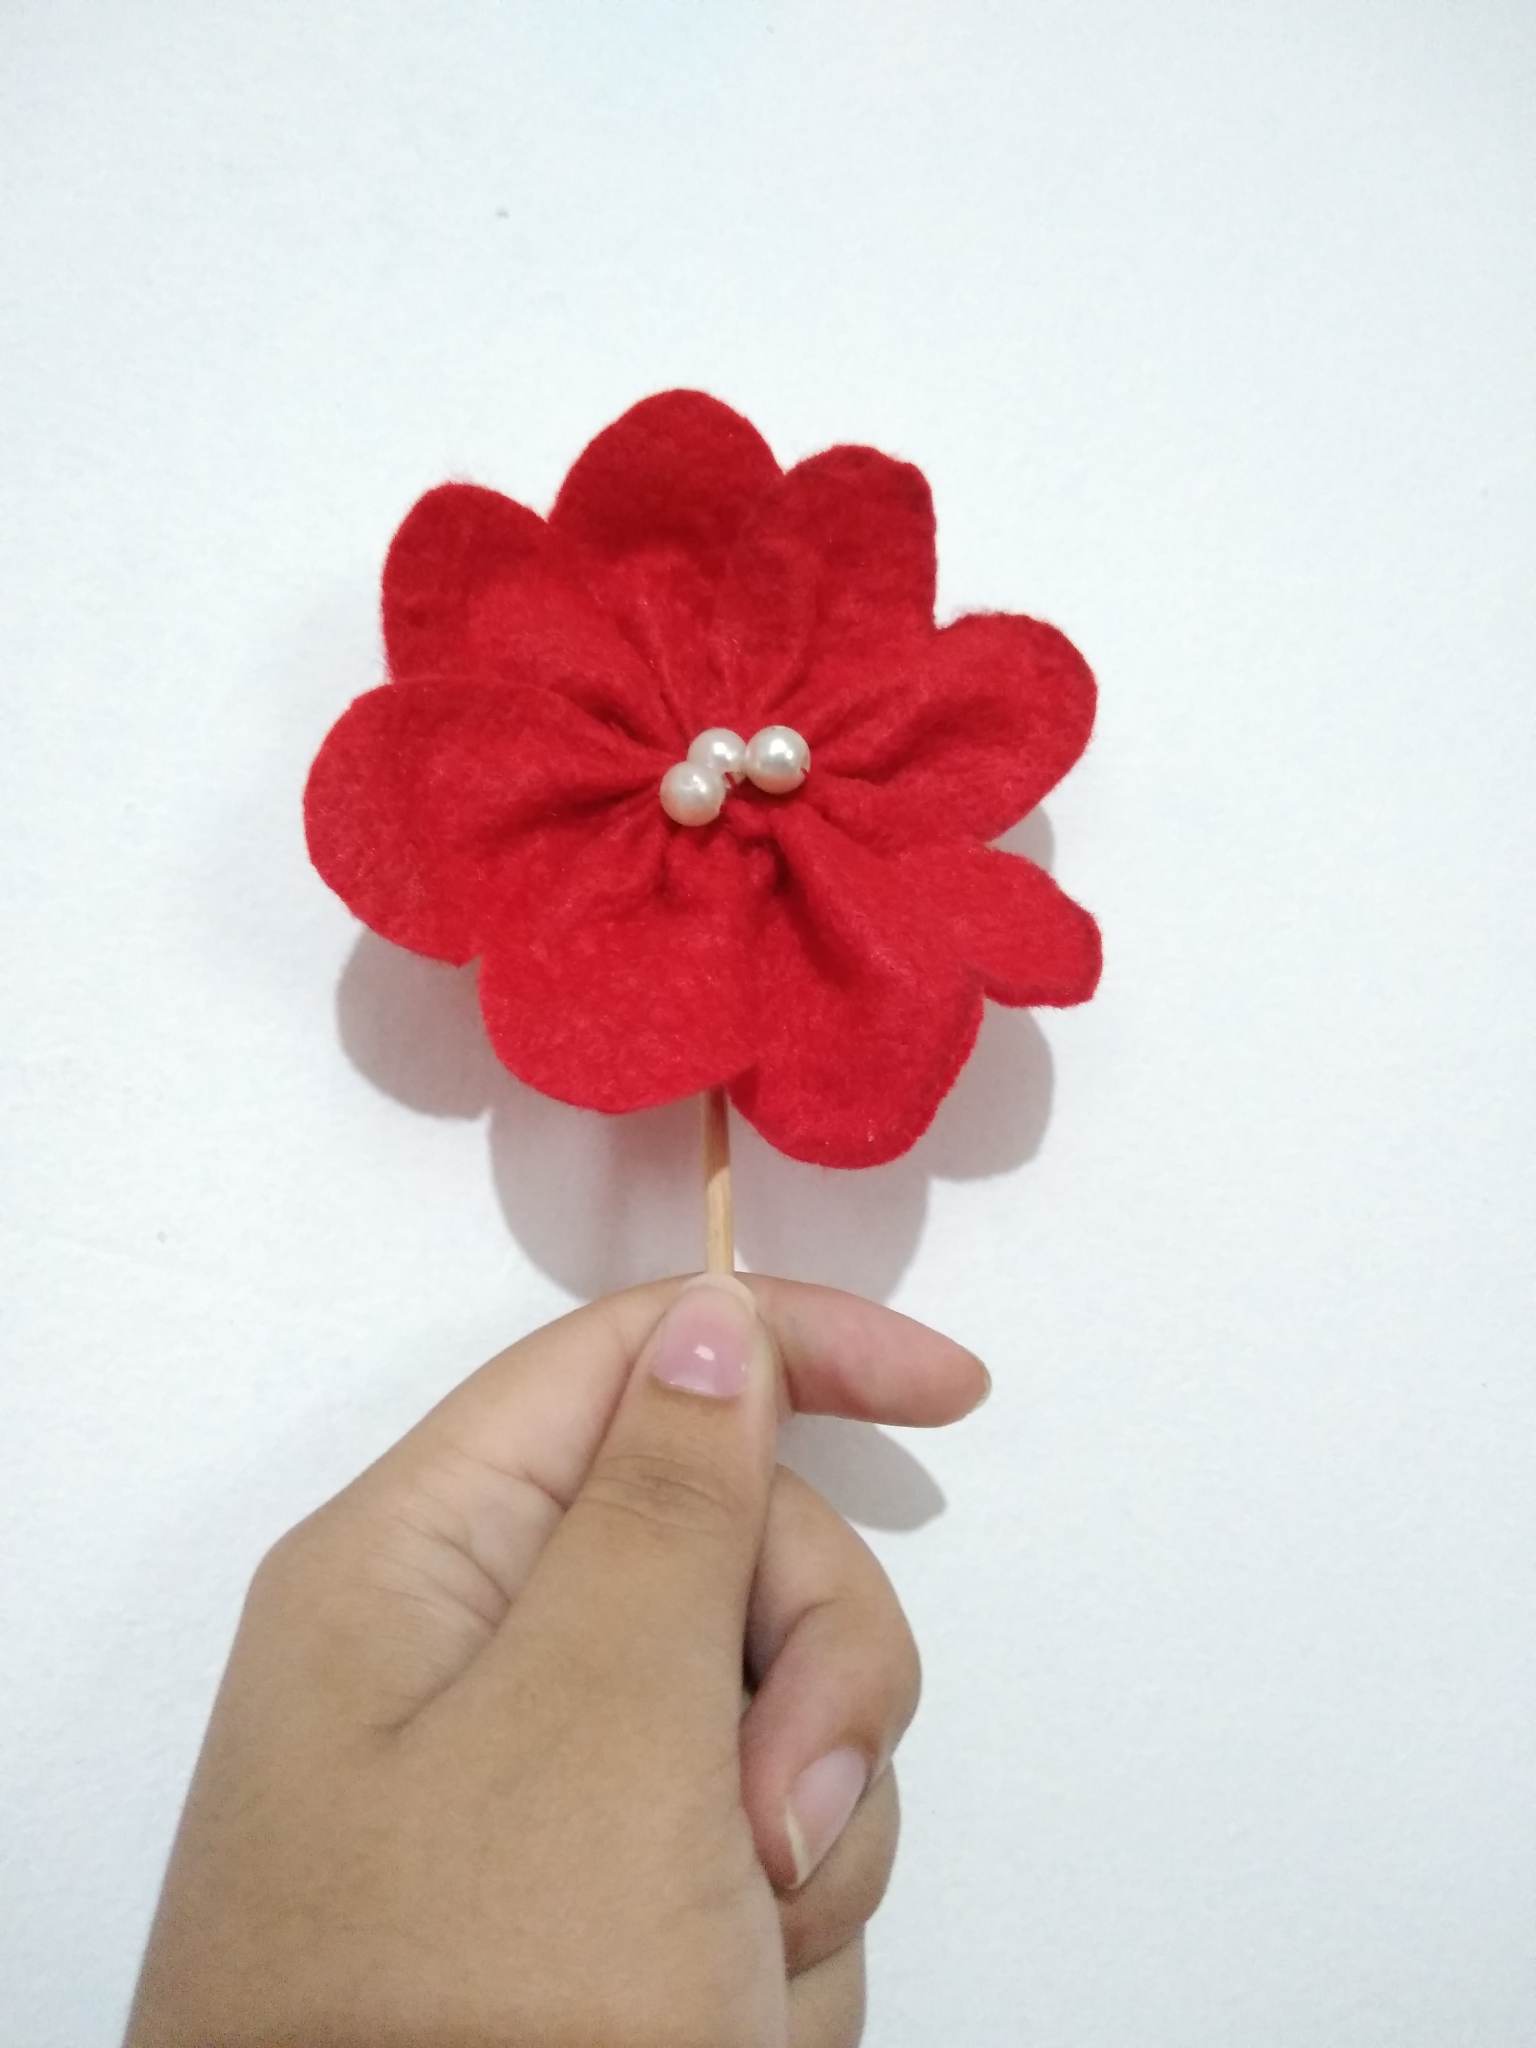
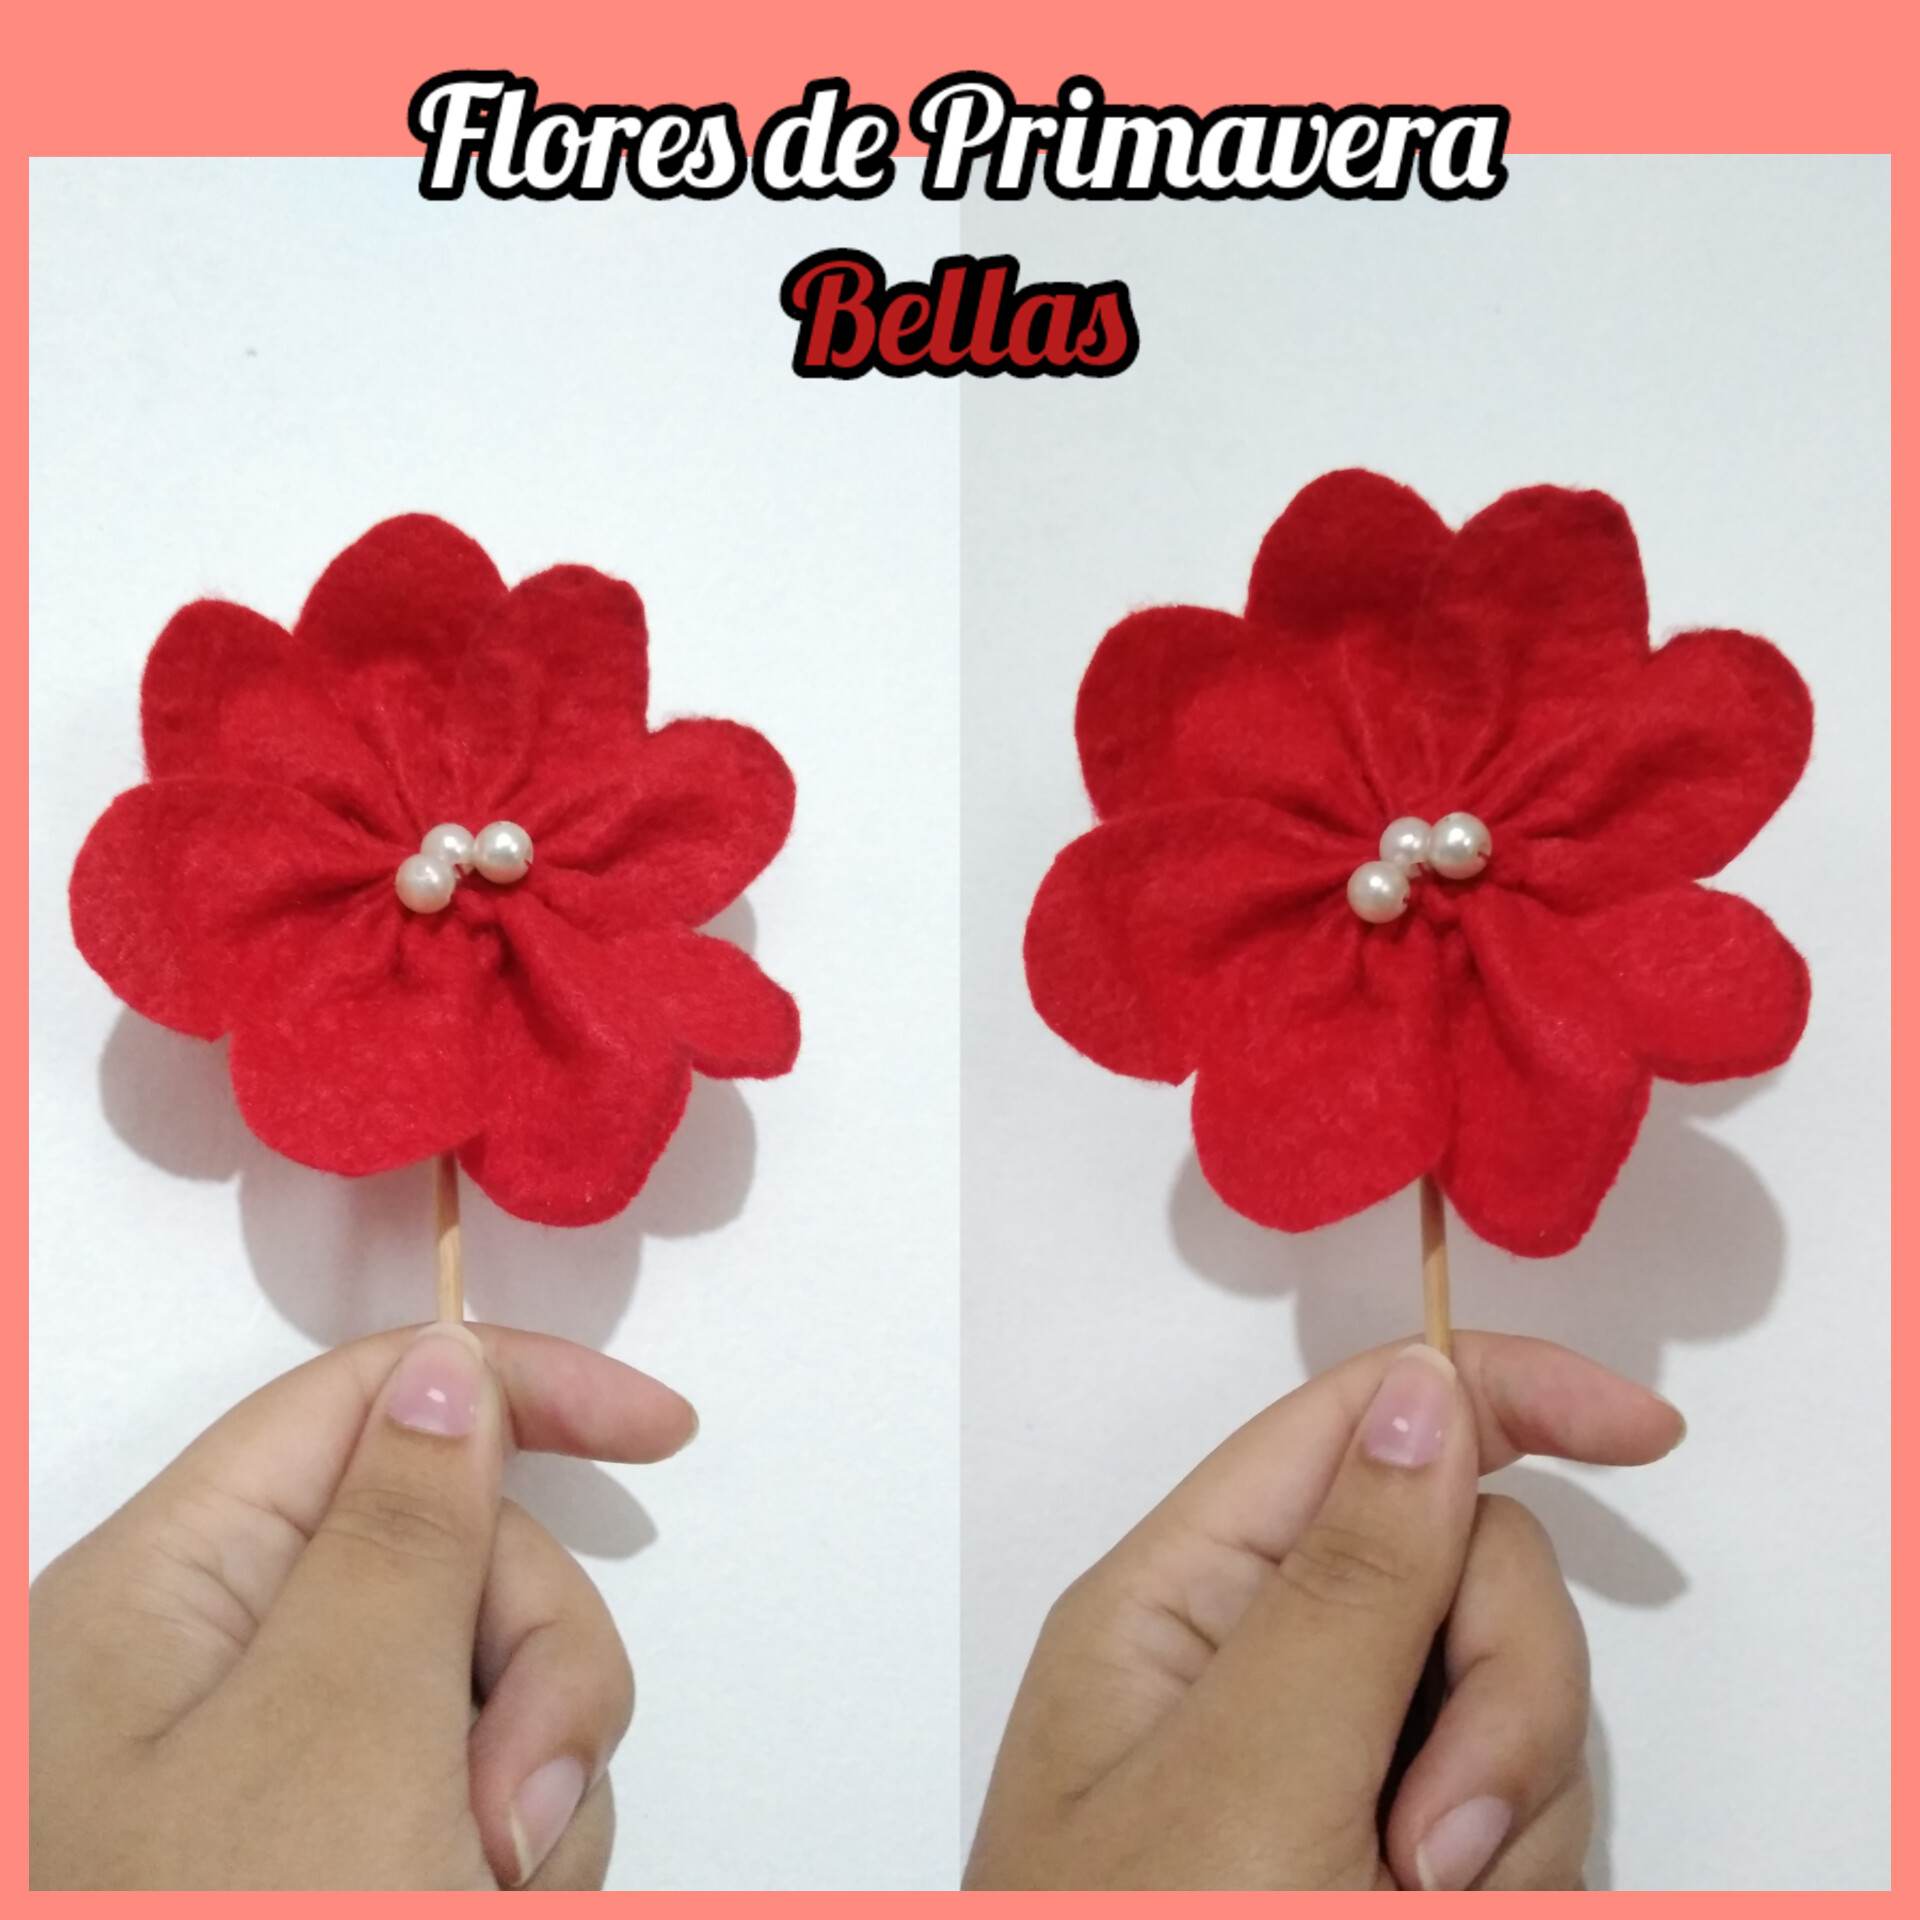
Final Result.