Stunning makeup in blue tones (Eng/Esp)
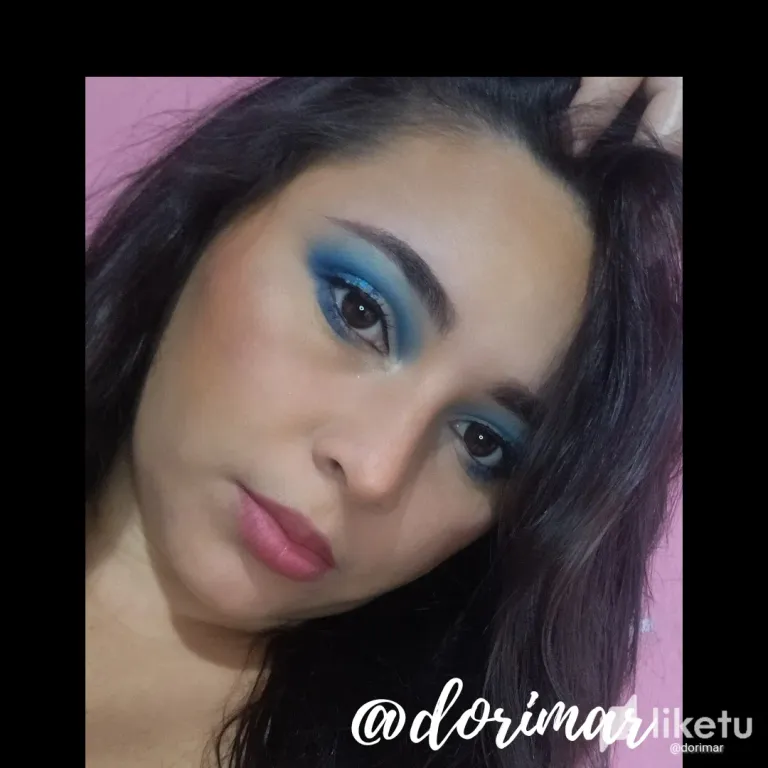
Hello to all my dear followers! I'm excited to share with you a new makeup tutorial inspired by one of my favorite colors: blue. Blue, for me, represents peace and strength, two values that we must cultivate every day. Let us not allow anyone to disturb our inner peace or weaken our strength. Let's live and express our emotions without fear of anything.
¡Hola a todos mis queridos seguidores! Me emociona compartir con ustedes un nuevo tutorial de maquillaje inspirado en uno de mis colores favoritos: el azul. El azul, para mí, representa paz y fortaleza, dos valores que debemos cultivar día a día. No permitamos que nadie perturbe nuestra paz interior ni debilite nuestra fuerza. Vivamos y expresemos nuestras emociones sin miedo a nada.
Now let's start with the step by step of this adorable makeup.
Ahora sí comencemos con el paso a paso de este adorable maquillaje.
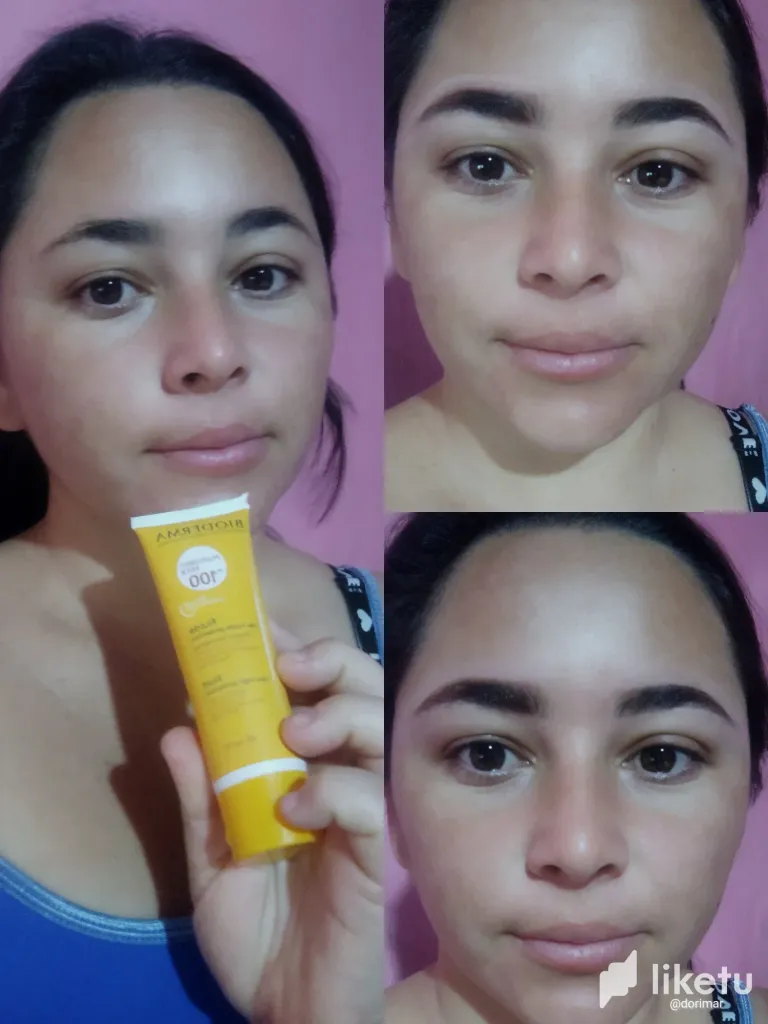
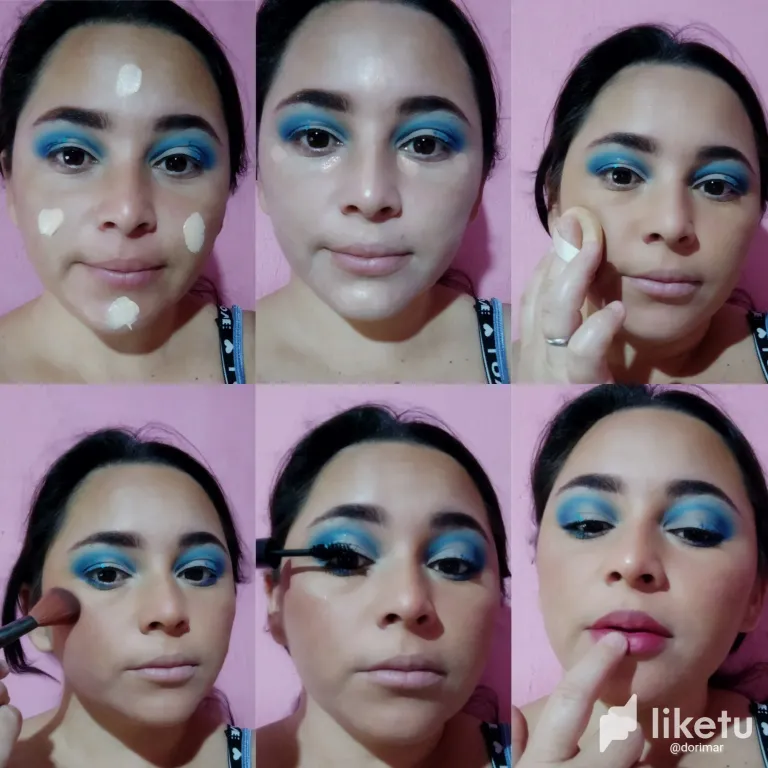
To start this radiant look, I started by applying my usual moisturizer all over my face, ensuring deep and even hydration. Next, I applied sunscreen to protect my skin from UV rays and prevent premature aging. Using brow pomade and an angled brush, I began to carefully fill in any sparse spaces, defining and perfecting my brows. To finish this step, I applied concealer to the edges of my brows for a flawless, professional finish.
Para iniciar este look radiante, comencé aplicando mi crema hidratante habitual en todo el rostro, asegurando una hidratación profunda y uniforme. Luego, apliqué protector solar para proteger mi piel de los rayos UV y prevenir el envejecimiento prematuro. Con una pomada para cejas y un pincel angular, comencé a rellenar cuidadosamente los espacios despoblados, definiendo y perfeccionando mis cejas. Para finalizar este paso, apliqué corrector en los bordes de las cejas para lograr un acabado impecable y profesional.
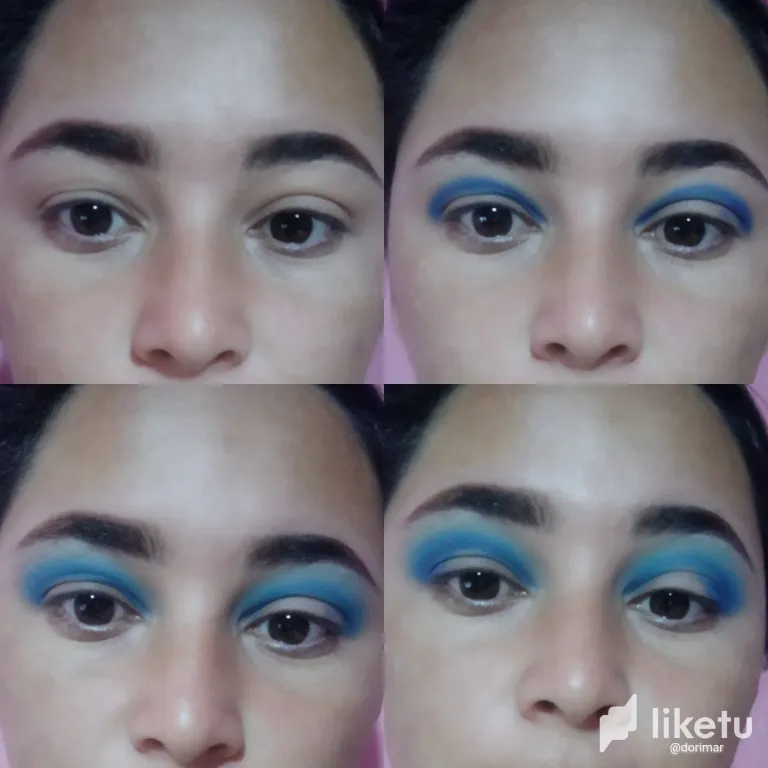
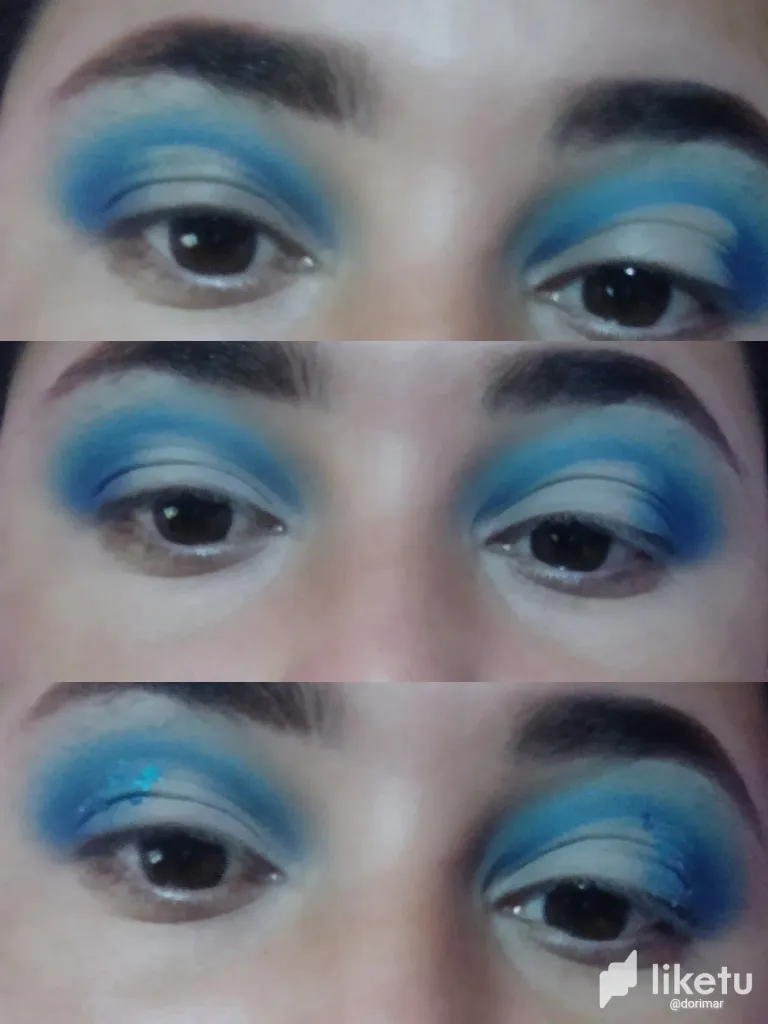
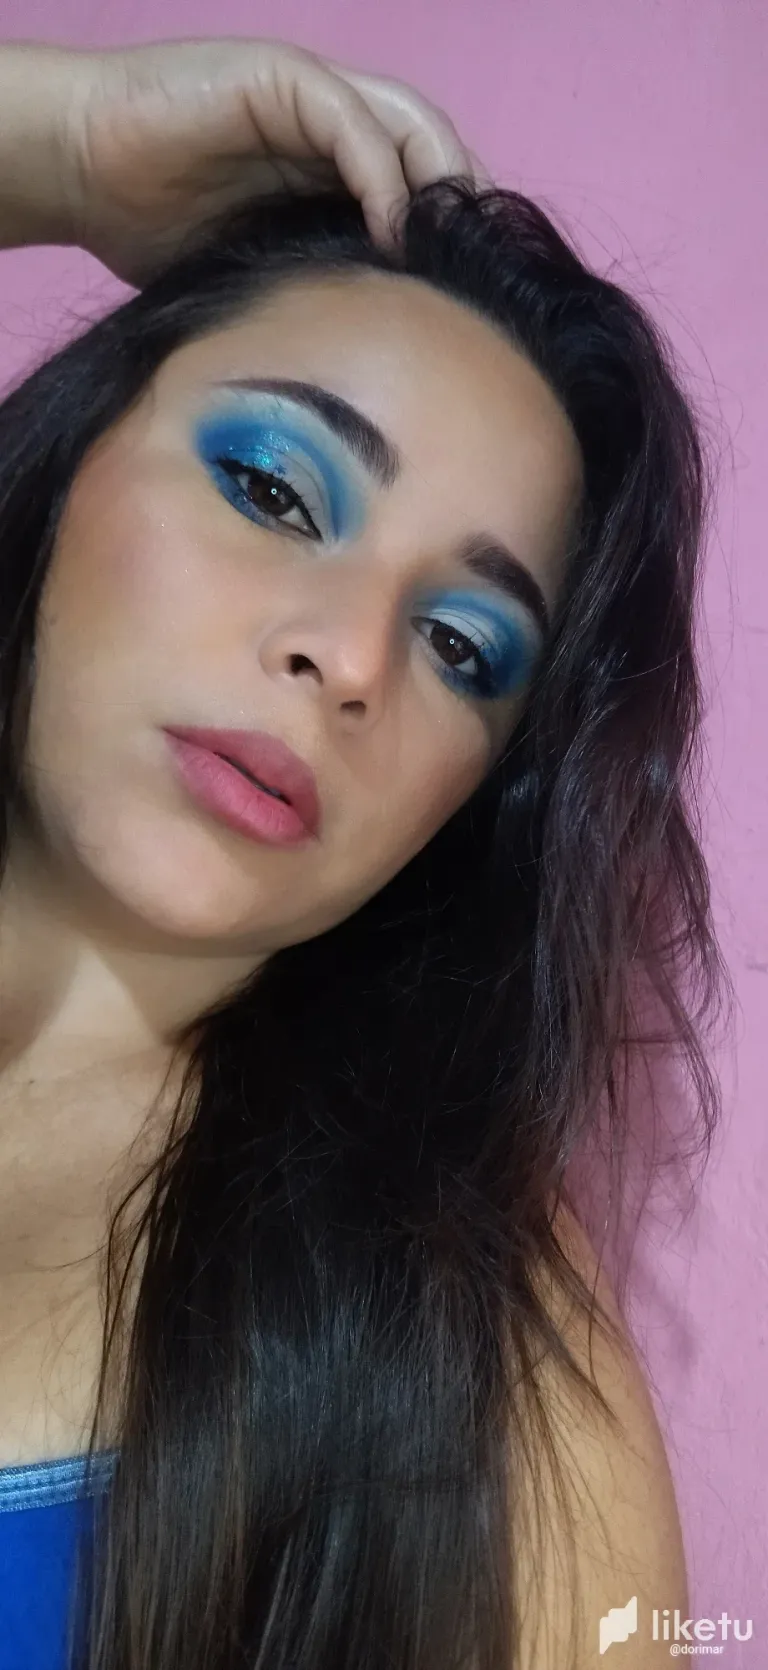
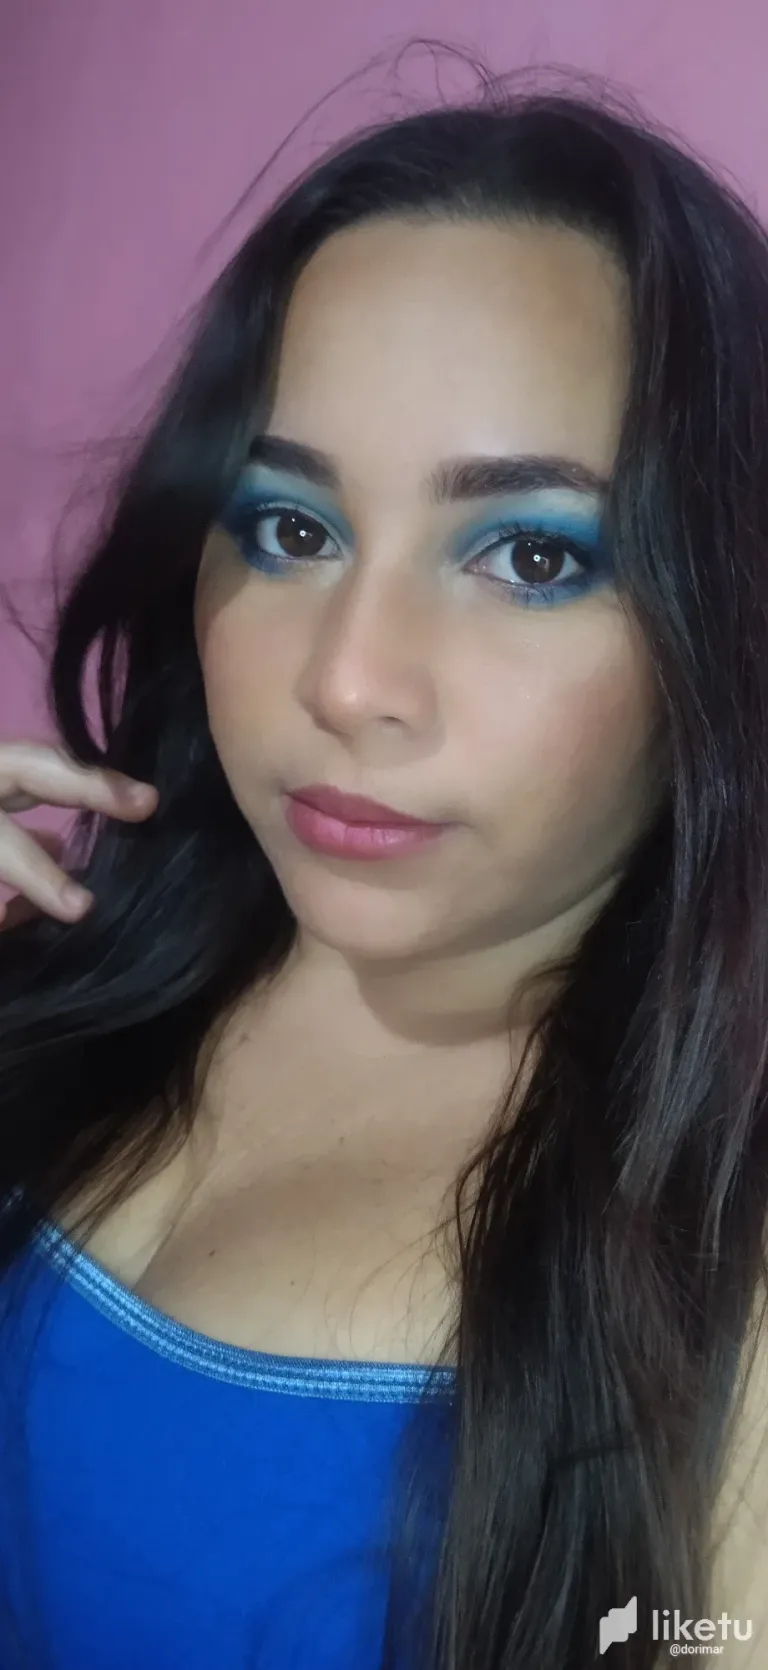
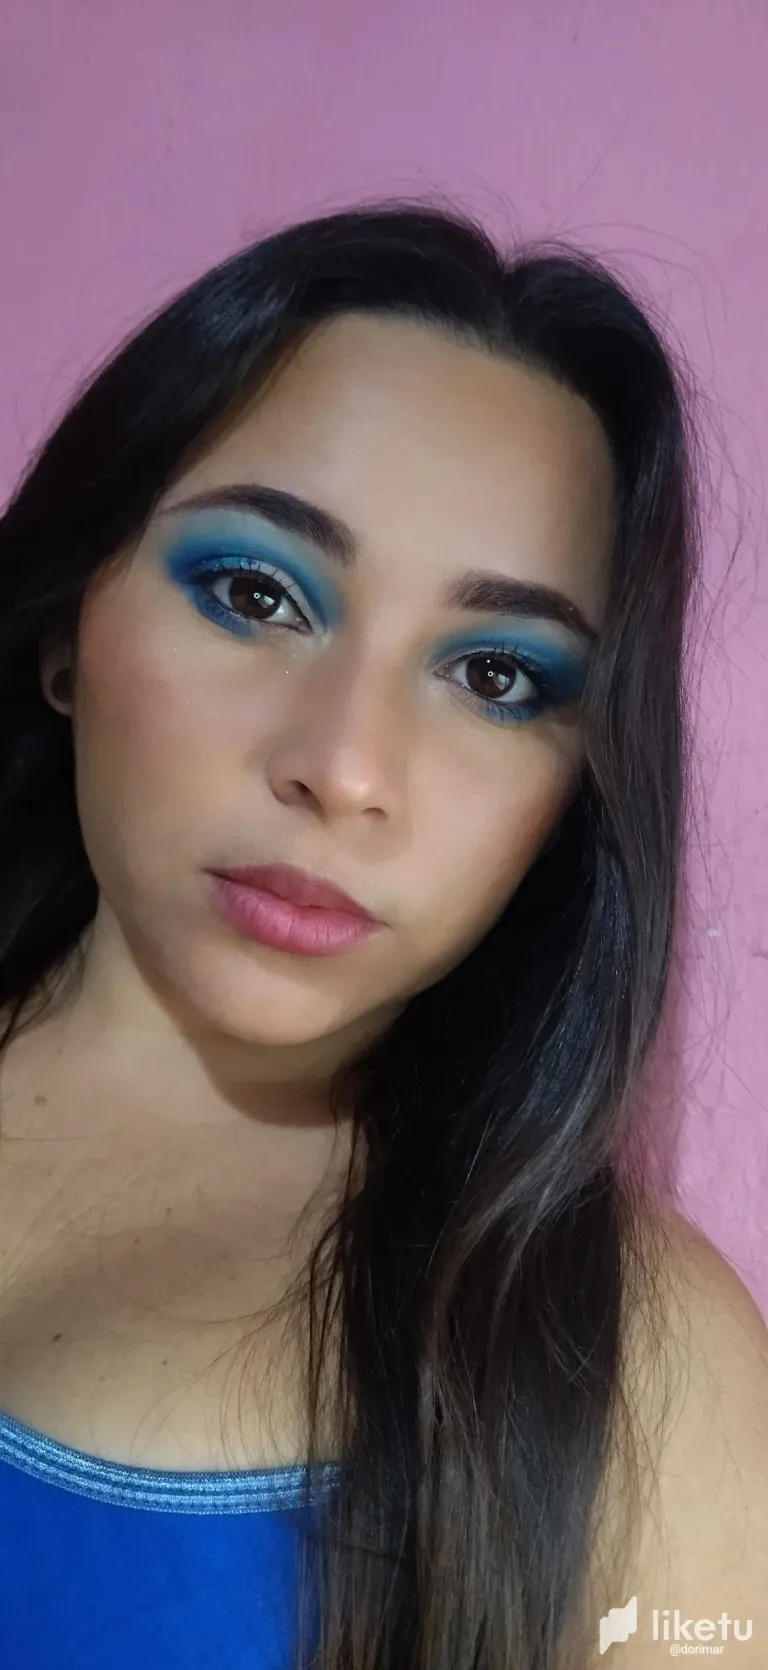
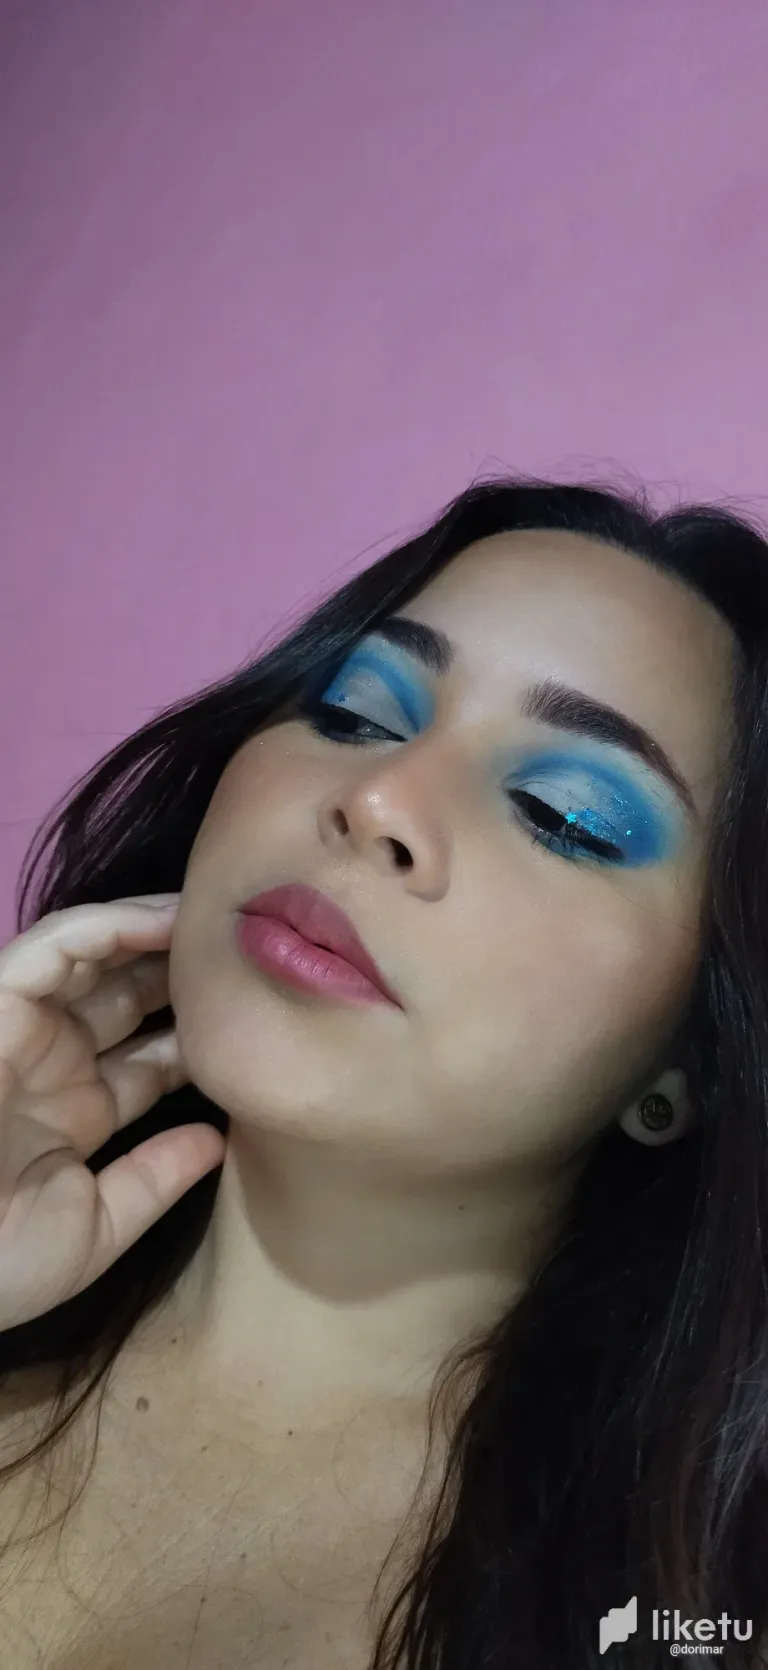
To achieve a striking look, I began by priming the mobile eyelid with concealer, creating a uniform canvas that intensifies the pigmentation of the shadows. Next, I applied a dark blue shade to the entire eye socket, blending carefully to create natural depth. Then, I used a light blue shade to gently blend towards the fixed eyelid, achieving a soft and harmonious transition. To intensify the look, I applied a touch of dark blue to the outer corner of the eye, creating a smoky effect. To define the crease of the eyelid, I made a subtle crease cut and sealed it with a white shadow, providing luminosity and precision. Finally, I complemented the look with black eyeliner glued to the eyelashes and a touch of blue glitter on the outer corner of the eye, for a touch of shine and glamour.
Para lograr una mirada impactante, comencé preparando el párpado móvil con corrector, creando un lienzo uniforme que intensifica la pigmentación de las sombras. A continuación, apliqué un tono azul oscuro en toda la cuenca del ojo, difuminando cuidadosamente para crear una profundidad natural. Luego, utilicé un tono azul claro para difuminar suavemente hacia el párpado fijo, logrando una transición suave y armoniosa. Para intensificar la mirada, apliqué un toque de azul oscuro en el extremo externo del ojo, creando un efecto ahumado. Para definir el pliegue del párpado, realicé un corte de pliegue sutil y lo sellé con una sombra blanca, aportando luminosidad y precisión. Finalmente, complementé el look con un delineado negro pegado a las pestañas y un toque de glitter azul en el extremo externo del ojo, para un toque de brillo y glamour.
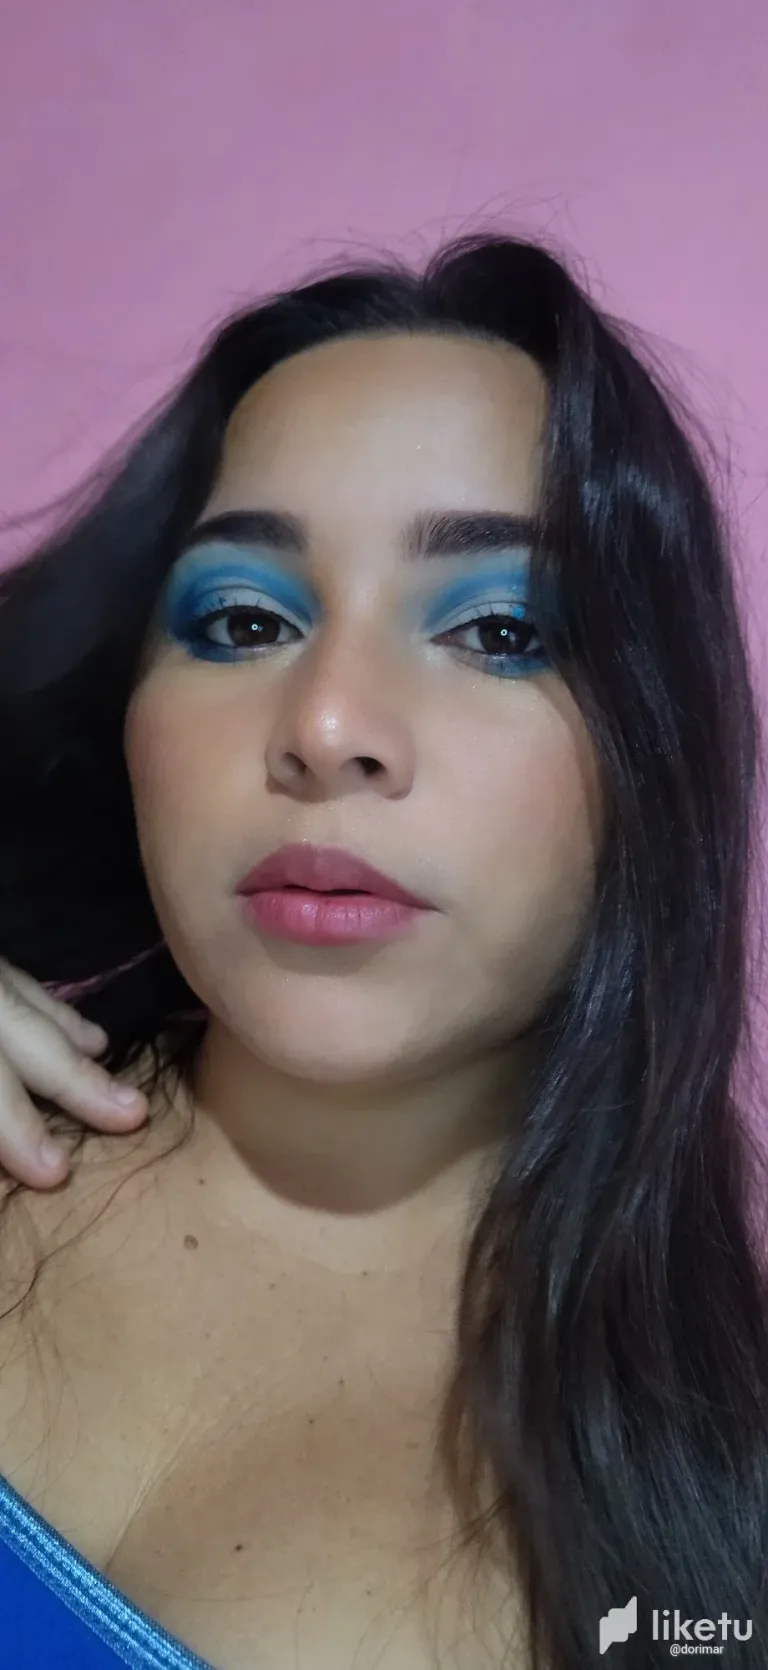
For face makeup, I started by applying my favorite makeup base with a damp sponge, achieving even and natural coverage. Next, I applied concealer to the "T" zone (forehead, nose and chin) to correct dark circles and blemishes, carefully blending it for a flawless finish. To seal and mattify the makeup, I used translucent powder with a soft brush, setting the product and controlling shine.
Para el maquillaje del rostro, comencé aplicando mi base de maquillaje favorita con una esponja húmeda, logrando una cobertura uniforme y natural. Luego, apliqué corrector en la zona "T" (frente, nariz y barbilla) para corregir ojeras e imperfecciones, difuminándolo cuidadosamente para un acabado impecable. Para sellar y matificar el maquillaje, utilicé polvo translúcido con una brocha suave, fijando el producto y controlando el brillo.
Next, I did a subtle contour with a powder bronzer, defining my cheekbones and adding dimension to the face. Finally, I applied blush to the apples of my cheeks for a touch of color and warmth, and to complement the look I applied highlighter, mascara. eyelashes and lipstick.
A continuación, realicé un sutil contorno con un bronceador en polvo, definiendo mis pómulos y aportando dimensión al rostro, Finalmente, apliqué rubor en las manzanas de las mejillas para un toque de color y calidez, y para complementar el look aplique iluminador, máscara de pestañas y un labial.
For the best experience view this post on Liketu
!LOL
Posted using Hive Images
lolztoken.com
Of course, those are only round figures.
Credit: reddit
@dorimar, I sent you an $LOLZ on behalf of hivephoto
(10/10)
Delegate Hive Tokens to Farm $LOLZ and earn 110% Rewards. Learn more.