Terminando y finalizando el desague|||||Completing and finalizing the drainage
Buenos dias, como bien saben en unos dias pasados, he estado trabajando en la costruccion de un desague, el cual consistia en 7 rejillas con las camaras, tambien la parte de las cañerias en un total de 30 metros, una parte utilice caños de 100 y para la parte de la salida total coloque dos caños de 100, de esa forma el caudal de agua de los techos que tienen tres caidas, mas en la parte de los patios saldrian muy bien.
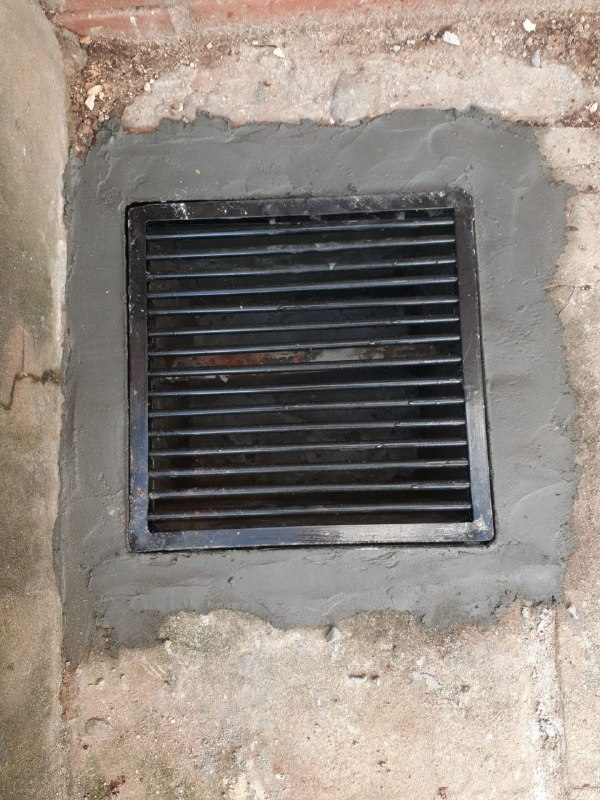
Lo que vemos aca son dos rejillas las que faltaban construir, asi que no perdi mucho tiempo y puse manos a la obra, lo digo asi amigos, por el hecho de las inclemencias del tiempo, mucha lluvia, que no paraban nunca, bueno teniendo en cuentra que es el mes de las inclemencias de lluvias.

Asi que una ves que he elaborado, las camaras con sus respectivas rejillas, y los caños colocados, bien la etapa final la de cubrir todo lo que he cortado en el contrapiso, para dejar todo bien prolijo.
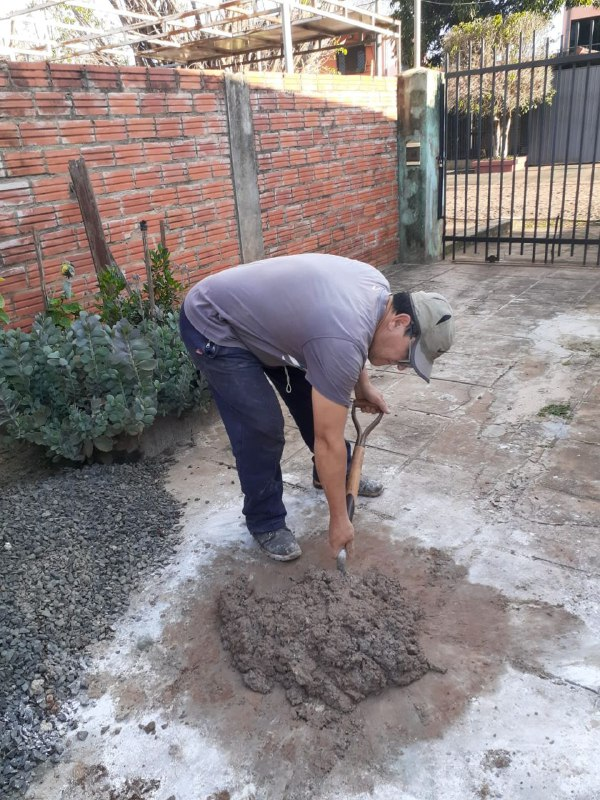
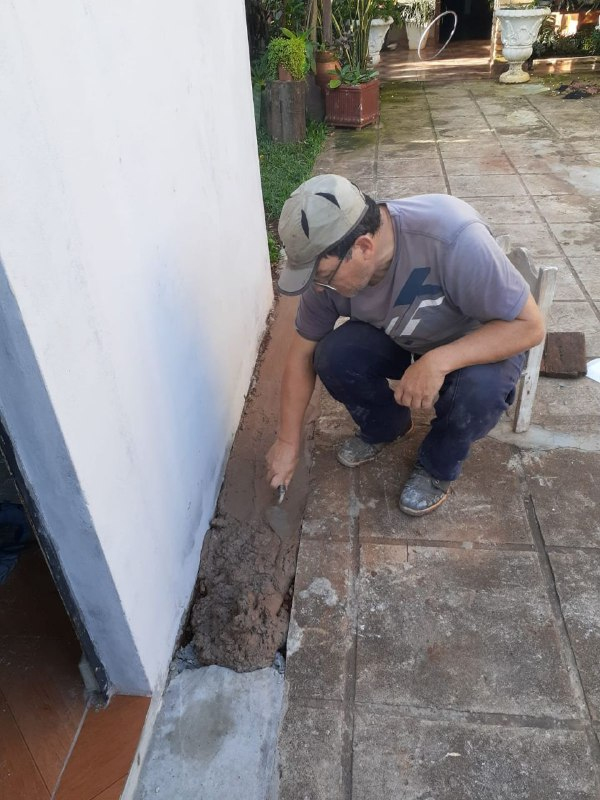
Bueno en realidad tube que preparar 4 pastones en total, para poder cubrir todos los caños, cada paston 6 baldes de arena, 6 de cascotes, 1 balde de cemento y 1 balde y medio de cal, como se ve en la foto se mesclo todo, para luego utilizar dicha mescla, por supuesto no muy blanda, para que quede bien.
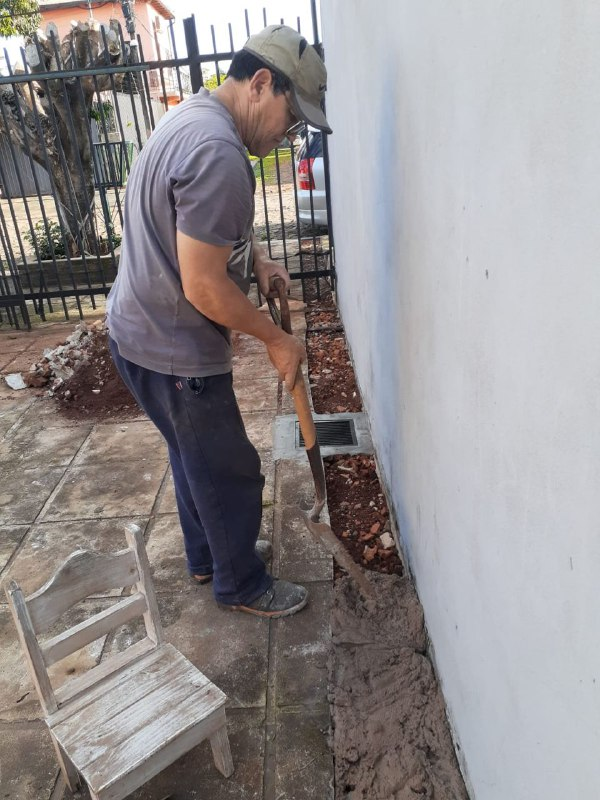
Utilizando la pala, para transportar y colocar dicha mescla sobre los caños, por supuesto que todo esto es como siempre lo digo, si todo lo que hacemos lo hacemos con mucho amor y perseverancia, las cosas salen bien.
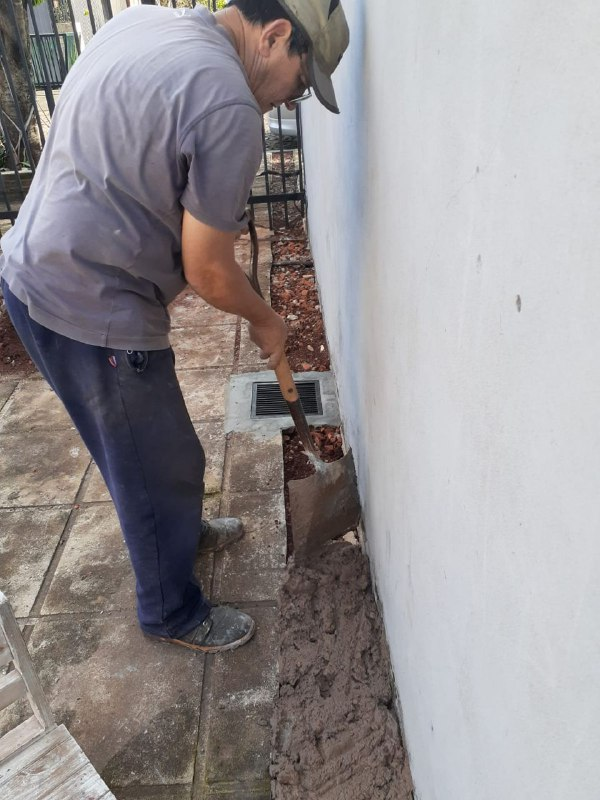
Luego de colocar sobre lo que seria los caños, con la finalidad de que quede todo bien prolijo, a medida que lo iva haciendo lo iva finalizando, los detalles con el fratacho, para que quede parejo todo, como lo hera antes, de haber comenzado, porque como bien dije se corto todo el piso con la moladora luego se pico con maza y cortahierro.
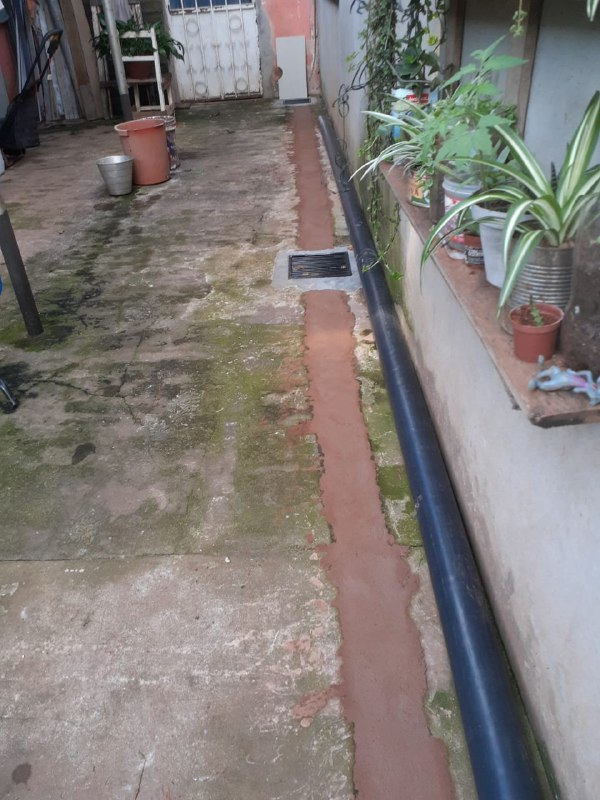
En esta foto podemos ver, desde donde comenze a picar o cortar todo para colocar las rejillas, hacer las camaras de desague y lugo la colocacion de los caños, antes mencionados.
Bueno la parte de las rejillas, lo hice con cemento para que quede bien firme, es por eso el color del material que esta en el piso, uno verde por el cemento y el otro colorado por el contrapiso, para tapar todo.

Asi que de esta manera conclui con el desague, que tanta falta hacia en este hogar, donde lo construi, quedando todo muy bien.
MUCHAS GRACIAS POR SEGUIRME Y LEERME, QUE PASEN UN EXCELENTE DIA.
TRADUCIDO AL INGLES.
Good morning, as you know in recent days, I have been working on the construction of a drain, which consisted of 7 grids with cameras, also the part of the pipes in a total of 30 meters, a part used pipes of 100 and for the part of the total output placed two pipes of 100, thus the flow of water from the roofs that have three falls, plus the part of the courtyards would come out very well.
What we see here are two grids that needed to be built, so I didn't waste much time and put my hands to work, I say so friends, by the fact of the inclement weather, lots of rain, that never stopped, well taking into account that it is the month of inclement rains.
So once I have elaborated, the chambers with their respective grids, and the pipes placed, well the final stage is to cover everything that I have cut in the subfloor, to leave everything very neat.
Well actually I had to prepare 4 pastons in total, to cover all the pipes, each paston 6 buckets of sand, 6 of rubble, 1 bucket of cement and 1 bucket and a half of lime, as seen in the photo everything was mixed, and then use the mixture, of course not very soft, so that it looks good.
Using the shovel, to transport and place the mixture on the pipes, of course all this is as I always say, if everything we do is done with love and perseverance, things go well.
After placing on what would be the pipes, in order to make it all very neat, as I was doing it I was finishing the details with the fratacho, to make it all even, as it was before, to have started, because as I said the whole floor was cut with the grinder, then it was pecked with mace and iron cutter.
In this photo we can see, from where I began to chop or cut everything to place the grids, make the drainage chambers and then the placement of the pipes, mentioned above.
Well the part of the grates, I did it with cement to make it firm, that's why the color of the material that is on the floor, one green for the cement and the other colored for the subfloor, to cover everything.
So in this way I concluded with the drainage, which was so lacking in this home, where I built it, leaving everything very well.
THANK YOU VERY MUCH FOR FOLLOWING ME AND READING ME, HAVE A GREAT DAY.
Este es un trabajo que hay que hacer con mucha dedicación y amor para que quede bien y cumpla su función. Veo que te quedó muy prolijo todo. Execelente!
Muchas gracias lo mismo e dijo la sra. en donde le realice el trabajo, muchas gracias por seguirme, saludos.
Congratulations @comandoyeya! You have completed the following achievement on the Hive blockchain and have been rewarded with new badge(s):
Your next target is to reach 90000 upvotes.
You can view your badges on your board and compare yourself to others in the Ranking
If you no longer want to receive notifications, reply to this comment with the word
STOPSupport the HiveBuzz project. Vote for our proposal!
¡Felicitaciones!
1. Invierte en el PROYECTO ENTROPÍA y recibe ganancias semanalmente. Entra aquí para más información.
3. Suscríbete a nuestra COMUNIDAD, apoya al trail de @Entropia y así podrás ganar recompensas de curación de forma automática. Entra aquí para más información sobre nuestro trail.
4. Creación de cuentas nuevas de Hive aquí.
5. Visita nuestro canal de Youtube.
Atentamente
El equipo de curación del PROYECTO ENTROPÍA
Que buen trabajo, y imagino que ya funcionará a ma perfección, sin dudas le será de mucha utilidad