[ESP-ENG] Contest: Spring Flowers | Concurso: Flores de Primavera
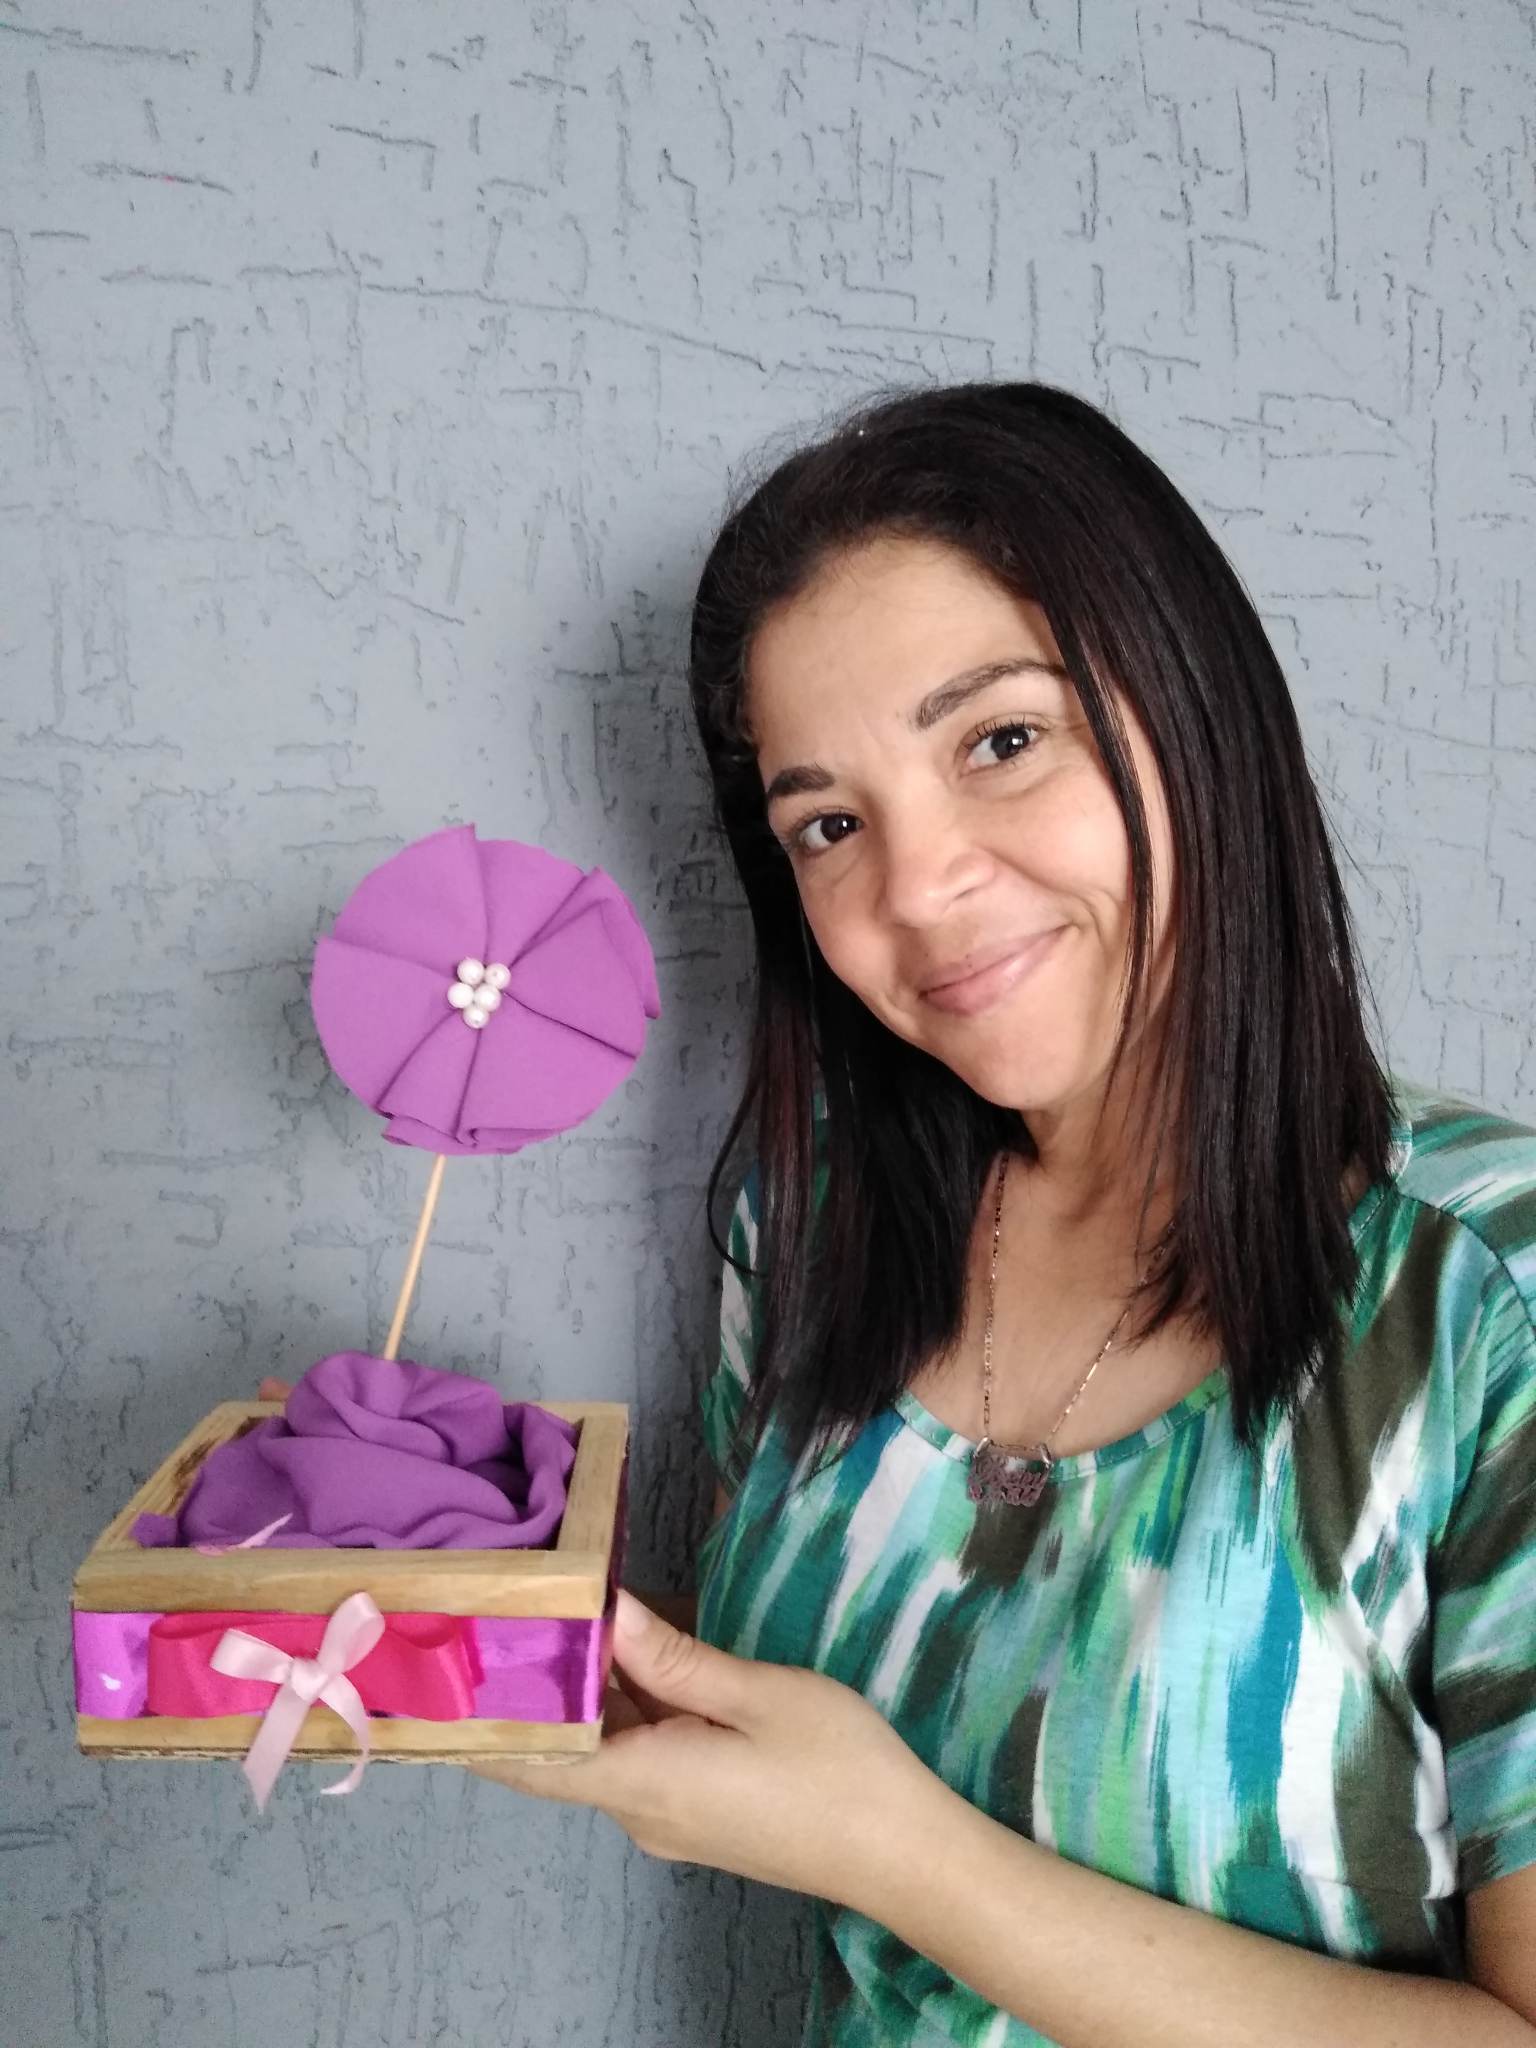
Hello hive family, welcome once again to a new post, I am happy to be able to participate in the spring flower contest, organized by the Hive Diy community, it is gratifying to see the variety of flowers that people have been able to share in this beautiful community, I also want to join today to participate in this amazing contest and be able to show you my beautiful flower, I base creating a purple spring flower extremely beautiful I wanted to make the commune of the special one that makes it look much prettier, so I am eager to be able to show you the work you can do let's see the step by step.
.jpg)
Paso 1: voy a necesitar la tela morada, el hilo, la tijera, aguja, lápiz, perlas para decorar. Ya que la tele está un poco arrugada procedí primeramente a planchar la para luego cortarla. Esta flor se hace con círculos así que vamos a hacer 8 círculos, mientras más círculos hagamos más pétalos y más abundante se verá la flor. El tamaño de los círculos puede variar mientras los círculos sea más grandes la flor será más grande, Y si los círculos son más pequeños la flor será más pequeña. Entonces con ayuda de un envase redondo procedí a marcar los círculos en la tela, luego de marcar lo procedí a recortar todos los círculos recordando que son ocho.
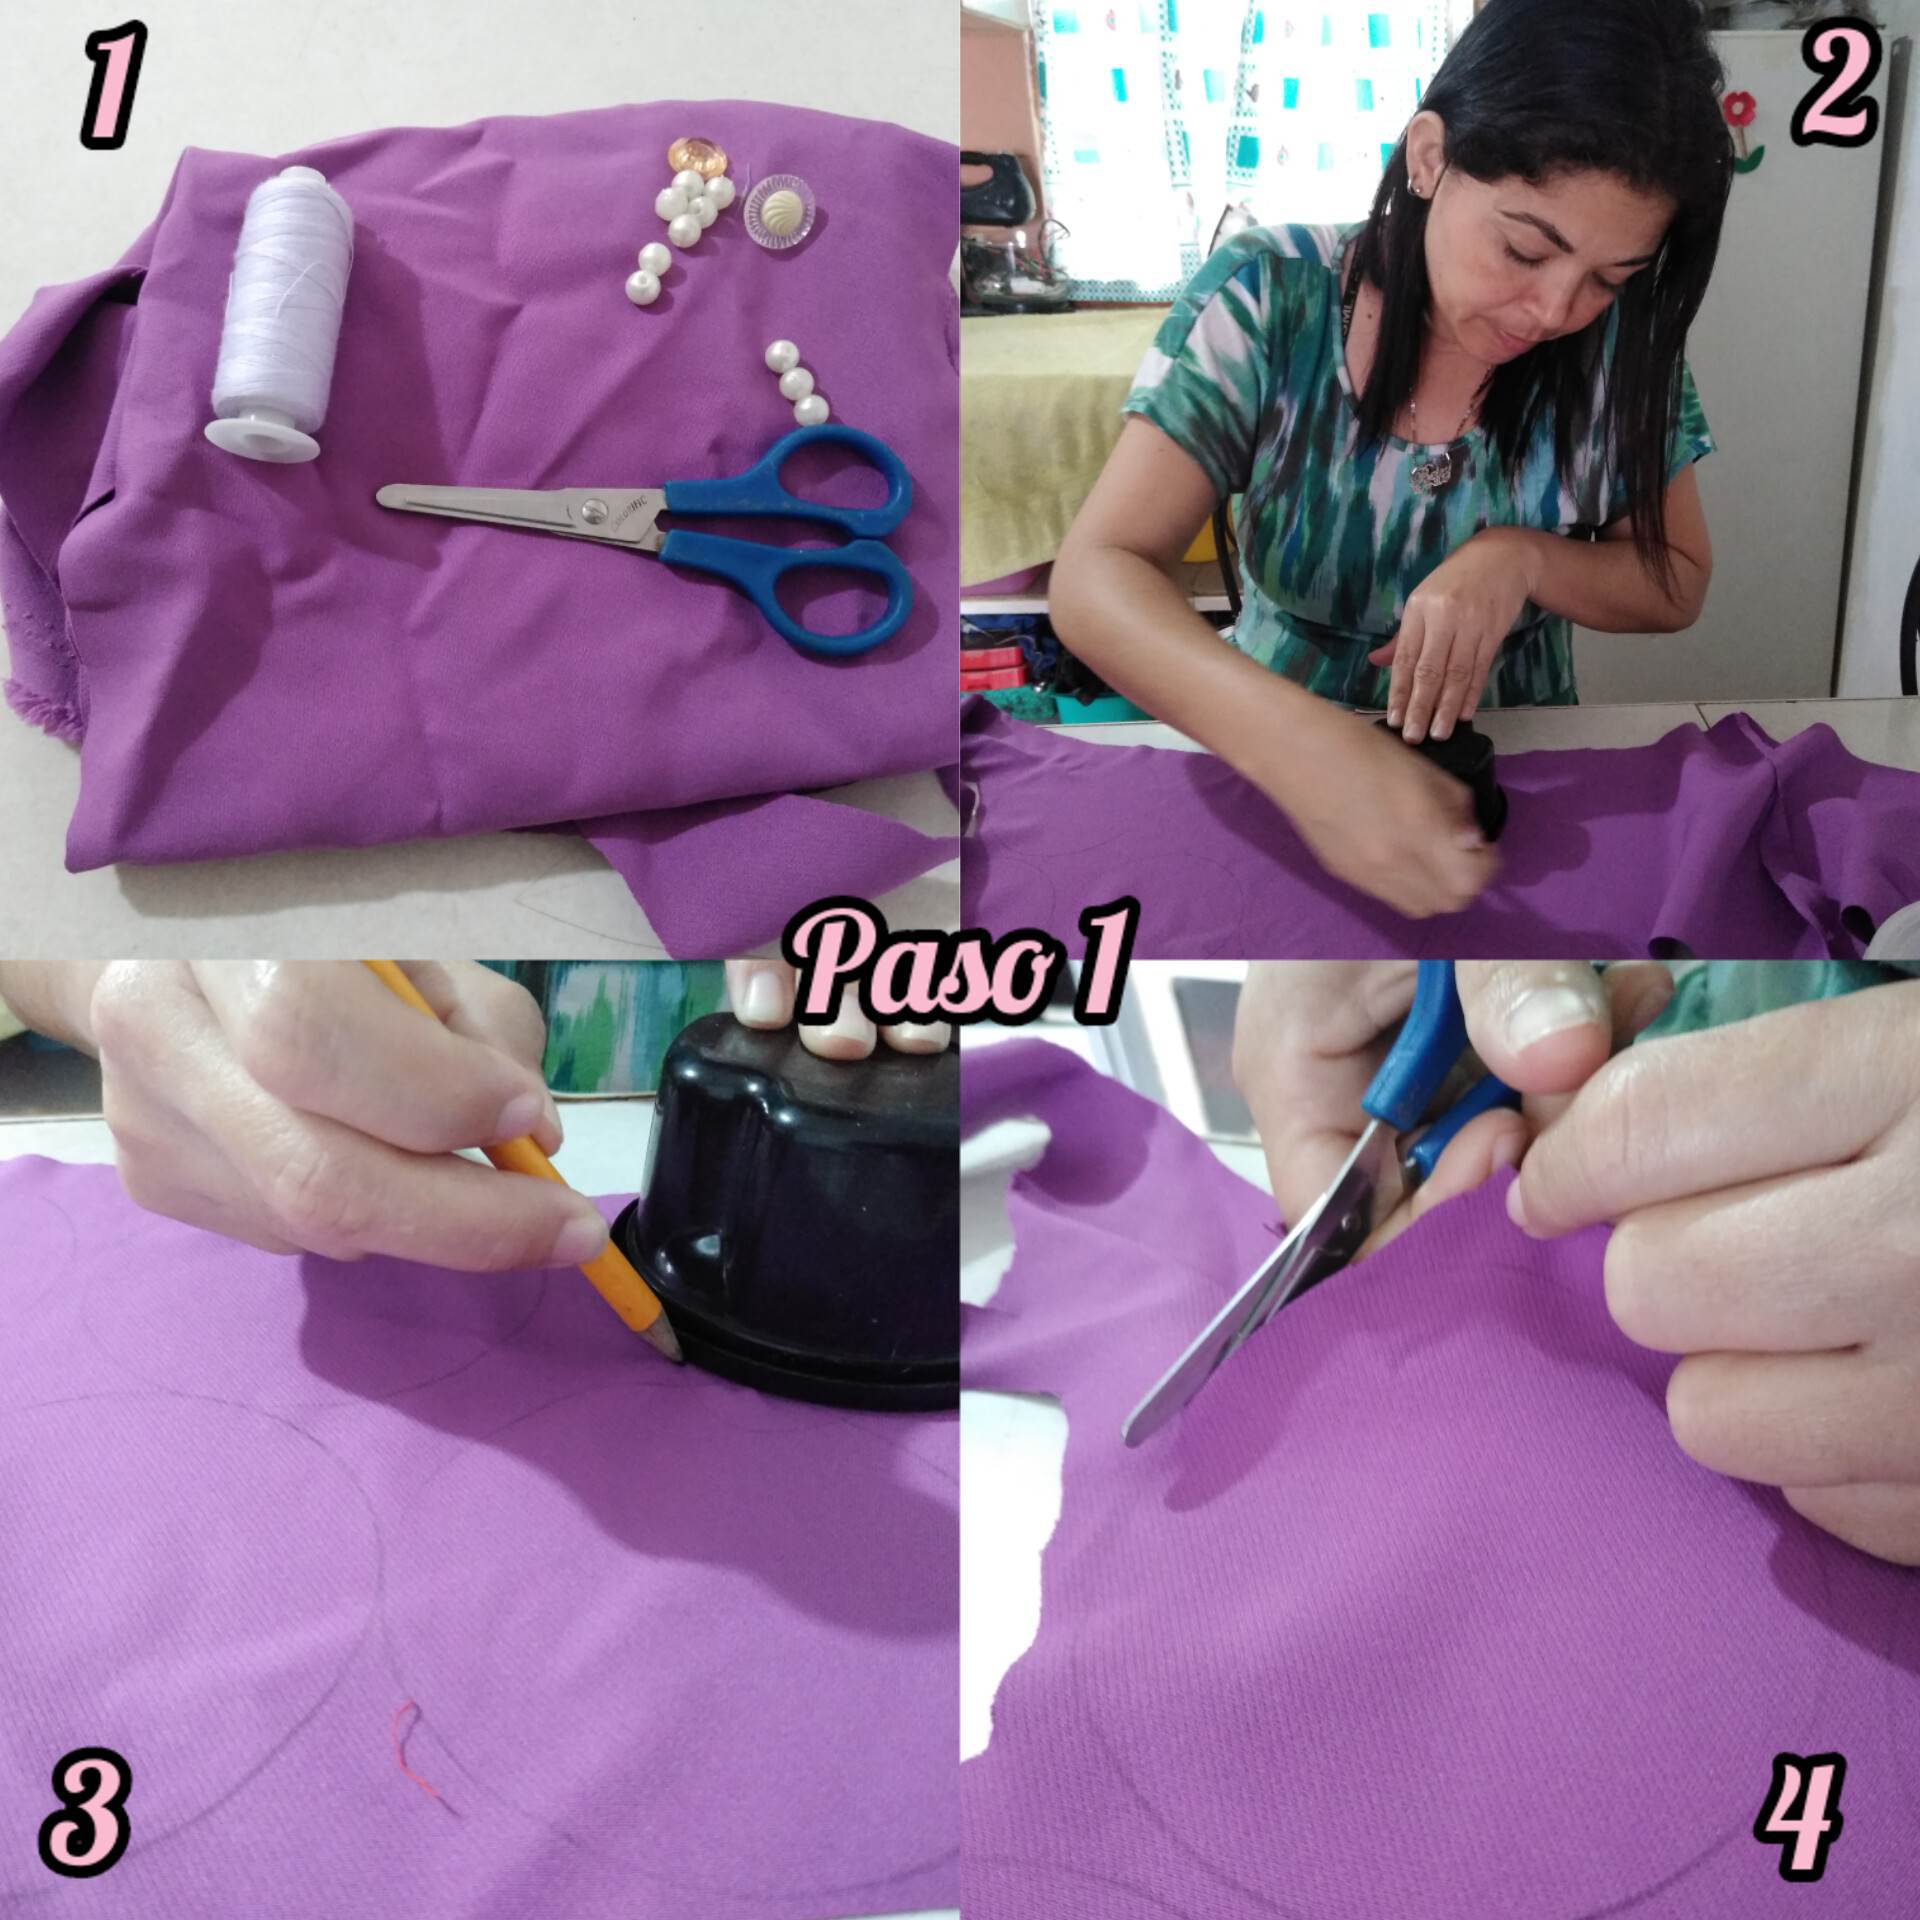
Step 1: I will need the purple fabric, thread, scissors, needle, pencil, beads to decorate. Since the fabric is a little wrinkled I proceeded first to iron it and then cut it. This flower is made with circles so we are going to make 8 circles, the more circles we make the more petals and the more abundant the flower will look. The size of the circles can vary as long as the circles are bigger the flower will be bigger, and if the circles are smaller the flower will be smaller. Then with the help of a round container I proceeded to mark the circles on the fabric, after marking I proceeded to cut out all the circles remembering that there are eight.
Paso 2: luego de tener los círculos recortados lo primero que haremos será doblar el círculo ala mitad, luego de doblarlo a la mitad procederemos a doblar los nuevamente a la mitad, luego de tenerlo en forma de un pequeño cono procederemos a coser la punta del triángulo. Ya que literalmente quedará como un triángulo, coceremos en la punta ya que este será el inicio para poder ir uniendo todos los pétalos.
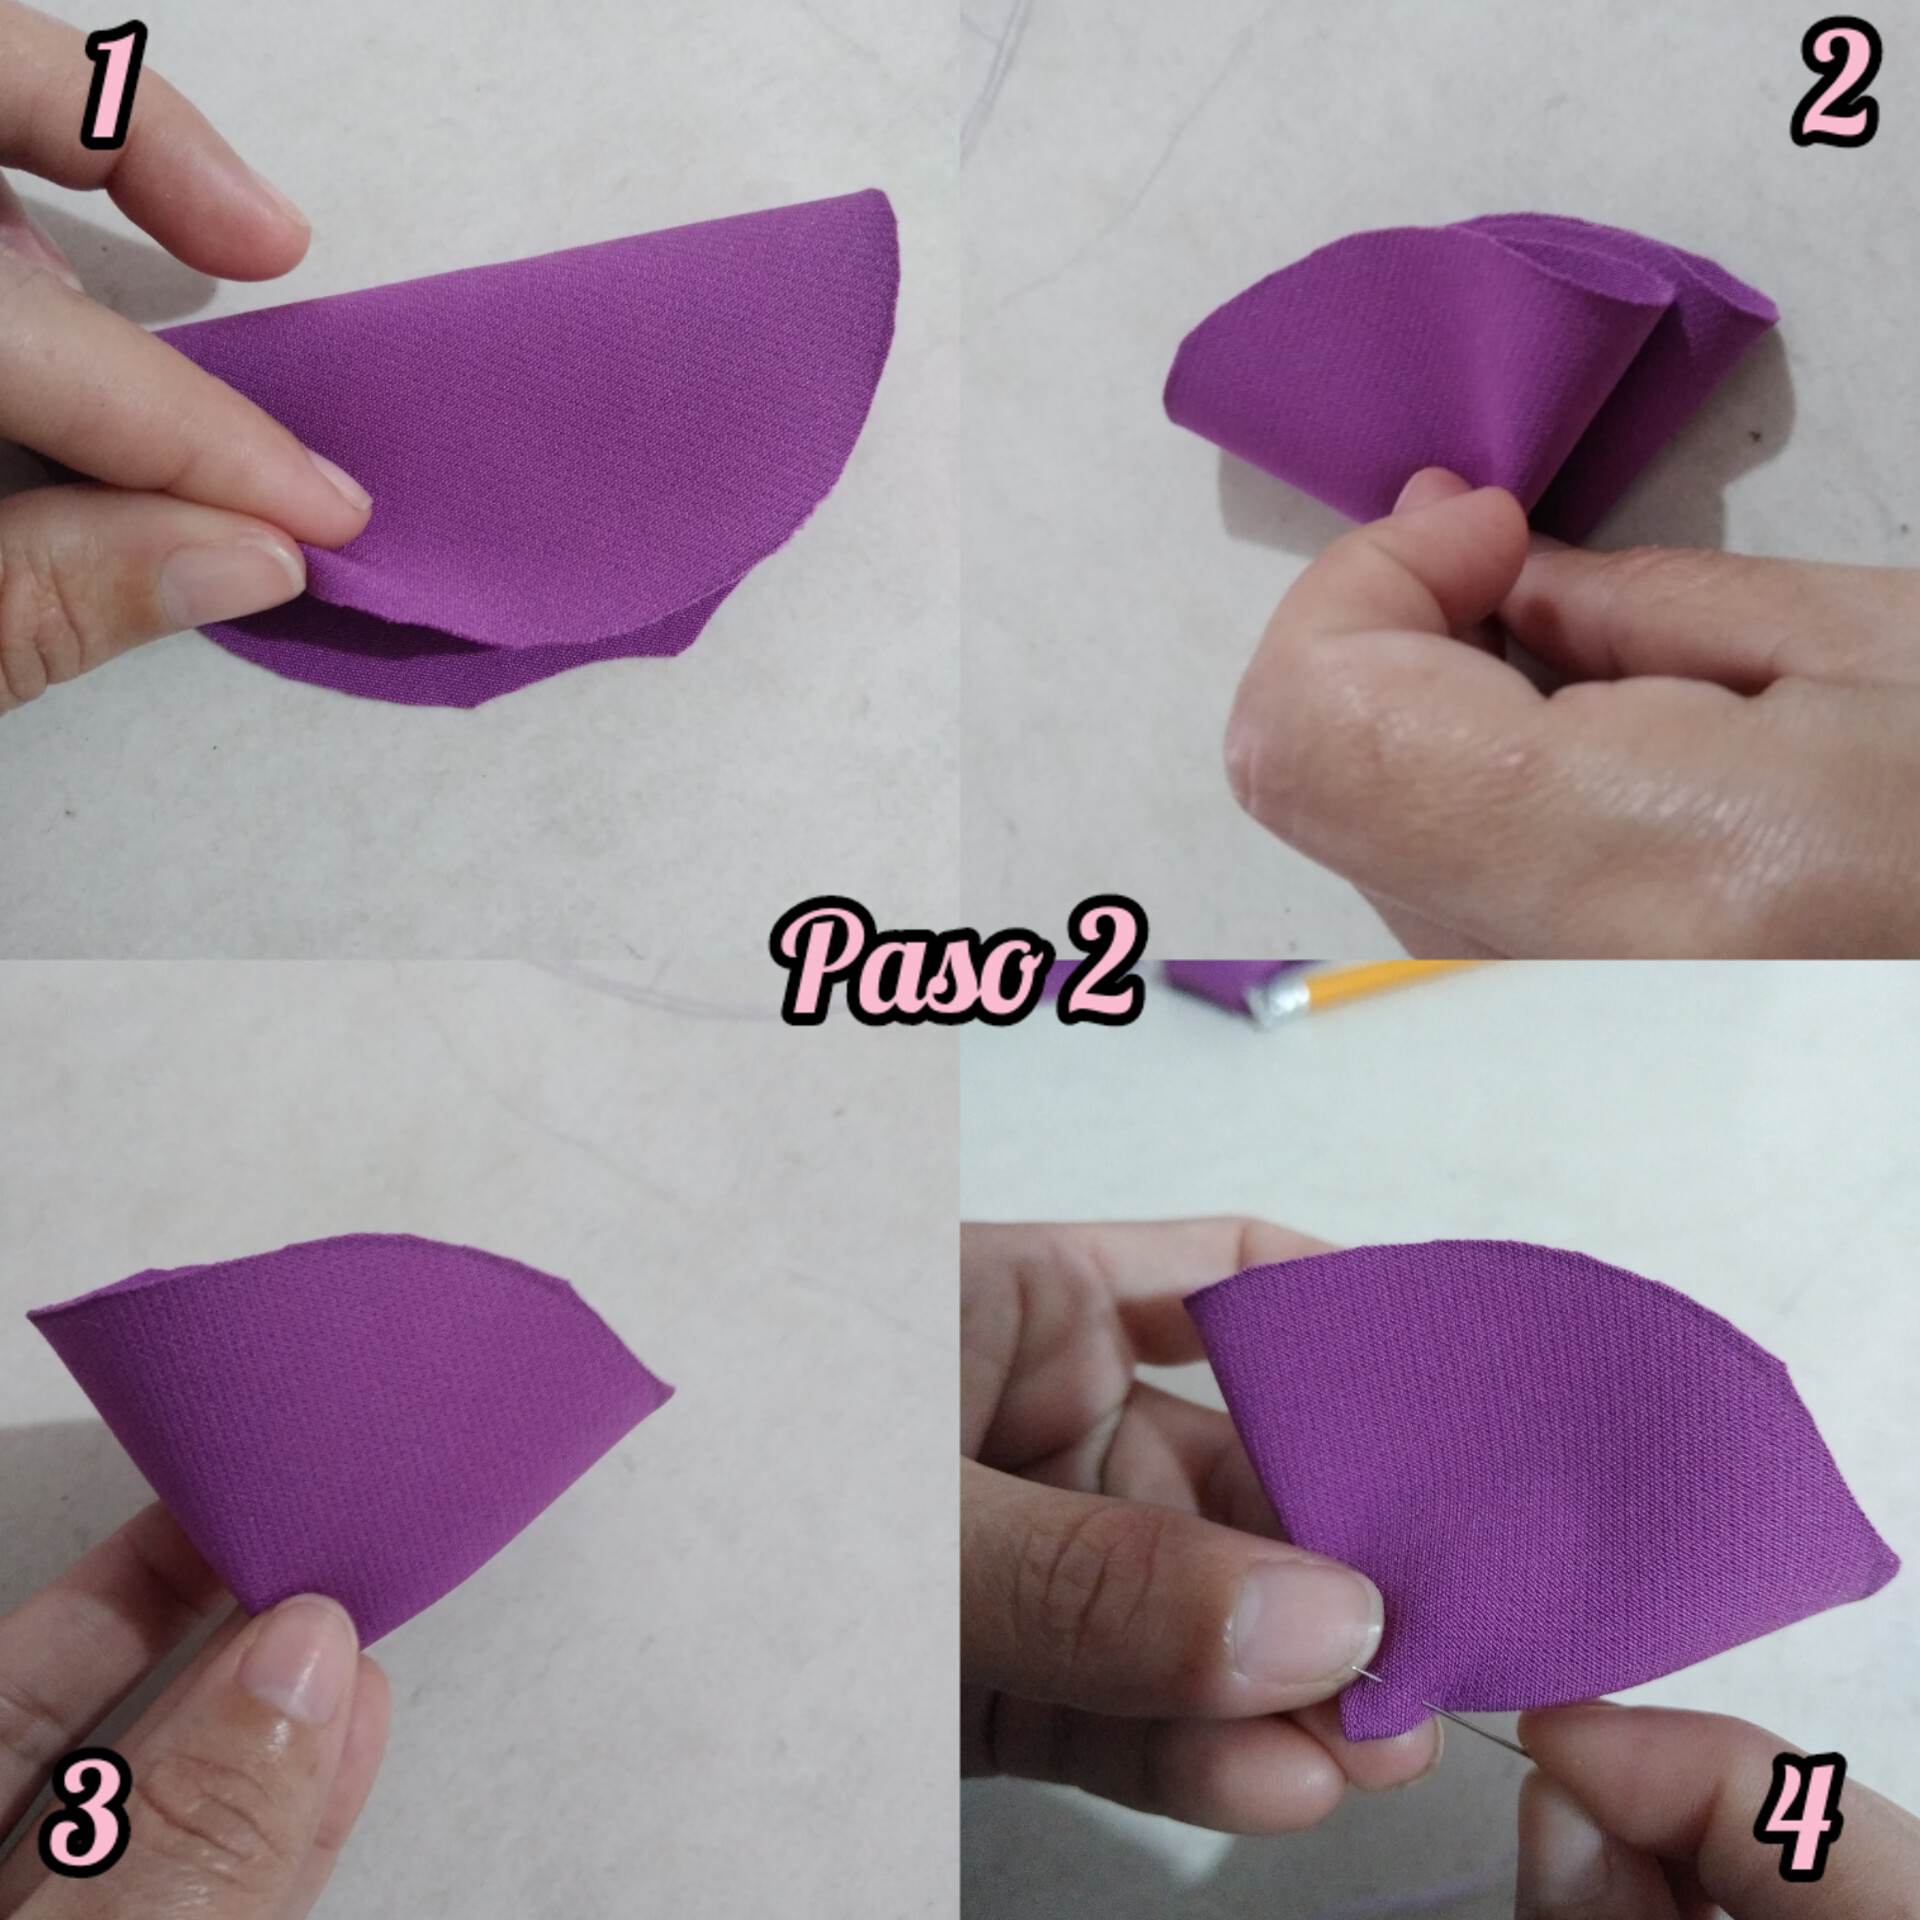
Step 2: after having the circles cut out the first thing we will do is fold the circle in half, after folding it in half we will proceed to fold it in half again, after having it in the shape of a small cone we will proceed to sew the tip of the triangle. Since it will literally look like a triangle, we will sew in the tip since this will be the beginning to be able to join all the petals.
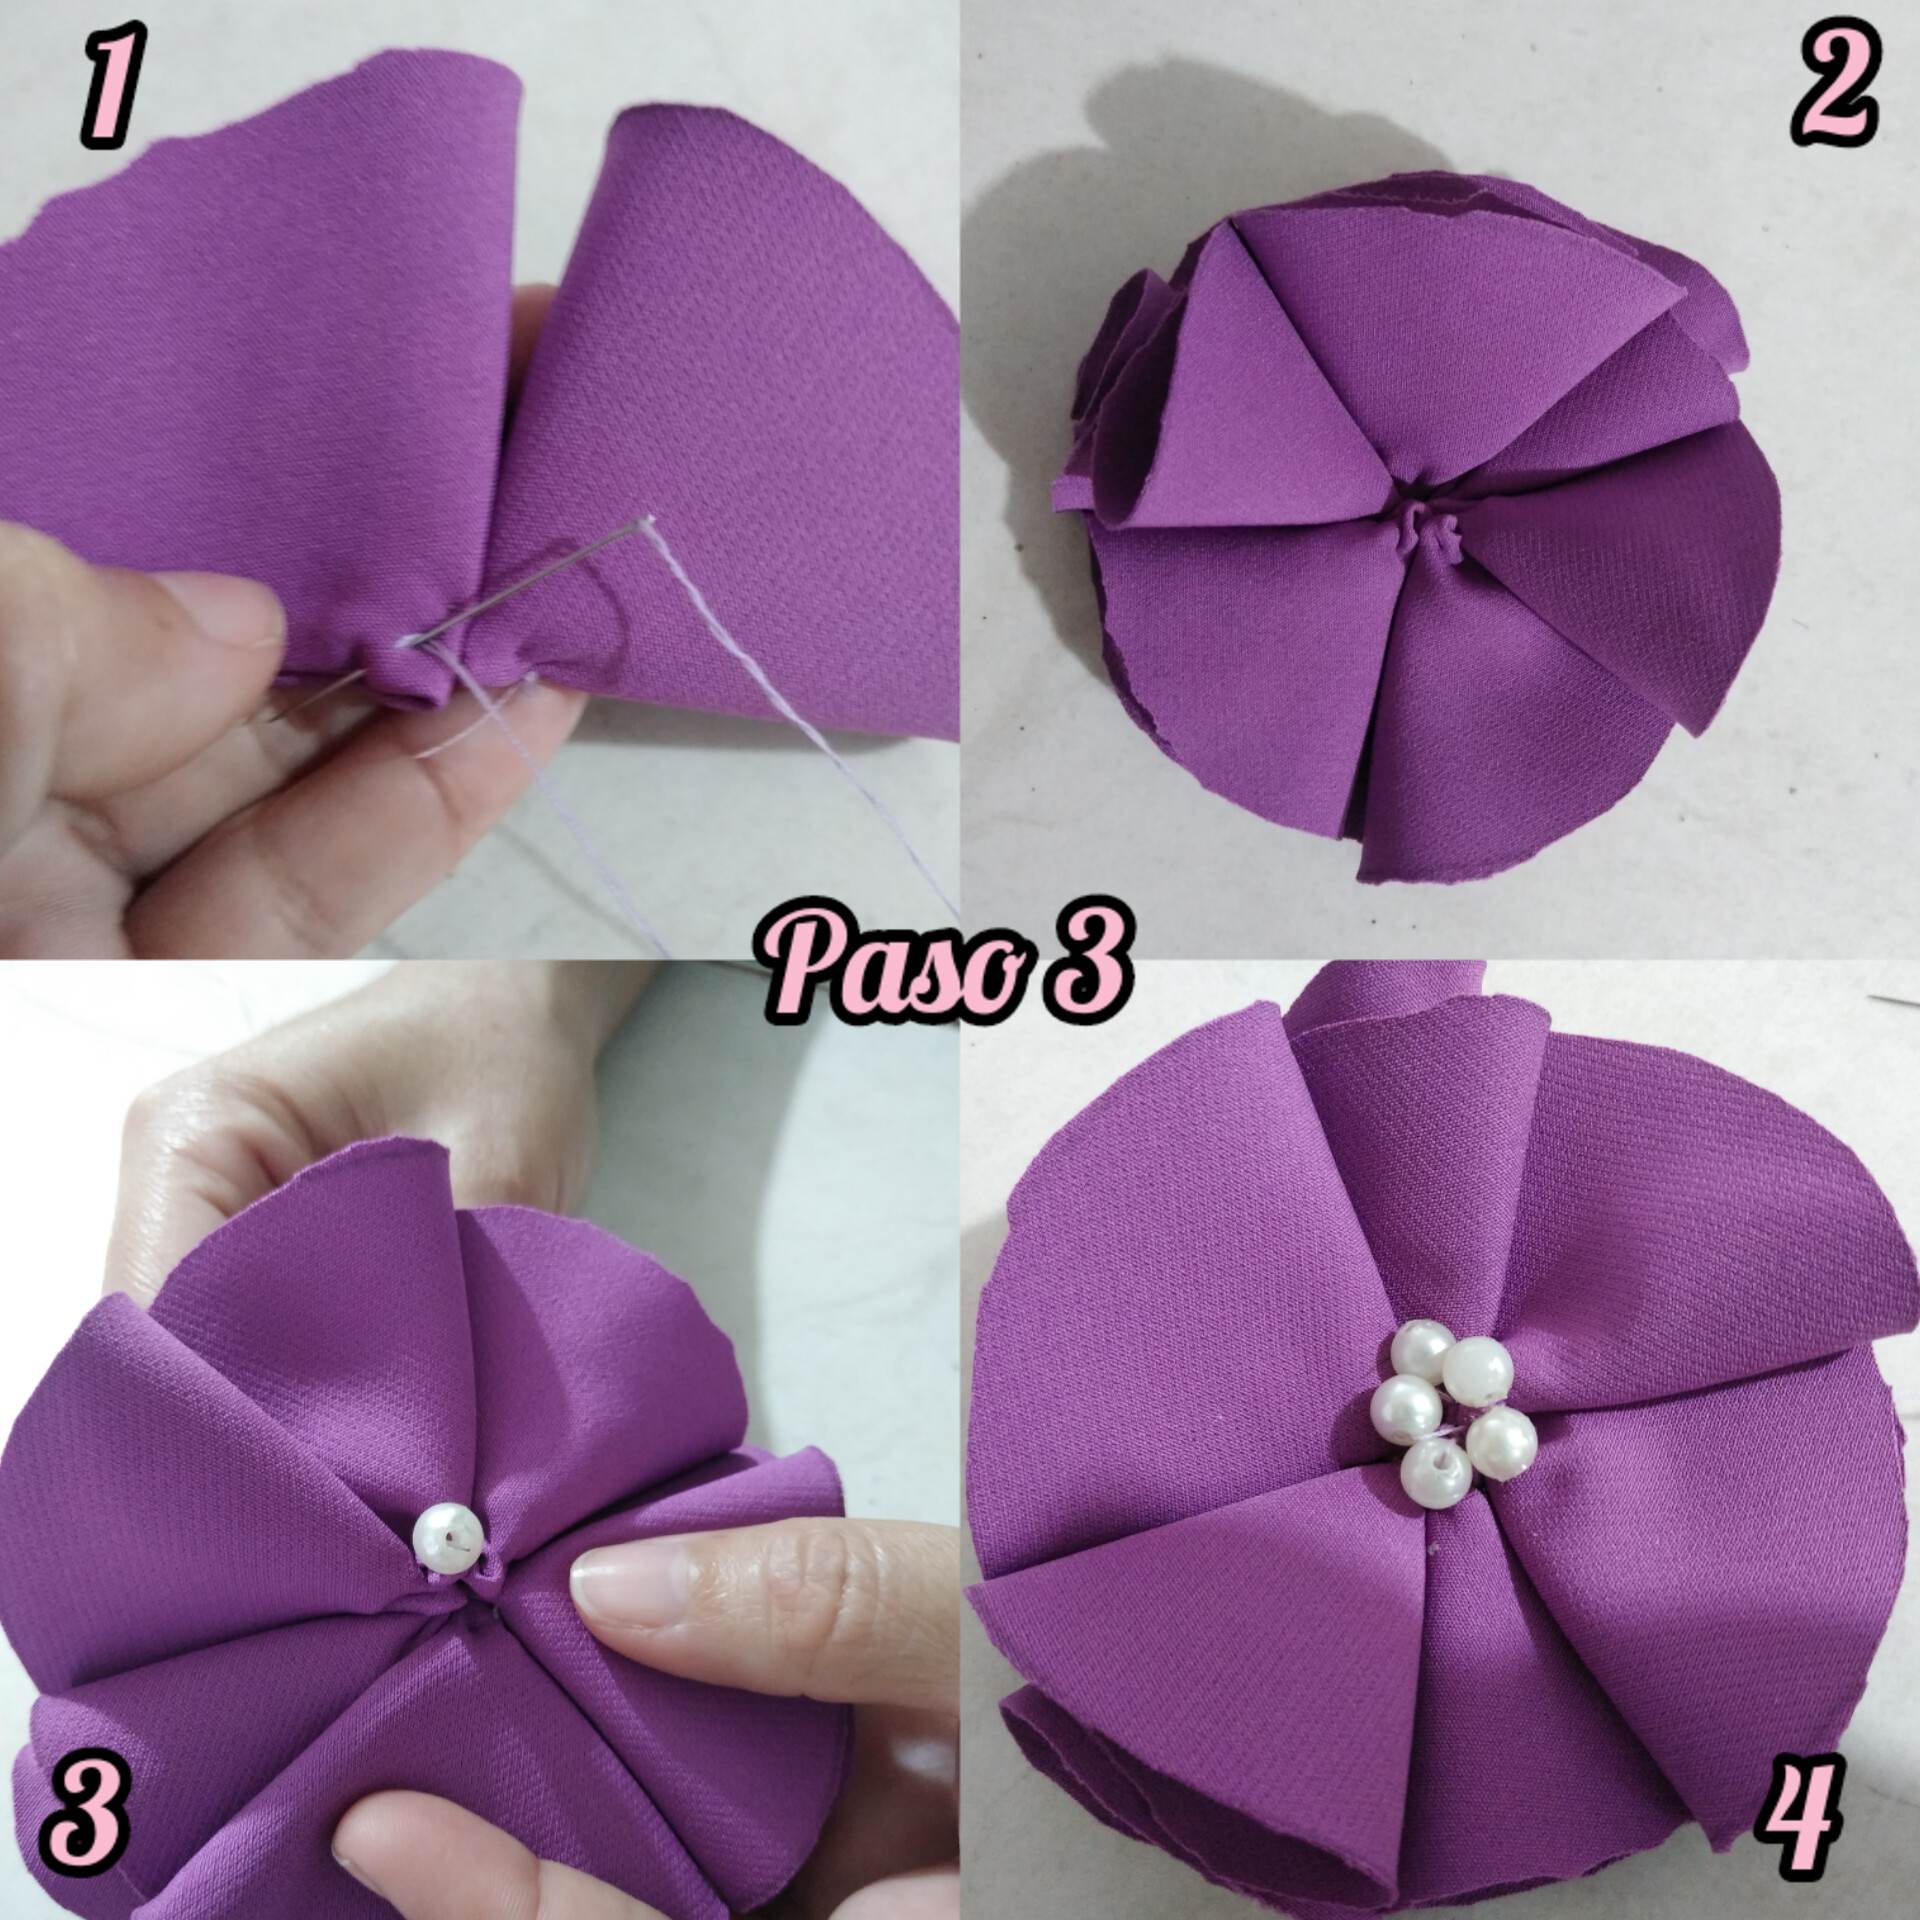
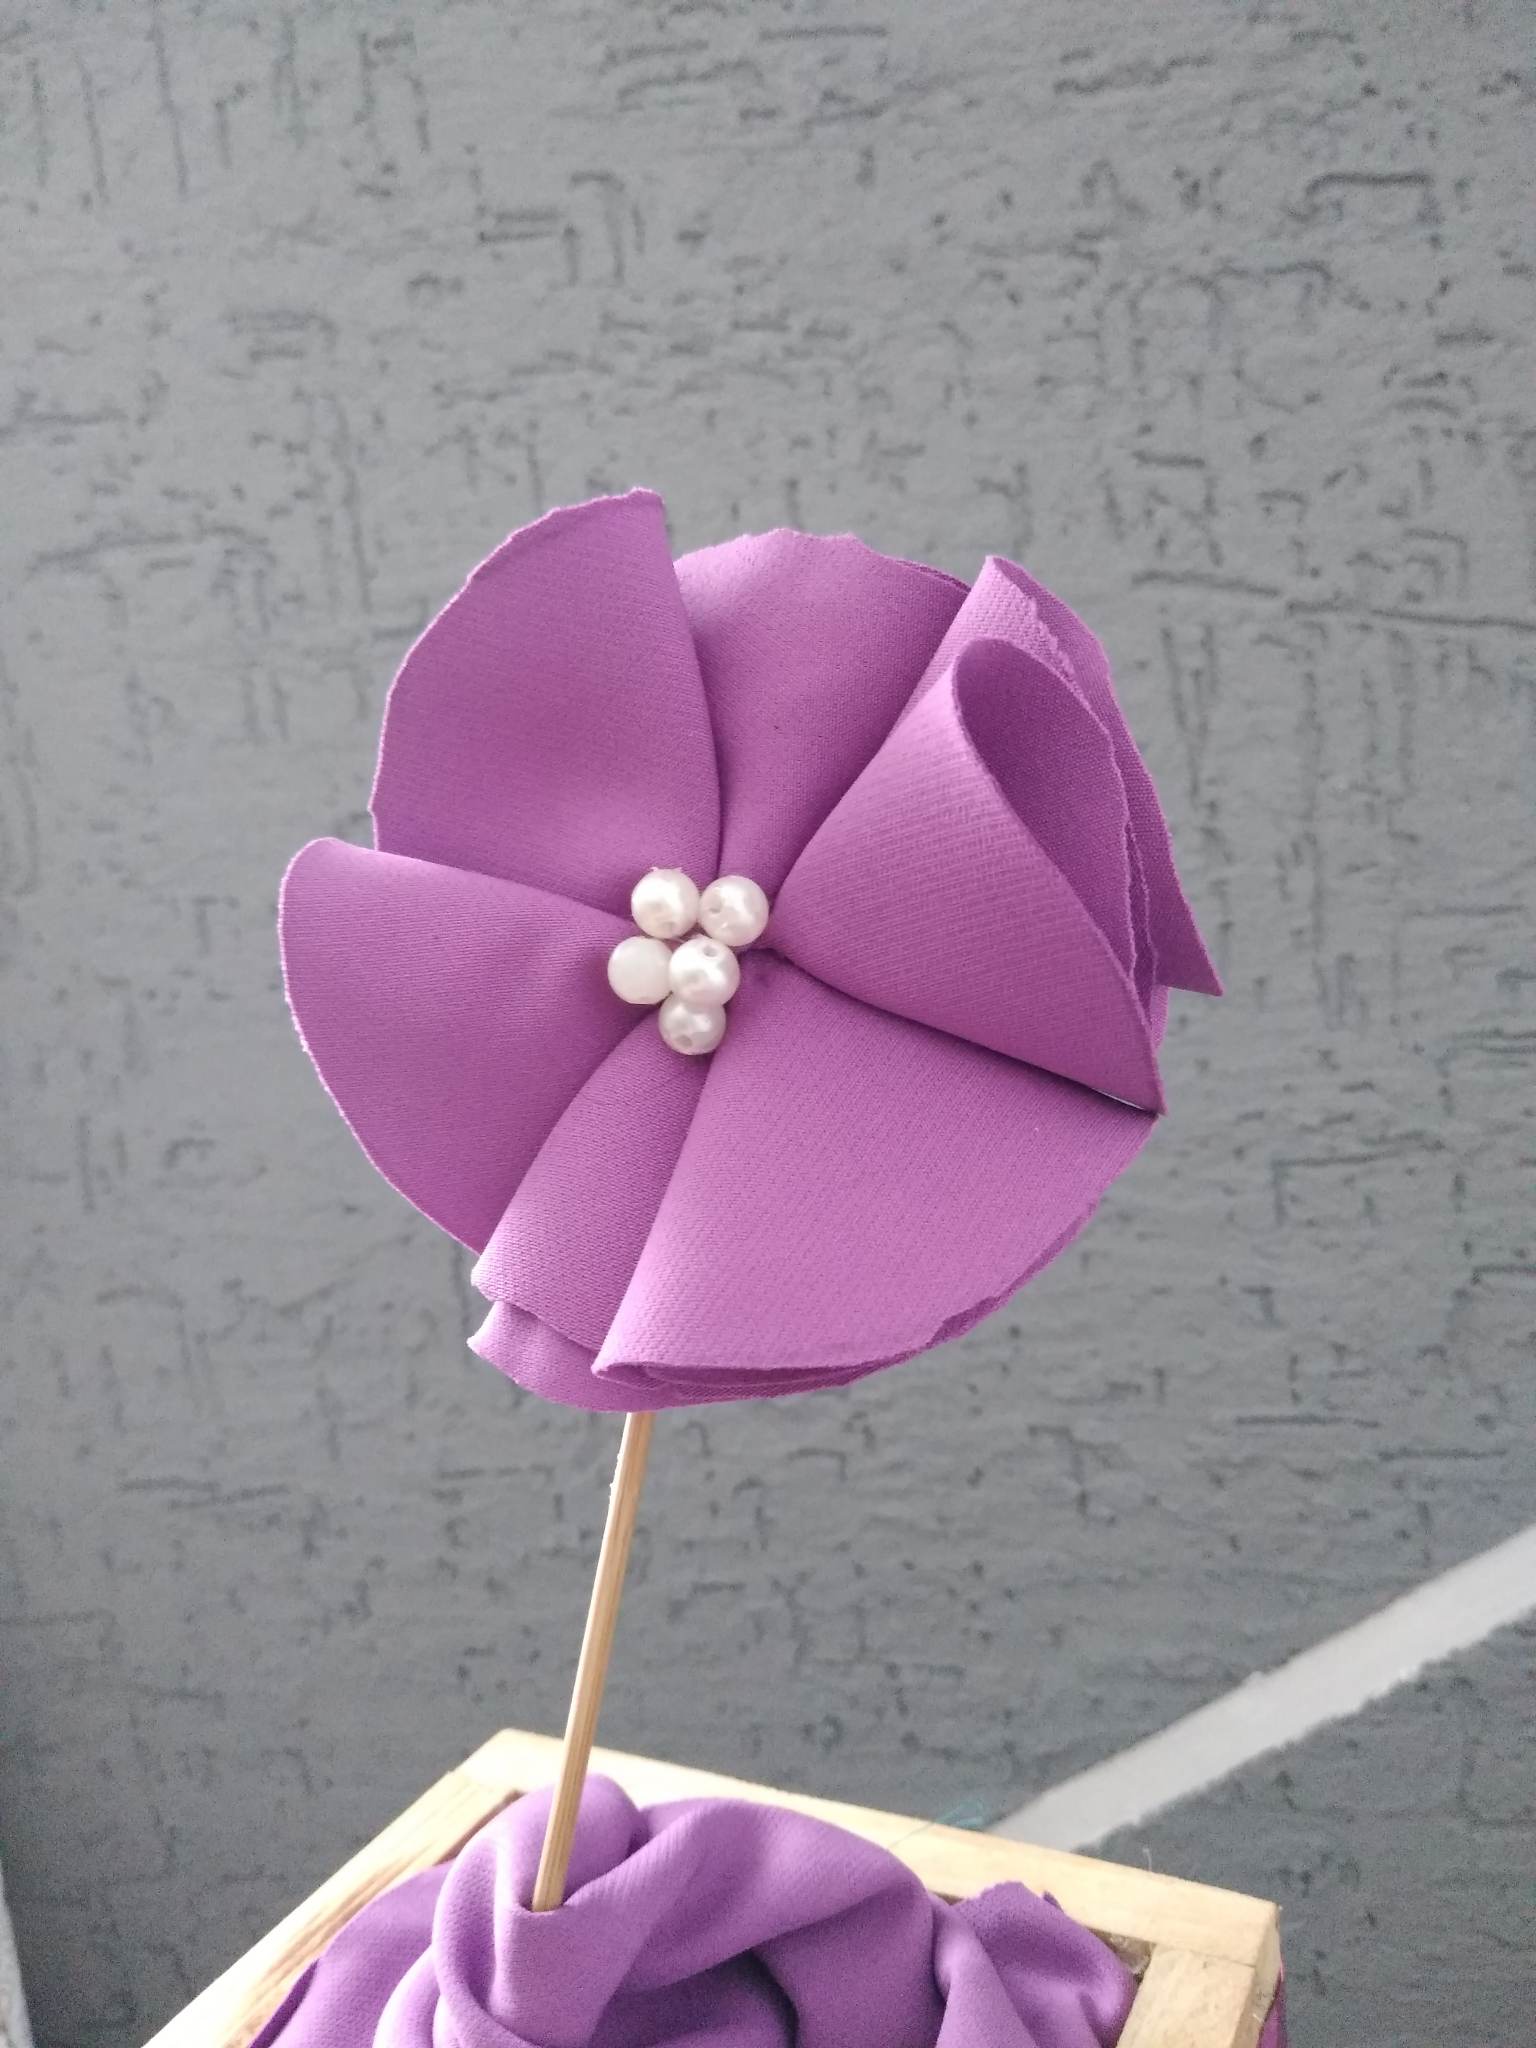
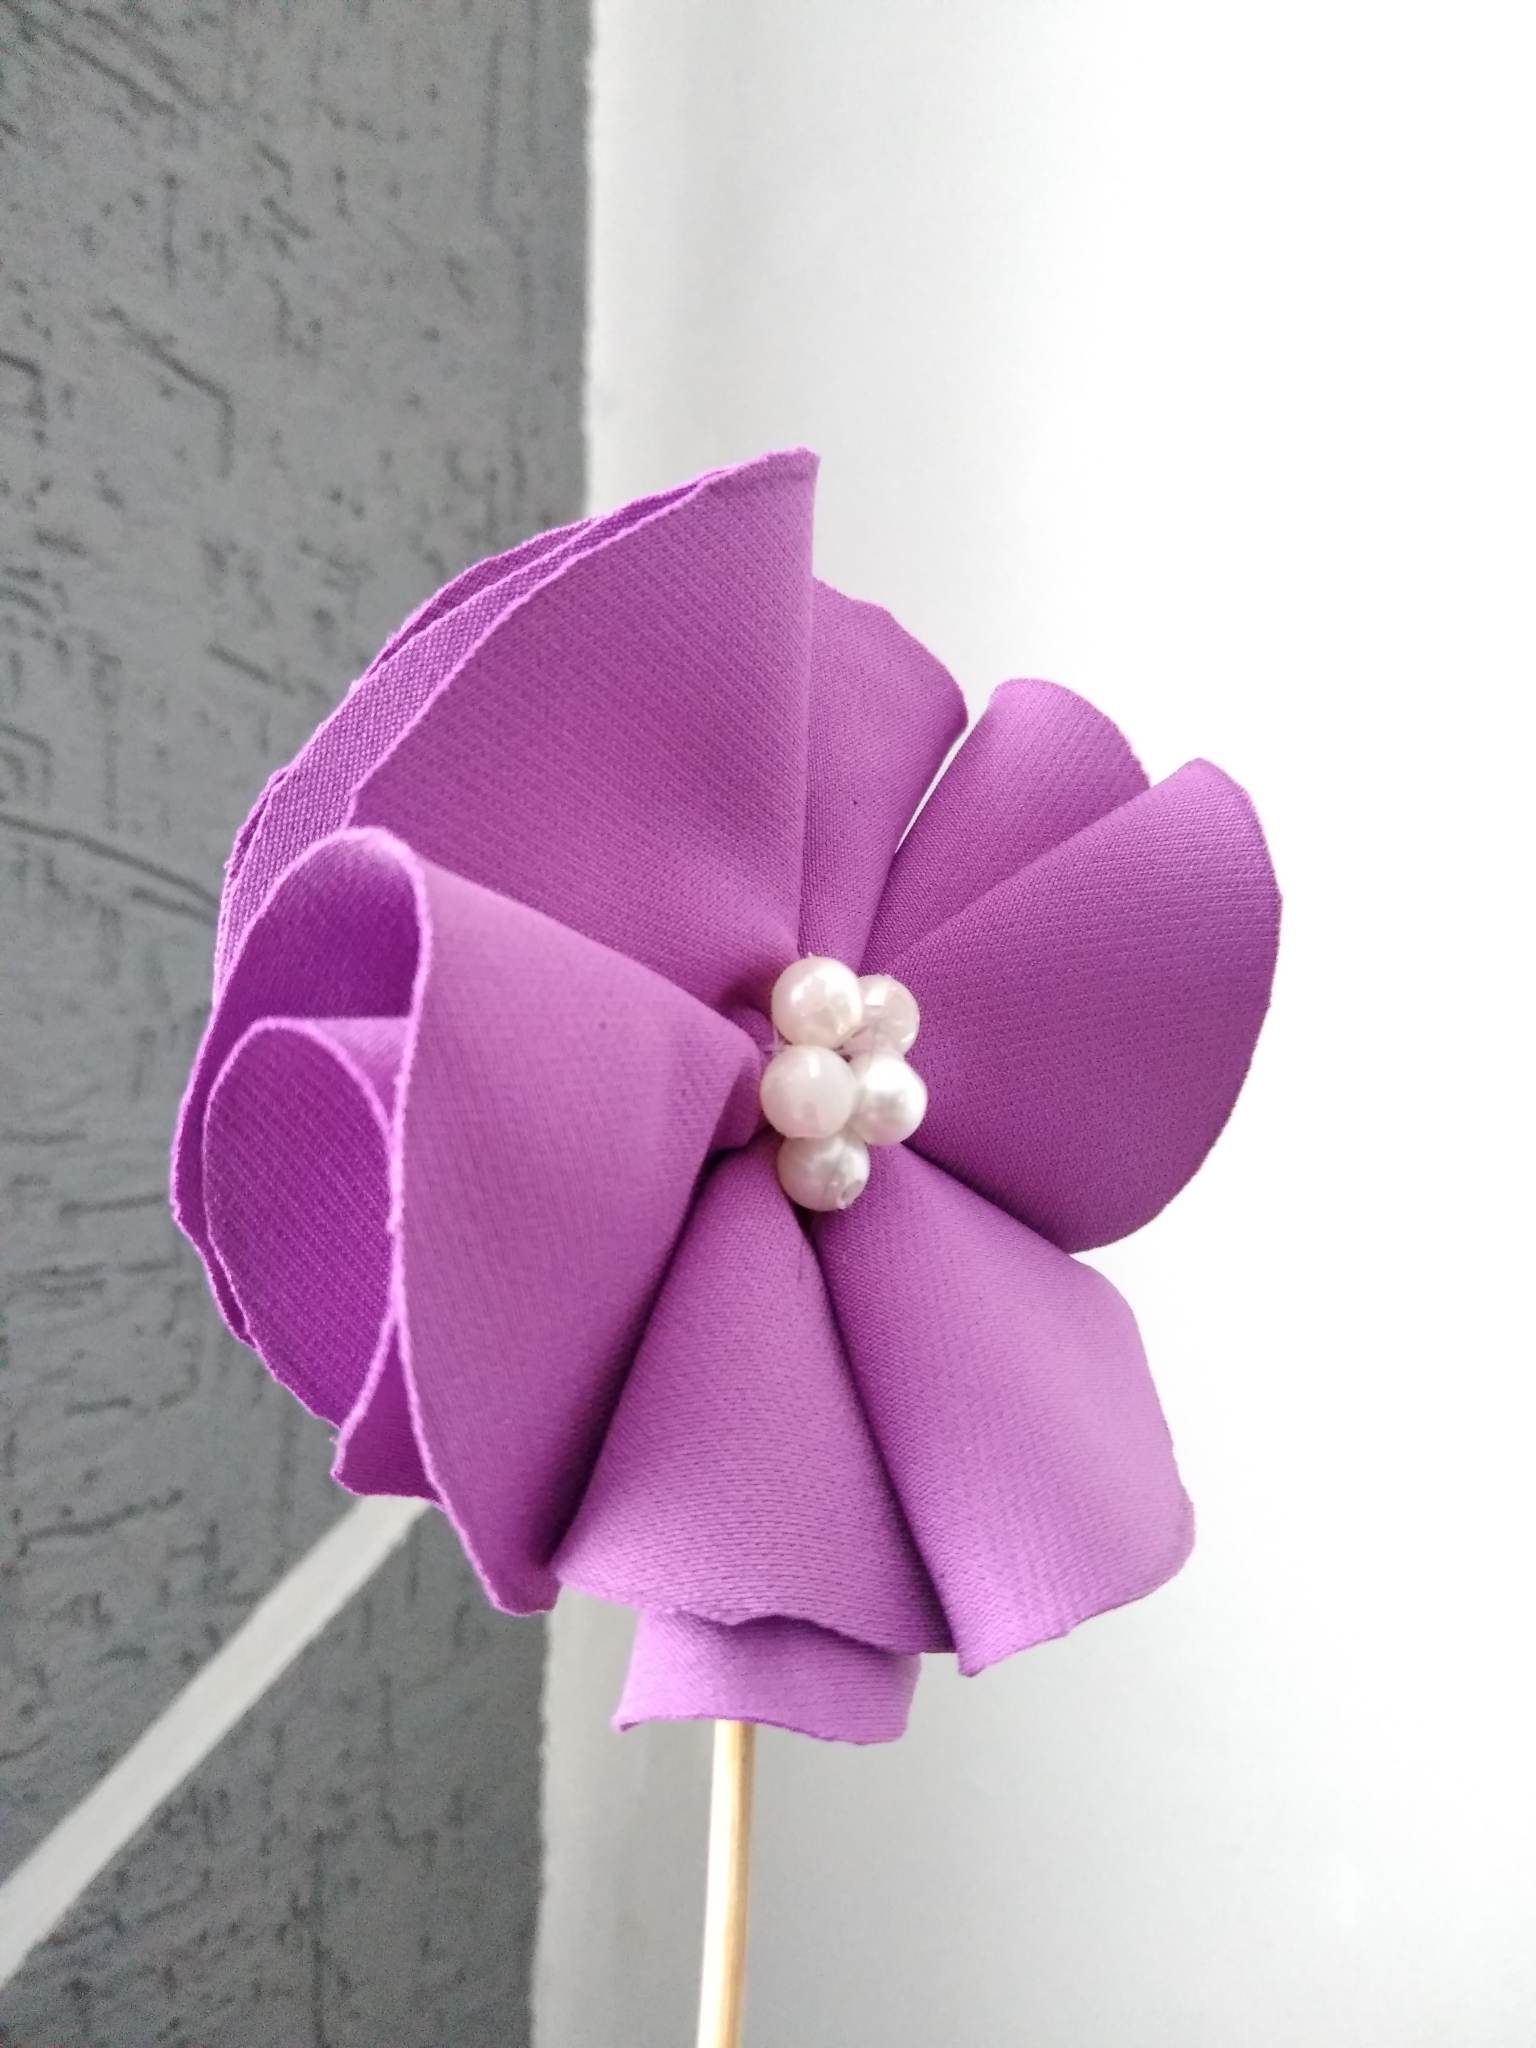
Paso 3: haremos lo mismo con todos los pétalos el mismo procedimiento de doblarlo a la mitad hasta que quiere como un triángulo pequeño. Al tener todos los pétalos listos procedía a unir uno a uno, en forma de círculo irá quedando como en la imagen no muestra, si queremos que las flores sea más abundante lo que tendremos que hacer será recortar más círculos pero yo la quise hacer así, así que al momento de unir todos los pétalos quedará la flor en forma de círculo y nosotros nos encargaremos de abrir un poco los pétalos para que la flor se vea más abundante. Por último pero no menos importante procedía decorar mi flor de primavera morada con algunas perlas en el centro, el cual le da un hermoso toque de belleza. De esta manera terminé mi hermosa flor, espero que les guste muchísimo.
Step 3: we will do the same with all the petals the same procedure of folding it in half until it wants as a small triangle. When we have all the petals ready we proceeded to join one by one, in the form of a circle will be as shown in the image, if we want the flowers to be more abundant what we have to do will be to cut more circles but I wanted to do it this way, so when we join all the petals the flower will be in the form of a circle and we will be responsible for opening the petals a little to make the flower look more abundant. Last but not least I proceeded to decorate my purple spring flower with some pearls in the center, which gives it a beautiful touch of beauty. This is how I finished my beautiful flower, I hope you like it very much.
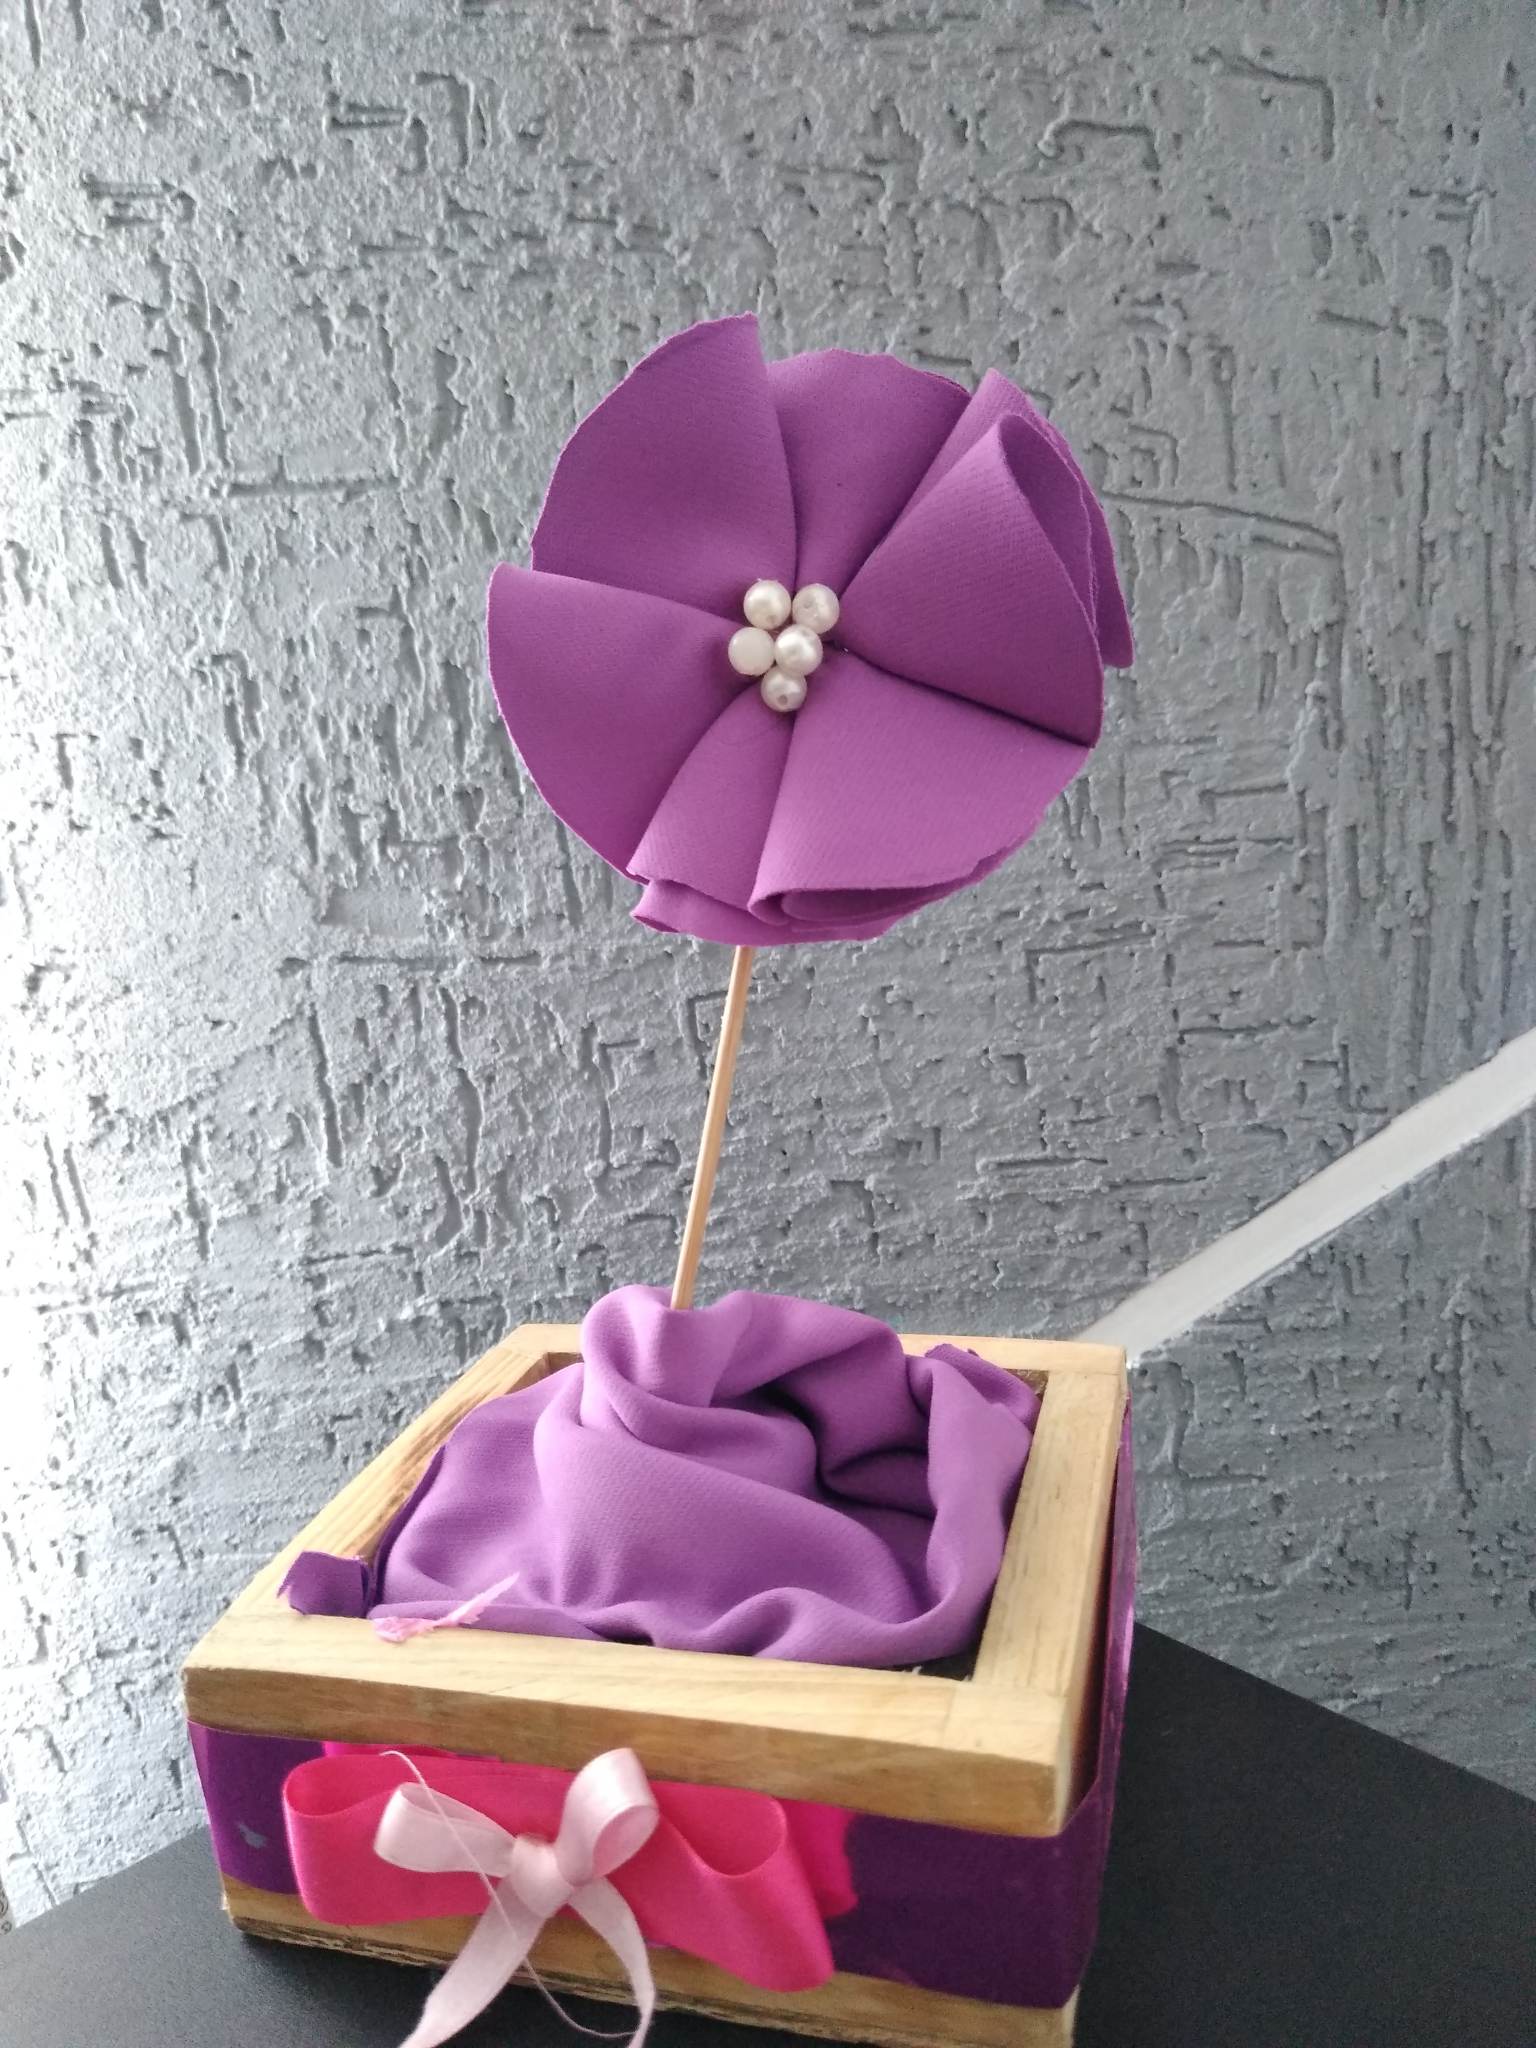
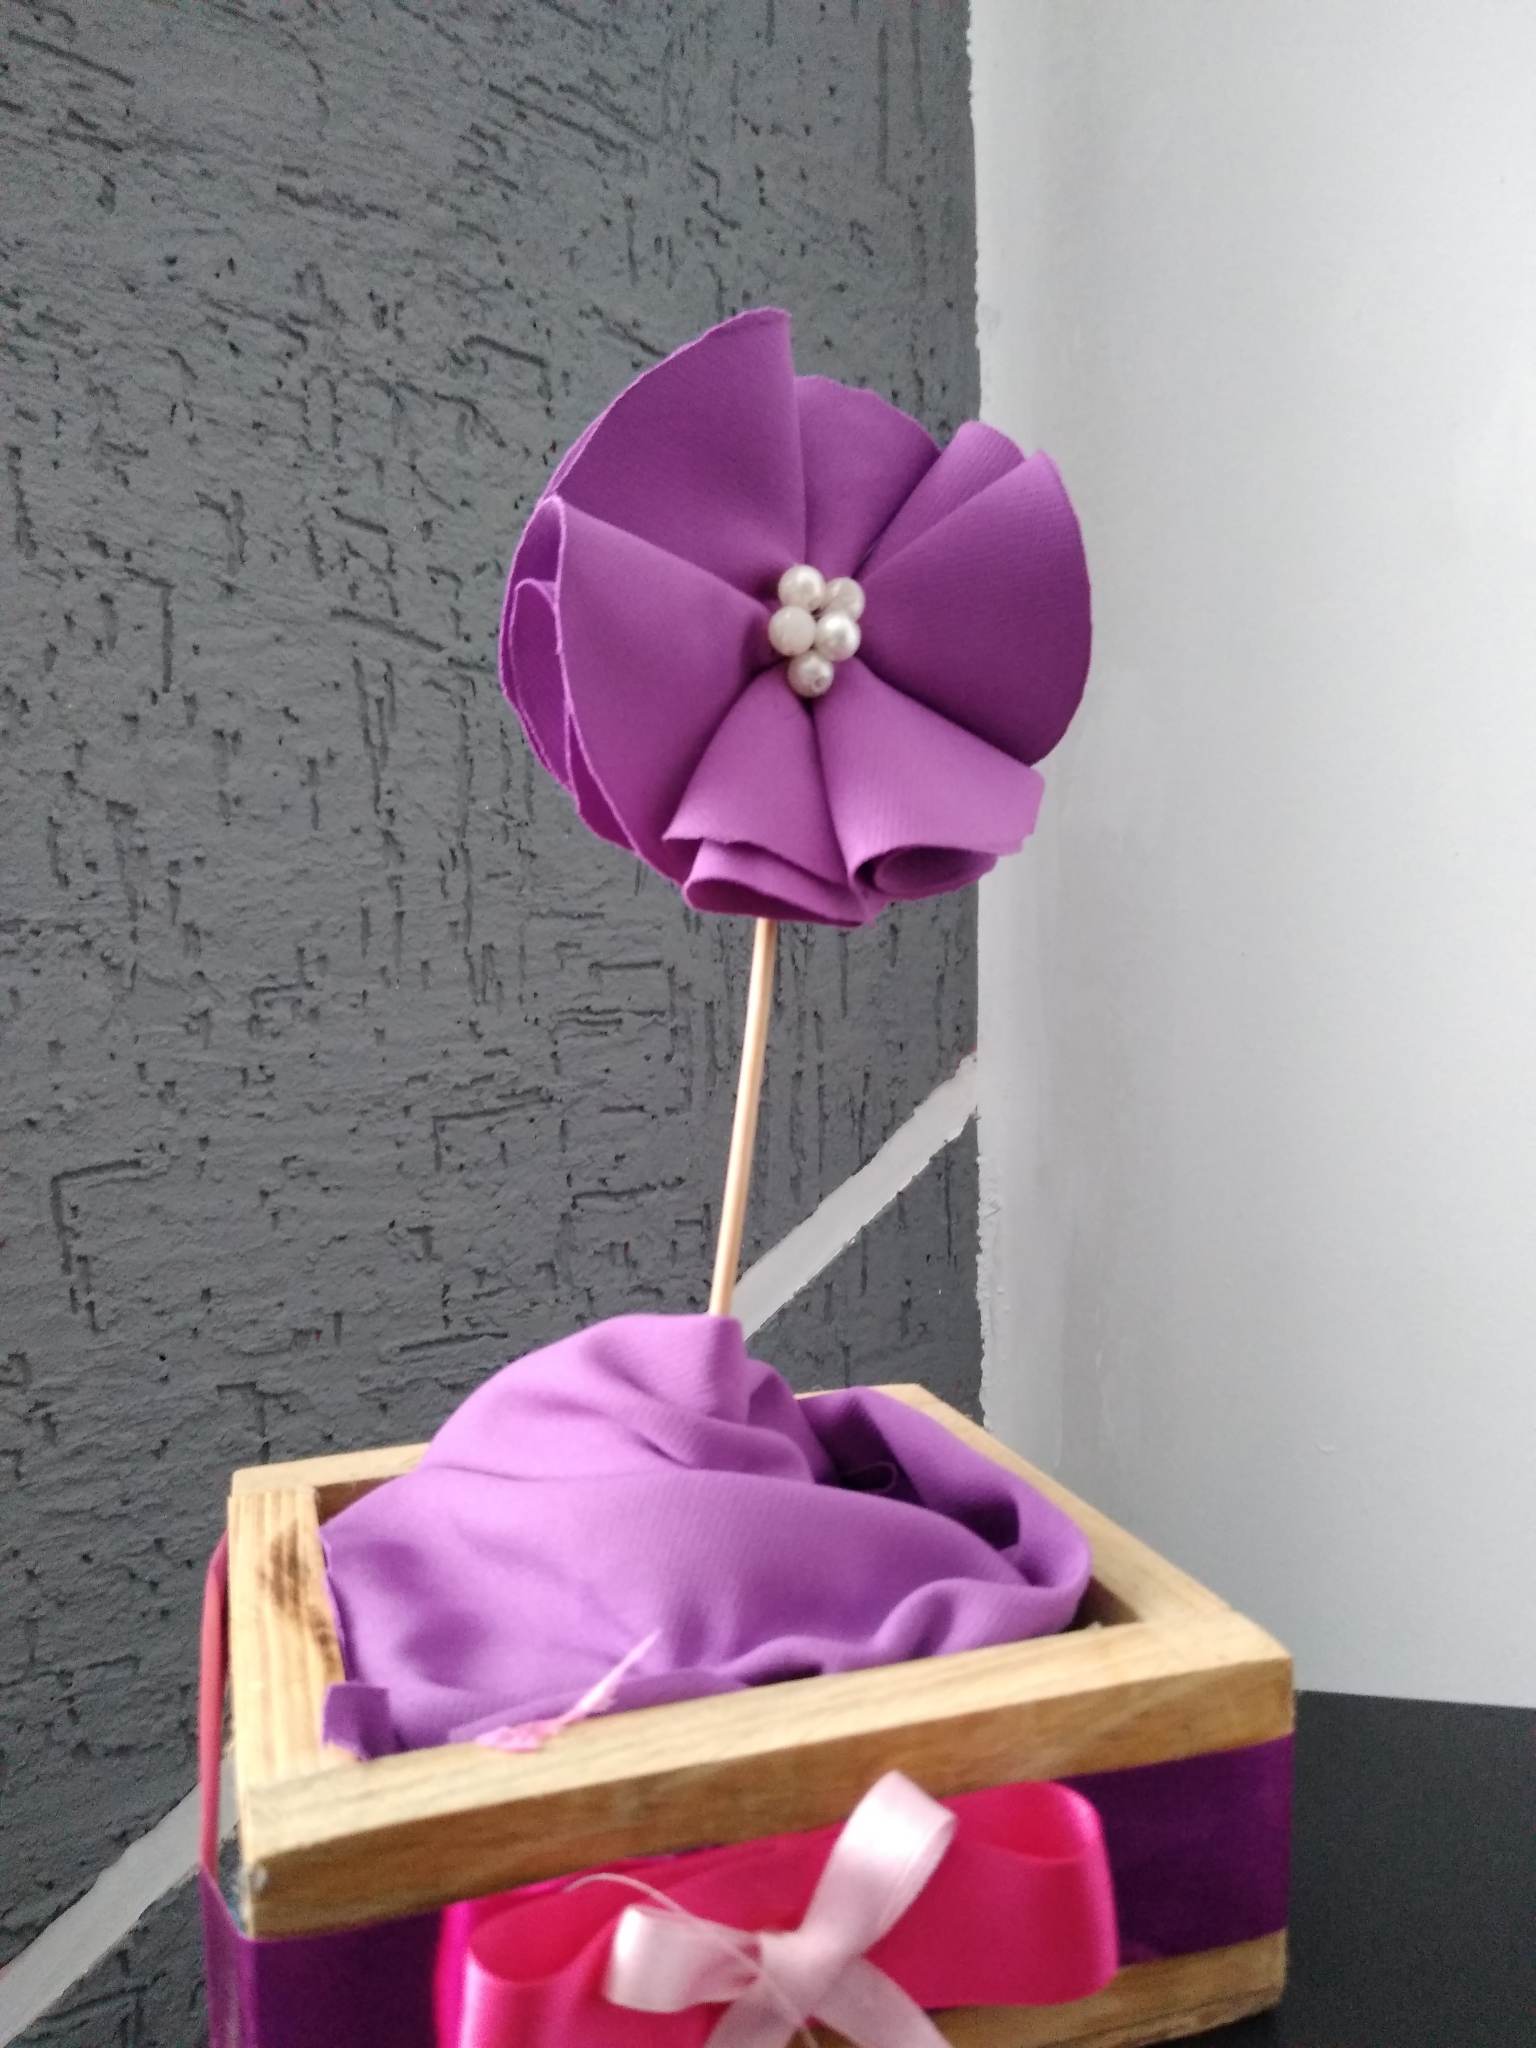
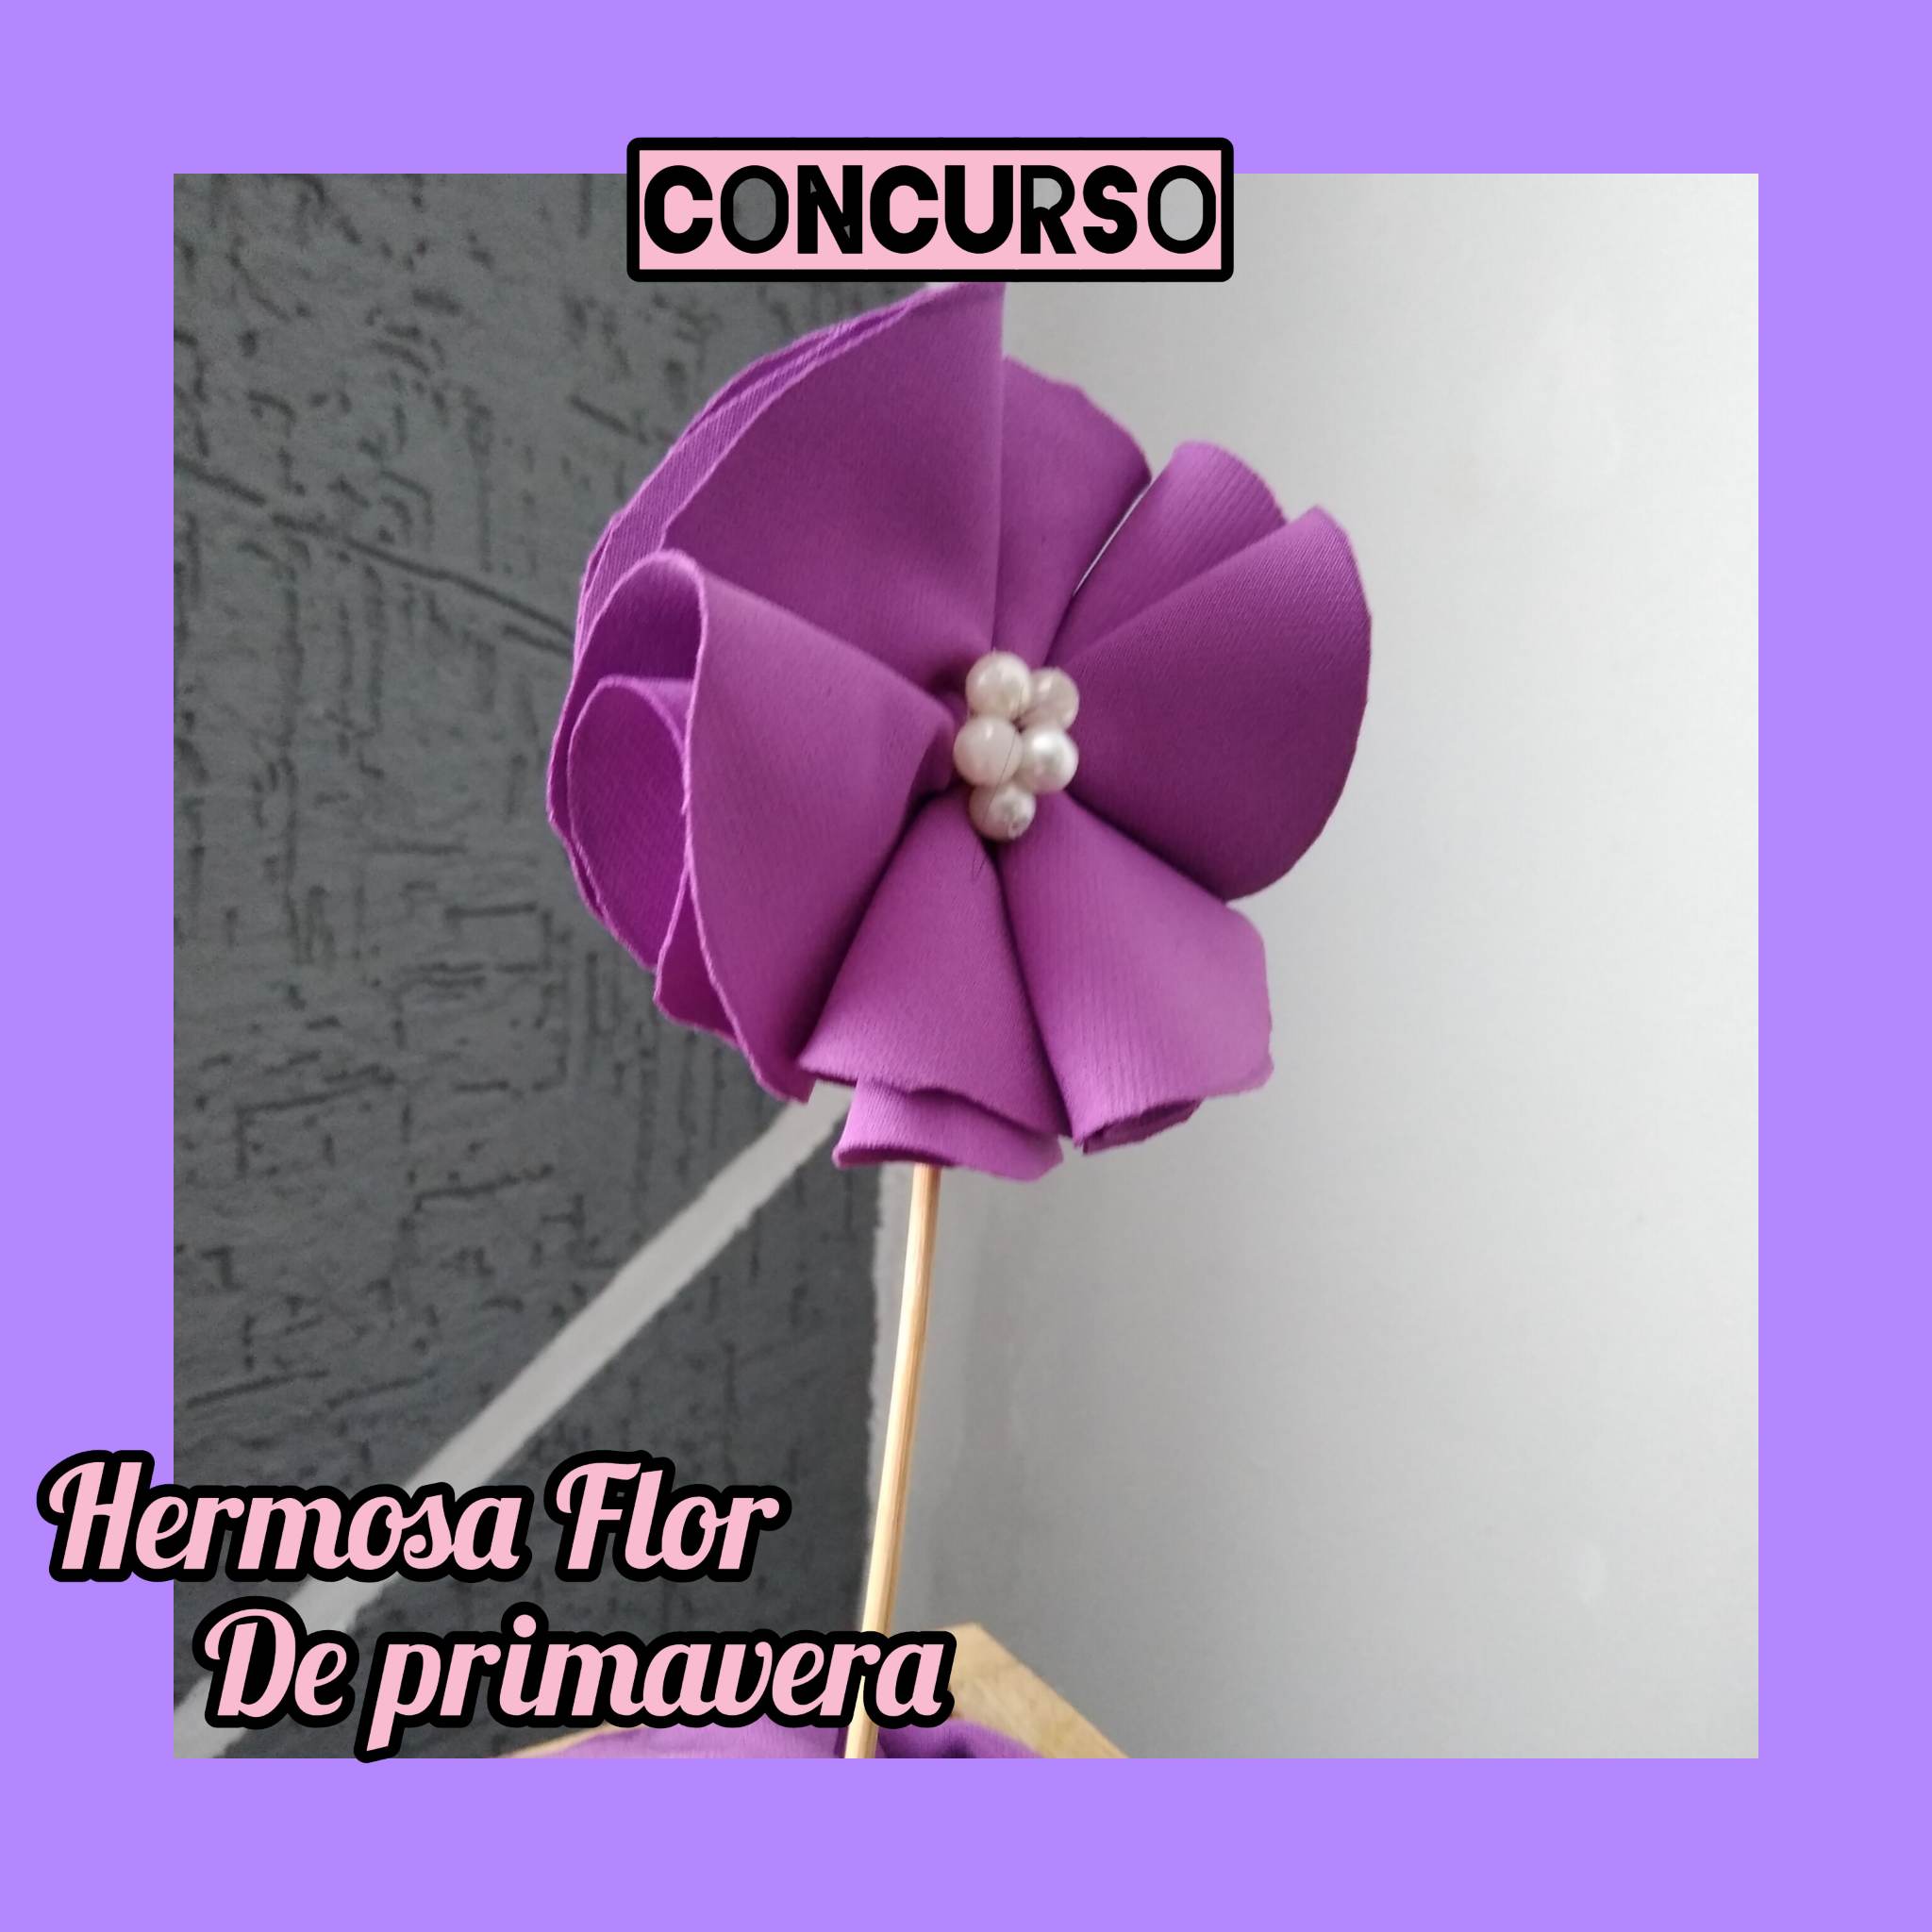
Final Result.