Making a Light and easily Transportable Fabric Backgammon
I told you a while ago about my project to design a fabric backgammon game, I had already found the chips, in the form of buttons. It was in this previous article from #MarketFriday.
It's now done ! I finished it a few days ago and I'm very happy with the result :) Below, you can discover the different steps of this sewing adventure. Simple, efficient and yet aesthetic all the same !
For the rules and the principle of this game, as well as its origins, I let you do your research. But just to tell you that it is a game that I love because it mixes chance and strategy...!
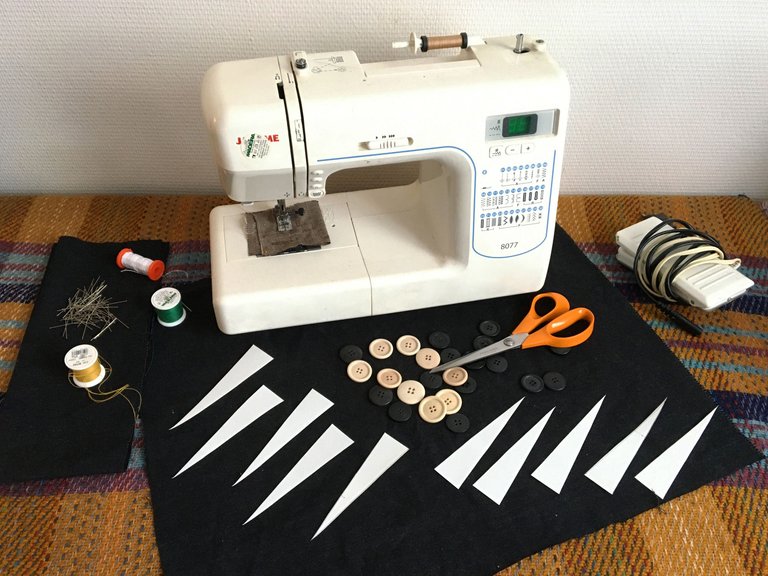
Above you have a small summary of my material... My sewing machine, the buttons, two different colored threads, a pair of scissors, some pins and a bit of fabric, I'll say approximately 60 by 40 centimeters : this will be the game board. I also have a small scrap with which I made a storage bag.
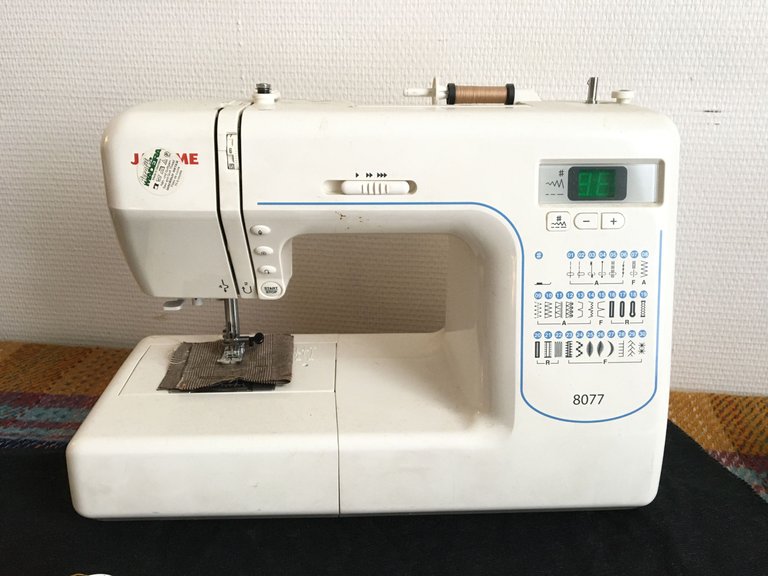
My machine is from JANOME, I have had it for years. In fact, I bought it when I was training as a carpenter. It was only afterwards that I studied textile design, which goes to show that some kind of destiny does things well !
It's not a professional machine, but I've never had any complaints about it, it's easy to use and has enough features and different points.

Here, it's my green and yellow, almost golden, threads, as well as my few buttons, 15 black and as many white. I also forgot to mention a metal reglet.
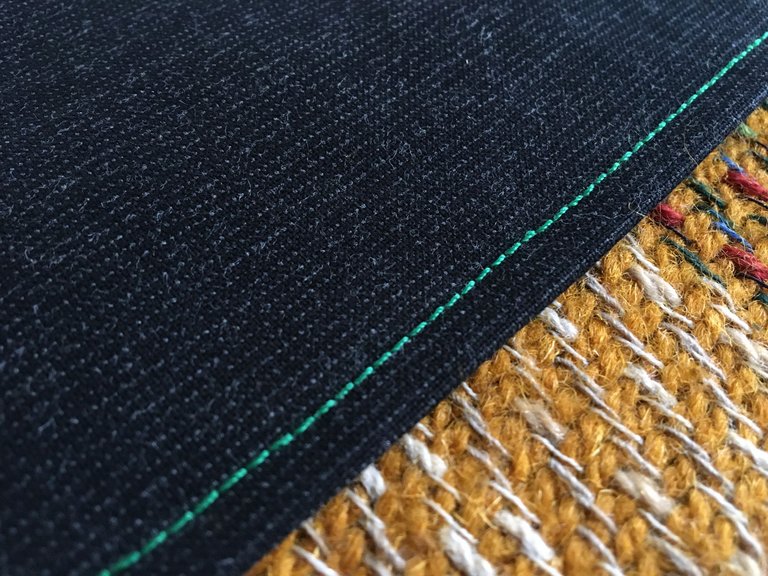
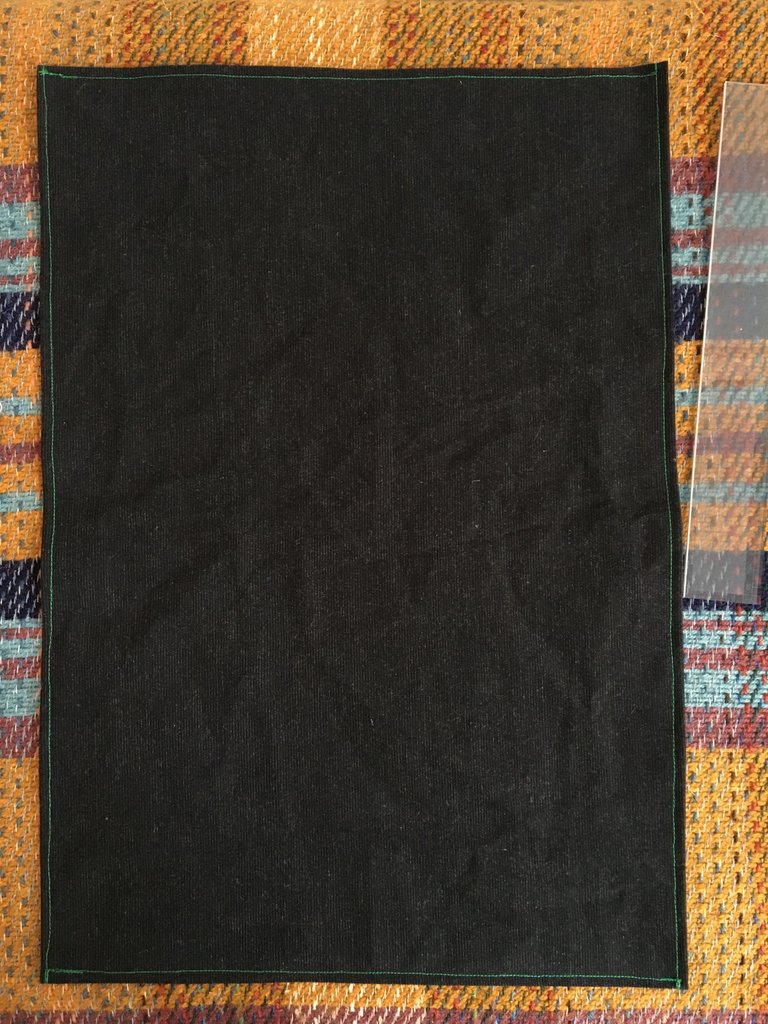
I start by hemming the four sides of the rectangle, quite simply and quite successfully.
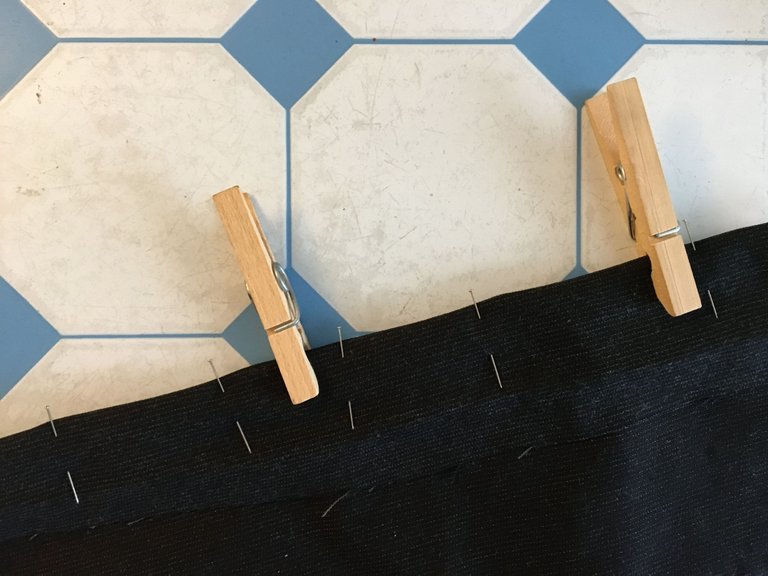
The hems are done, I move on to the centre part. To make the centre area, where the squares will be, I take my measurements... without measurements ! I explain, that is to say that I position two A4 sheets and slide them so that the proportions seem good. When it's right and well balanced, I tape them together and pin them in place.

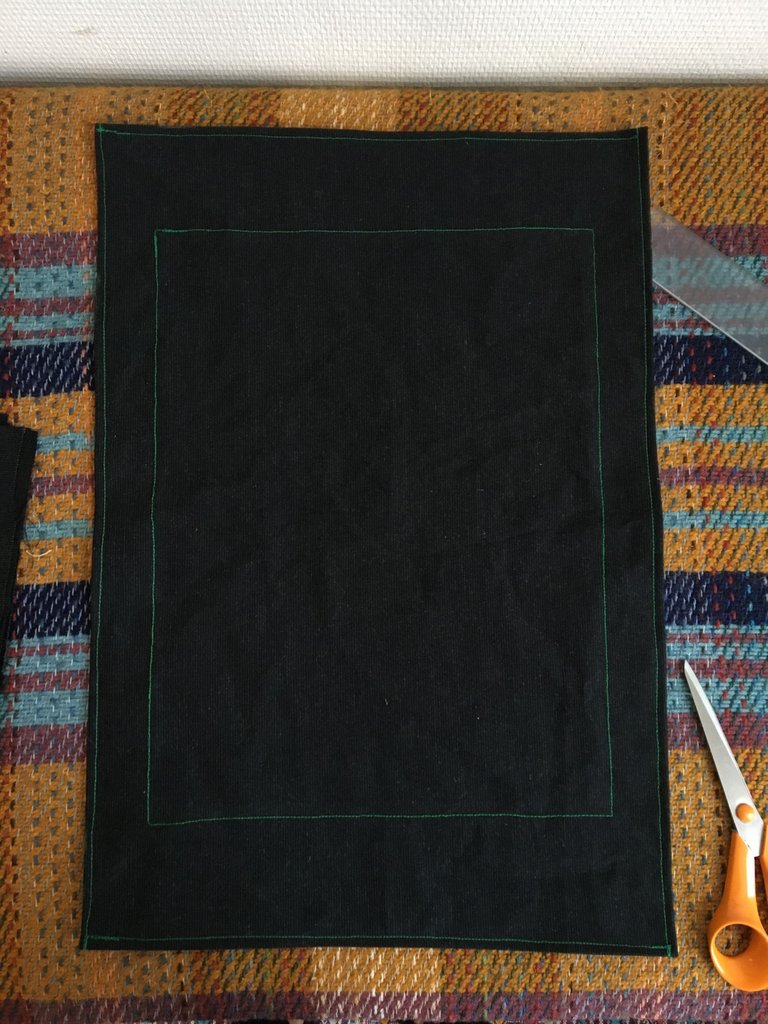
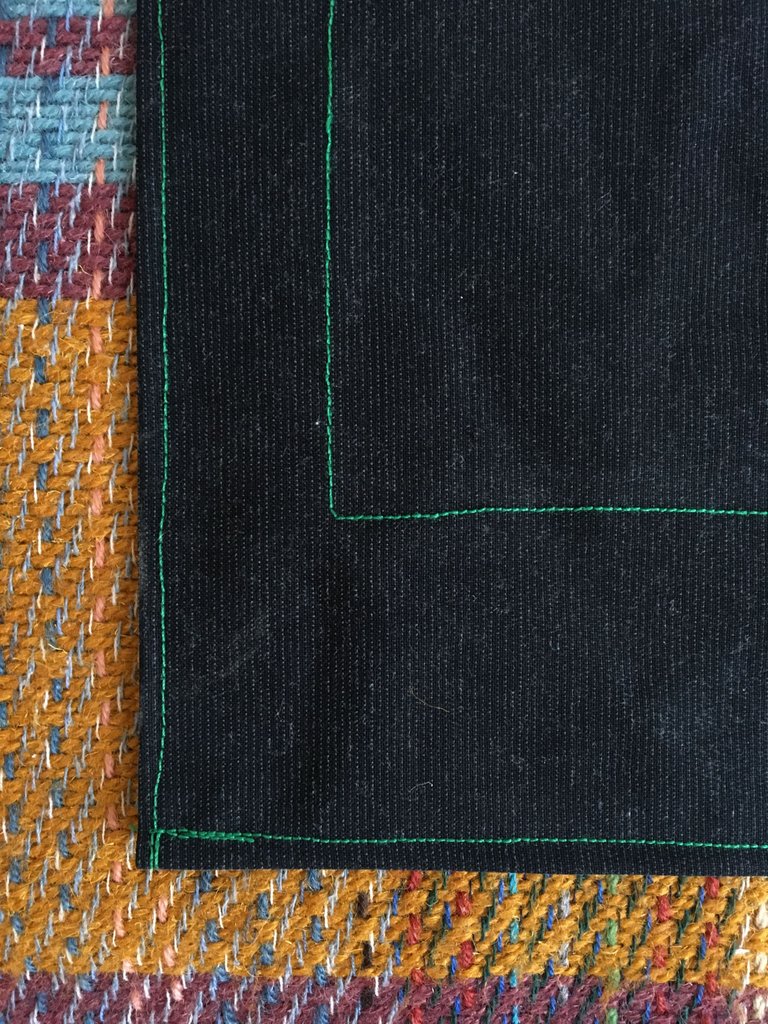
So I sewed all the way around and this is the result... we're making progress !
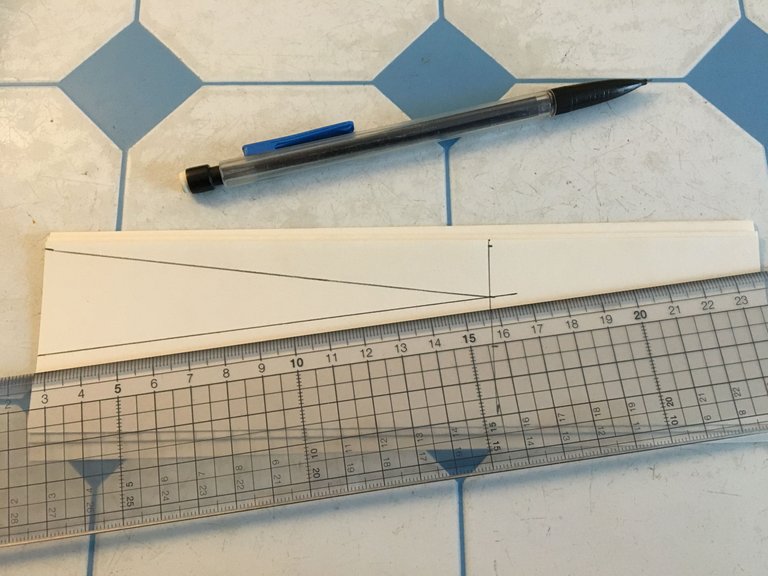

I then proceeded to cut out the triangles. For the format, I decided to make triangles that have a base of 3 centimeters and a height of 14, I did this in relation to my buttons.
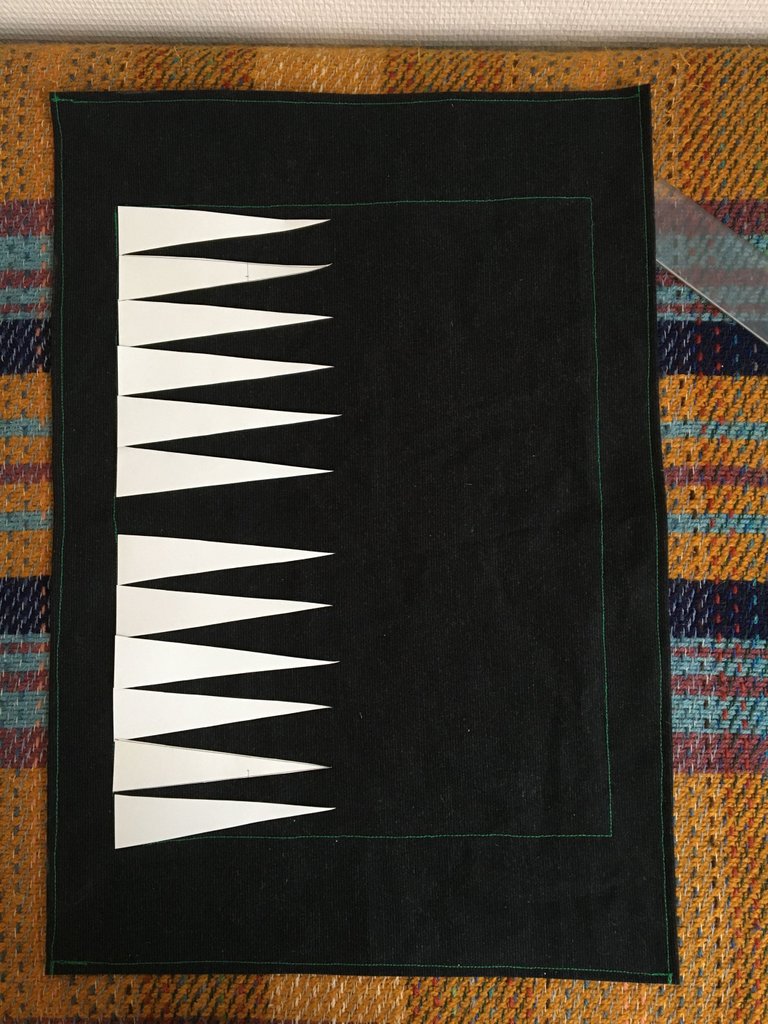
In the end, two rows of twelve triangular cells are needed, separated by a central strip. Each row facing the other and alternating colors. I start by pinning my triangles, one on two, and to measure, I use one of these triangles to measure. Simple and obvious, isn't it ?
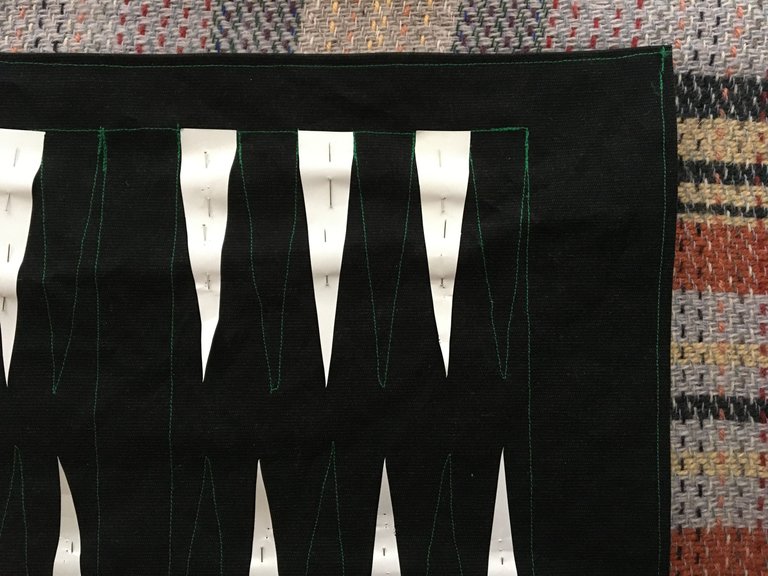
The twelve green cells are already done and sewn :) I don't waste my time and I attack the other yellow ones. Always one on two.
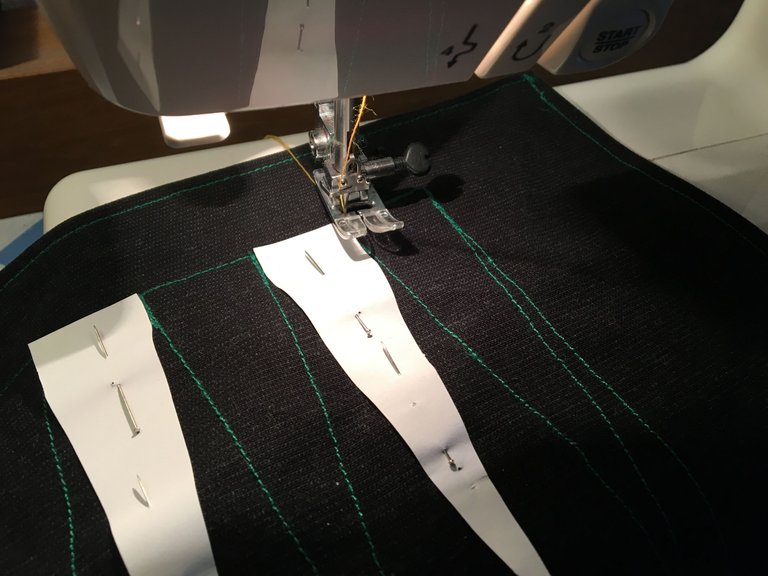
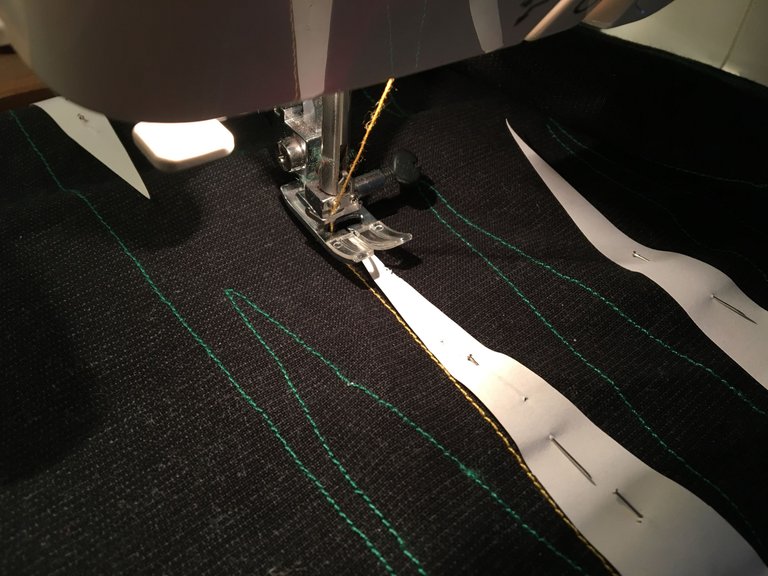
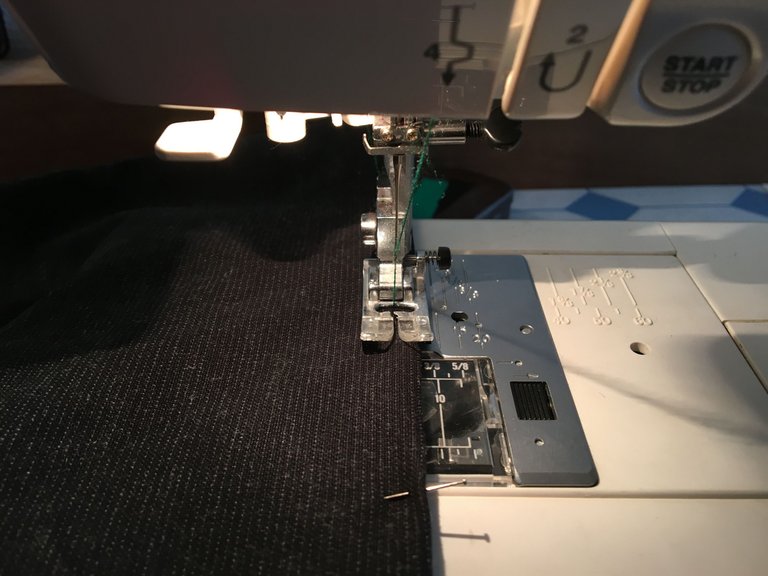
As for the central area, I sew along the edges, finally, with practice, it goes faster and faster, all with more regularity.
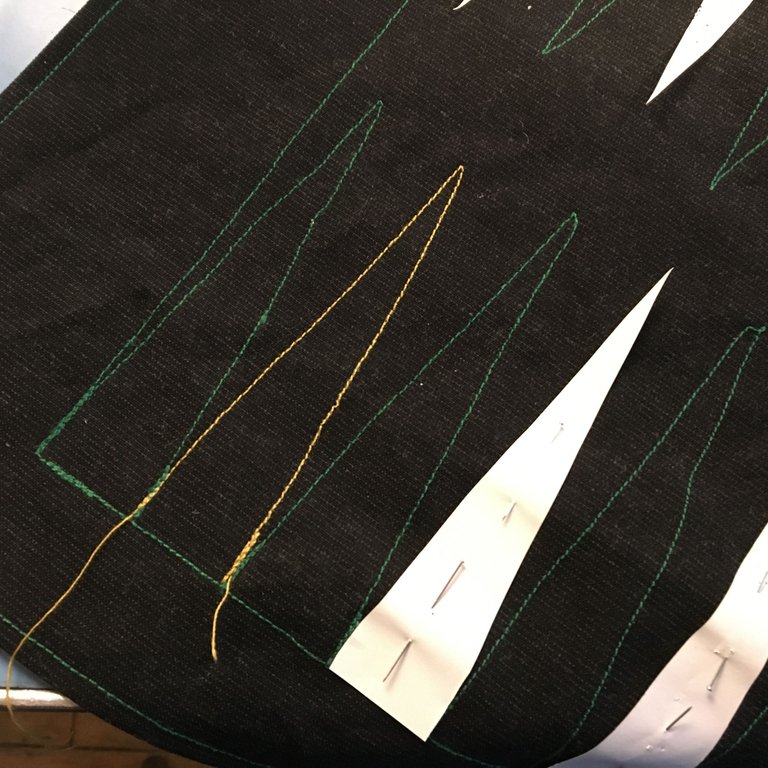
The time to remove the threads...
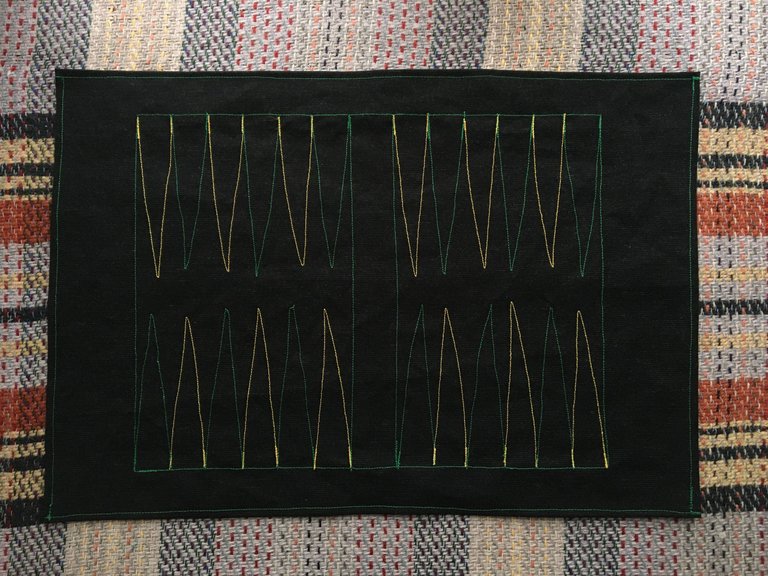
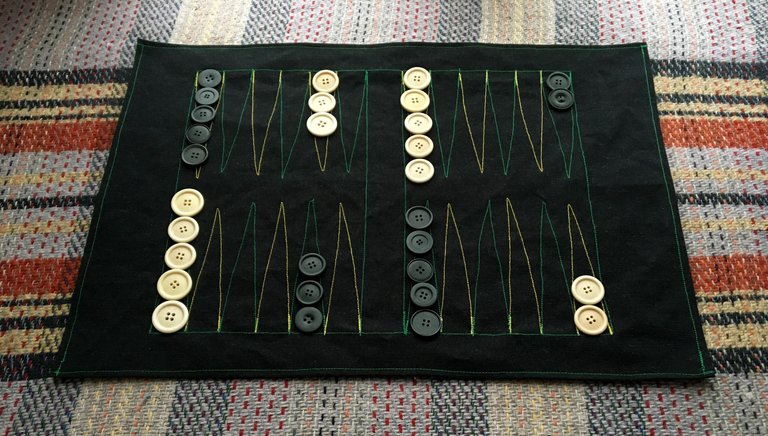
... And the game is ready to be launched ! I'm very happy with the result, especially as it's been quite a while since I last sewed.
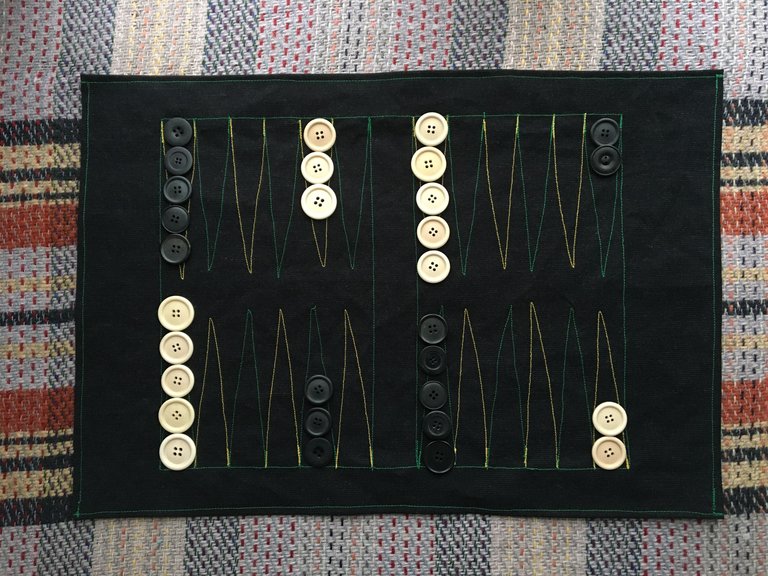
The buttons work well as chips, I just need to find a pair of dice !
That's it ! I hope you liked this creation and that I didn't forget too many things during the steps! If so, don't hesitate to ask me your questions and to give me your suggestions and comments !
Have a good weekend and see you soon,
Je vous avez parlé il y a quelques temps de mon projet de concevoir un jeu de backgammon en tissu, j'avais déjà trouvé les jetons, sous la forme de boutons. C'était dans ce précédent article du #MarketFriday.
C'est maintenant chose faite ! Je l'ai terminé il y a quelques jours désormais et je suis très content du résultat :) Ci-dessous, vous allez pouvoir découvrir les différentes étapes successives de cette aventure de couture. Simple, efficace et pourtant esthétique tout de même !
Pour les règles et le principe de se jeu, ainsi que ses origines, je vous laisse vous renseigner. Mais juste vous dire que c'est un jeu que j'adore car il mêle hasard et stratégie..!
Ci-dessus, vous avez un petit résumé de mon matériel... Ma machine à coudre, les boutons deux fils de couleurs différentes, une paire de ciseaux, quelques épingles et un peu de tissu, je dirai approximativement60 par 40 centimètres : ce sera le plateau du jeu. J'ai aussi une petite chute avec laquelle j'ai fait un sac de rangement.
Ma machine est de la marque JANOME, je l'ai depuis des années. En vérité, je l'ai achetée lorsque j'étais en formation de menuisier. Ce n'est qu'après que j'ai fait des études de design textile, comme quoi, une forme de destin fait bien les choses !
C'est une machine qui n'est pas professionnelle, mais dont je n'ai jamais eu à me plaindre, simple d'utilisation et qui a quand même assez de fonctionnalisés et de points différents
Ici, il s'agit de mes fils verts et jaune, presque doré, ainsi que mes quelques boutons, 15 noirs et autant de blancs. J'avais aussi oublié de mentionner un reglet métallique.
Je commence par faire les ourlets sur les quatre côtés du rectangle, assez simplement et avec assez de succès.
Les ourlets sont terminés, je passe à la partie centrale. Pour faire la zone du centre, celle où sera les cases, je prends mes mesures sans mesures ! Je m'explique, c'est à dire que je positionne deux feuilles de format A4 et les fait glisser afin que les proportions me semblent bonnes. Lorsque c'est bon et bien équilibré, je les scotche entre elle et les épingle à la place définie.
J'ai donc cousu tout le pourtour et voilà le résultat... on avance !
Je passe ensuite à la découpe des triangles. Pour le format, j'ai décidé de faire des triangles qui ont une base de 3 centimètres et une hauteur de 14, j'ai fait cela par rapport à mes boutons.
Au final, il faut deux rangs de douze cases triangulaires, séparées par une bande centrale. Chaque rang en face de l'autre et avec une alternance des couleurs. Je commence par épingler mes triangles, un sur deux et pour mesurer, j'utilise un de ces triangles pour la mesure. Simple et évident non ?
Voilà déjà les douze cases vertes faites et cousues :) Je ne perds pas mon temps et j'attaque les autres cases jaunes. Toujours une sur deux.
Comme pour la zone centrale, je couds le long des pourtours, au final, avec l'entraînement, ça va de plus en plus vite, le tout avec plus de régularité.
Le temps d'enlever les fils...
... Et le jeu est prêt à être lancé ! Je suis très content du résultat, d'autant que ça faisait pas mal de temps que je n'avais pas cousu.
Les boutons fonctionnent bien comme jetons, il ne me reste plus qu'à trouver une paire de dés !
Voilà, c'est terminé ! J'espère que cette création vous aura plût et que je n'aurais pas oublié trop de choses au cours des étapes ! Si c'est le cas, n'hésitez pas à me posez vos questions et à me faire part de vos suggestions et commentaires !
Bon weekend à tous et à bientôt,
This post has been manually curated by @steemflow from Indiaunited community. Join us on our Discord Server.
Do you know that you can earn a passive income by delegating to @indiaunited. We share 100 % of the curation rewards with the delegators.
Here are some handy links for delegations: 100HP, 250HP, 500HP, 1000HP.
Read our latest announcement post to get more information.
Please contribute to the community by upvoting this comment and posts made by @indiaunited.
Thanks you @steemflow and @indiaunited :)
That's a fabulous idea, and great for gifts as well! Love it! Well done. I love a game of backgammon. Maybe i should do one for the Defender out of the leftover green corduroy I had for the curtains! So it would match. Cool idea man, cool idea.
Mmmh, it would certainly looks amazing with that fabric ! I really love this game, just chill and intense at the same time :)
How is you foot going ? I hope it's less painful 🤞😘
Well I thought of you - here's what I shared amongst friends on Facebook this morning (yes, I still use it, because most of my family and friends are there!)
I'll write an article about it too but you did ask! And being a fellow forager I thought you'd like the anecdote!
Loved your style of writing and how you described everything !
I am both blown away by the effectiveness of plants, combined with their abundance, in perpetual admiration of nature, and at the same time, as I am acquired to the idea that plants are more effective than molecules (chemically isolated and coming from them), I am only half surprised :)
Was the poultice you made big enough or just localized on the wound? I guess since my two days of no response (sorry!) it must have worked wonders !
Thanks you for the partage 🍀 💚 !
Omg it worked MIRACULOUSLY.
Just enough to cover the wound. The skin is stained green where I've applied it.
I went surfing yesterday so that'll tell you how well it went!!!!
You are done! You made fast work of it! I am enamored of your game board! What a wonderful gift and a great idea. Backgammon is a game that I can play endlessly. Your directions are easy to follow and very direct, so there is no chance of making a mistake.
I saw this while I was looking at your post and had to come here first! I was curious how it was going to look!
You did so well! That is a very fortunate friend! :) I like it!
@tipu curate
Haha ! Thanks a lot :)
Yes, I didn't dawdle indeed ! I wanted to have time to send it, it's for my father actually, we have a bit of a strained relationship... but I'm sure he'll be very happy !
It's a game that I also love very much, when I start playing it, I could play it all night long, all with good tea and loukoums... or any other sugar dose to have enough energy ^^
I'm glad you liked this board of my design and thanks again for your support ✌️
Thank you for sharing this post on HIVE!
Your content got selected by our fellow curator jasonmunapasee & you just received a little thank you upvote from us for your great work! Your post will be featured in one of our recurring compilations which are aiming to offer you a stage to widen your audience within the DIY scene of Hive. Stay creative & HIVE ON!
Please vote for our hive witness <3
Thanks you for your support here 😊
You're welcome.
Recyclage, créativité, pour une activité de jeu ...
Tout pour nous plaire.
!PGM
!PIZZA
Reblogged
ItharaGaian
Principauté du Bastion (@hive-143869 Community)
Sélection Manuelle
BUY AND STAKE THE PGM TO SEND A LOT OF TOKENS!
The tokens that the command sends are: 0.1 PGM-0.1 LVL-0.1 THGAMING-0.05 DEC-15 SBT-1 STARBITS-[0.00000001 BTC (SWAP.BTC) only if you have 2500 PGM in stake or more ]
5000 PGM IN STAKE = 2x rewards!
Discord
Support the curation account @ pgm-curator with a delegation 10 HP - 50 HP - 100 HP - 500 HP - 1000 HP
Get potential votes from @ pgm-curator by paying in PGM, here is a guide
I'm a bot, if you want a hand ask @ zottone444
Oui, je suis moi-même très content du résultat :)
J'ai assez peu de doutes sur le fait que la personne à qui je souhaite l'offrir l'aimera aussi !
Et puis au final, ça m'a pris moins de temps que si j'avais voulu en trouver un neuf et faire des recherches pour satisfaire mes exigences haha !
I gifted $PIZZA slices here:
@itharagaian(1/5) tipped @anttn (x1)
Join us in Discord!
This was really creative and good for practice, the result ended up really pretty!
Wow wow, I was surprised and happy to see you hopped into Needlework Monday!
It's a great idea to make a fabric Backgammon for easy transportation.
I know you are good in DIY stuff (I think the first post I read from you was making a shelf fits to wall of your house) but you are also talented in sewing.
I look forward to read your project again on Needle Work Monday 😊
Thanks you dear @akipponn :)
I was surprise too ! I studied that a bit, but I don't practice enough haha ^^
Let's make a chess board ? Or you maybe have an other game/project in mind ?
Have a good day, take care 😘