Haciendo una vintage cake para el cumpleaños de mi hermana- Making a vintage cake for my sister's birthday (spa/eng)
Hola hermosa comunidad de hive food, ¿como están el día de hoy? Espero que muy bien ya que apenas esta empezando la semana, es un placer para mi compartir con ustedes el hermoso proceso de una receta muy especial, la torta de cumpleaños para mi hermana. Desde pequeña a mi hermana le encantan sus cumpleaños, y para hacerle honor en su día, yo me encargo de hacer la torta, pero no cualquiera, si no, con una decoración que la haga especial y que tenga ese estilo extravagante como mi hermana.
Hello beautiful Hive Food community, how are you today? I hope you're doing very well, since the week is just beginning. It is a pleasure for me to share with you the beautiful process of a very special recipe—my sister’s birthday cake. Since she was little, my sister has loved her birthdays, and to honor her on her day, I take care of making the cake—but not just any cake. I make sure it has a decoration that makes it special and has that extravagant style just like my sister.
Desde niñas una de nuestras partes favoritas de los cumpleaños es la parte de comer pastel, y que mejor que poder hacerla yo, me encanta compartir este tipo de creaciones con los demás. Esto de hacer y decorar tortas viene desde niña, tengo una tía que se dedica a hacer tortas con exquisitas decoraciones, entonces siempre me llamo mucho la atención; hace un par de años pasaba mucho tiempo con esta tía, y me dedique a ayudarla mientras ella hacía estas tortas, y a la vez aprendía un poco.
Since we were little, one of our favorite parts of birthdays was eating cake, and what better than being able to make it myself? I love sharing this kind of creation with others. My passion for making and decorating cakes goes back to childhood—I have an aunt who makes cakes with exquisite decorations, so it always caught my attention. A couple of years ago, I spent a lot of time with this aunt, helping her while she made cakes and learning a little along the way.
En esta ocasión les voy a compartir la receta para decorar la torta, la receta del bizcocho ya la compartí en una ocasión.
This time, I’m going to share the recipe for decorating the cake; I already shared the sponge cake recipe on another occasion.
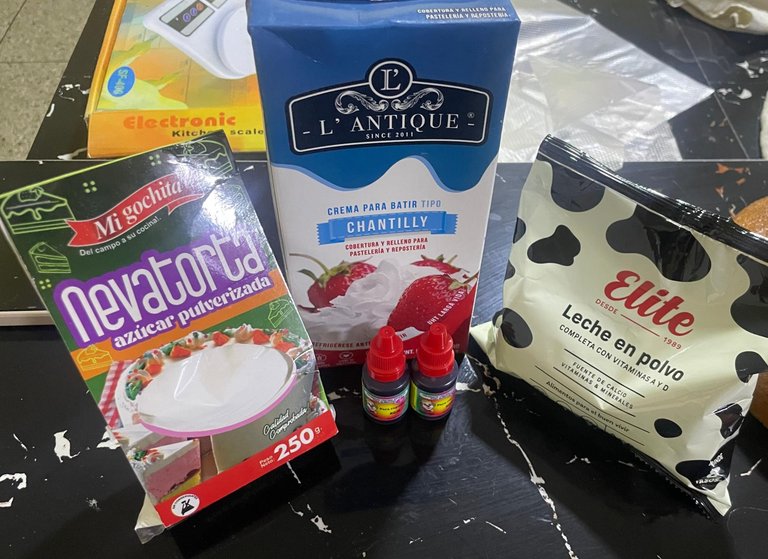
Ingredientes:
Un litro de chantilly
200 gramos de leche en polvo
200 gramos de azúcar glass
2 envases de colorante en gel rojo
Tres mangas pasteleras
Una alisadora
Brillantina comestible
Ingredients:
One liter of whipped cream
200 grams of powdered milk
200 grams of powdered sugar
2 containers of red gel food coloring
Three piping bags
A cake scraper
Edible glitter
 |  |  |
|---|
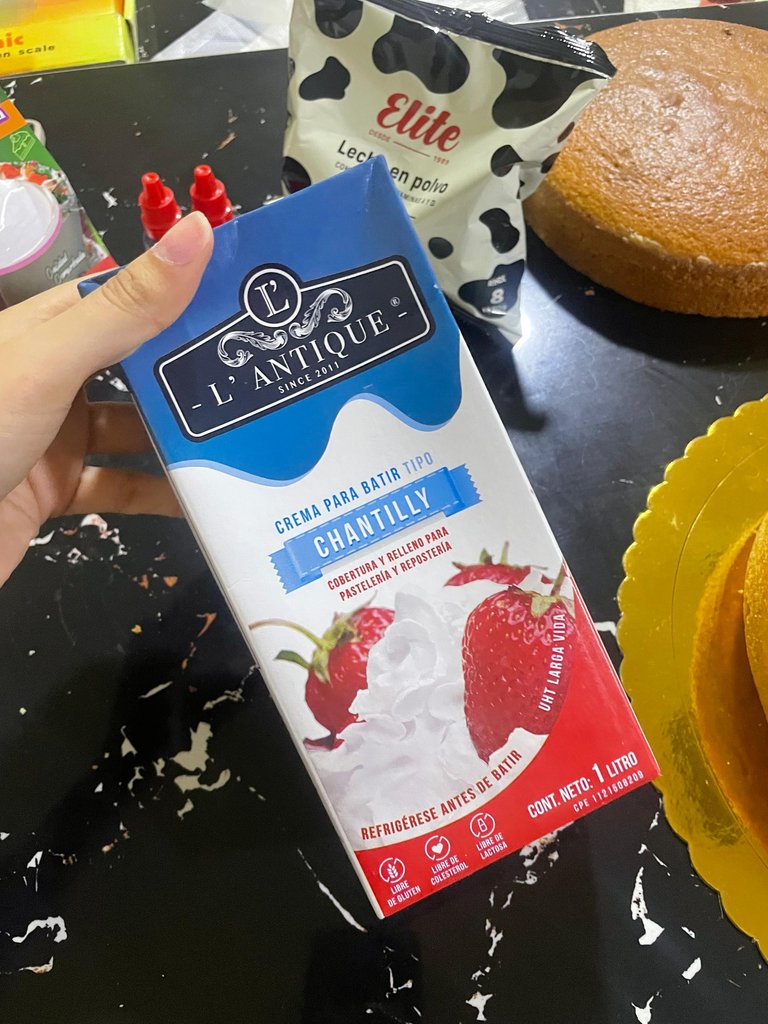
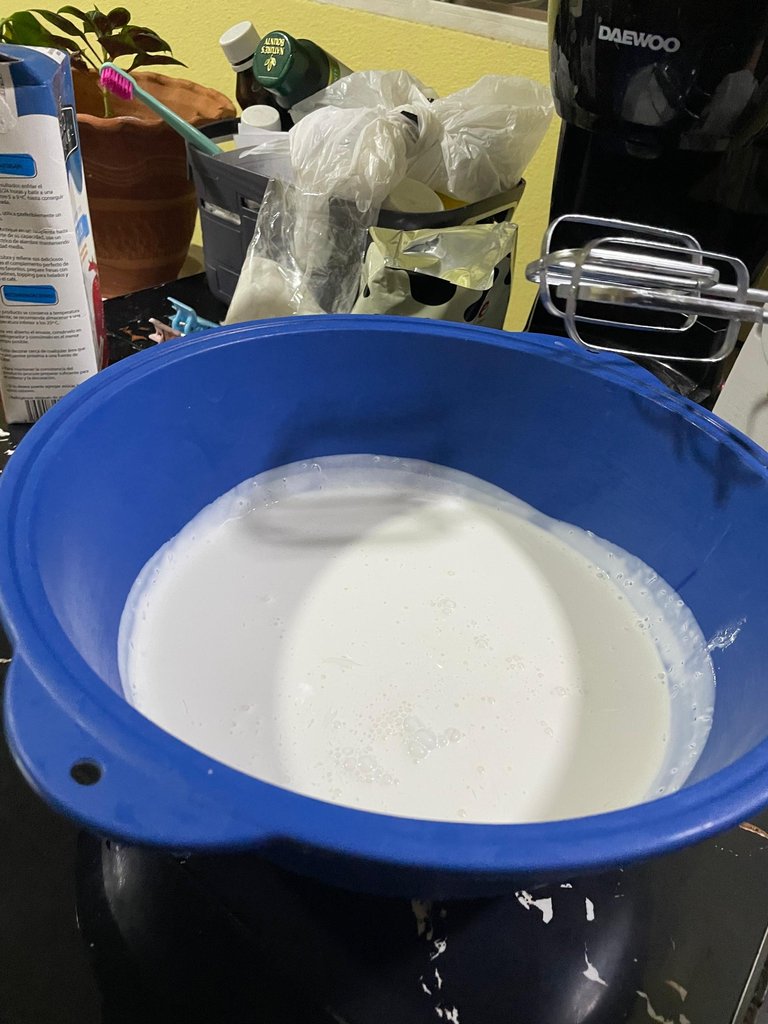
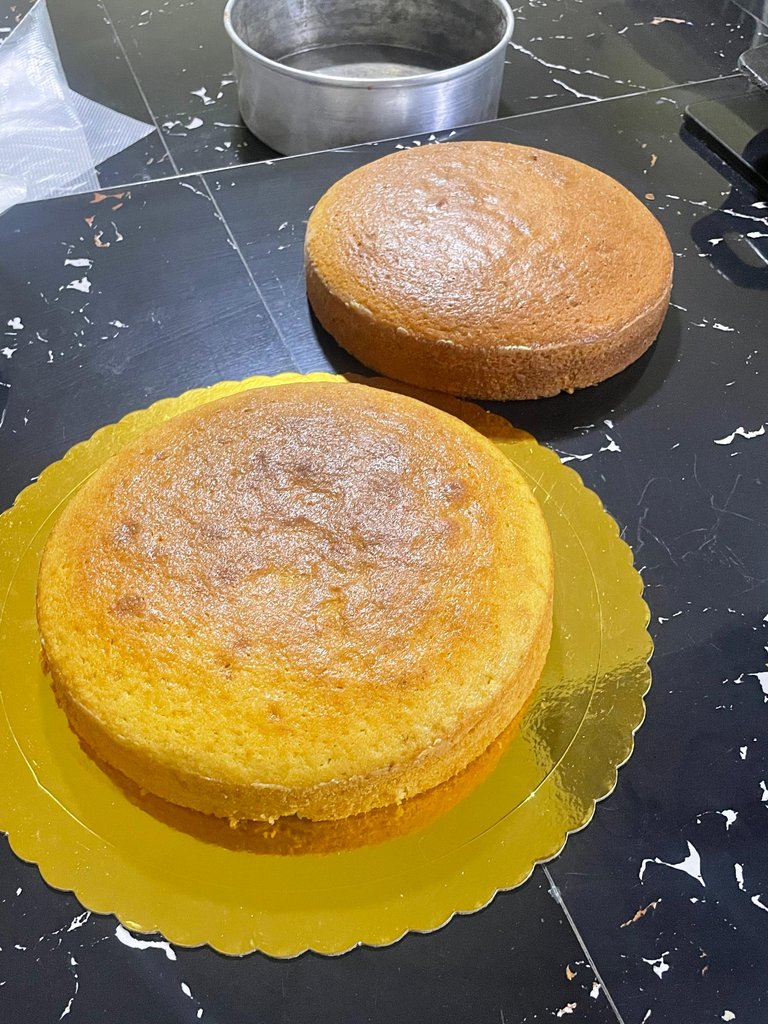
Para empezar a decorar, ya tenemos que tener listos nuestros bizcochos, yo los hice en la mañana y empecé con la decoración en la noche; la chantilly tiene que estar refrigerada, mínimo desde el día anterior, e incluso antes de abrirla la metí 15 minutos en el congelador, esto es clave para una chantilly firme. Al abrirla, la echo en el bowl donde vamos a batirla, y la meto otra vez en el congelador, con todo y las barillas de la batidora, hasta que forme un fino aro de hielo en el borde del líquido, estos pequeños tips te aseguran una chantilly firme.
To start decorating, we must already have our sponge cakes ready—I made them in the morning and started decorating at night. The whipped cream needs to be refrigerated at least from the day before, and even before opening it, I put it in the freezer for 15 minutes. This is key to achieving firm whipped cream. After opening it, I pour it into the mixing bowl, and put it back in the freezer—beaters included—until a thin ring of ice forms around the edge of the liquid. These little tips guarantee firm whipped cream.
 |  |  |
|---|
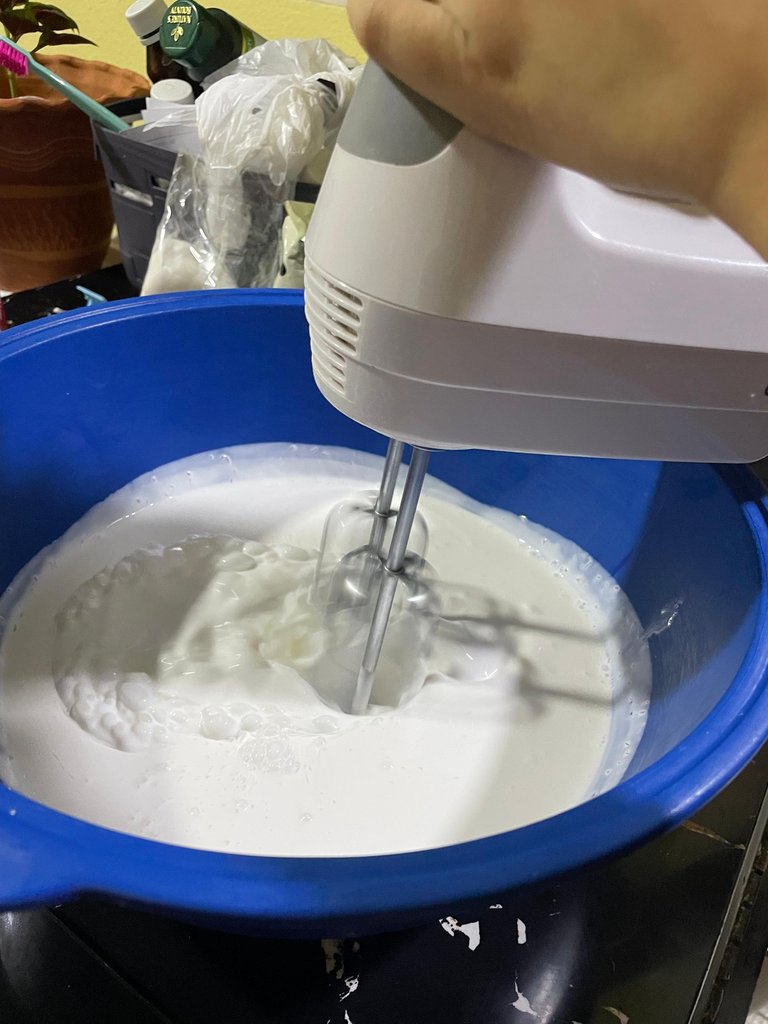
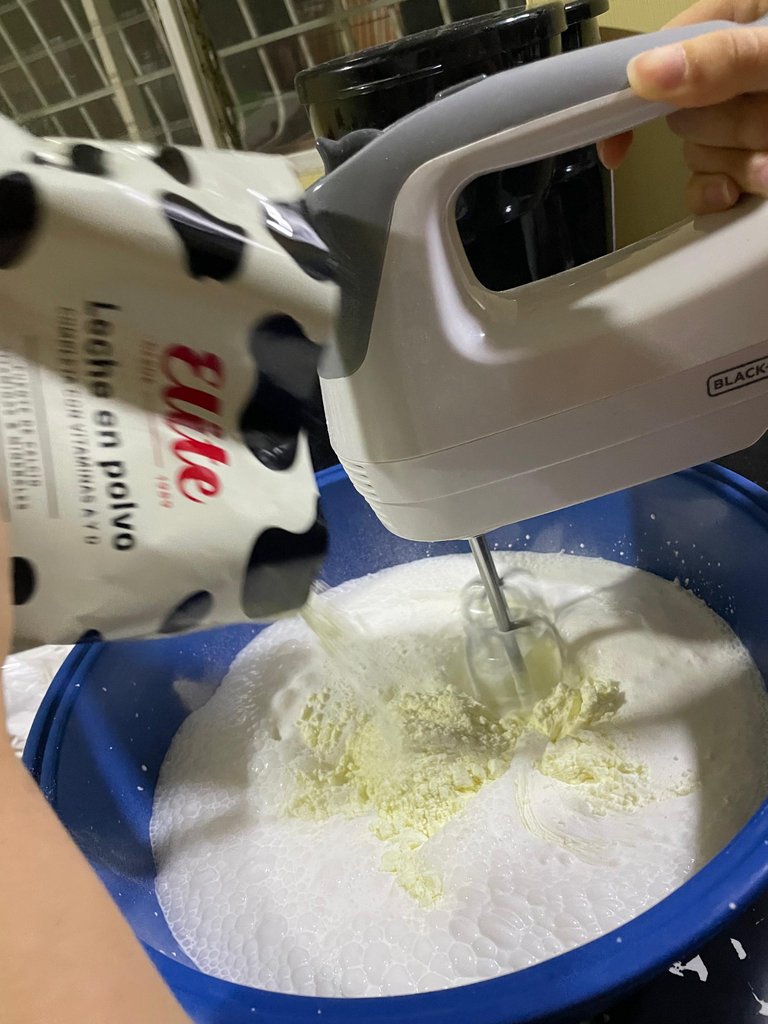
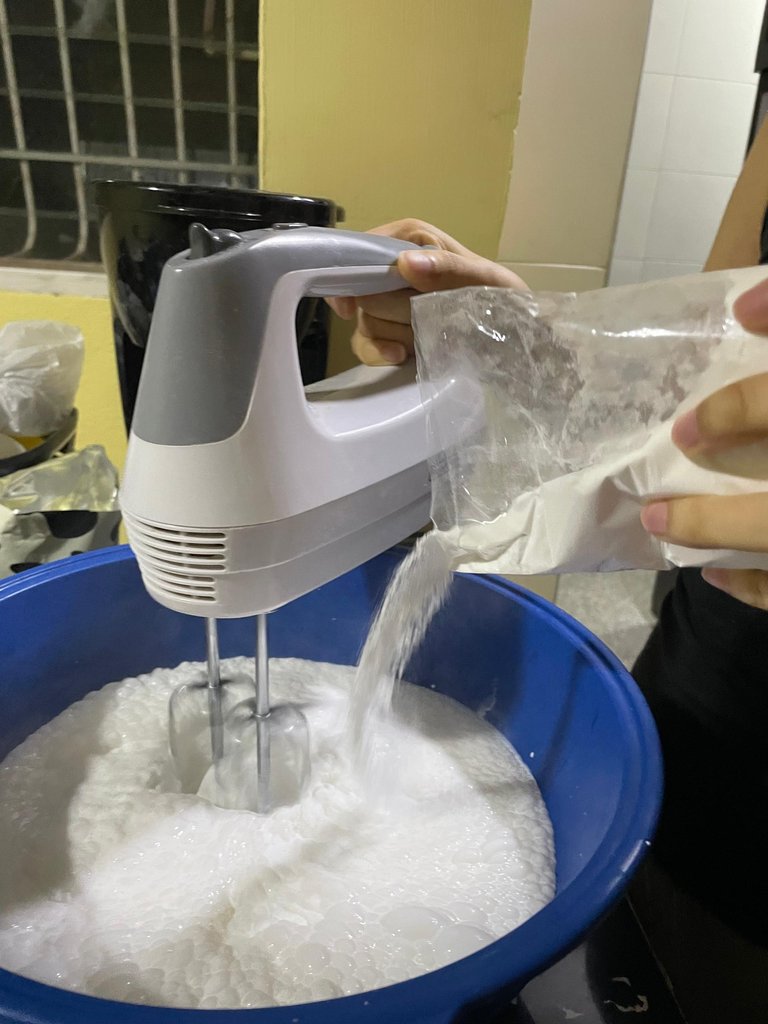
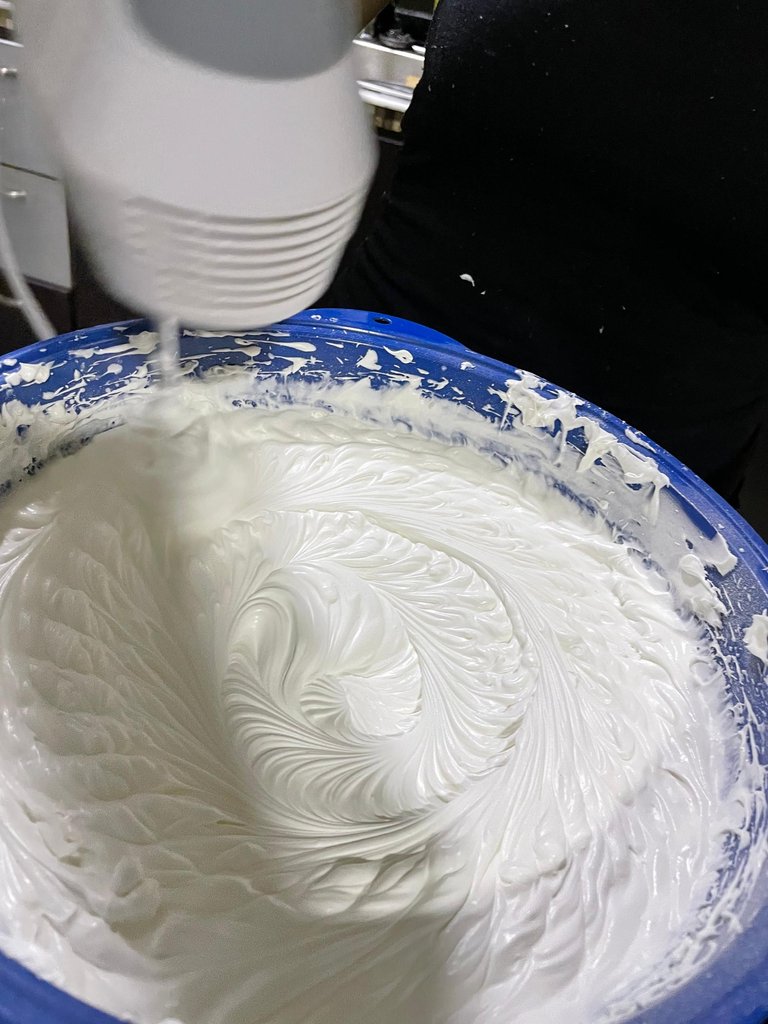
Empezamos batiendo la chantilly sola, y voy agregando la leche en polvo y la azúcar glass, y seguimos batiendo hasta que la chantilly se vuelva firme y haga picos altos al sacar las barillas de la batidora; hay que tener mucho cuidado de no sobre batir la chantilly, tiene que quedar firme y lisa la crema, no porosa.
We start by whipping the cream on its own, then I gradually add the powdered milk and the powdered sugar. We continue whipping until the cream becomes firm and forms stiff peaks when lifting the beaters. You must be very careful not to over-whip the cream—it should be firm and smooth, not porous.
 |  |  |
|---|
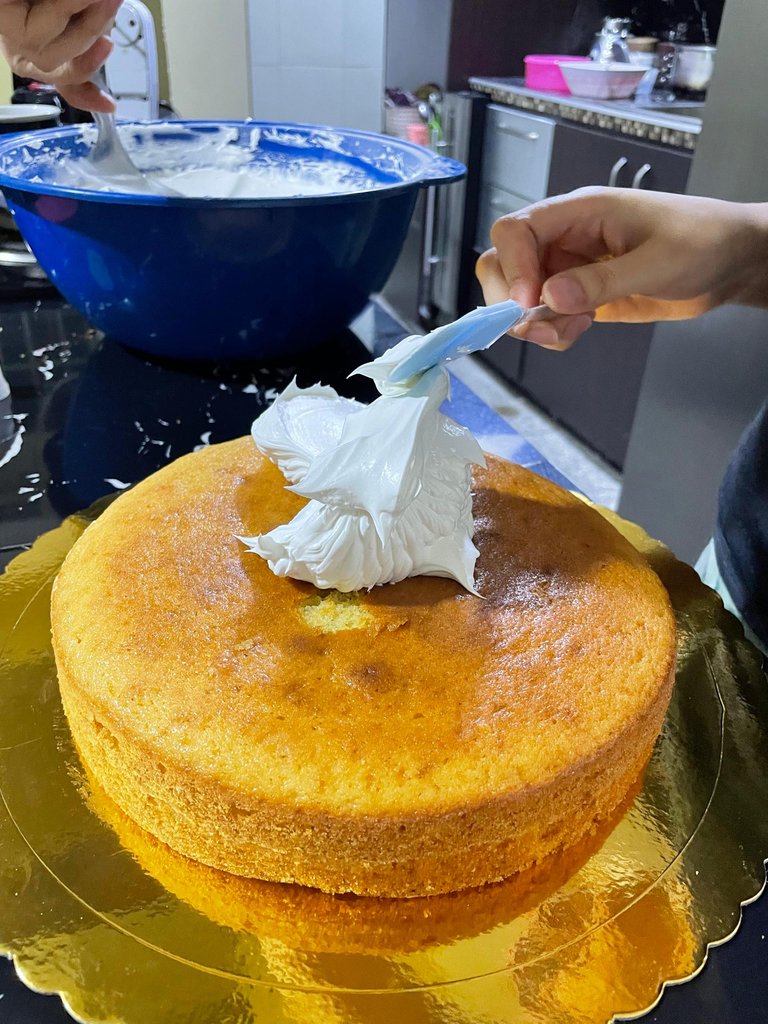
Monte los bizcochos uno sobre el otro, rellenando con chantilly en el medio, y los forre con una fina capa recoge migas para facilitar el decorar la torta.
I stacked the sponge cakes one on top of the other, filling the middle with whipped cream, and covered them with a thin crumb coat to make decorating the cake easier.
 |  |  |
|---|
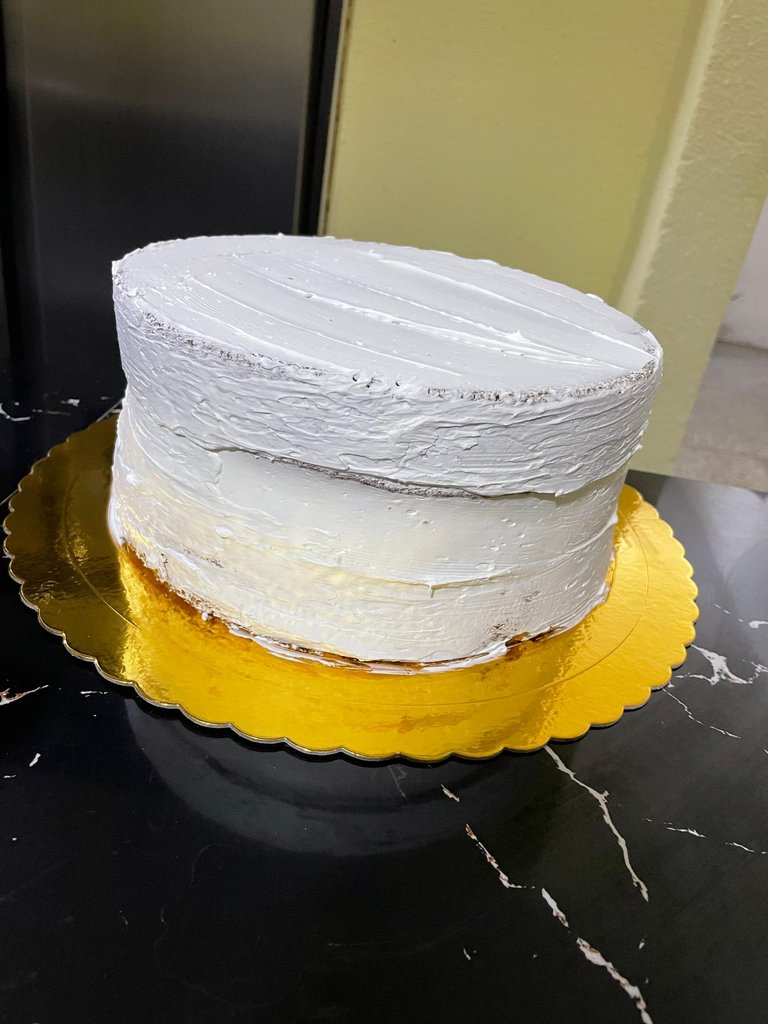
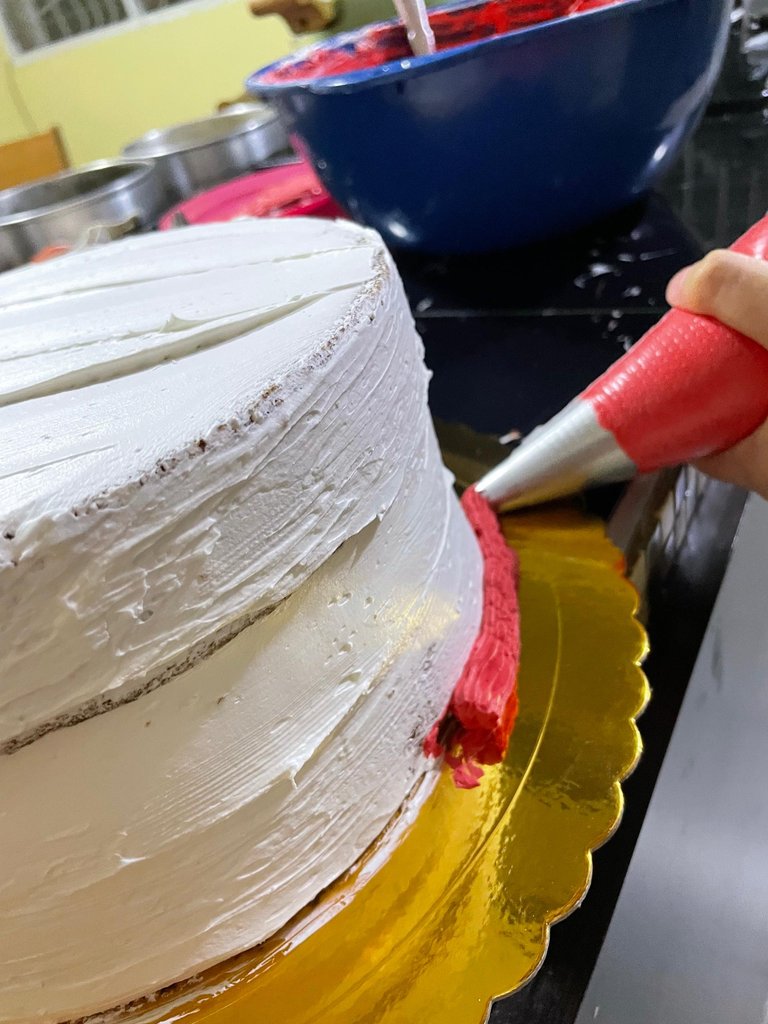
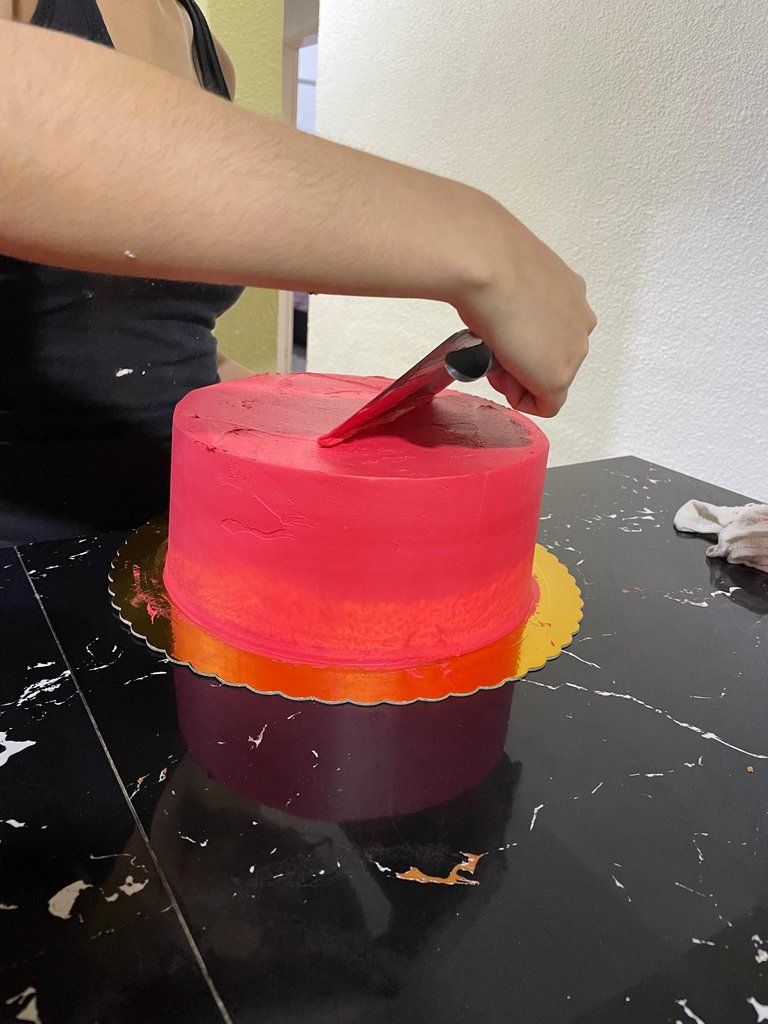
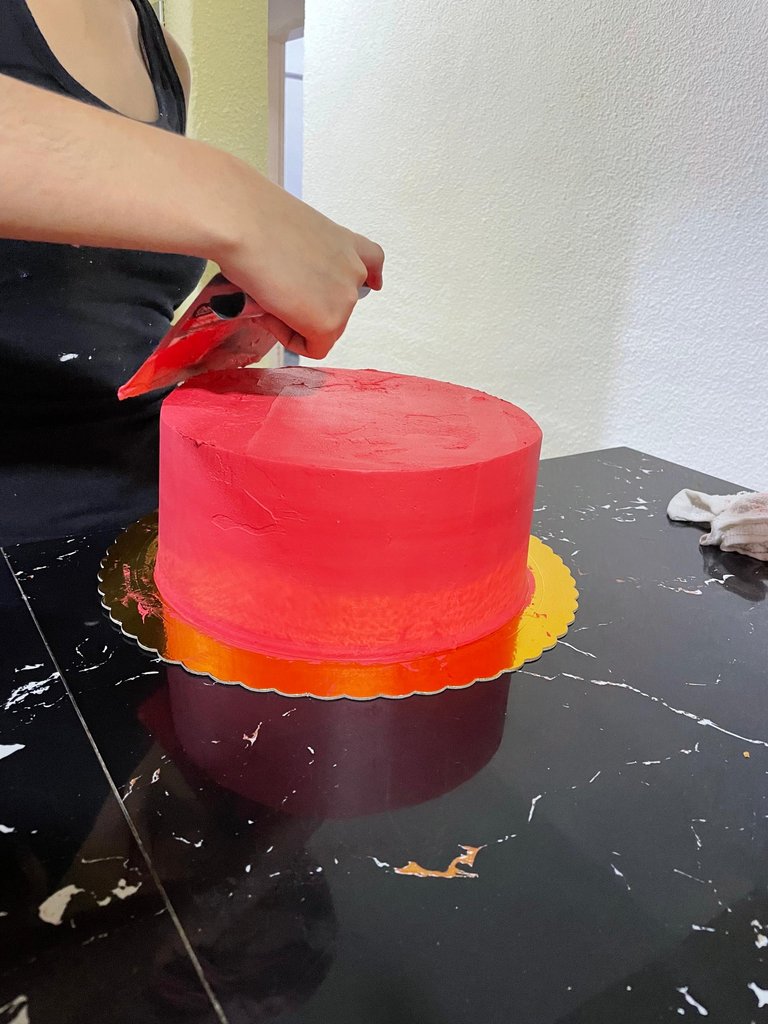
Ahora si, empecé a pintar la chantilly con el colorante en gel y mezclando con una espátula, este proceso puede ser tardado y la chantilly puede empezar a ponerse porosa y difícil de manejar, así que lo vamos a hacer es hidratar con un poco de líquido, yo lo hice con leche qué tenía en la nevera, pero lo puedes hacer con agua, más o menos unos 100 mililitros, echas un poco y vamos mezclando con movimientos envolvente y vas a ver como recupera la textura lisa y sedosa. Puse la mezcla en una manga pastelera y empecé a forrarla con una capa gruesa de chantilly, para empezar con el alisado. La verdad es muy fácil alisar con esta chantilly, a diferencia del merengue que es un poquito más complicado. Les doy un tip por si no tienen base giratoria para alisar como yo, pongo un trocito de cartón bajo la base de la torta y se me hace mucho más fácil girarla para alisarla.
Now, I started coloring the whipped cream with the gel food coloring and mixing it with a spatula. This process can take some time, and the cream might start becoming porous and hard to work with. What we’re going to do is hydrate it with a bit of liquid—I used milk I had in the fridge, but you can use water—about 100 milliliters. Add a little and mix using folding movements, and you’ll see how it regains its smooth, silky texture. I put the mixture into a piping bag and started covering the cake with a thick layer of whipped cream to begin smoothing. Honestly, it’s very easy to smooth with this whipped cream, unlike meringue, which is a bit more complicated. Here’s a tip: if you don’t have a turntable for smoothing like me, place a small piece of cardboard under the cake base—it makes it much easier to rotate while smoothing.
 |  |  |
|---|
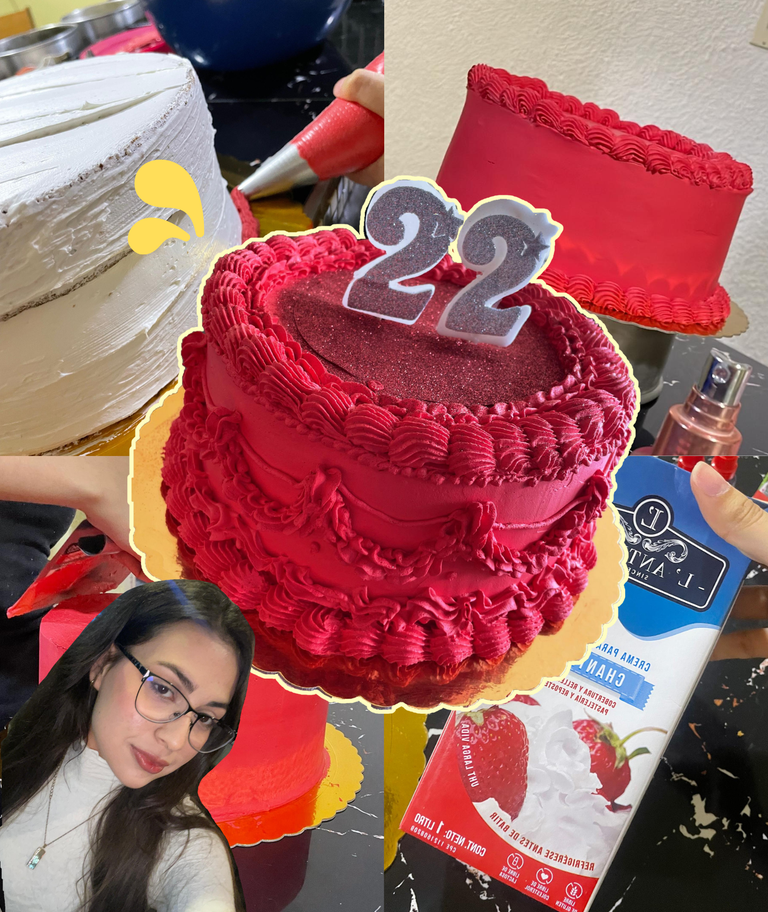
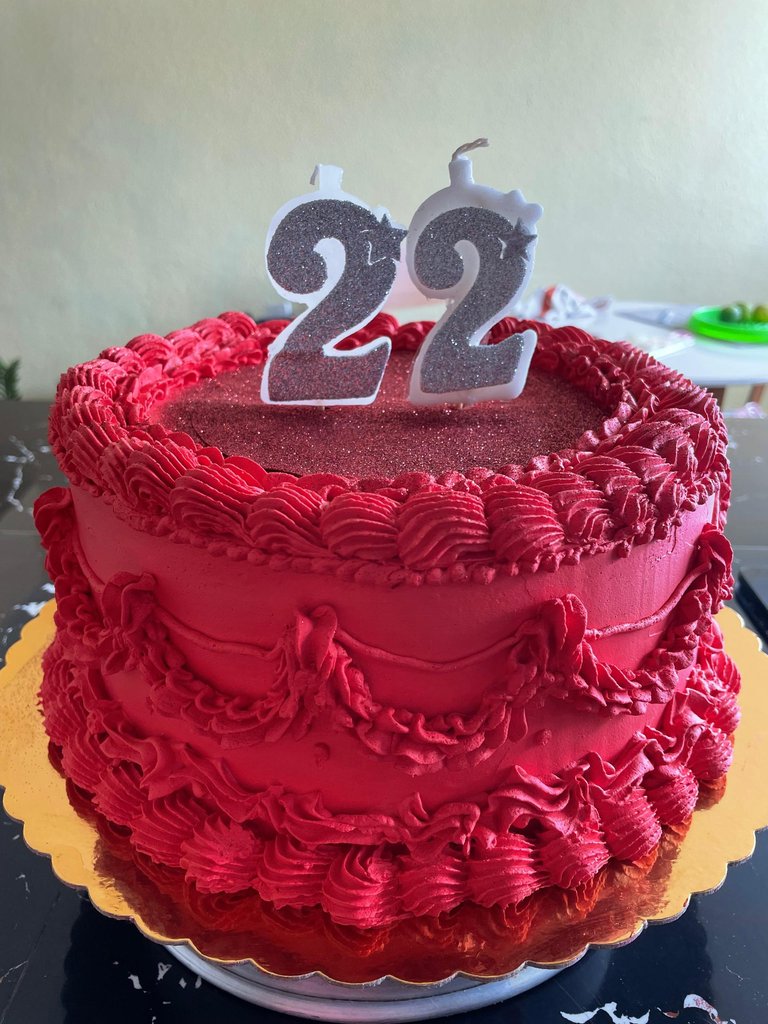
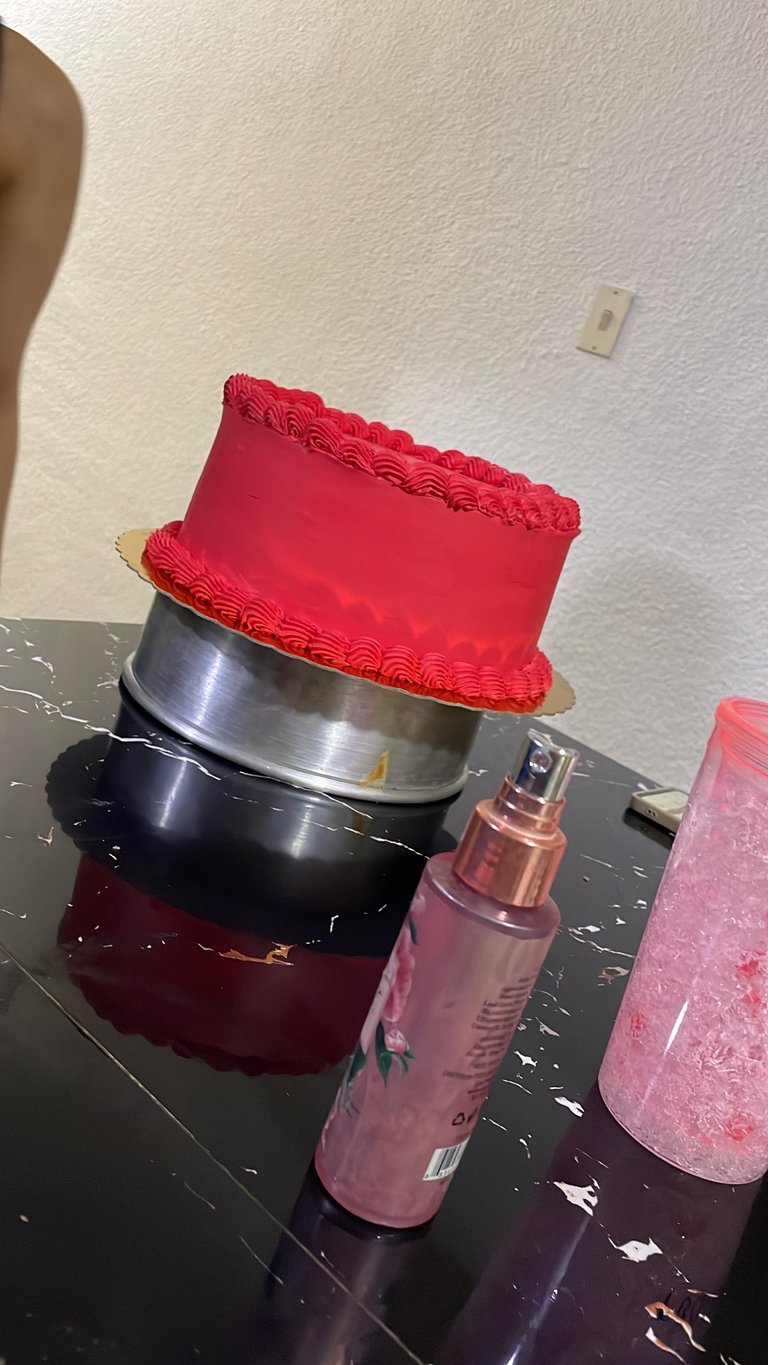
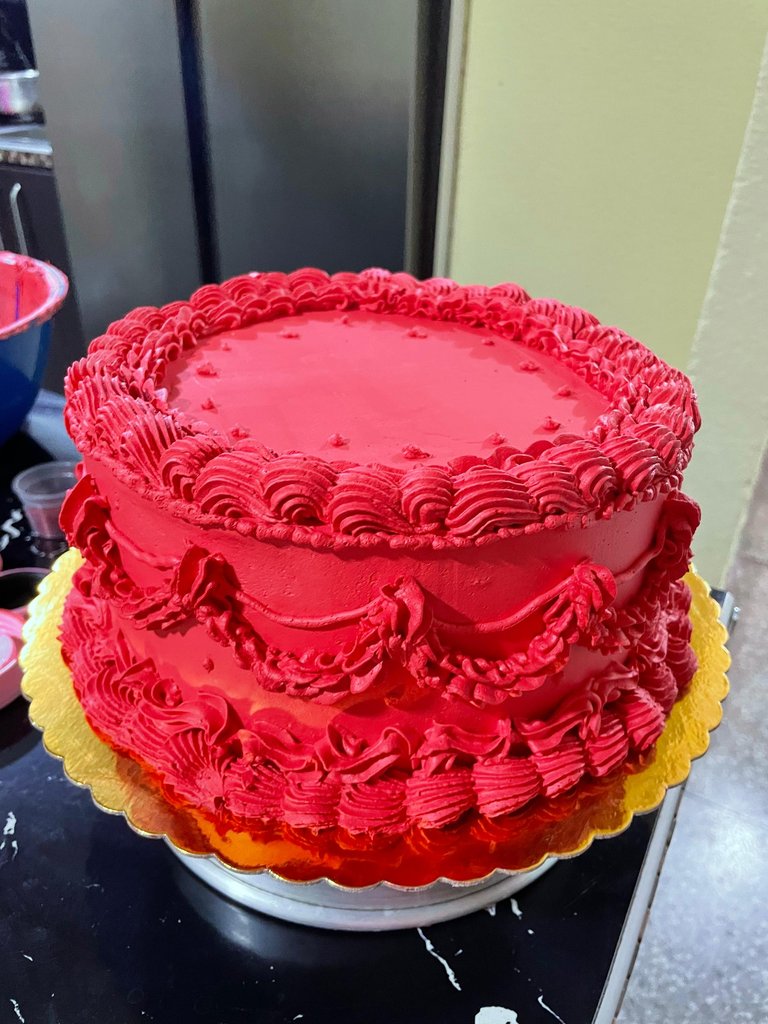
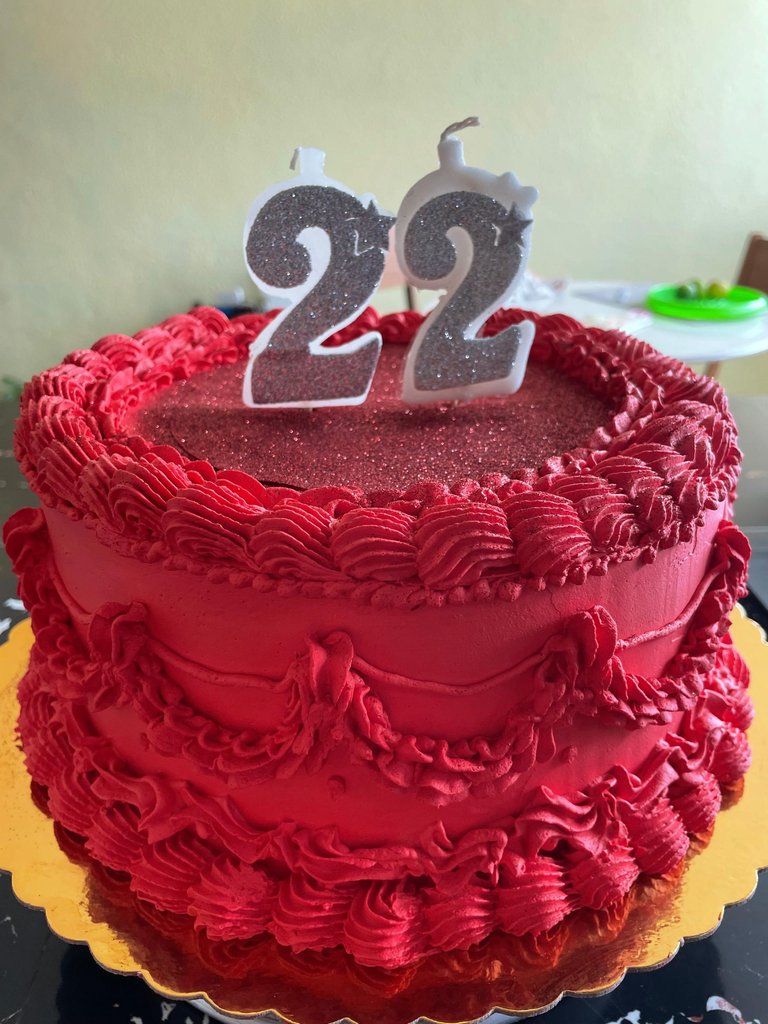
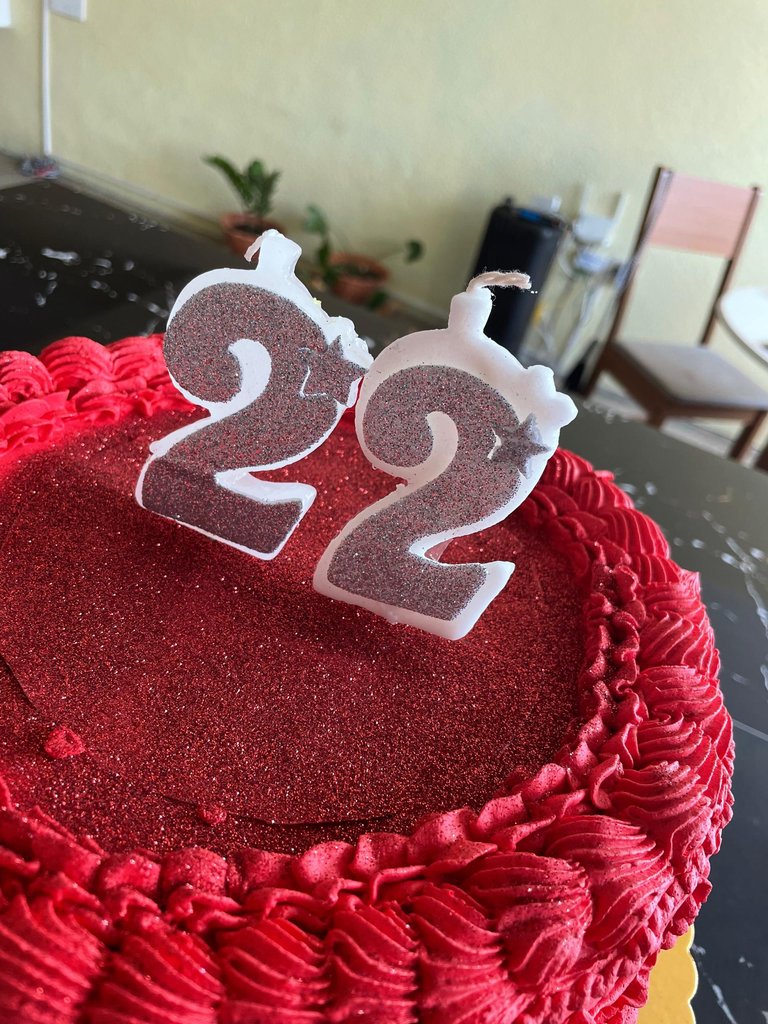
Ya estando lisa la torta empecé con los volados, mi hermana quería una vintage cake, que son bastante populares, y se caracterizan por tener muchos volados hechos con diferentes boquillas, yo utilice tres, por eso se necesitan tres mangas pasteleras, les recomiendo desechable para no tener que lavar tantas cosas. Para finalizar puse un papel celofán en forma de circulo arriba para echar la brillantina.
Once the cake was smooth, I started with the ruffles—my sister wanted a vintage cake, which are quite popular and are characterized by having lots of ruffles made with different piping tips. I used three, which is why you need three piping bags. I recommend disposable ones to avoid washing so many tools. To finish, I placed a circular piece of cellophane on top to sprinkle the glitter.
Aunque no soy una experta disfruto de hacer estas tortas para mi familia de vez en cuando, se que me falta practica, así que espero seguir mejorando, y espero que les sirva esta pequeña guía de como decorar con chantilly, y les haya gustado el resultado, hasta pronto.
Even though I’m not an expert, I enjoy making these cakes for my family every now and then. I know I still need practice, so I hope to keep improving. I also hope this little guide on how to decorate with whipped cream is useful for you, and that you liked the result. See you soon!
https://www.deepl.com/Translator
Fotografías tomadas por mi
Fotografía edición Canvas