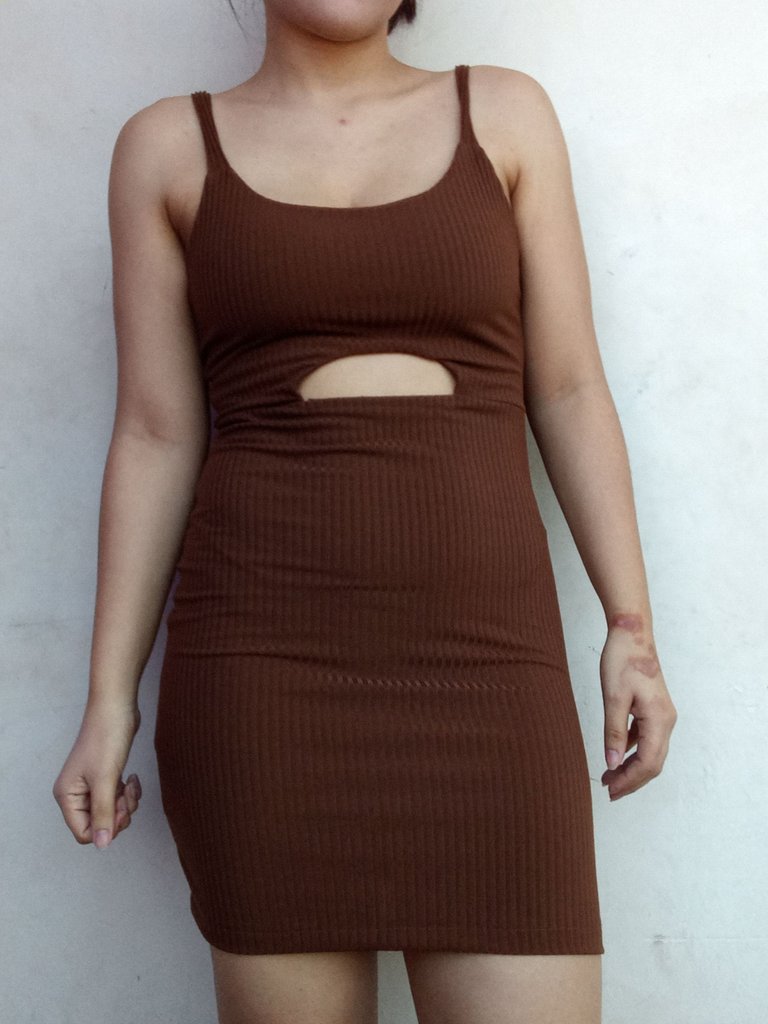
Vestido con abertura delantera 👗 | Dress with front slit 👗
Bienvenidos mi Blog | Welcome to my Blog 💜
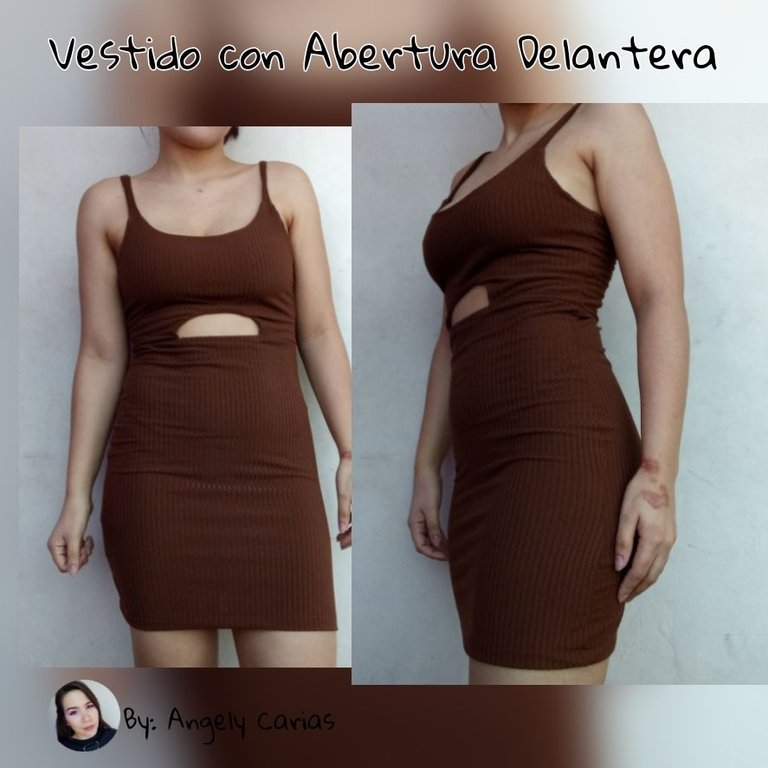
Hola Hivers 💜 espero que se encuentren muy bien. Venimos aqui con un tutorial de como elaborar un vestido muy chip que esta muy a la moda, el paso a paso es sencillo, solo tienen que ponerle amor al momento de coser para que el resultdo sea el esperado. Comenzamos con los materiales.
Hello Hivers 💜 I hope you are doing well. We come here with a tutorial on how to make a very chip dress that is very fashionable, the step by step is simple, you just have to put love at the time of sewing so that the result is as expected. Let's start with the materials.

Materiales | Materials
- 80 cm de tela rip
- Hilo color de la tela
- Maquina de coser
- Tijera
- 80 cm of rip cloth
- Thread color of the fabric
- Sewing machine
- Scissors
Paso a paso | Step by step
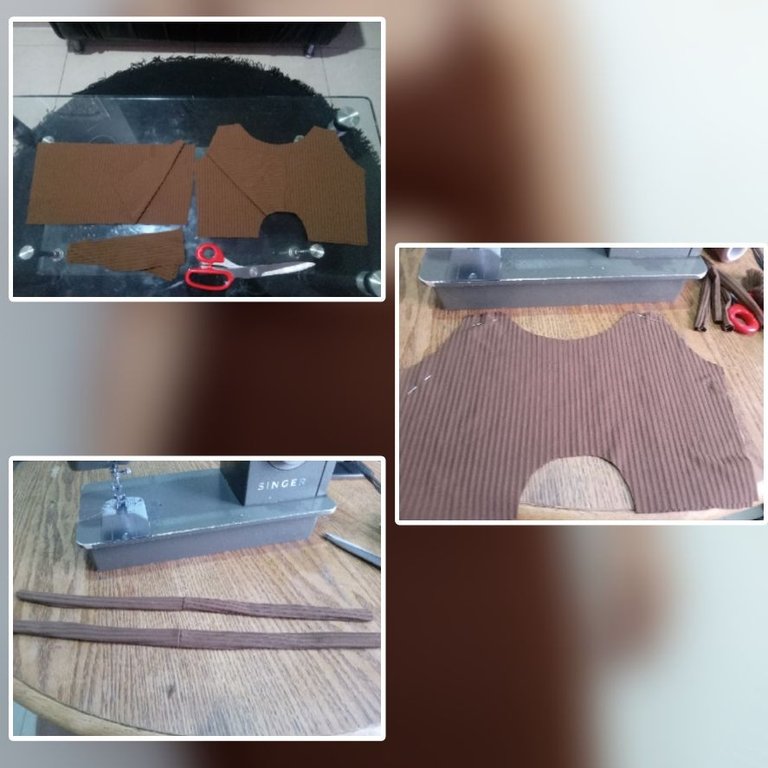
- Comenzamos con la parte de arriba del vestido ya que la hice en dos partes, corte las piezas me ayude con un vestido de referencia, saque 2 pieza traseras, dos delanteras y los tirantes. Unimos las dos partes delanteras uniendo escote y sisa y la abertura que sera nuestro centro en el vestido.
We start with the top of the dress since I made it in two parts, I cut the pieces with the help of a reference dress, I took out 2 back pieces, two front pieces and the straps. We join the two front parts joining neckline and armhole and the opening that will be our center in the dress.
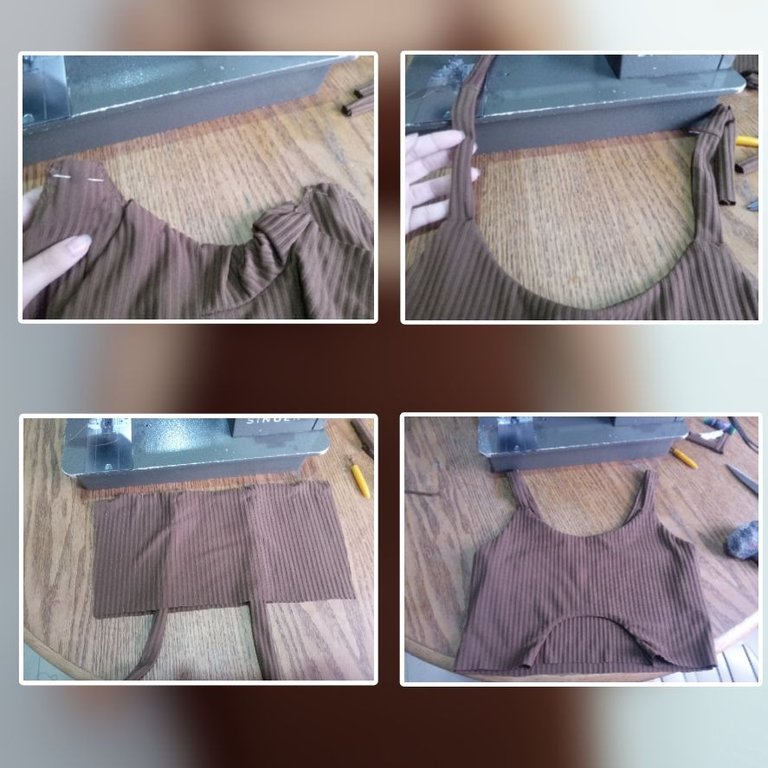
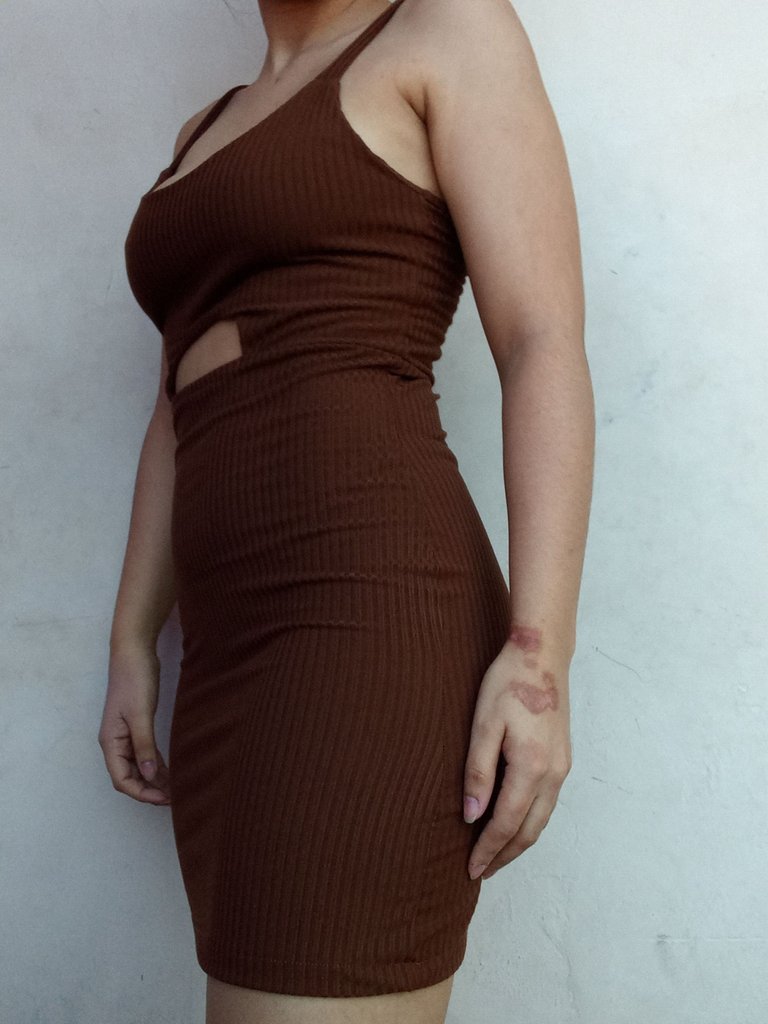
- Introducimos las tiras entre las piezas delantes para unirlas a ésta primeramente, luego las mismas tiras las introducimos entre las piezas trasera para tambien unirlas, aqui tenemos que cuadrar muy bien, sujetar la tira con alfileres y luego coser y seguido cerramos el top completmente cosiendo los laterales.
We introduce the strips between the front pieces to join them first, then we introduce the same strips between the back pieces to also join them, here we have to square very well, hold the strip with pins and then sew and then we close the top completely by sewing the sides.
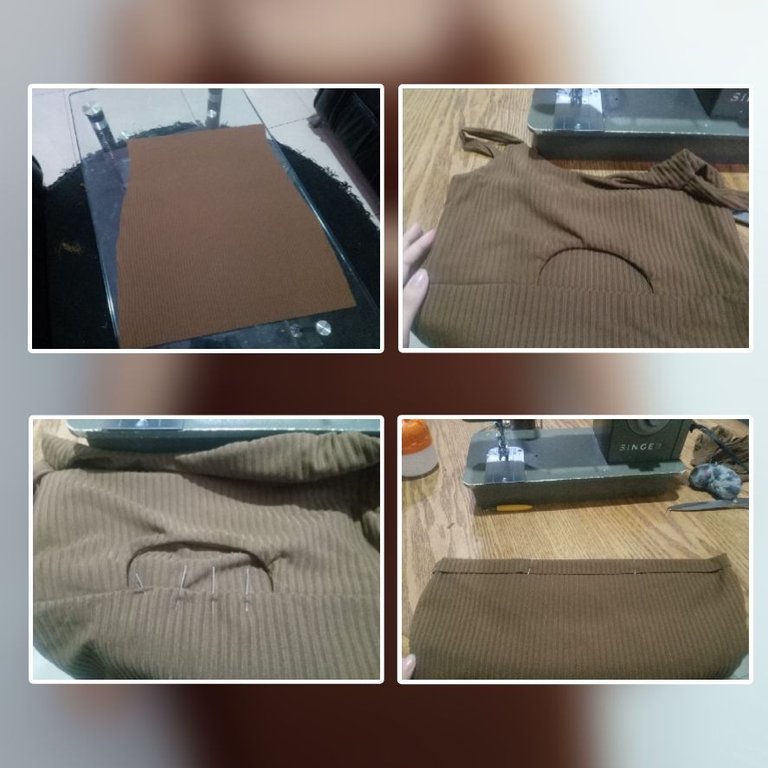
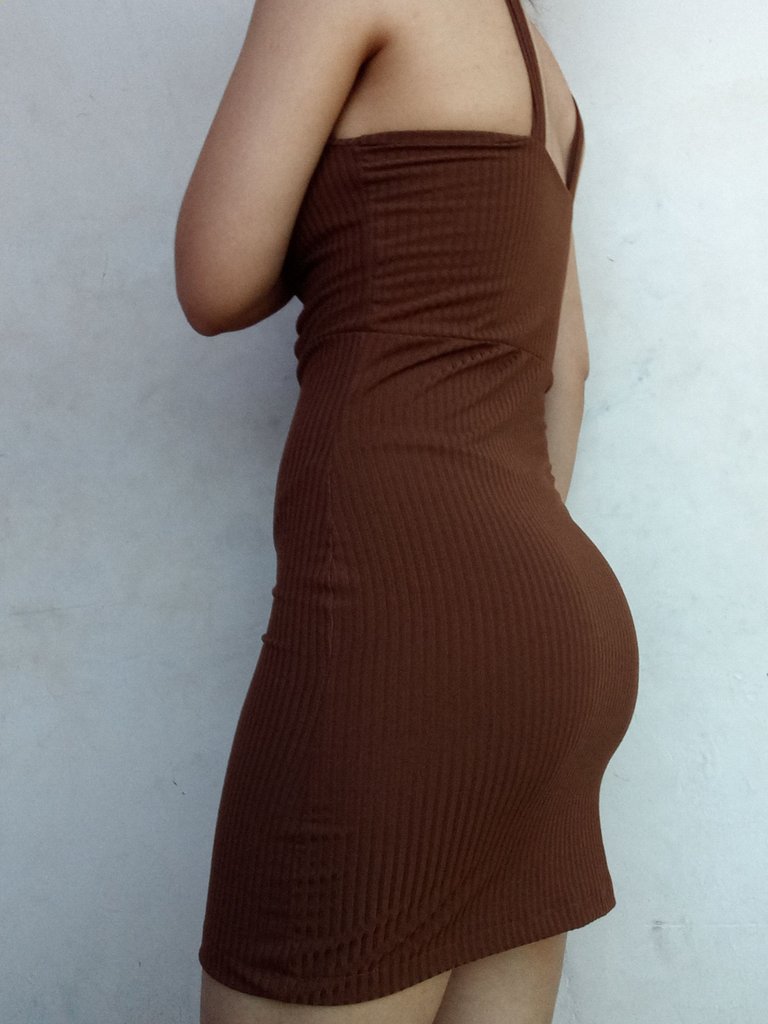
- Vamos con la parte de abajo del vestido,cortamos especie de una falda, cerramos los laterales para luego unir con la parte de arriba, en la parte de la abertura quedara una pestañita esa la metemos hacia adenteo y cosemos, dejando la abertura que vendria siendo nuestro modelos le tomamos el ruedo y listo ya tenemos un vestido hermoso y fácil para lucir eatas navidades.
Let's go with the bottom of the dress, cut kind of a skirt, close the sides and then join with the top, in the part of the opening will be a little tab that we put it towards adenteo and sew, leaving the opening that would be our models we take the ruffle and ready and we have a beautiful and easy dress to wear this Christmas.
Espero que les haya gustado este tutorial y les sea facil de entender, gracias por llehar hasta aqui, no leemos en un próximo post.
I hope you liked this tutorial and it is easy to understand, thank you for coming here, see you in a future post.

♡ Imágenes y textos son propiedad del autor
♡ Edición: Canva - Picsart
♡ Traductor: DeepL
♡ Images and texts are property of the author.
♡ Editing: Canva - Picsart
♡ Translator: DeepL
Has sido votado por
PROYECTO ENLACE
'Conectando Ideas y Comunidades'
PROYECTO ENLACE es un proyecto de curación de habla hispana enfocado en recompensar contenido de calidad y apoyar autores en su proceso de crecimiento en HIVE.
Creemos y apostamos por el futuro de esta gran plataforma, y estamos muy emocionados de poder hacerla crecer junto a esta comunidad. Así que te invitamos a publicar en nuestra COMUNIDAD y estar atento a todas las actividades que tenemos preparadas y que estaremos publicando en breve.
¿QUIERES AUTOMATIZAR TUS GANANCIAS DE CURACIÓN? SE PARTE DEL PROYECTO ENLACE APOYANDO A NUESTRO TRAIL EN HIVE.VOTE INGRESA AQUÍ PARA CONOCER LOS DETALLES.
¿QUIERES INVERTIR ENLACE? DESCUBRE COMO HACERLO Y GENERAR INGRESOS DE FORMA SEMANAL MEDIANTE TU DELEGACIÓN DE HP AQUÍ TE EXPLICAMOS COMO.
Te invitamos a participar en nuestro servidor de Discord: https://discord.gg/3S9y7BbWfS
Atentamente
EQUIPO ENLACE 2023
Quedó fabuloso, me encaanta, gracias por compartirlo.
This is definitely one of the easiest tutorials I’ve come across.
Can’t wait to do mine.
This is so beautiful, I will try and made one for myself, I love it much thank you for sharing
Wow this dress is indeed so beautiful. It really make you look cute
¡Hola Angely! Te quedó espectacular el vestido, esa tela me gusta mucho pero no sabia que se llamaba asi, me da pánico coser telas elásticas pero quiero empezar para replicar la ropa que me gusta que veo en Pinterest (mi talla es un poco complicada, soy S arriba y M abajo siempre), muy parecida a ese diseño que realizaste, me dirías por favor qué tipo y numero de aguja usaste? Hace poco compre blisters nuevos de agujas punta de bola pero no tengo claro qué numero usar en qué telas, agradece mucho cualquier info que puedas compartirme 👏 💜
Upvote recommended by @bhattg as part of Encouragement Program
Keep Up the good work on Hive ♦️
me encanta el diseño, te quedo muy bien