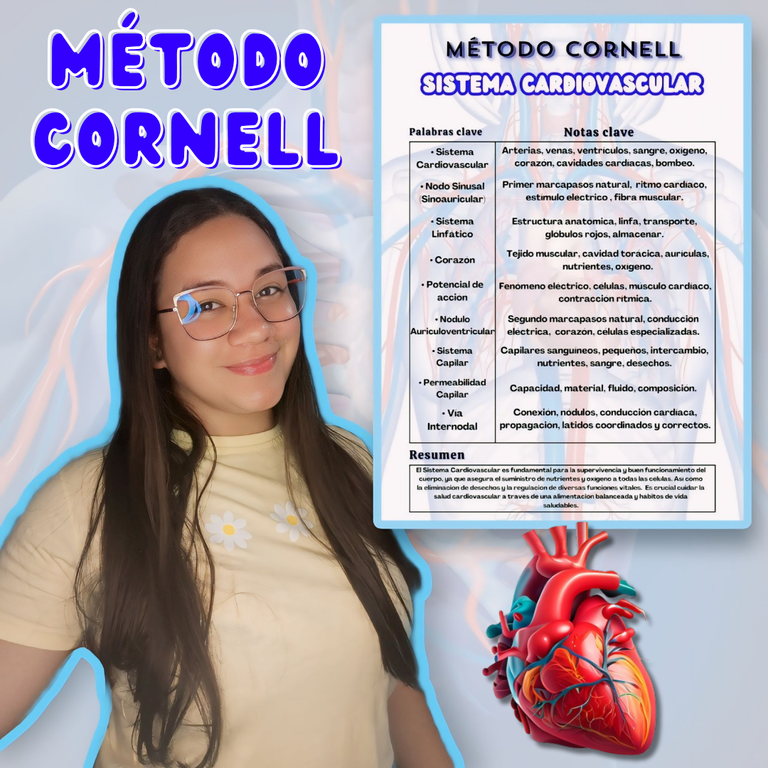
Creando una plantilla del método Cornell - Sistema Cardiovascular🫀🩸 // Creating a Cornell Method Template - Cardiovascular System🫀🩸
Hola holaa, amigos de Hive💗. Realicé una plantilla sobre el método de estudio denominado Cornell para una asignación de una materia llamada Sistema Cardio-Respiratorio. Este método de estudio tiene como objetivo sintetizar ideas e información importantes sobre el tema a estudiar, mediante apuntes o notas resumidas. Acá les mostraré cómo la realicé paso a paso, una plantilla muy fácil de crear desde cero.
Hello helloo, friends of Hive💗. I made a template on the study method called Cornell for an assignment of a subject called Cardio-Respiratory System. This study method aims to synthesize important ideas and information about the subject to be studied, through notes or summarized notes. Here I will show you how I made it step by step, a template very easy to create from scratch.
🩸Paso 1 // Step 1🩸
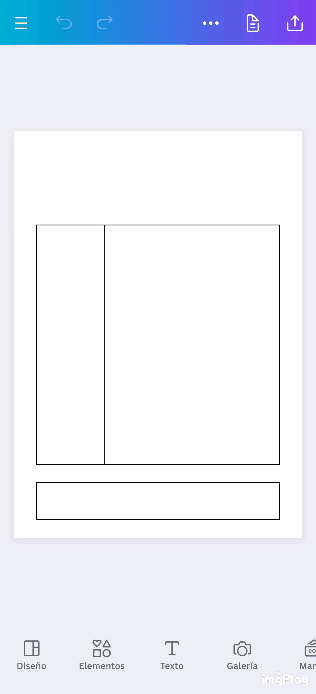
Para realizar esta plantilla, utilicé la aplicación de diseño gráfico llamada Canva, como ya les he mencionado, es la que siempre uso para realizar mis trabajos gráficos de la universidad. Entonces, primero comienzo eligiendo un formato de hoja tipo carta en blanco para empezar a diseñar la plantilla.
To make this template, I used the graphic design application called Canva, as I have already mentioned, it is the one I always use to make my university graphic works. So, first I start by choosing a blank letter sheet format to start designing the template.
🩸Paso 2 // Step 2🩸
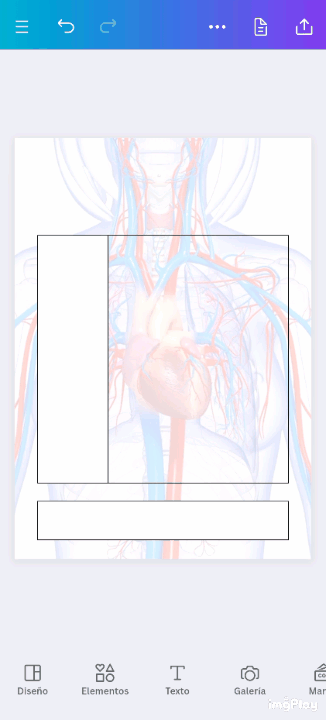
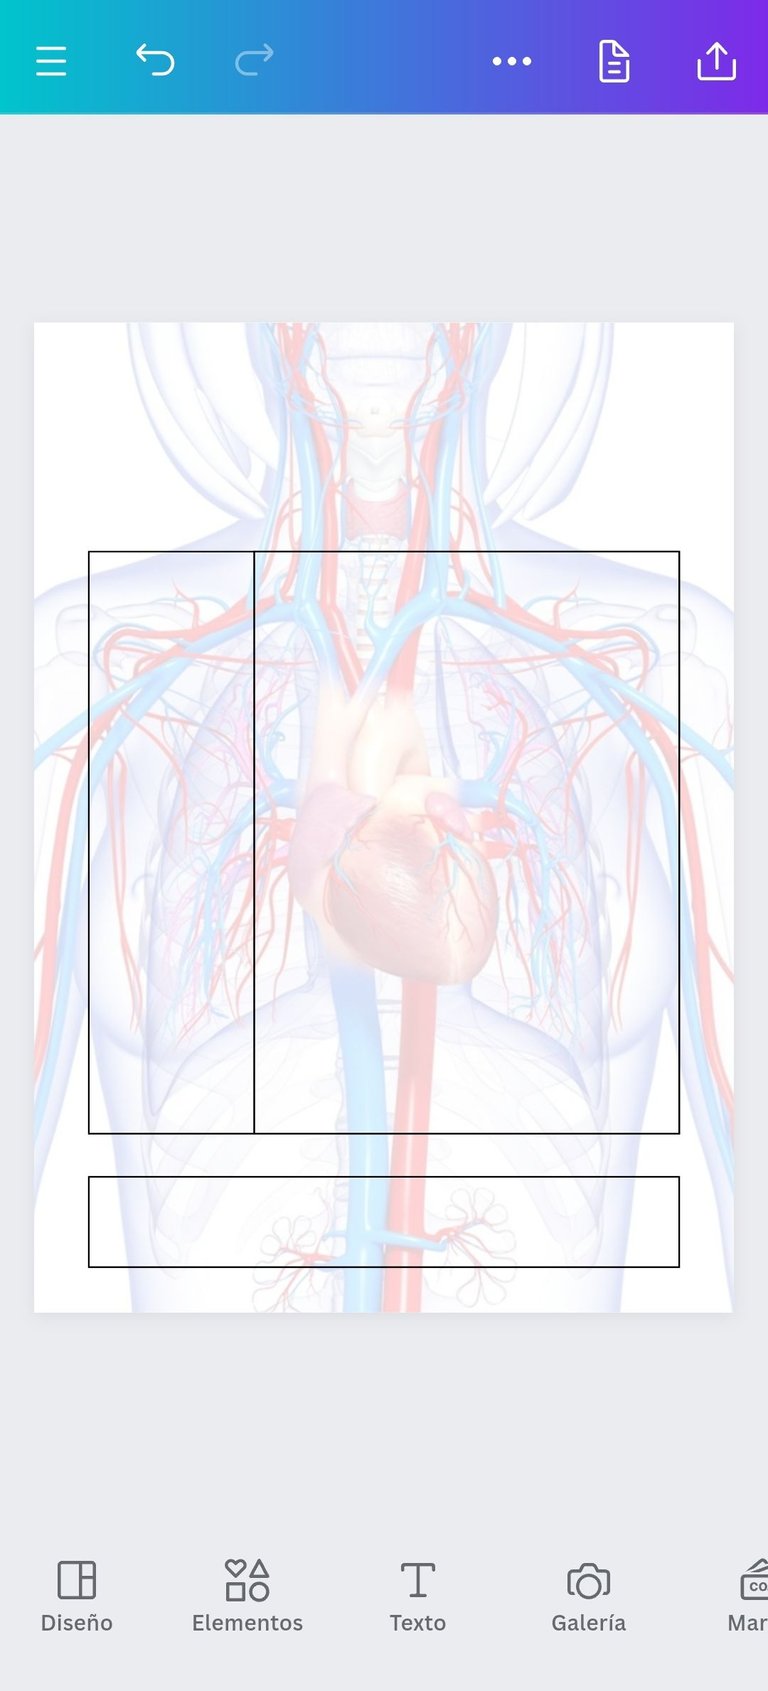
Opté por colocarle una imagen de fondo, así que la busqué por internet y conseguí una perfecta que va relacionada con el tema.
I opted to put a background image on it, so I searched the internet and got a perfect one that is related to the theme.
🩸Paso 3 // Step 3🩸
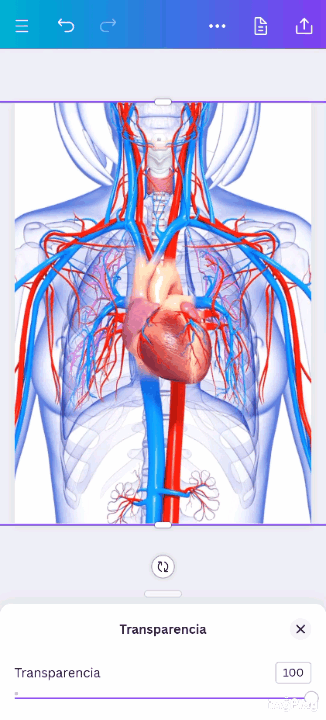
Selecciono la imagen descargada de internet y la fijo muy bien para que quede centrada para luego configurar su opacidad. Esto con el objetivo de que se vea todo el contenido que irá en la plantilla.
I select the image downloaded from the internet and fix it very well so that it is centered and then set its opacity. This with the objective of showing all the content that will be in the template.
🩸Paso 4 // Step 4🩸
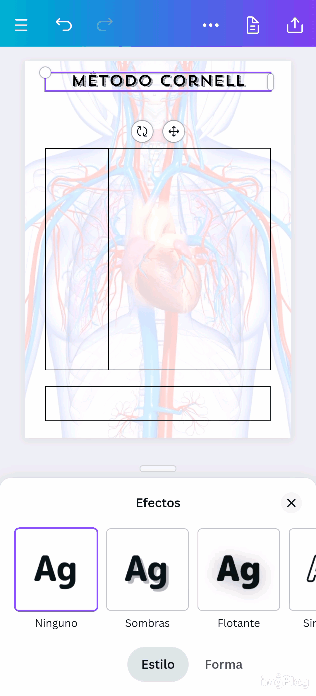
Debido a que los cuadros informativos que caracterizan a este método tienen medidas exactas, los copié de otra panilla ya realizada para hacer el trabajo más fácil.
Since the informative tables that characterize this method have exact measurements, I copied them from another already made spreadsheet to make the work easier.
🩸Paso 5 // Step 5🩸
Luego de copiar todos los cuadros informativos, les quito el color de fondo y los dejo transparentes para que se pueda apreciar mejor la información.
After copying all the information boxes, I remove the background color and make them transparent so that the information can be better appreciated.
🩸Paso 6 // Step 6🩸
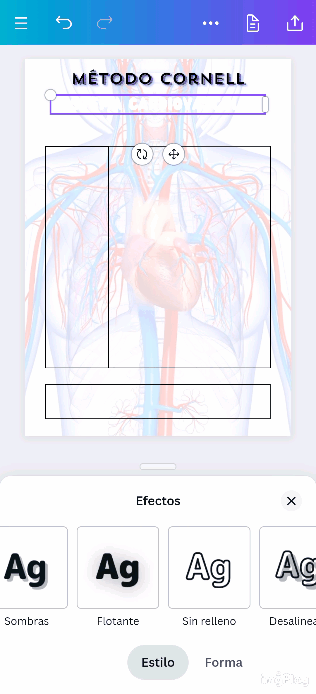
Ahora, voy eligiendo las diferentes fuentes de los títulos y les agrego efectos para darle el toque ideal a esta plantilla, seleccionado siempre colores relacionado con la imagen de fondo.
Now, I choose the different fonts for the titles and add effects to give the ideal touch to this template, always selecting colors related to the background image.
🩸Paso 7 // Step 7🩸
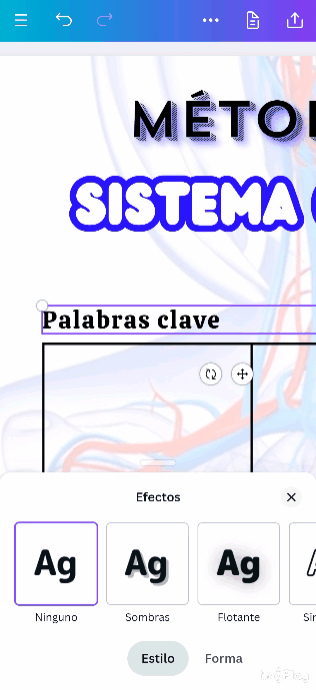
También agregó las fuentes de los respectivos títulos del cuadro informativo. Igualmente, les coloqué los mismos efectos de los títulos anteriores.
It also added the sources of the respective titles of the informative table. I also added the same effects of the previous titles.
🩸Paso 8 // Step 8🩸
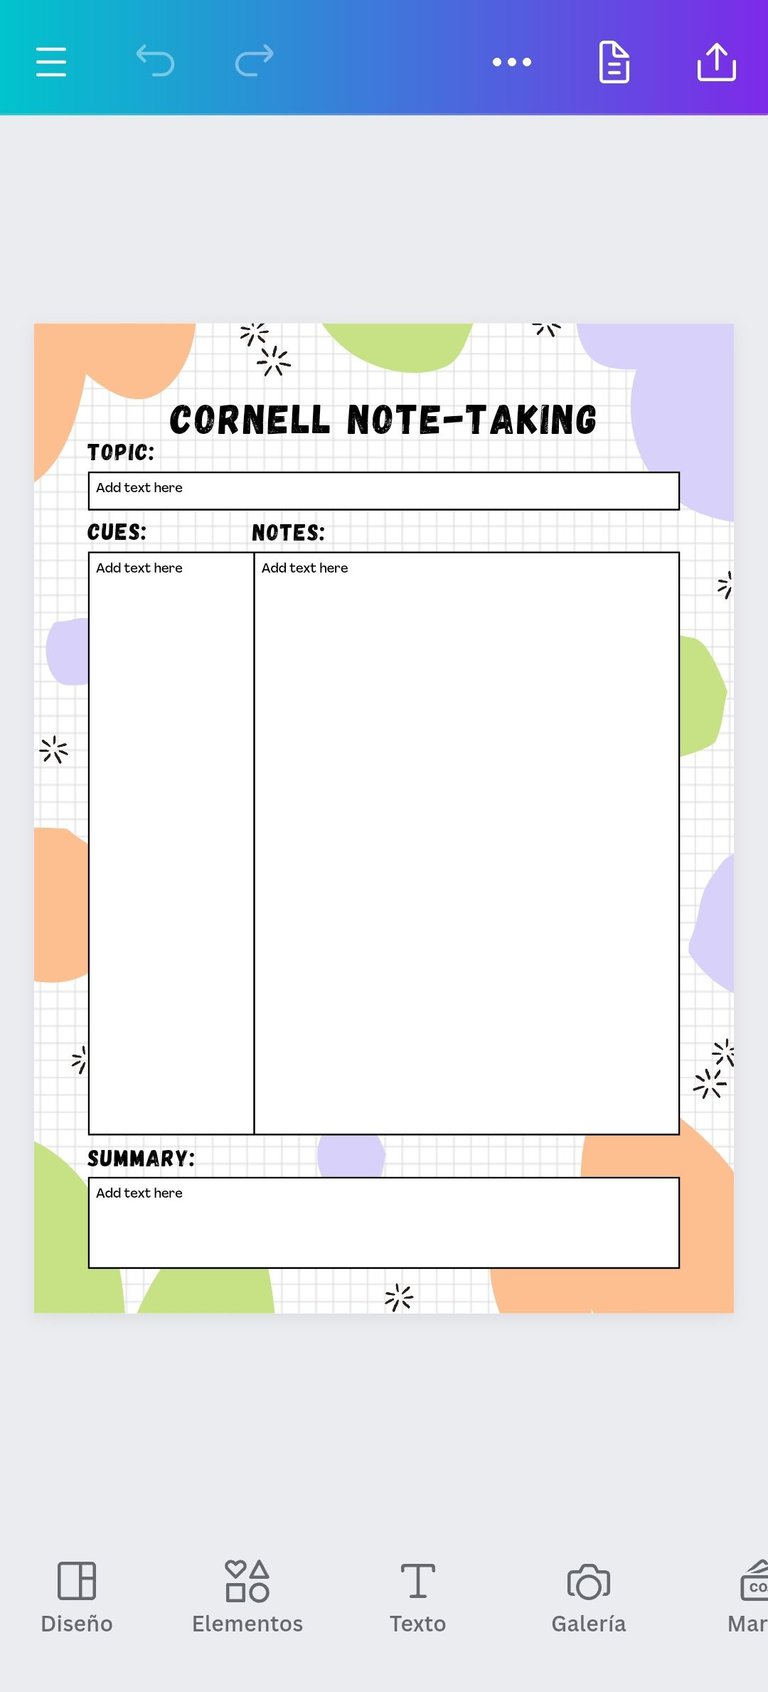
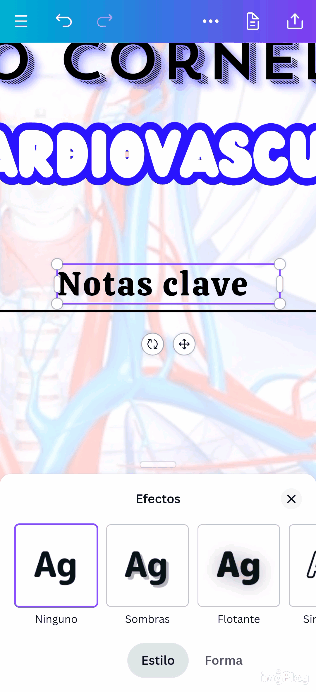
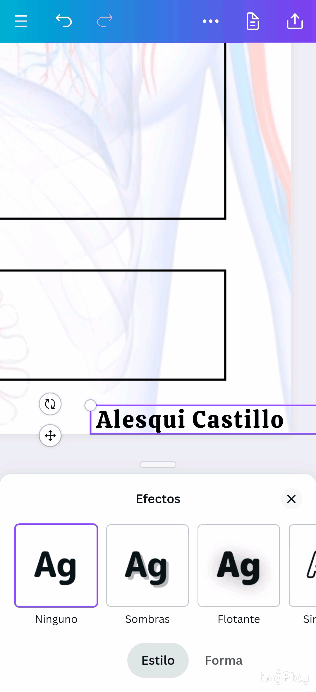
Realizo el detalle más importante que es identificar la plantilla con mi nombre, para luego terminar colocándole toda la información.
I make the most important detail, which is to identify the template with my name, and then finish placing all the information.
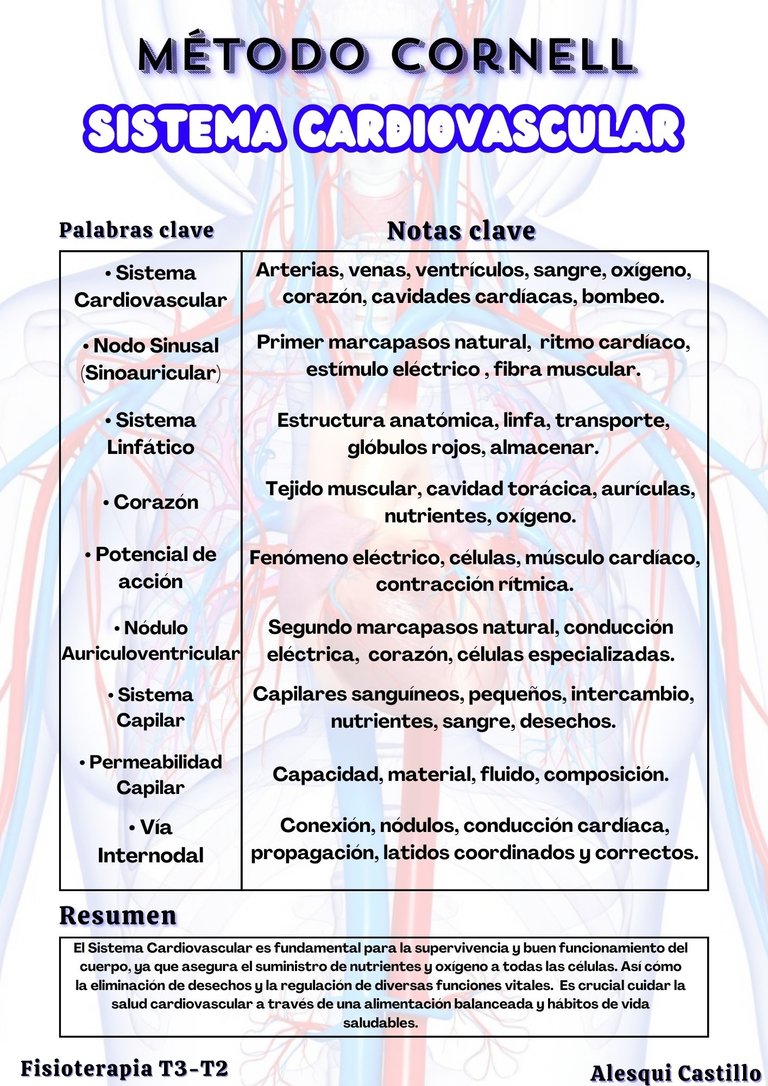
Y finalmente, luego de colocarle todos mis apuntes, así ha quedado el resultado final🤩.
And finally, after placing all my notes on it, this is how the final result has turned out🤩.
Siempre es un gusto venir a traerles el proceso de realización de mis trabajos y proyectos, igualmente espero que este pequeño tutorial le sirva a cualquier persona que lo necesita para este tipo de trabajo 🤗. Espero les haya gustado, muchas gracias por ver. Nos vemos en una próxima ocasión💗.
It is always a pleasure to come to bring you the process of making my work and projects, I also hope that this little tutorial will be useful to anyone who needs it for this type of work 🤗. I hope you liked it, thank you very much for watching. See you in a next time💗.
📝 El texto es completamente de mi autoría
📝 The text is entirely by me
🖱️ Traducción realizada con DeepL Traslate
🖱️ Translation using DeepL Traslate
📱 App's de edición: Canva, PicsArt e ImgPlay
📱 App's edition: Canva, PicsArt and ImgPlay
📸 Cámara: Tecno Pova 2
📸 Camera: Tecno Pova 2
📝 El texto es completamente de mi autoría
📝 The text is entirely by me
🖱️ Traducción realizada con DeepL Traslate
🖱️ Translation using DeepL Traslate
📱 App's de edición: Canva, PicsArt e ImgPlay
📱 App's edition: Canva, PicsArt and ImgPlay
📸 Cámara: Tecno Pova 2
📸 Camera: Tecno Pova 2
🖱️ Traducción realizada con DeepL Traslate
🖱️ Translation using DeepL Traslate
📱 App's de edición: Canva, PicsArt e ImgPlay
📱 App's edition: Canva, PicsArt and ImgPlay
📸 Cámara: Tecno Pova 2
📸 Camera: Tecno Pova 2
📱 App's de edición: Canva, PicsArt e ImgPlay
📱 App's edition: Canva, PicsArt and ImgPlay
📸 Cámara: Tecno Pova 2
📸 Camera: Tecno Pova 2
📸 Cámara: Tecno Pova 2
📸 Camera: Tecno Pova 2
spanish
photography
lifestyle
vision-board
hobbies
everyday
study
cornellmethod
work-life
appreciator
0
0
0.000
Excelente información! Y el paso a paso muy claro.
Congratulations @alesquisa18! You have completed the following achievement on the Hive blockchain And have been rewarded with New badge(s)
Your next target is to reach 1250 upvotes.
You can view your badges on your board and compare yourself to others in the Ranking
If you no longer want to receive notifications, reply to this comment with the word
STOPCheck out our last posts: