Fish Hatchery preparations and constructions
Good day to you all here in the DIYhub community. It’s always a pleasure to be among people with a creative mindset. Every day would always be a day to learn something and gain additional knowledge to what one has learned before.
Today I would be sharing with the community THE PREPARATION AND CONSTRUCTION OF MY HATCHERY
Fish farming is also another lucrative business in the agricultural industry. It has always been about giving back to the community and this is done by farmers who are ready to keep their hands dirty for the people to survive.
Having a fish farm could be different ways which are either by having a pond to rear them or fishing directly from large water bodies. There are different types of ponds and it depends on the financial capability of the farmer. We have the concrete pond, the tarpaulin pond, the earthen pond, and the plastic water tank.
When you wish to venture into any business it's best to learn more about the business you are about to go into and then make sure you are knowledgeable and capable to go ahead with it. If not then you might be taking a lot of risks to accomplish your purpose.
Making up this hatchery isn't a standard one or just as it should be, but I am just trying to make sure I get myself ready and also put to practice what I have been trained on for months now.
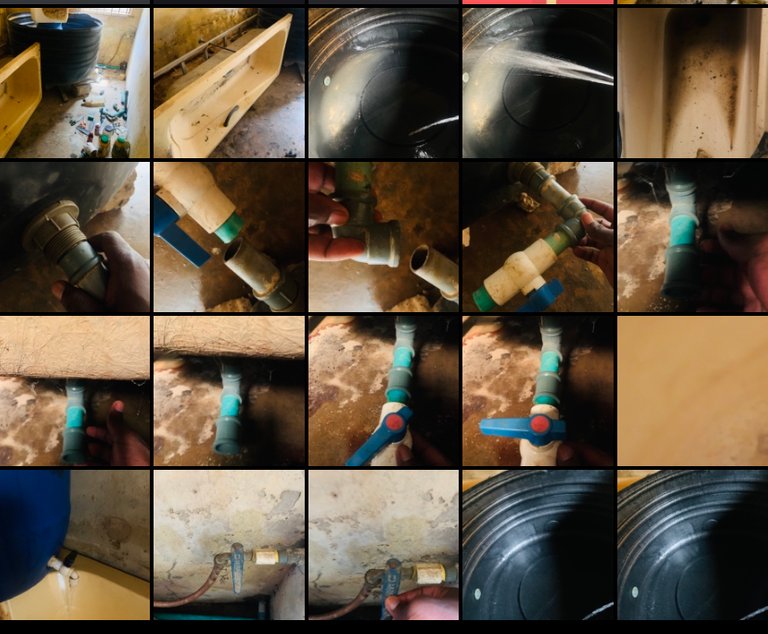
Group screenshot of my captures. All images are mine.
TOOLS/MATERIALS
- SAW
- PVC GUM
- PIPES
- MEASURING TAPE 📏
- WASHERS
- CONNECTORS
- WATER DRUM
- TAPS
STEP-BY-STEP PROCESS
STEP 1: CLEANING THE HATCHERY
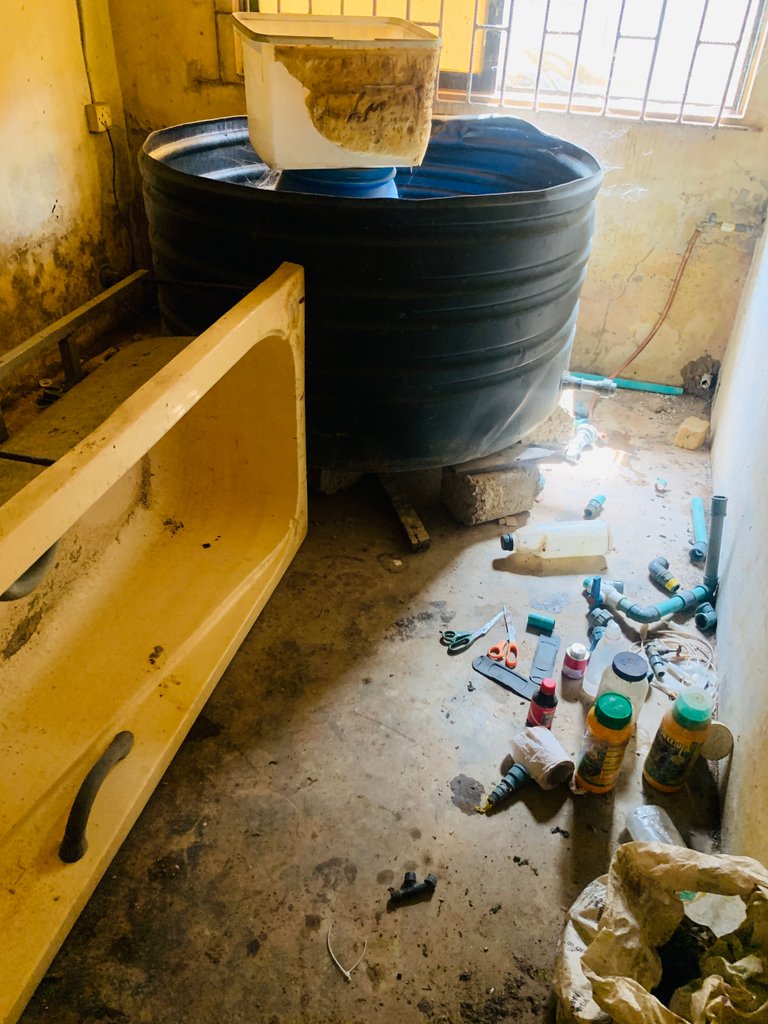
It's been months now since I last prepared the hatchery for the hatching of the fries. So I knew I would have to clean up the whole room again, dust the cobwebs and also sweep the room.
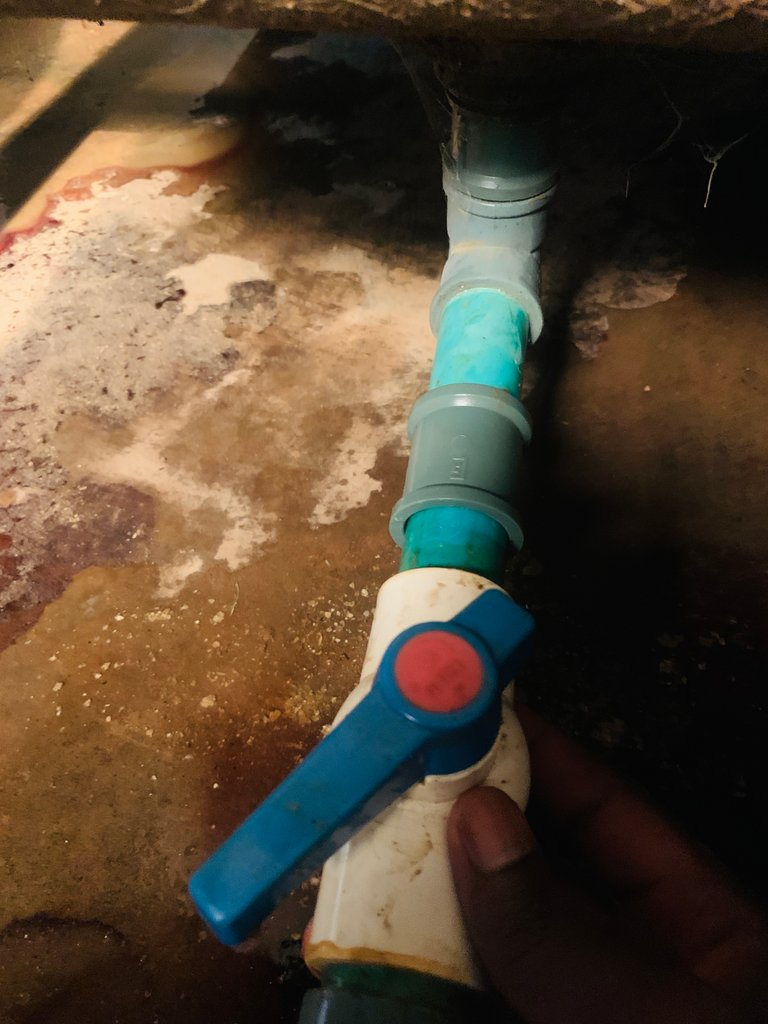
STEP 2: DRILLING THE PLASTIC TANK
The first thing to do was to drill the plastic tank for a hole that would serve as a channel outlet for the water stored. Without this, there is no way the water in the tank would be removed.
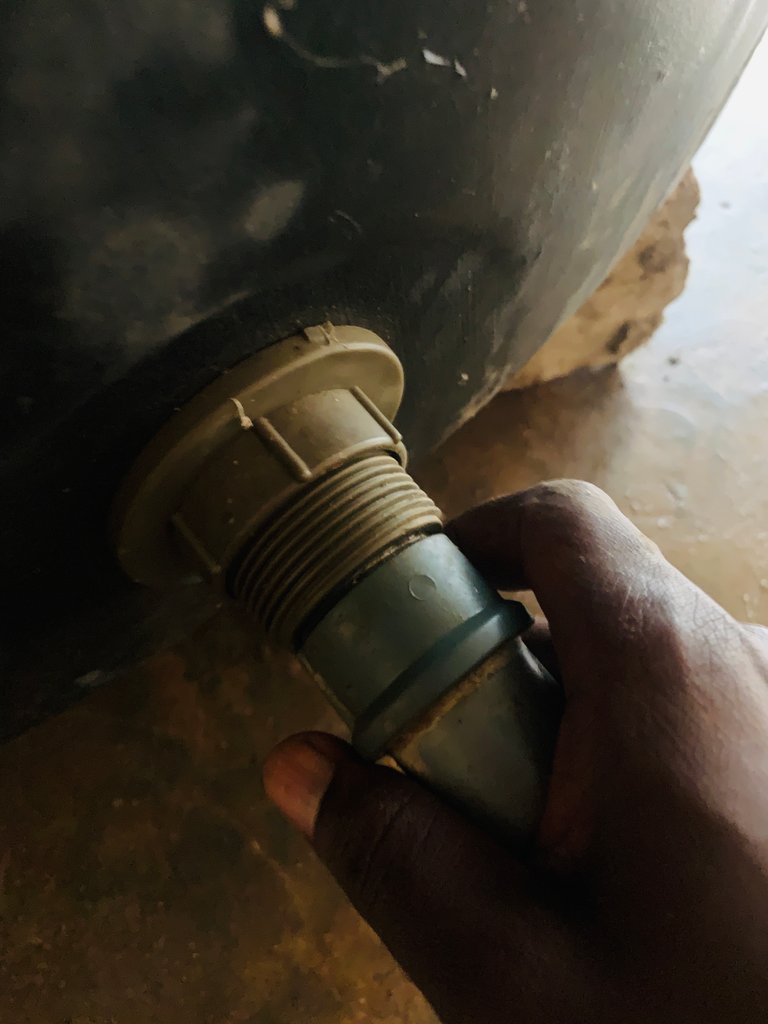
This time around the tank I used is not a company product but a byproduct of a used tank. It was a little easier because all I did was add the washer into the hole and tighten it.
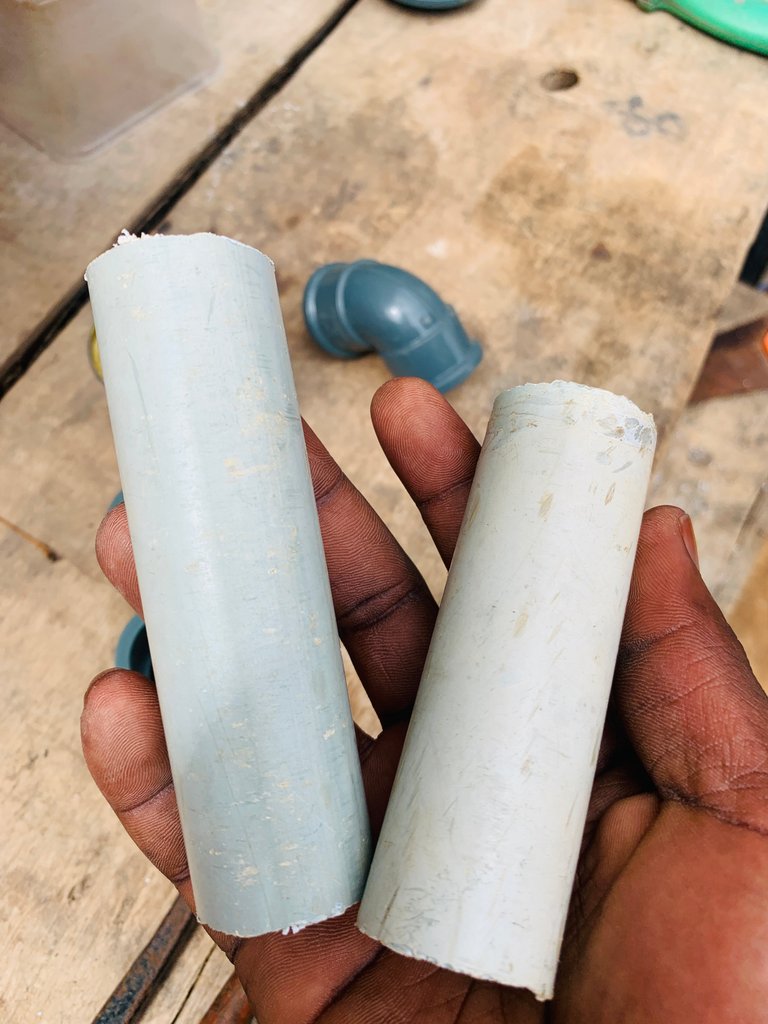
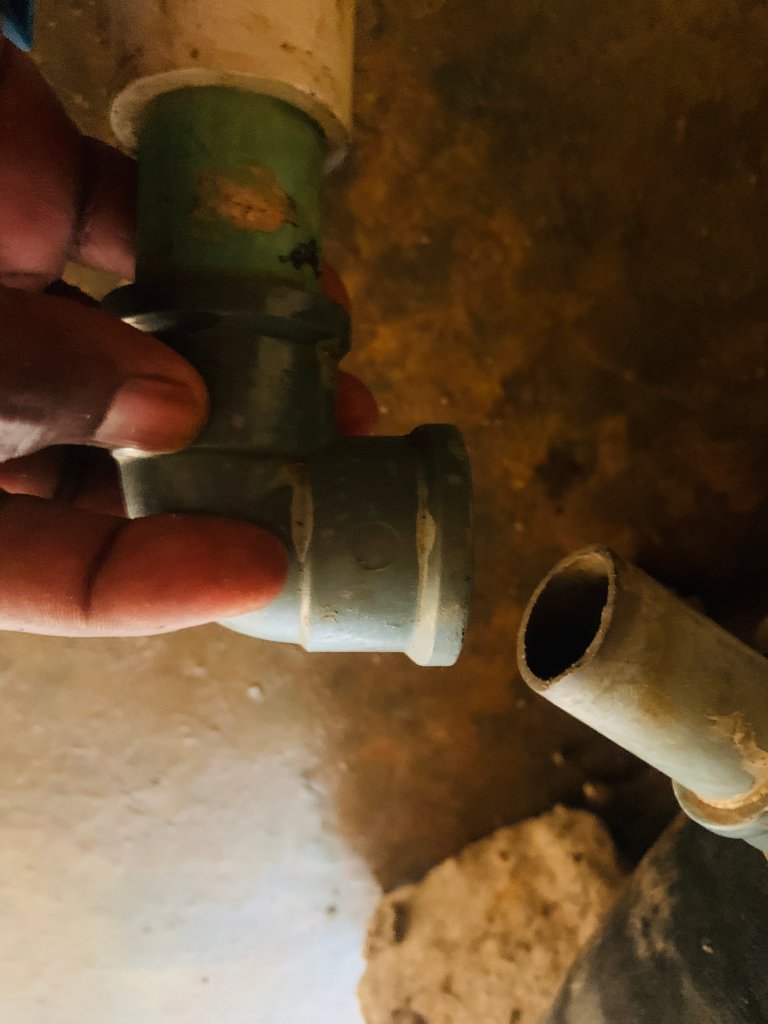
STEP 3: CUTTING OF PIPES

After fitting the washer the next step to take is cutting out the pipes into sizes. The cutting stage is one of the most difficult and important stages. Using the measuring tape you can get the size of the pipe directions and how you want it to be directed.
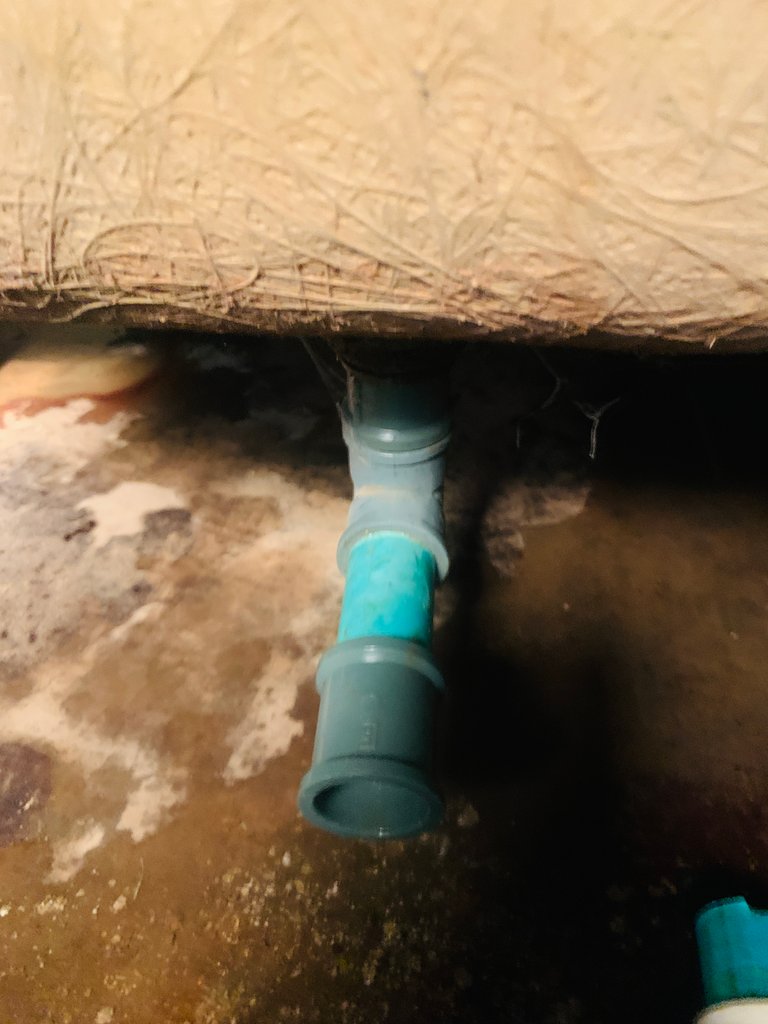
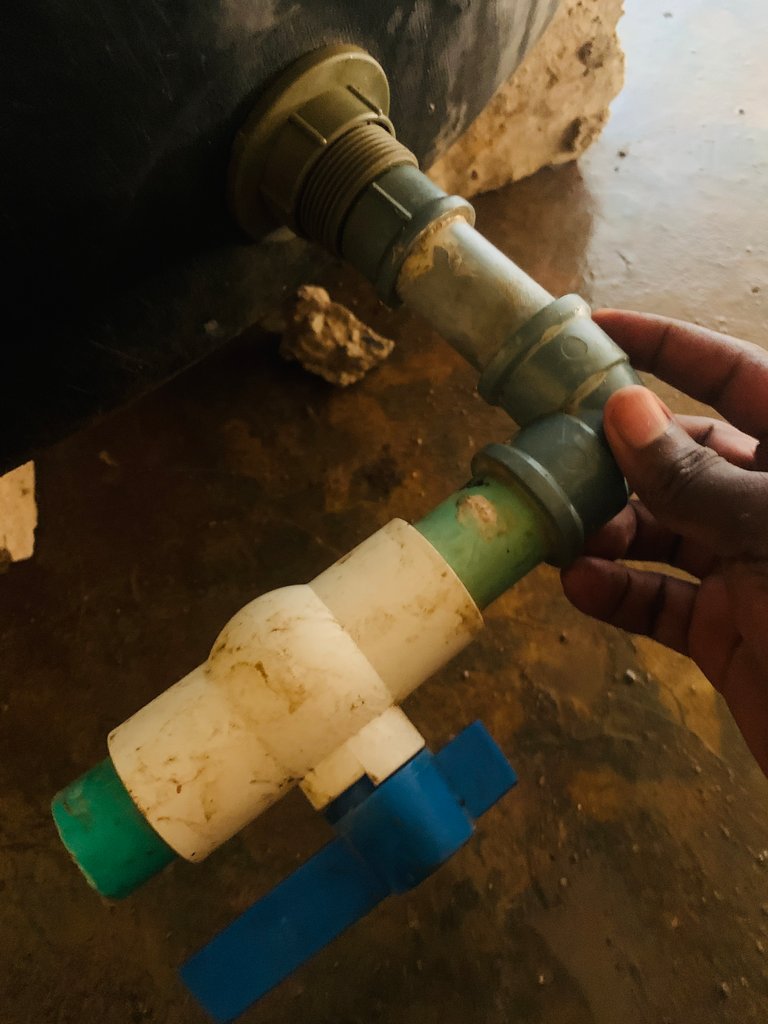
STEP 4: CONNECTING
The cutting was successful and I got all sizes and the required numbers.
Then I went ahead to fix them. And adding some glue/gum to it. It was channeled to sewage nearby the building.
STEP 5: DISINFECTION AND FUMIGATION
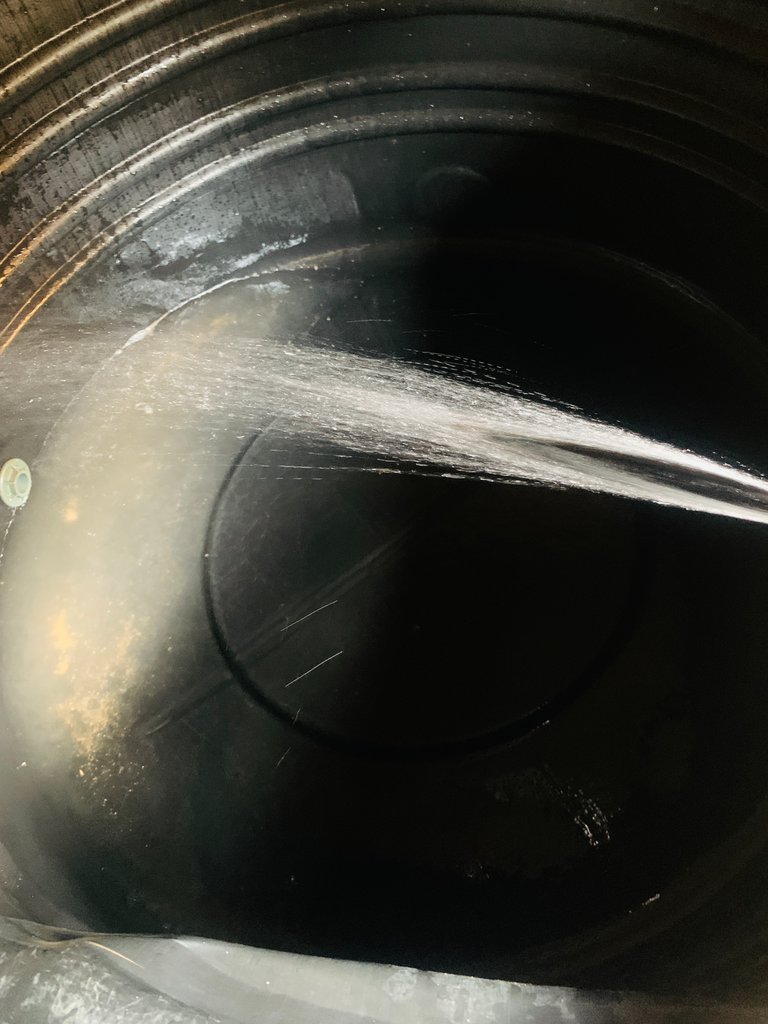

After all, I had to disinfect and fumigated the tank and other tools to be used for the process. So I added some formaldehyde and chlorine oxide in water and stirred well, then I used the mixture to rinse the tank, and drum and sprinkle some on the floor too.
Finally! The job is done.
After the whole setup is ready then the next thing is to get the broodstock, stimulant, injector, and all other necessary equipment for the hatching process which will be done tomorrow.
This is all about today's homesteading experience. See you again next time.

wow!!!!!!!
I'm so impressed!!! hehehe Did you get any tips from @george-dee ??? when will you get the fishies!!! hehehe
is @mcyusuf helping with this venture too?? 🥰
Yeah. We had some chat. But I still have to put some things in place first before we can talk better ma. And yeah, my brother is of full support.
I really appreciate ma
Once again, thanks for the good work.
My pleasure 😇